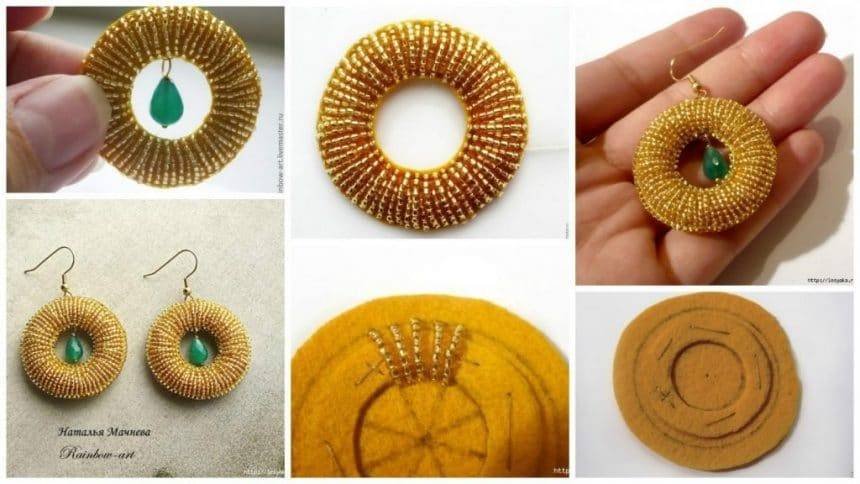
How to make beaded earring
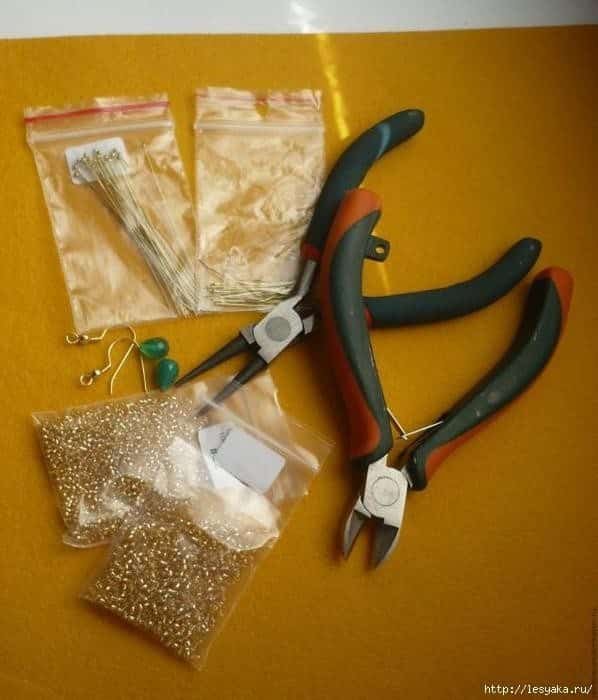
So, we need: a framework for embroidery (felt)
- beads №15 (the smallest)
- needle, thread, scissors, glue (I forgot to take a picture)
- 2 beads (I chrysoprase), 2 pin, shvenzy
- Round and “Clippers” – can be replaced by conventional small pliers, but it is more difficult
compass and pencil

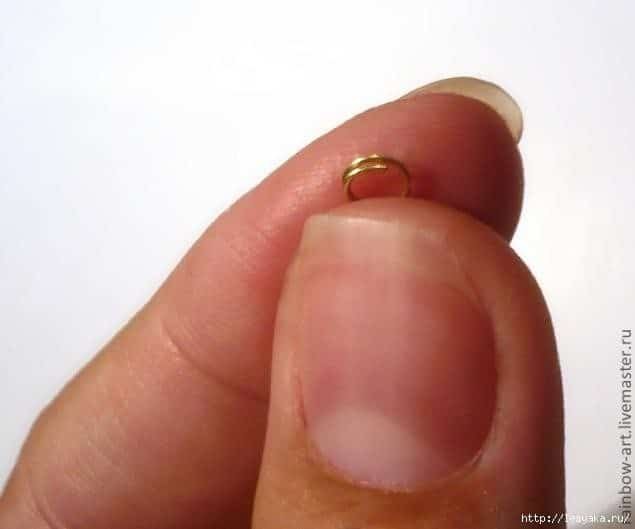
The first thing to do is “put” on the bead pin. Like this:
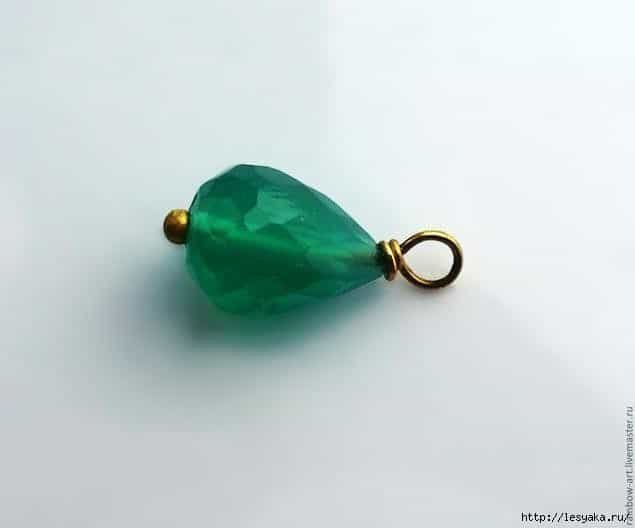
Remains of pin curl up into a ring.
Just do 4 rings and put on them 2 beads and 2 shvenzy
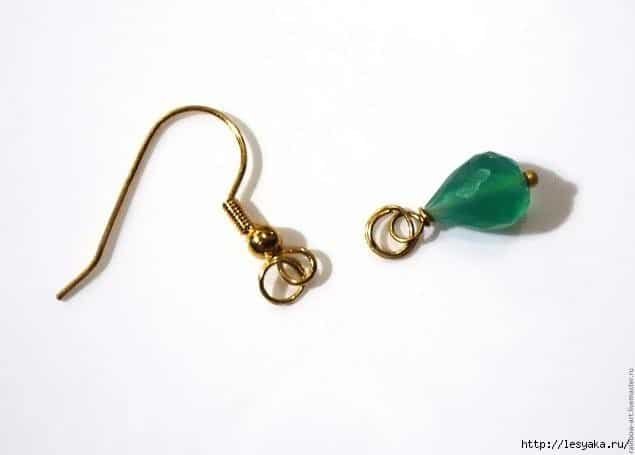
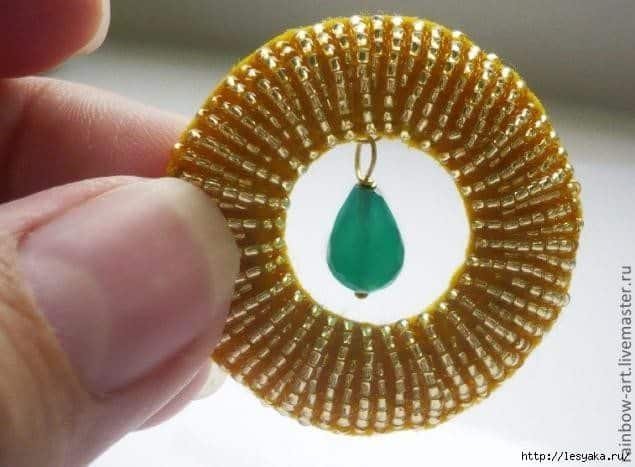
Next we are measuring the length of the resulting beads to pin, and on the basis of her compass draw a circle – this is the inner circle of our earrings. Important – please note that in is finishing a series of beads, with the bead should hang freely, which means the circle should be enough for these conditions.
From the first circle retreat some distance to get the desired width of the earrings. We get narisovany “bagel”.
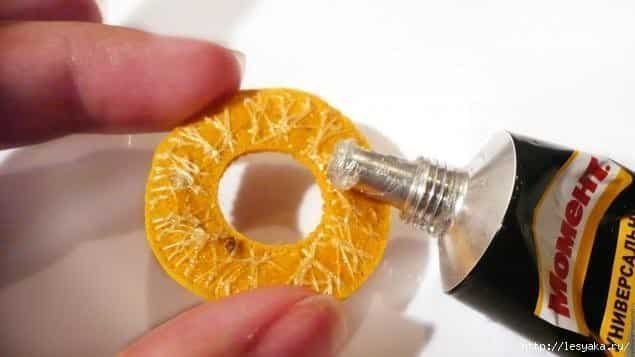
Because we embroidery volume, then you need to make further details of our “donut.” Compasses do another donut, where the inner circumference is greater in the outer less than the previous. The second “donut” neatly cut and sew the first. We get here the following picture:
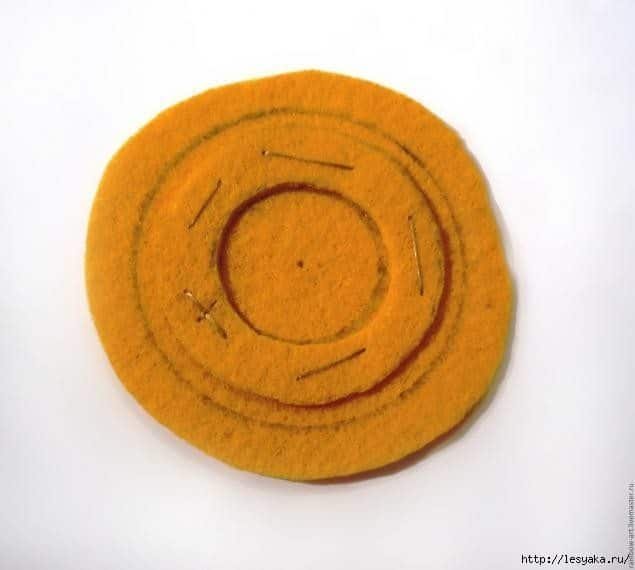
I’m doing a piece on which embroider, round, not to cling to the corners of the thread while embroidering.
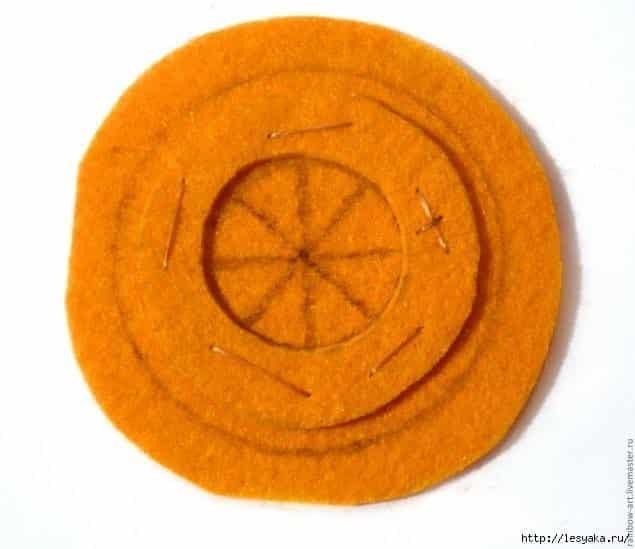
We start our embroidery. To earring turned out smooth and beautiful, we need to make a few strokes:
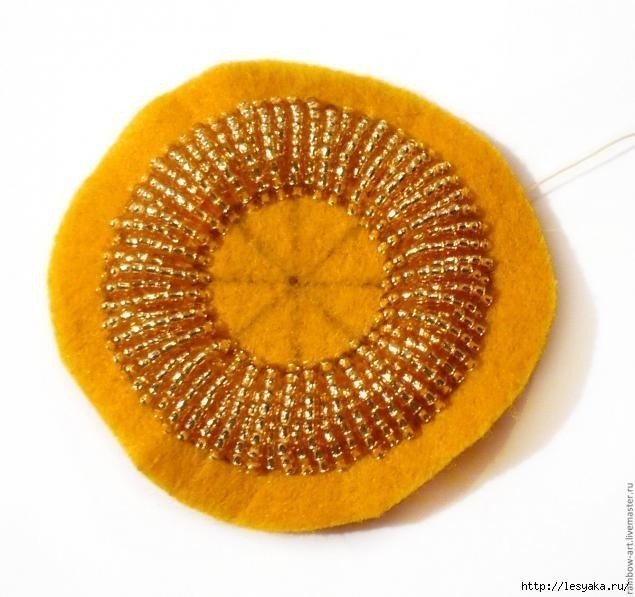
Through the center of the inner circle draw a cross. We try to do as much as possible accurate, the accuracy depends on the beauty of the future earrings. These sectors divide evenly in half, like this:
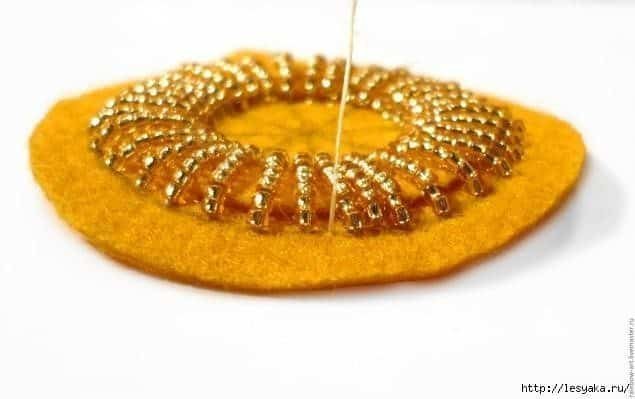
Fix the thread, we deduce it out on the inner circumference of the exact point of contact between a circle and a line drawn by. We collect the required number of beads, in my case 9, anchoring stitch. I passed all the reliability of the stitches twice.
The next stitch to do likewise for the nearest line. Like this:

Next to the eye sector divide in half and make another stitch

Fill the resulting sector stitches the same length. Do not try to fill the sector completely, to achieve uniform filling and beautiful will be extremely difficult.

Thus we embroider full circle.

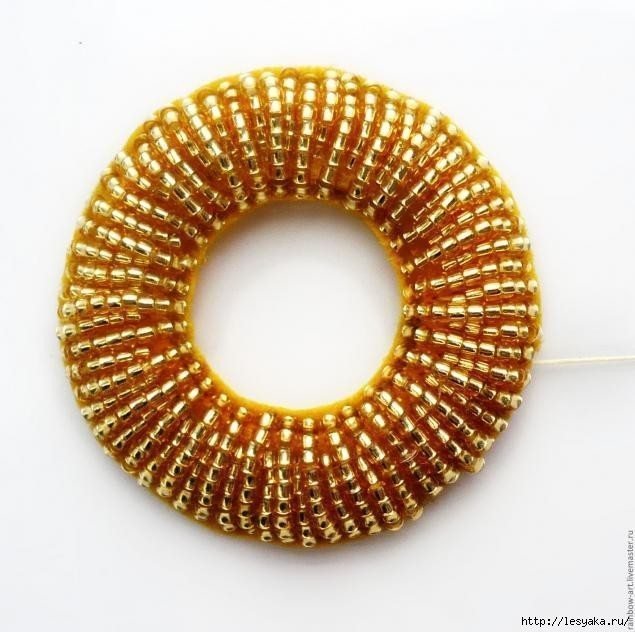
The resulting donut need to “bring to mind”. To do this, we derive a thread out between the stitches with beads on the outside of the circle.
We collect the required number of beads to fill the gap. I chose number 6. The number of beads must be calculated so that the resulting distortions are not stitch embroidery and a little “drown” between the already embroidered.
Thus we dovyshivaem our “Bagel.”
Carefully nail scissors cut out the inner circle and cut off the unwanted parts of the outside. Make it better underside facing you, to prevent damage to the embroidery. Threads I did not cut it for future reference.
Now sew beads and uncut fastener this thread.

Now similar to embroider the second side earrings – exactly the same “donut.”
Once both sides are ready, they should stick together. Inside I did not paste a sealant, as Earrings by their embroidery and side elastic enough “hinder” each other.
We got just such a workpiece earrings
Then sheathes the outer and inner edges. I took it for a gold metallic thread
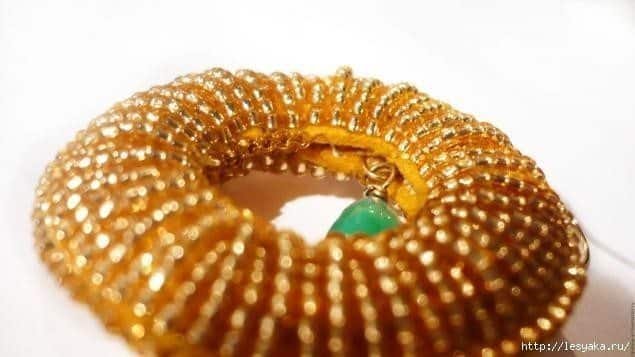
We get here such edge. I recommend to align the edge of the little hands, as while it is a bit of embroidery “comes in waves” due to compression when tightening thread

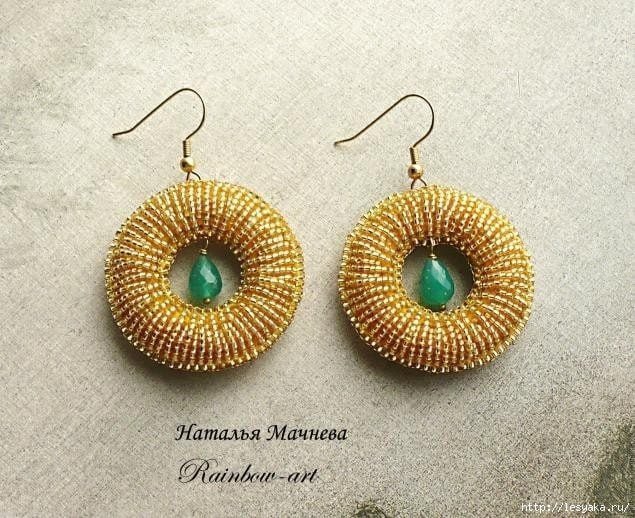
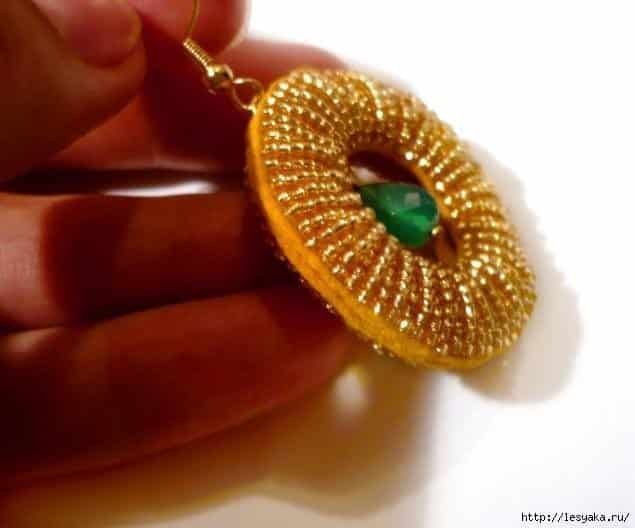
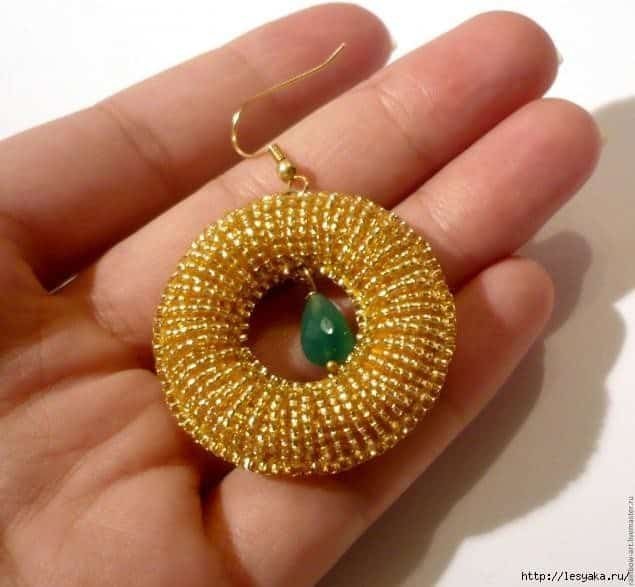
One earring ready

Courtesy: lesyaka.ru