What is good about this envelope? By serving one winter period, it easily turns into a narrow mattress that you can continue to use by placing it in a stroller instead of a blanket. You can think of other ways to use it. Also, the pluses are that you do not need to make any patterns on paper, and besides all the fabric will be used 100%, there will not be any scraps and scraps. This is a very economical option for the cost of materials.
So, what will it take to tailor the transformer covert:
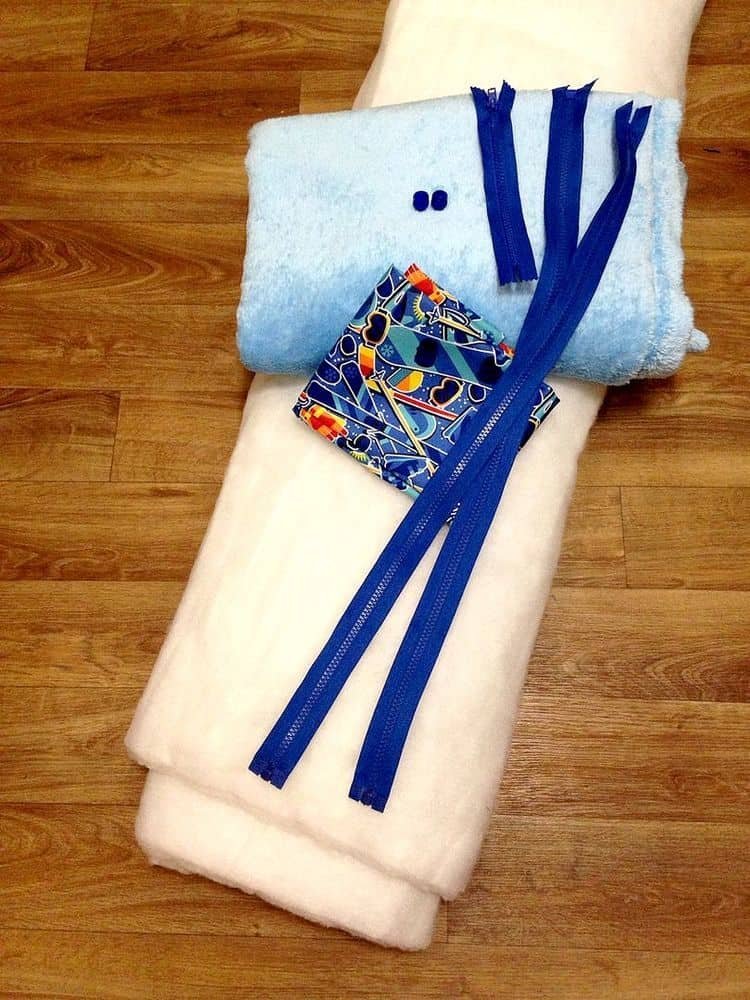
– jacket fabric 0.6 m wide 150 cm
– sintepon or holofayber, or other insulation for your discretion 0,5 m width 150 cm
– Velsoft or artificial fur 0,5 m wide 150 cm
– zip fasteners 55-60 cm long (2 zippers) and 25-30 cm long (1 lightning)
– Threads
– retainers for straps (optional)
As already mentioned, the envelope is sewn without using a pattern.
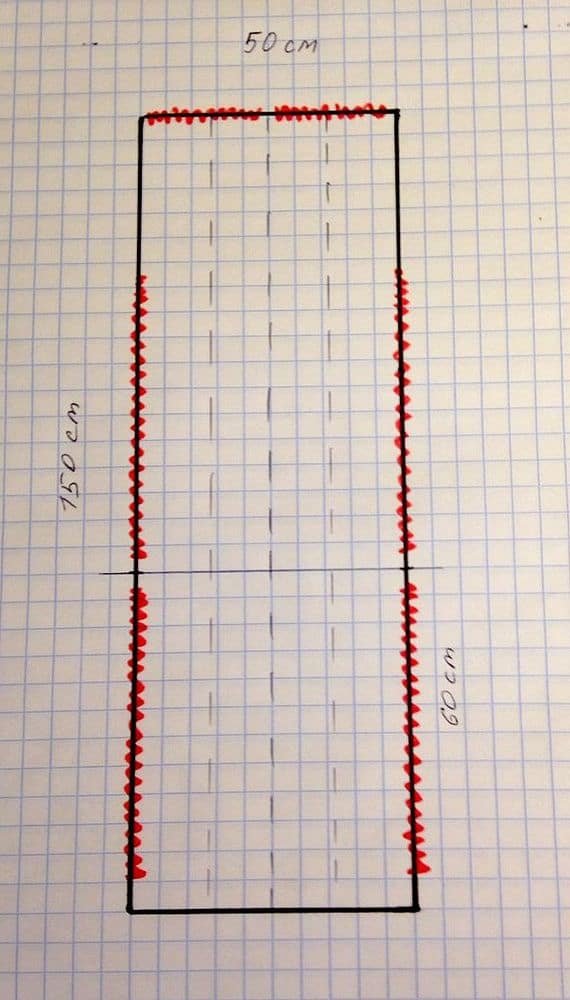
Envelope circuit.
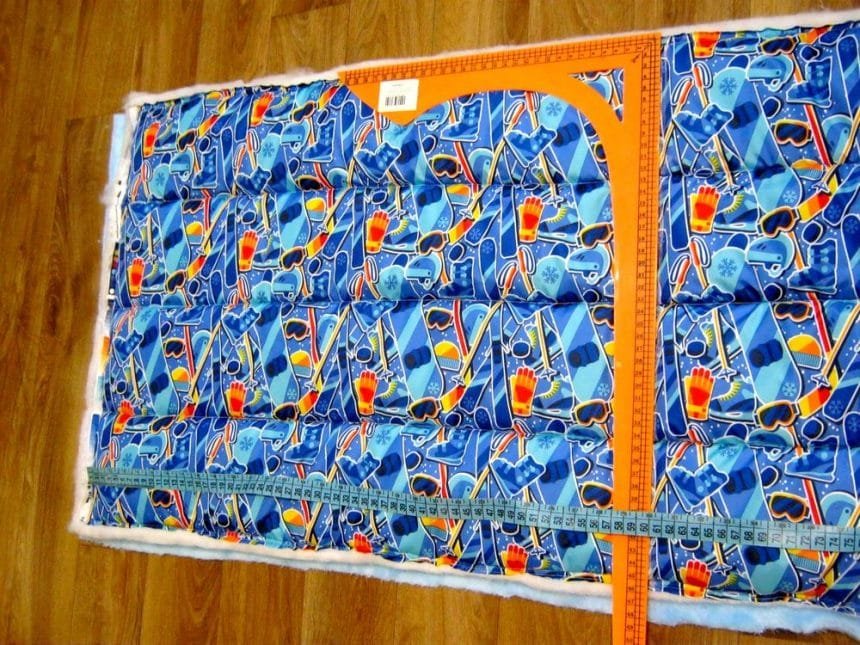
The size of the envelope is 150 cm by 50 cm. The place of lightning is marked with red. The dotted lines are the lines of quilting.
First, from the jacket fabric, it is necessary to cut 10 cm across the entire width of the fabric – 150 cm in length. This piece of fabric will be used for the strings.
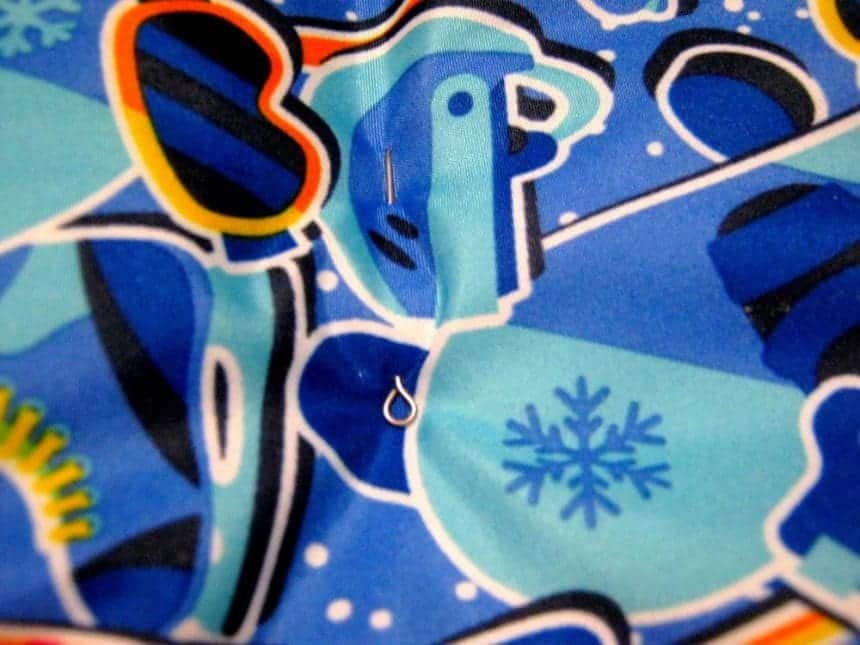
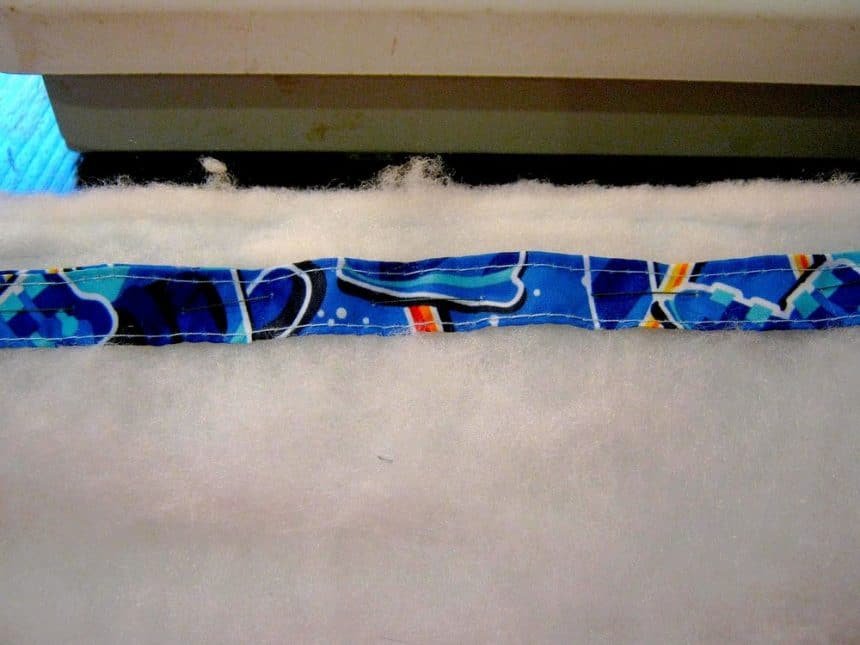
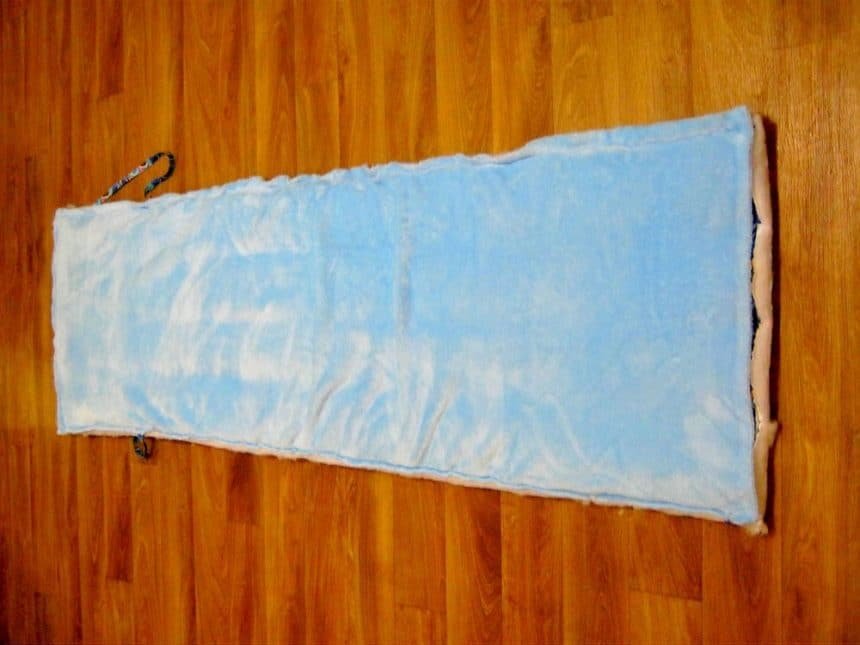
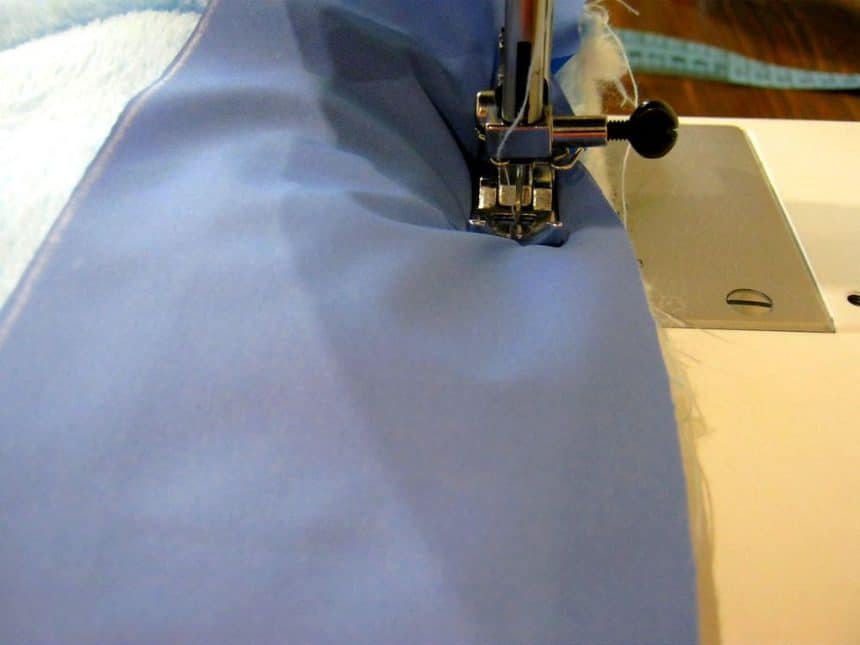
Next, you need to quickly jacket fabric with a holidayer. I squeezed through parallel lines – in the center and retreating from the center line 12 cm to the right and left. Also along the edge at a distance of 1 cm. We line the lines shallow, fasten the sewing pins and sew on the machine.
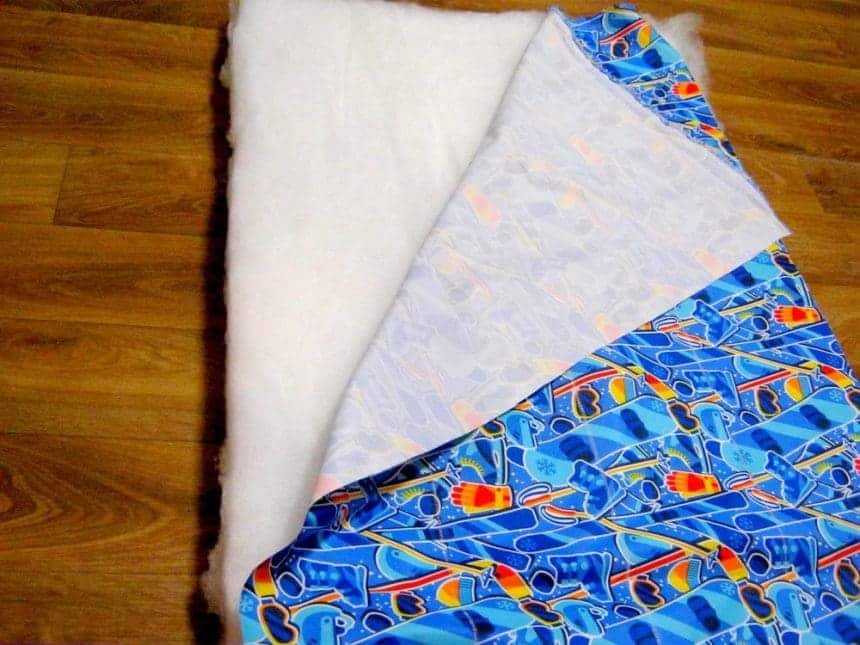

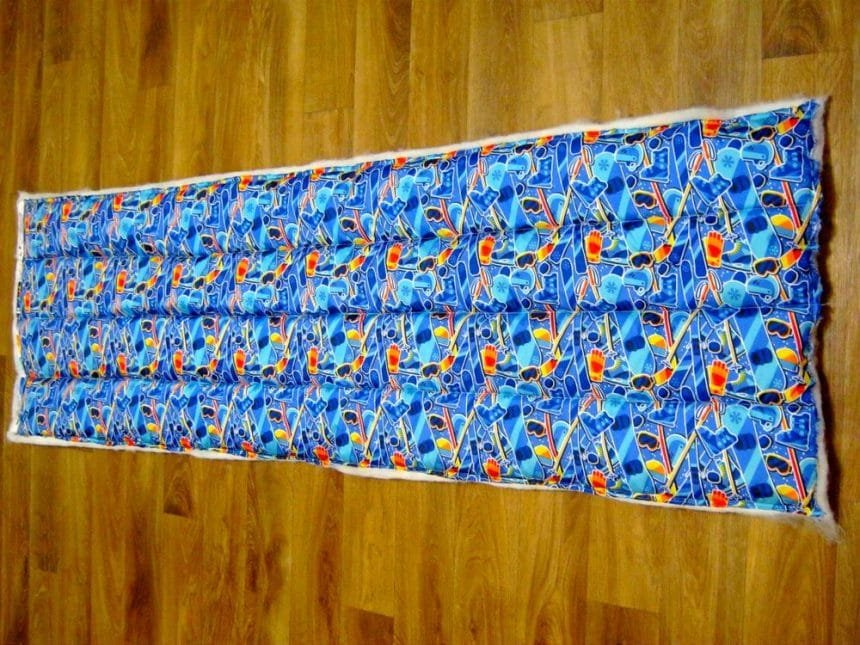
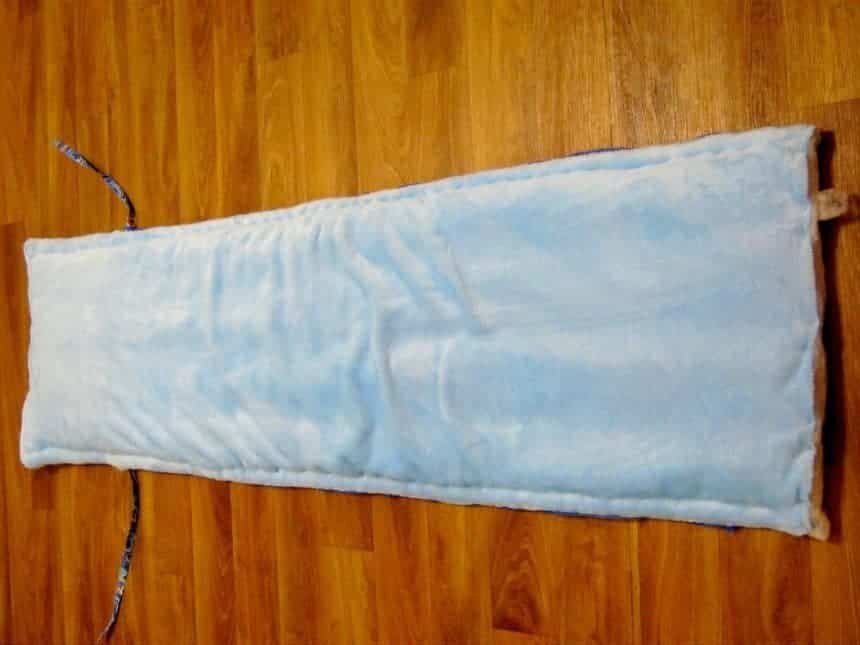
It turns out that such a “mattress”.
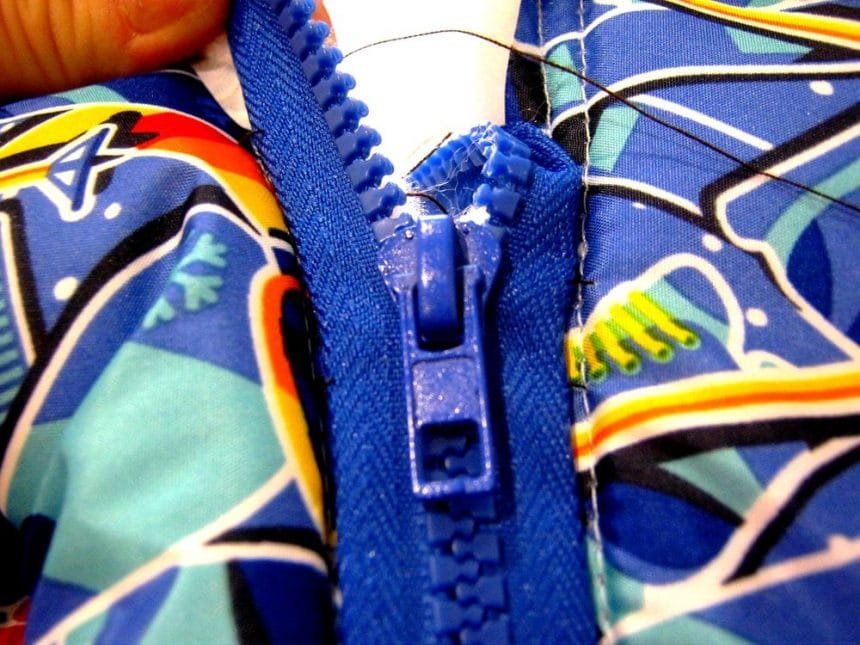
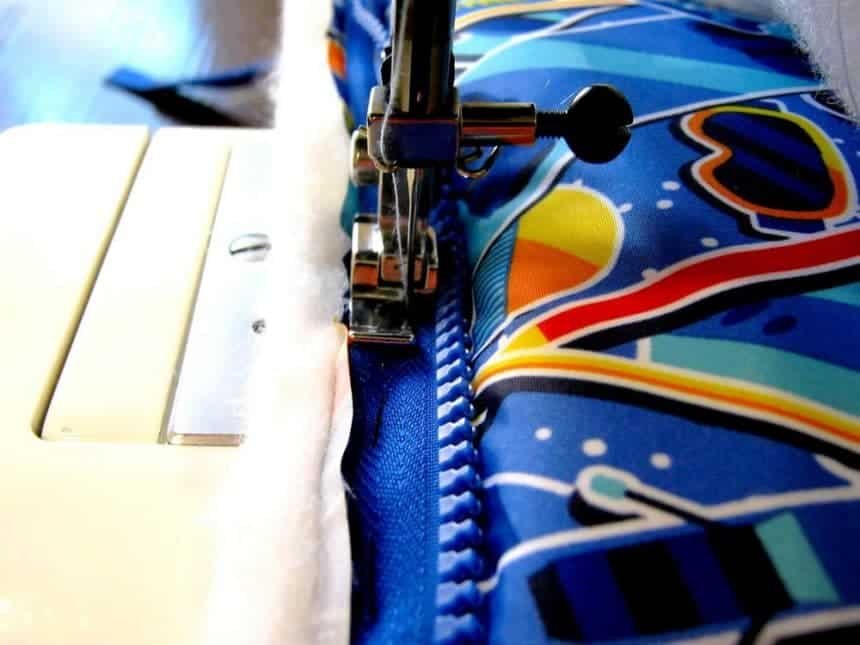
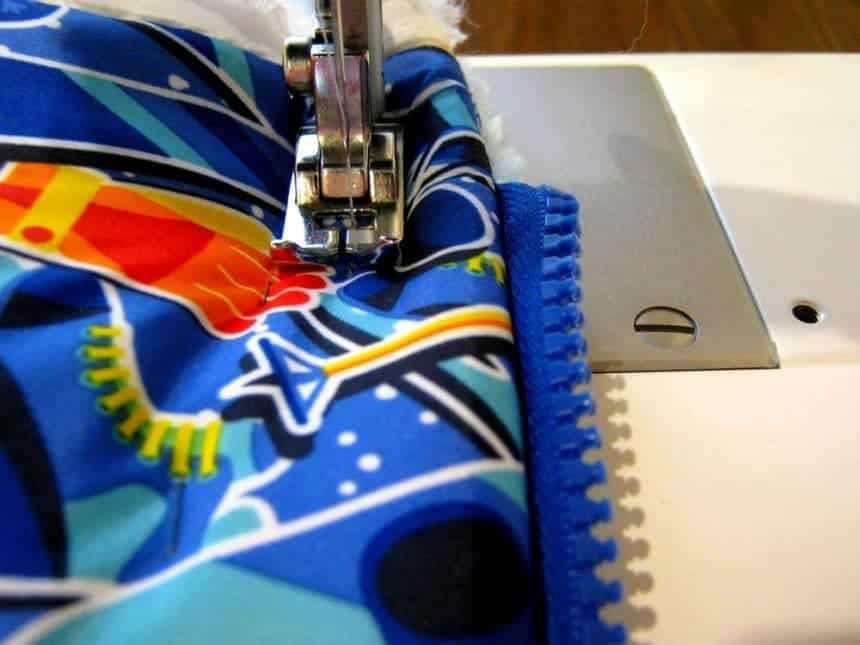
The next stage is sewing the lightning of the future hood. Lightning must necessarily be detachable. If there is no lightning of the necessary length, the longer one will fit, then it can be cut off. In my case, it was.
We begin to sew the zipper from the middle of the upper edge, retreating from the center line by about 1.5 cm.

Not reaching the edge by about 2 cm.
Check the zip fastening, if the edges of the hood coincide with the zipper closed, is there any distortion.

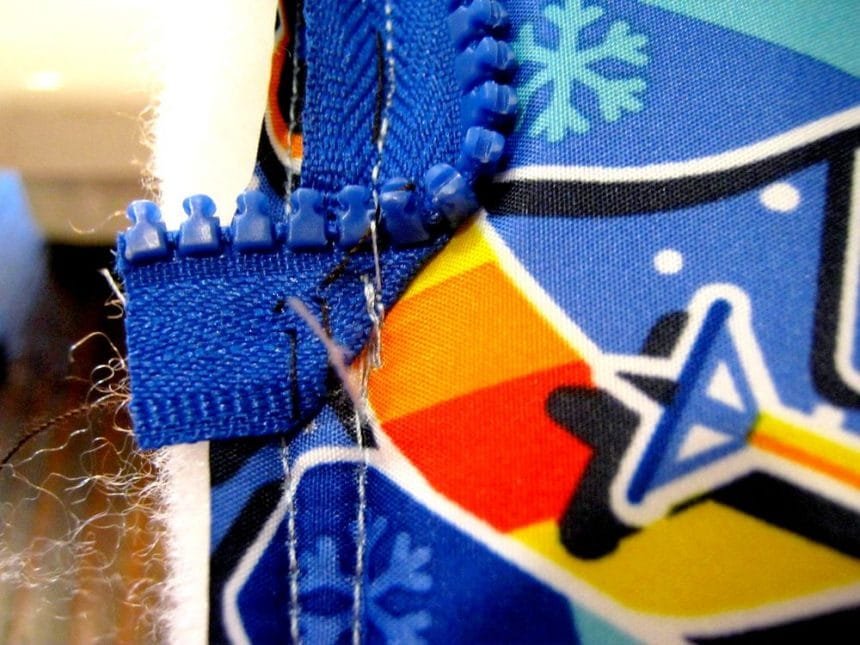
The extra length of lightning must be cut, for this, we turn the edge of the lightning, sew this edge and cut off the excess.
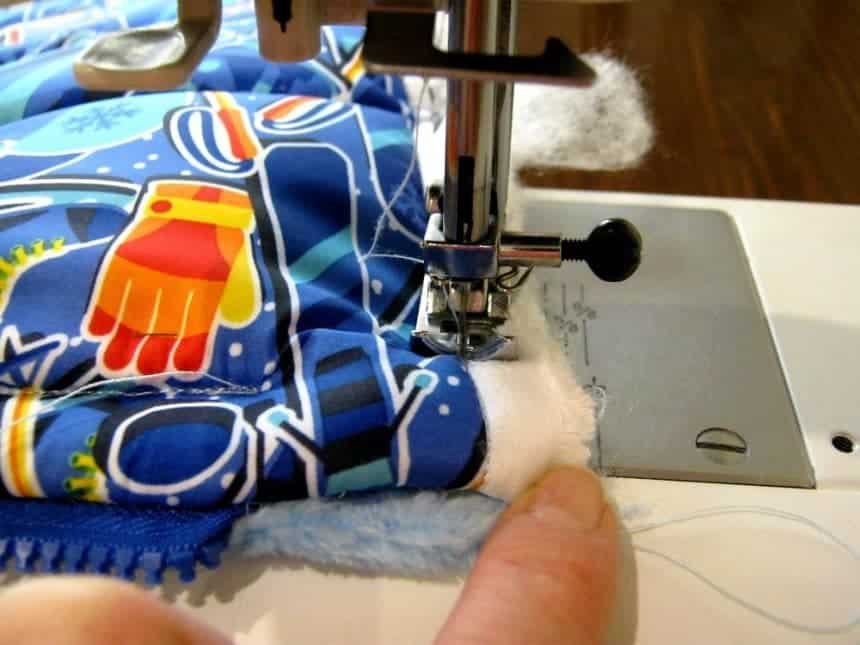
We sew the software to the edge of the hood in the lightning area.
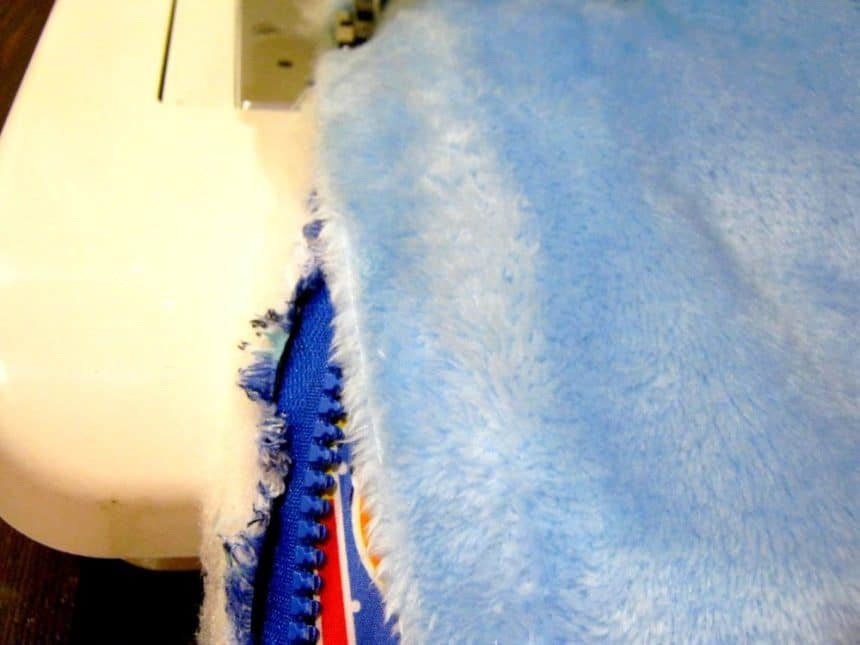
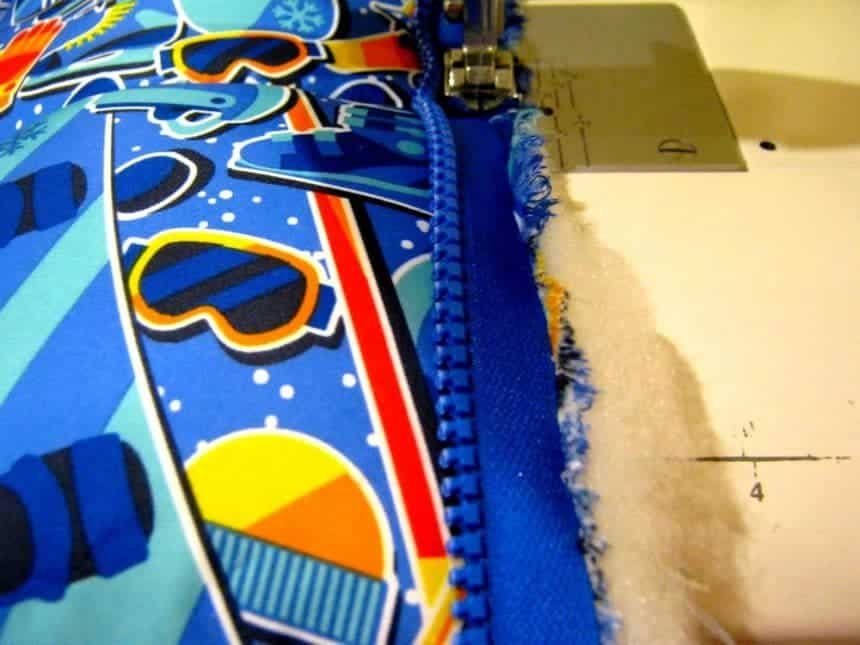
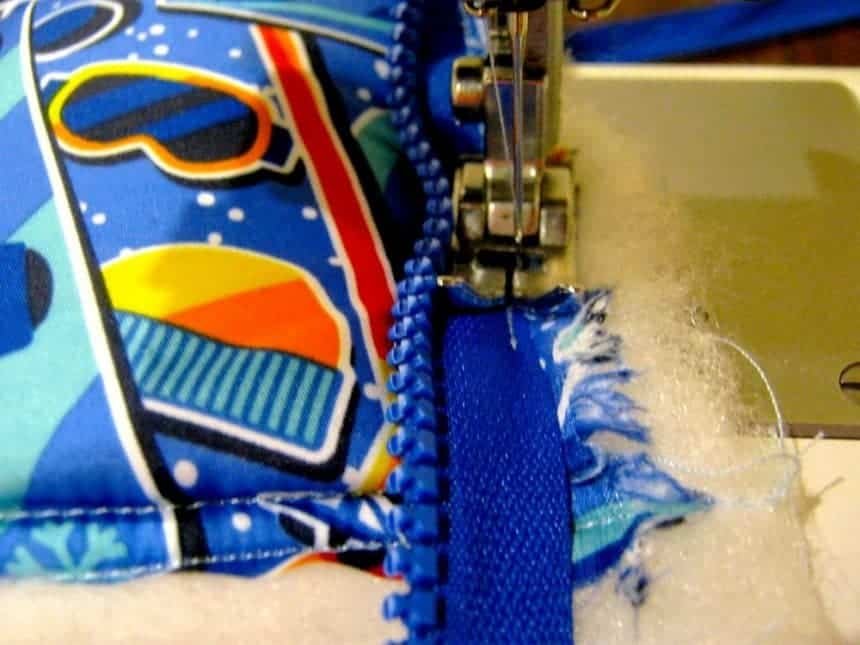
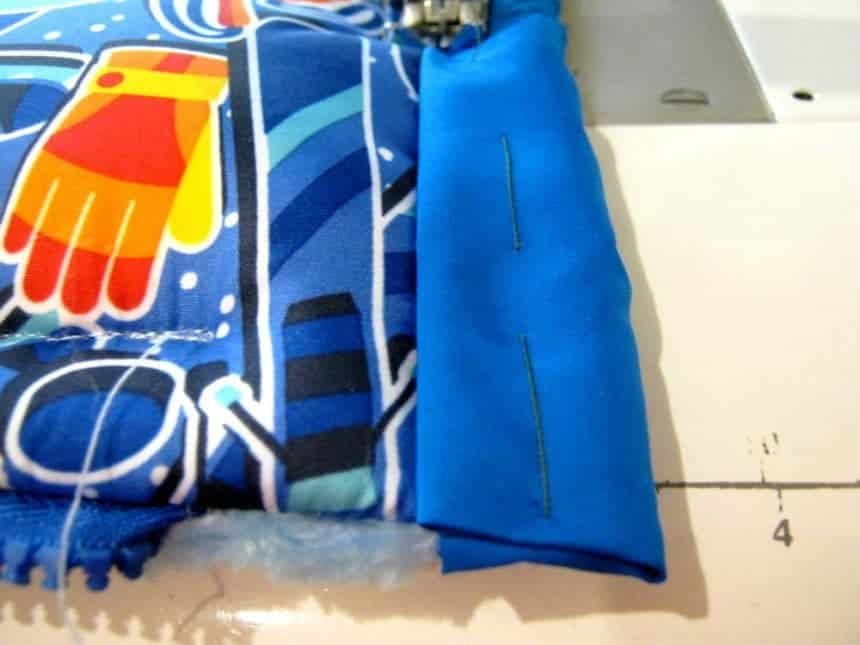
We measure 60 cm from the bottom edge of the envelope. This is the fold line where you need to sew side, long zippers.
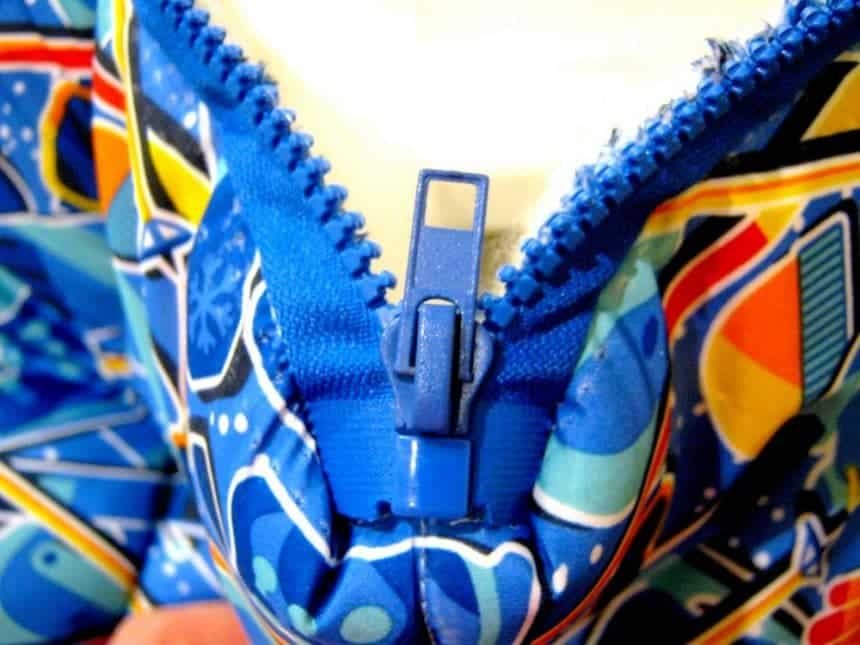
As in the case of the hood, the lightning should be sewn from this line, retreating by 1.5 cm. This is important since if you sew the ends of the zipper too close to each other, the zipper will not be easy to zip.

Lightning is not very closely sewn, as in the case of a thick layer of fabric, fastening zippers will also be difficult if sewn too close.
Superfluous also we turn and cut.
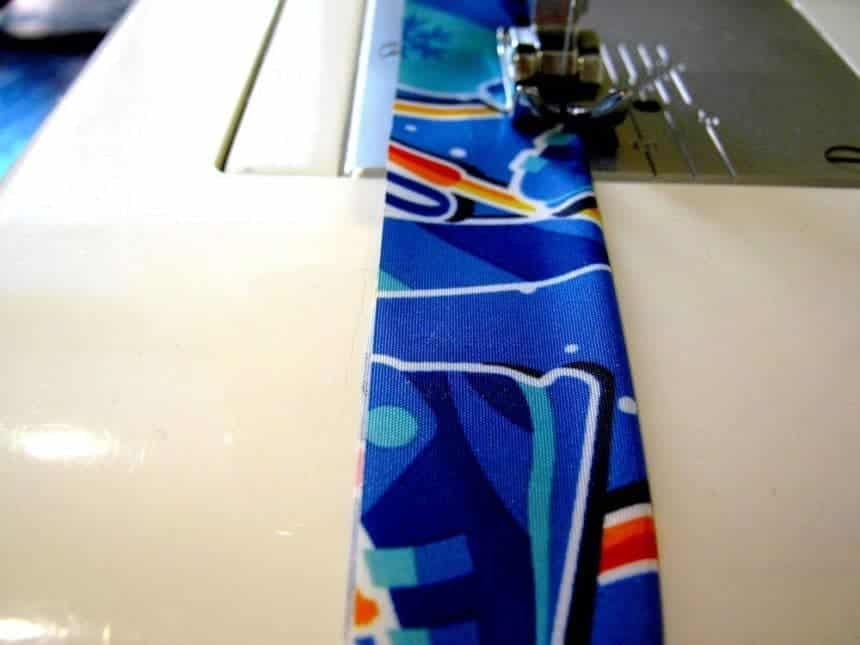
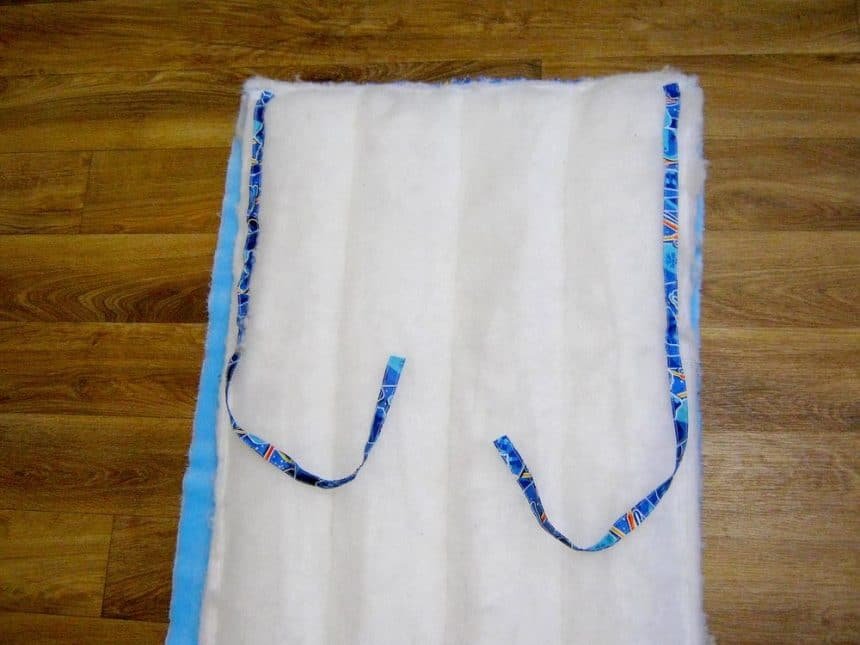
Now, from a piece of cloth with a width of 10 cm and a length of 150 cm, we make ties. We cut off 50 cm (width 10 cm) – a strip for edging the edge of the envelope. Then we divide the remaining 1 m long strip along – we get two 5 cm wide strips. One strip of 1 m long will go to the top of the envelope, the second strip will be cut into two – 50 cm each – the hood ties. I had the remains of a monophonic jacket fabric, so I made a fringing from it and made the tie more truly from the main jacket fabric.

For sewing, the strings, fold the fabric along in half, stitch it.
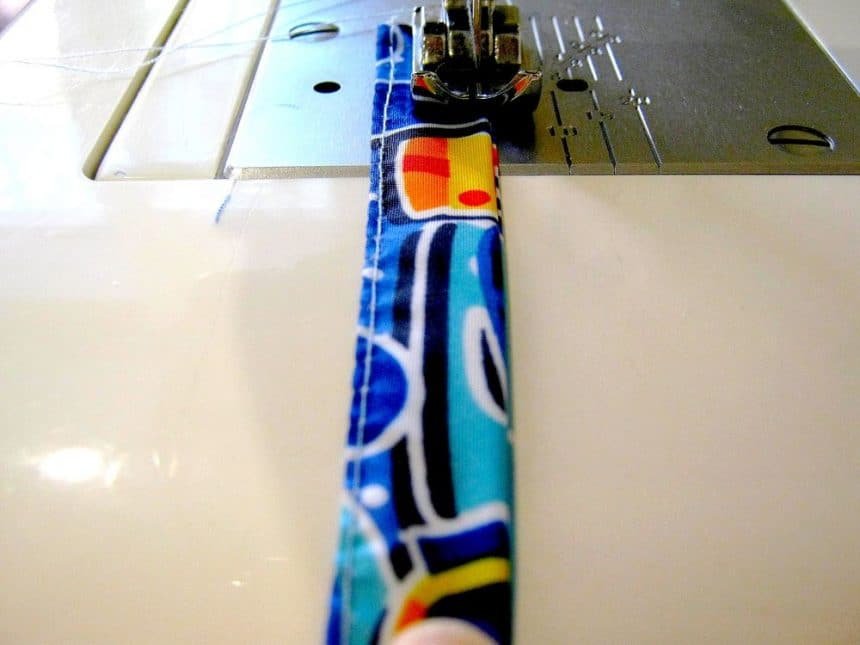
Then bend the edges inside and stitch it close to the edge.
Sew the hood ties from the inside. Velsoft is straightened out to avoid sewing accidentally.

You can temporarily sweep the strings so that they do not interfere with the next stage.
We sew the software to the side edge of the hood, not reaching 2 cm to the edge of the side zipper.
Pull out the edge of the string to the front. The thread that was tied with the ties can be removed.

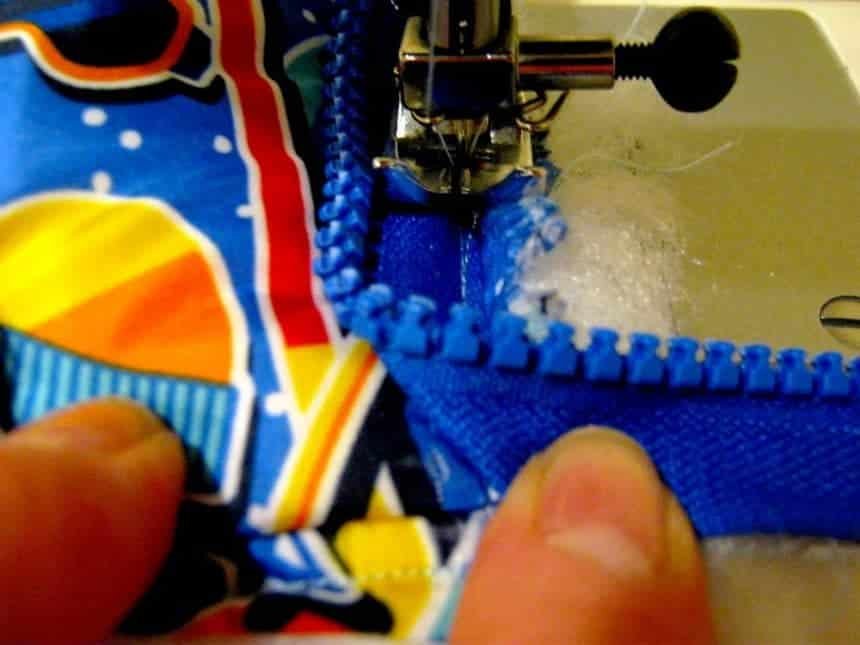
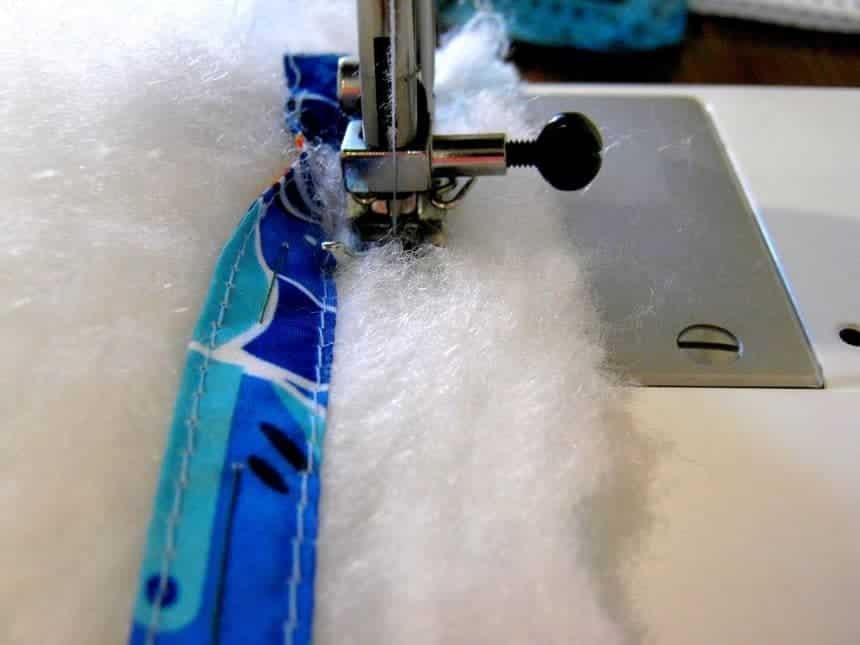
Sew the wells around the edge of the envelope all along, close to the seam of the zipper. The lower narrow edge of the envelope is not sewn, as it will be necessary to unscrew the envelope. On a machine, it can be difficult to sew such a thick layer, so it can be done manually.

While stitching the edge in the area of the strings, you need to be careful that the string does not fall into the seam.
The edge is sewed to the end of the side zipper and leave approximately 2 cm for the binding of the transverse edge of the envelope. The transverse open edge of the envelope is also stitched but at a distance of 1 cm.
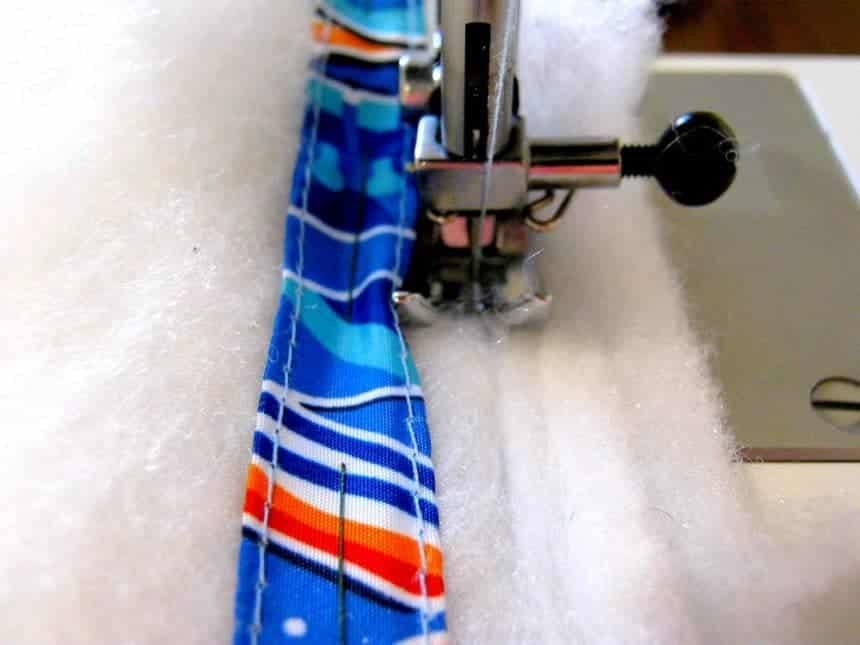
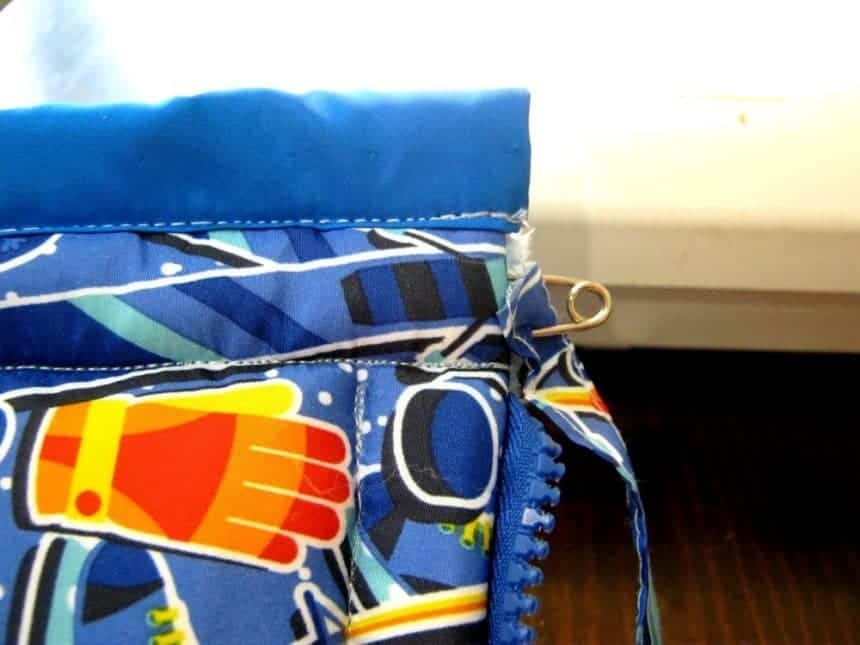
Now you can make edging this edge. On the side of the wheel, we sew the strip of jacket fabric face down.
We turn the edge of the edging to the front side, fold it in and sew it.
At a distance of about 2 cm, make a line – this is the place of embedding the string.
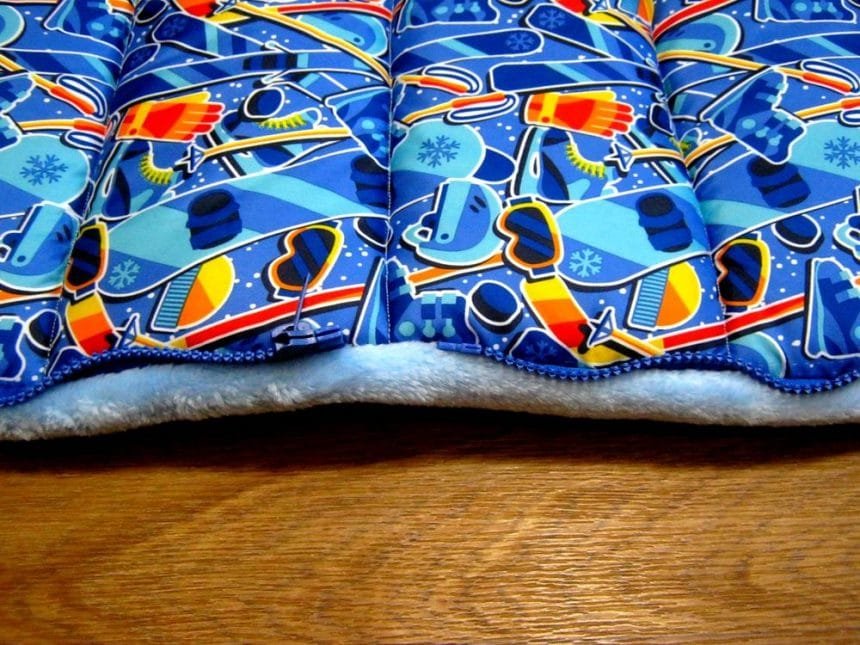
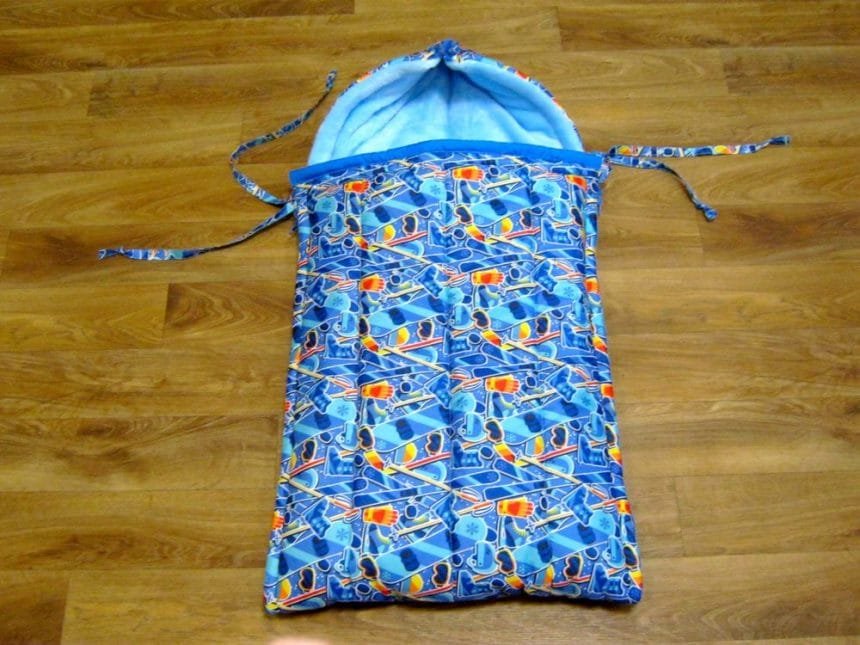
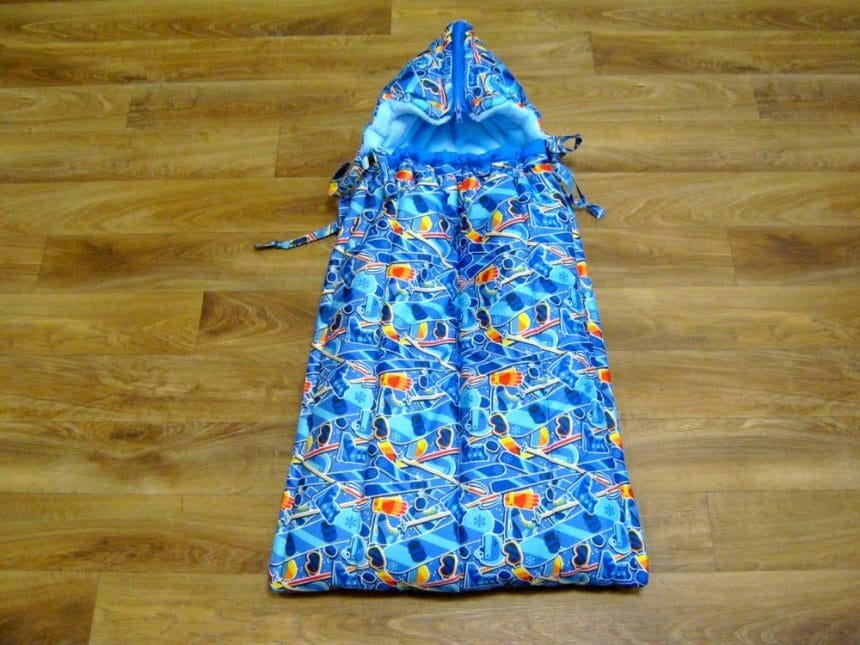
Here’s what happens in the end.
The outer side is in the unfolded form.

The inner side is soft and warm.

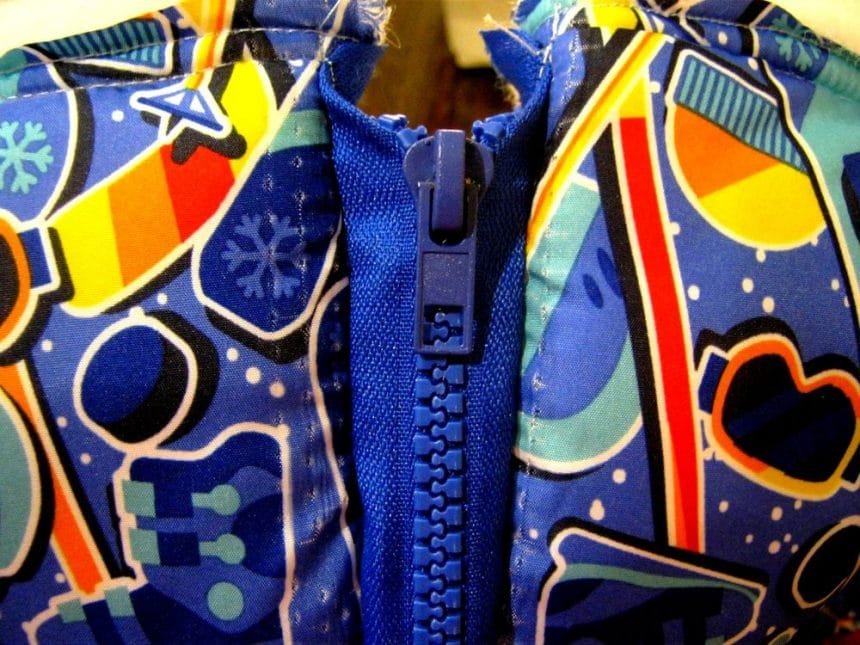
When zipping the side lightning.

Buttonhole zipper.

With tightened ties.
Ties can simply be tied. You can use fixatives for strings, to whom as conveniently. I bought fixers first, but then I decided to do without them.
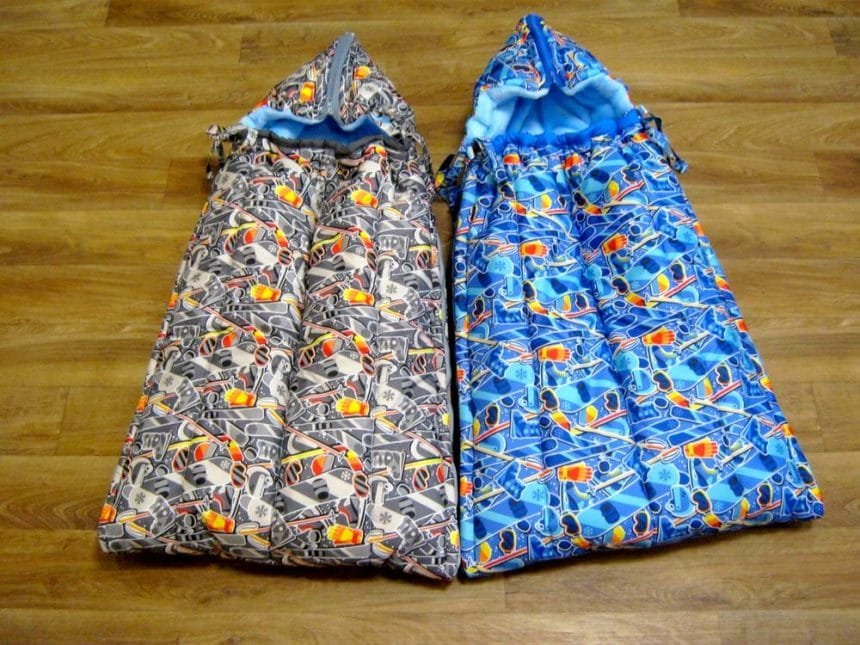
Since the addition to the family is double, then the envelope had to be sewn two. Figure one, but the colors are different.
On the jacket, fabric depicts winter sports.
By the way, in spite of the fact that our city is named after the composer Tchaikovsky, he is probably more famous for his sports achievements. I hope that the lyalki, which will grow out of these envelopes, will be athletic and strong men

I hope that my master class will be useful and interesting. I will be glad for your voices and support!
Thank you for attention!
courtesy: livemaster