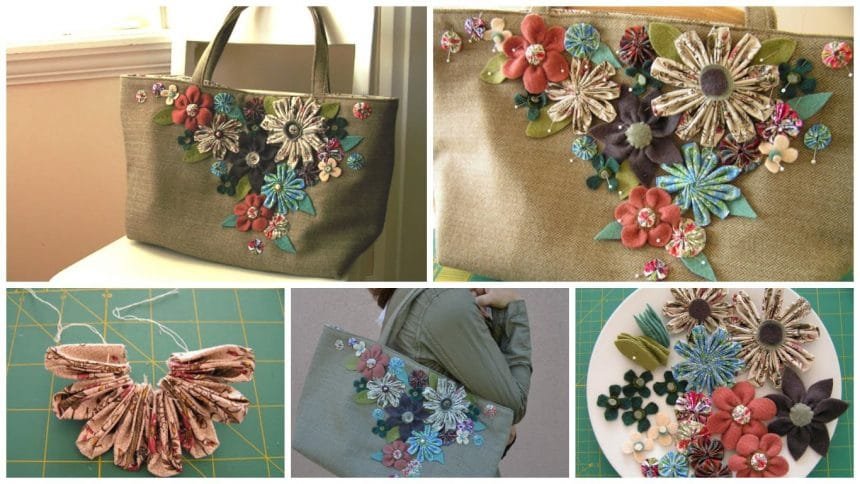
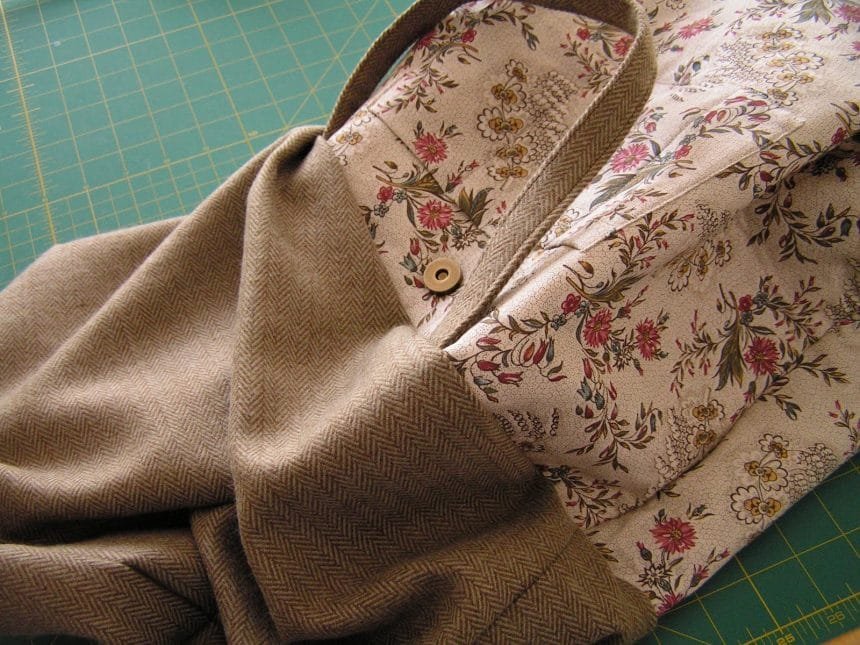
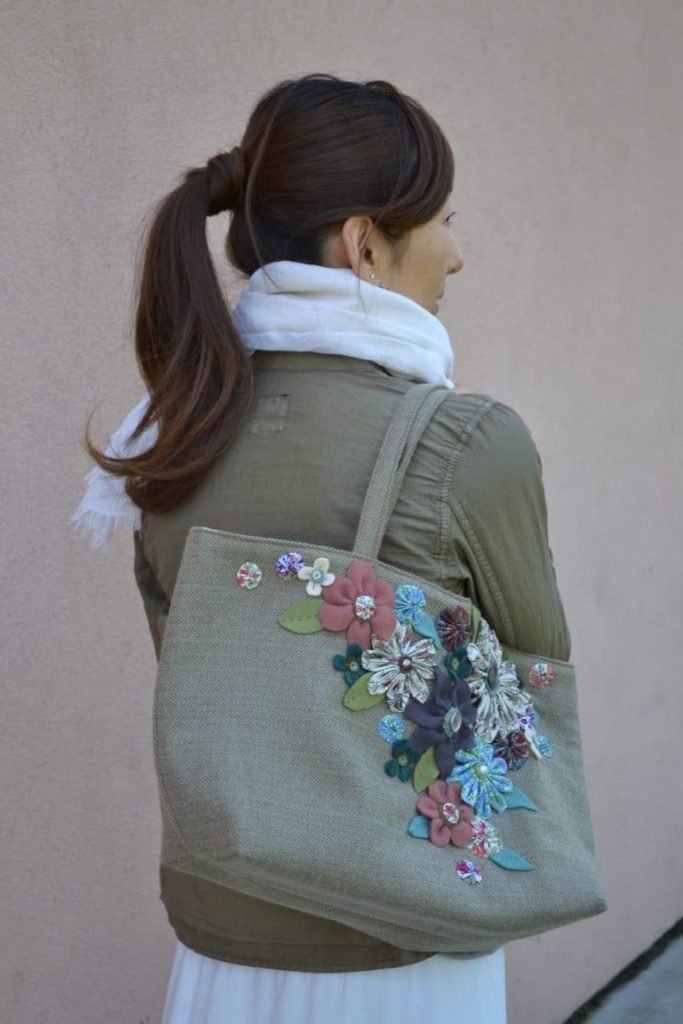
I talked to you about my love of basket style handbags before, well, here’s where it all started. I was at Joann’s one day and saw some woolen tweed fabric. There is something about the fabric, as I was touching it, I started thinking of what I could make with this… When I held one corner of the fabric sideways, the herringbone pattern on the fabric reminded me of a basket. Then an idea popped in my head to make a “flower basket” inspired bag for the upcoming seasons.

Yap, it might sound funny to you but that’s how my brain works. 🙂 I will share the tutorial with you today.
Wool, or wool like tweed fabric 1/2″yd
100 cotton fabric for lining 1yd
Fusible fleece enough to put them on the back of the lining
Fusible interfacing (thick) 2 pieces of 2 1/2″ x 19 1/2″
Matching thread
Magnet closure
For flowers on the bag…you will need various fabrics, wools and buttons
{How to}
{Assembling for the bag}
1. Before cutting the fabrics, fuse the fusible fleece on the fabric for lining. That way you don’t have to measure and cut twice. It saves time and is so much easier.
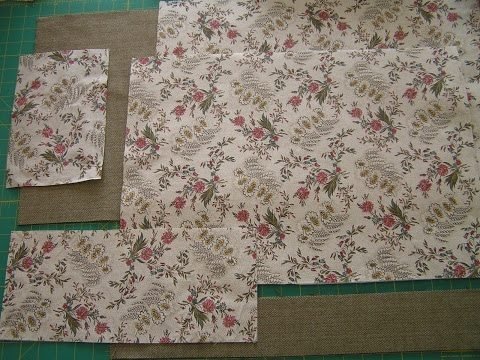
From the tweed fabric cut….2 – 14″ x 20″, 2 – 3″x 20″, from fused lining, cut 2- 14″x 20″, 1 – 6″ x 8 1/2″.’
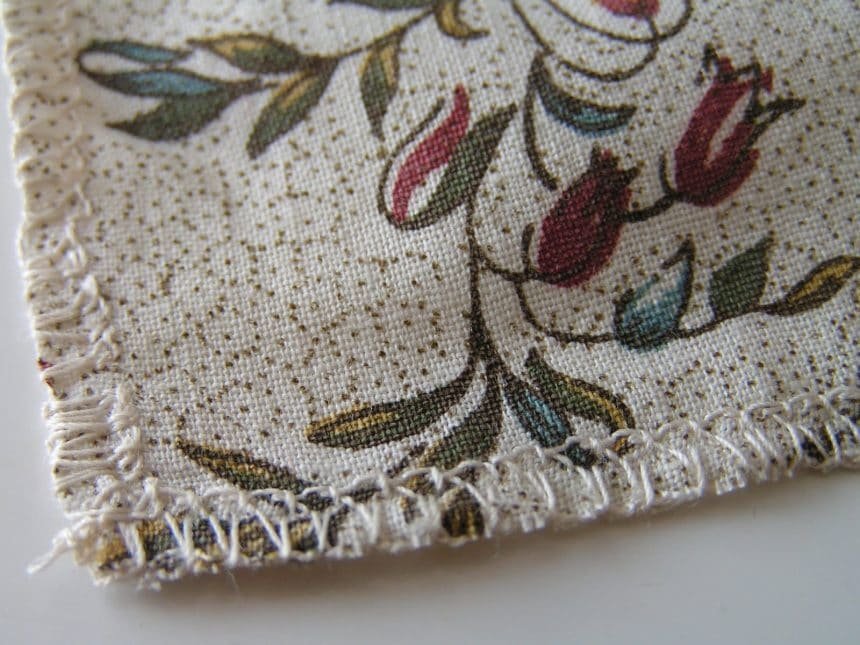
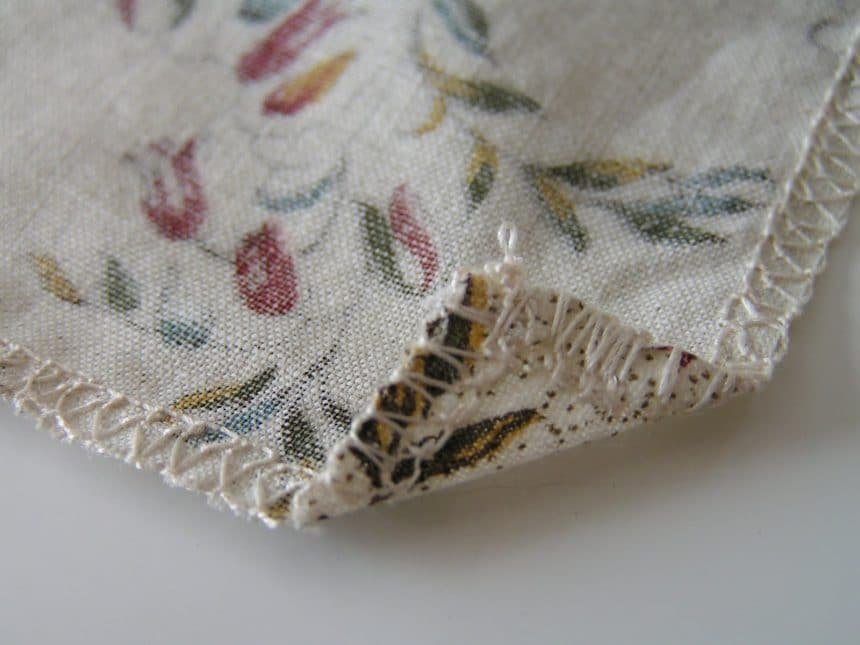
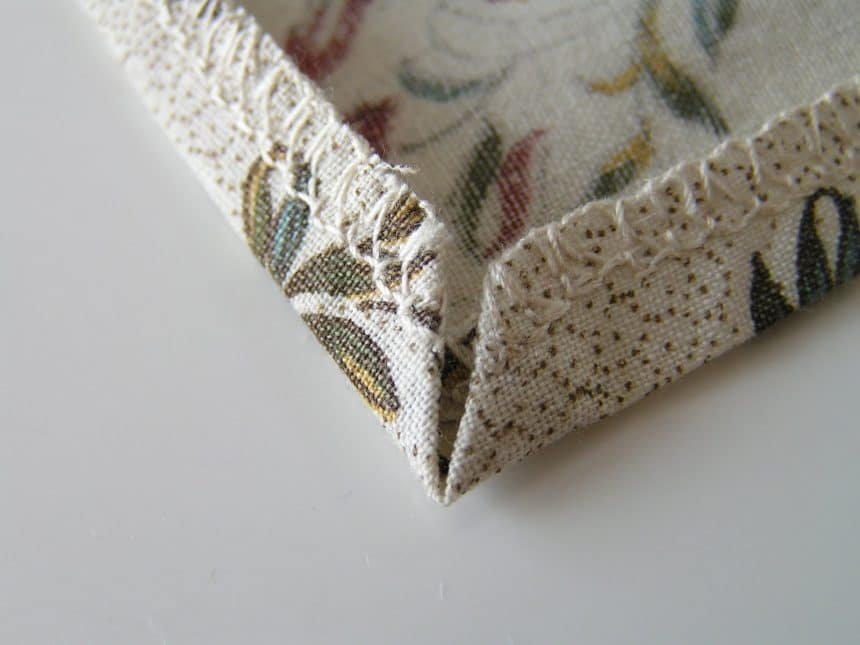
2. Make pocket. First treat the edge with zigzag stitch and fold the corner. Second, fold the sides and the bottom to make a mitered corner. Then, fold the top twice and sew.

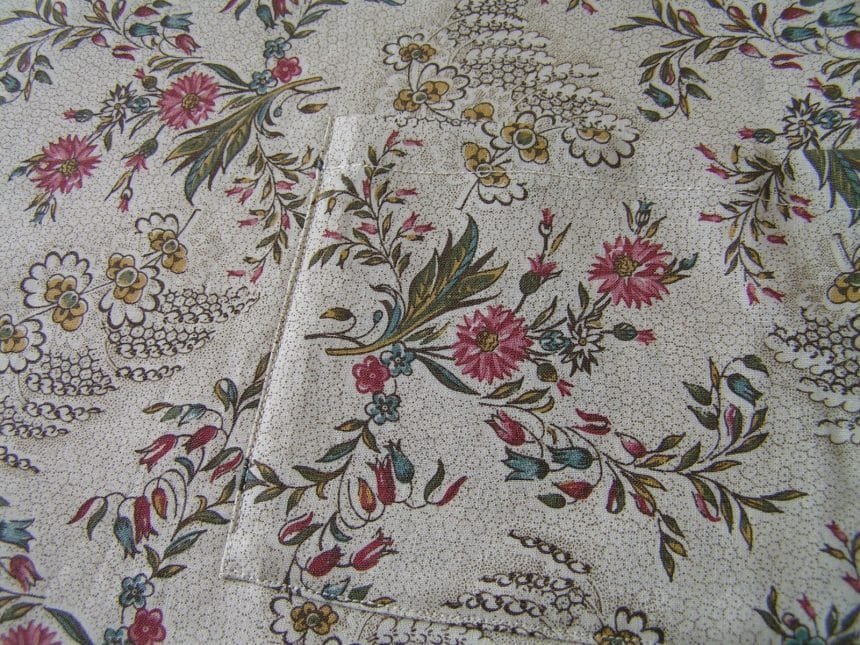
3. Mark the middle on one of the linings and 2 1/2 ” from the top. Pin the pocket onto the fabric and sew.

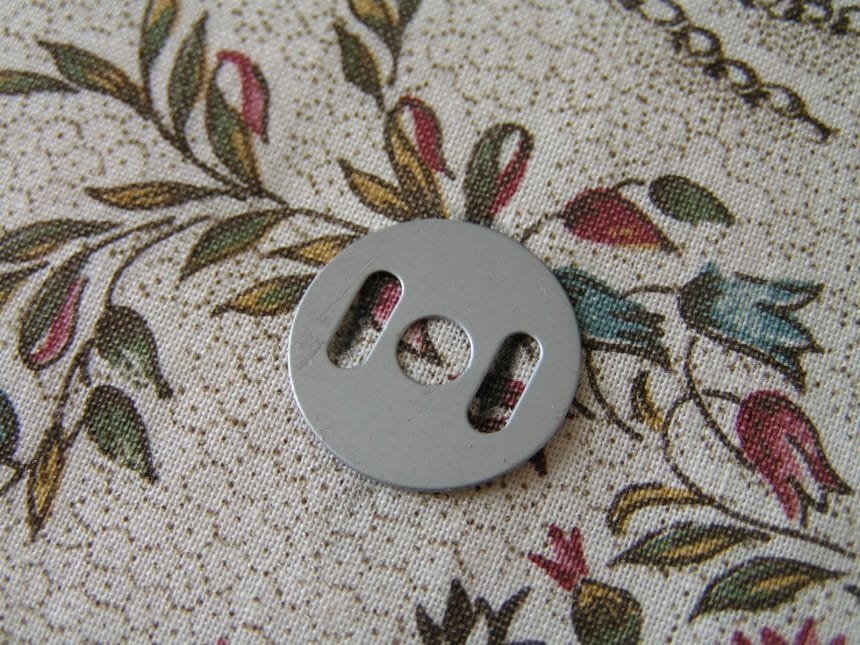
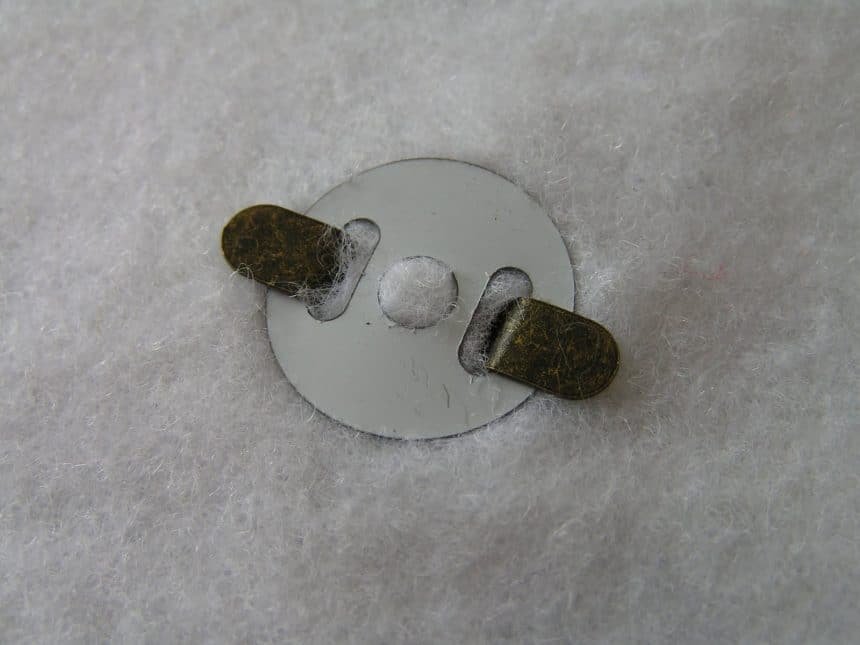
5. Mark ” from the top in the middle, and use the parts of the magnetic closure to mark. Cut the marked line open, and install the magnet parts according to the instruction on the package.
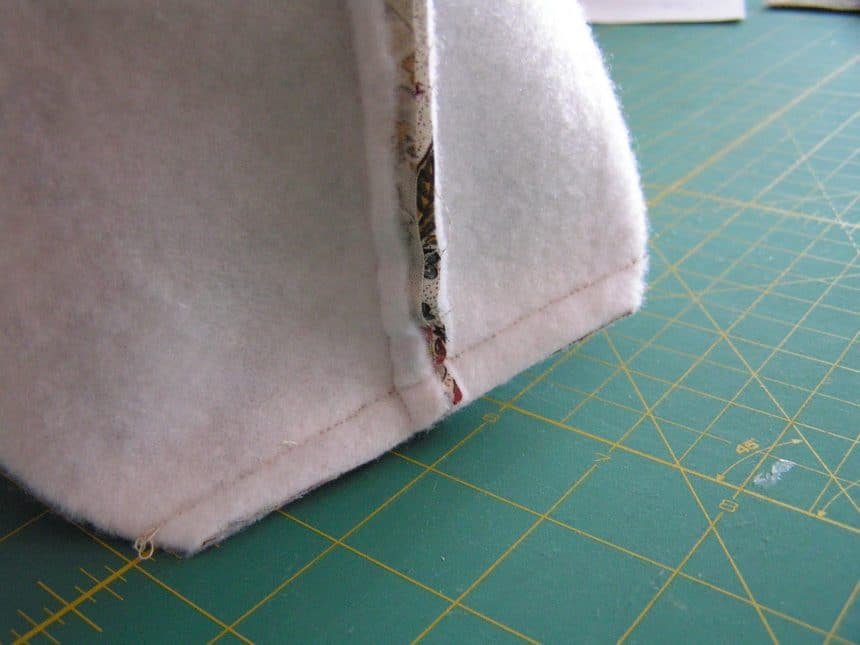
6. Put lining right sides together. Sew the sides and the bottom using 1/2″ seam.

7. To make a boxed bottom, pinch the corner, and line up the sides and the bottom seam. Pin it and draw a line at 3″ mark from the tip. Sew on the line, clip the excess.
8. Take the tweed fabric, and repeat the step no.6 and 7.
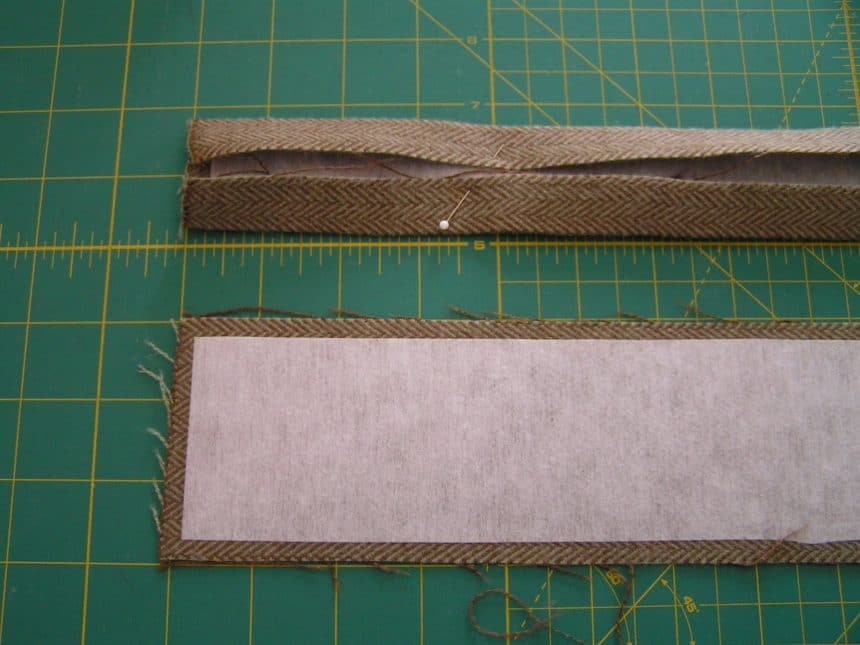
9. To make the handles, I fused hard interfacing onto the 3″ x 20″ strips. Fold the both sides toward the middle and folded in half. Sew around the edge with 1/8″ seam.
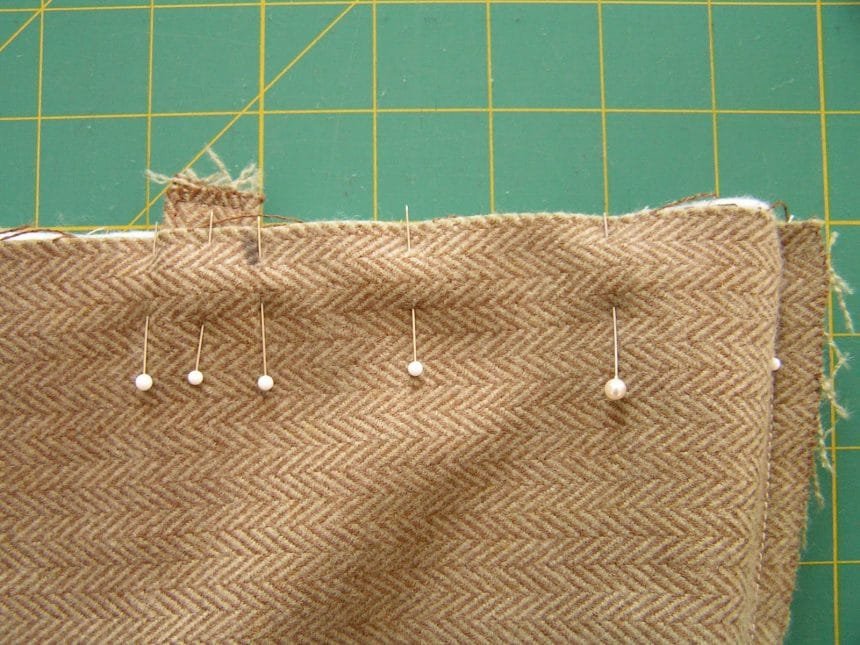
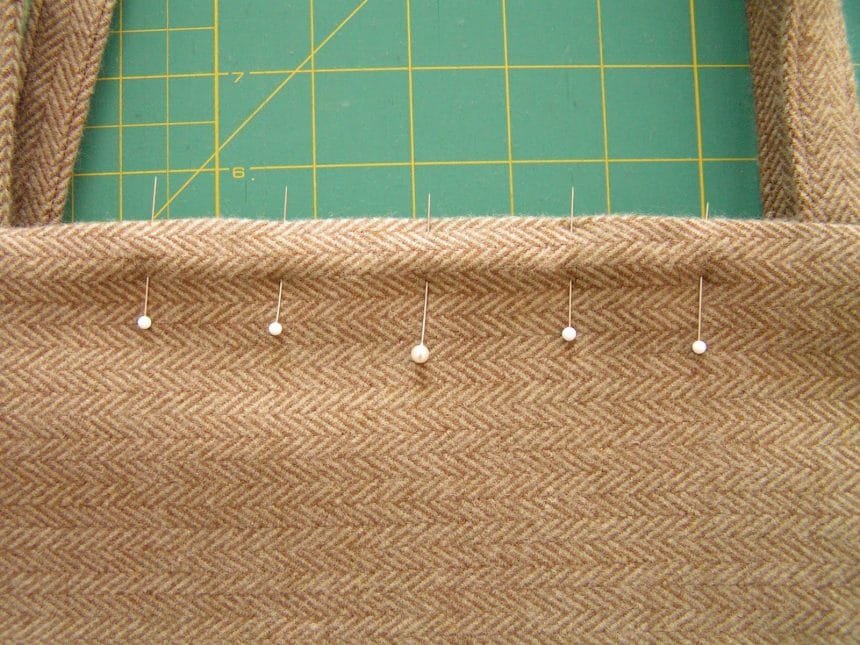
10. Measure 5″ from the edges from both sides of the bag. Insert the bag handle to between the tweed fabric and the lining, line the handle to the ” mark. Pin all around the opening of the bag.

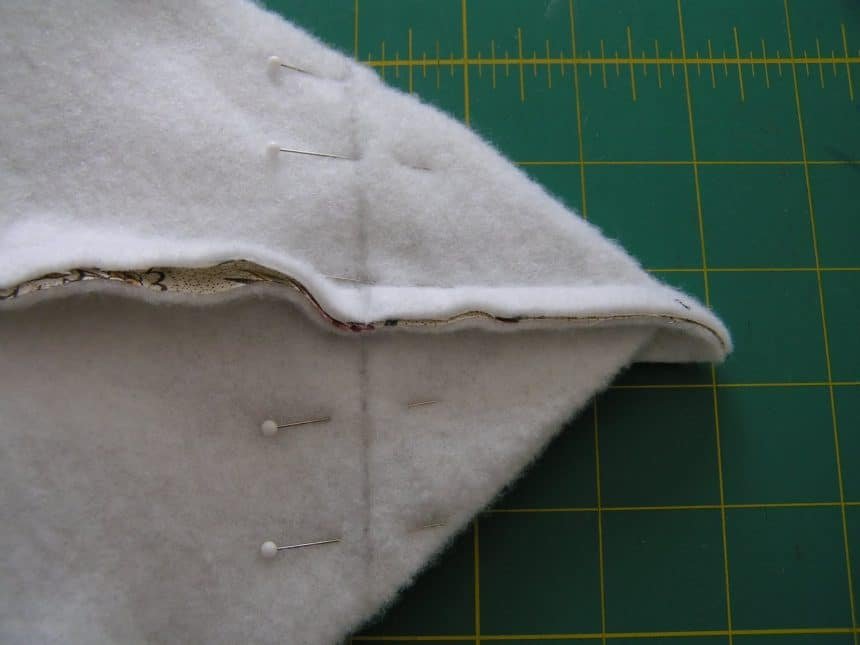
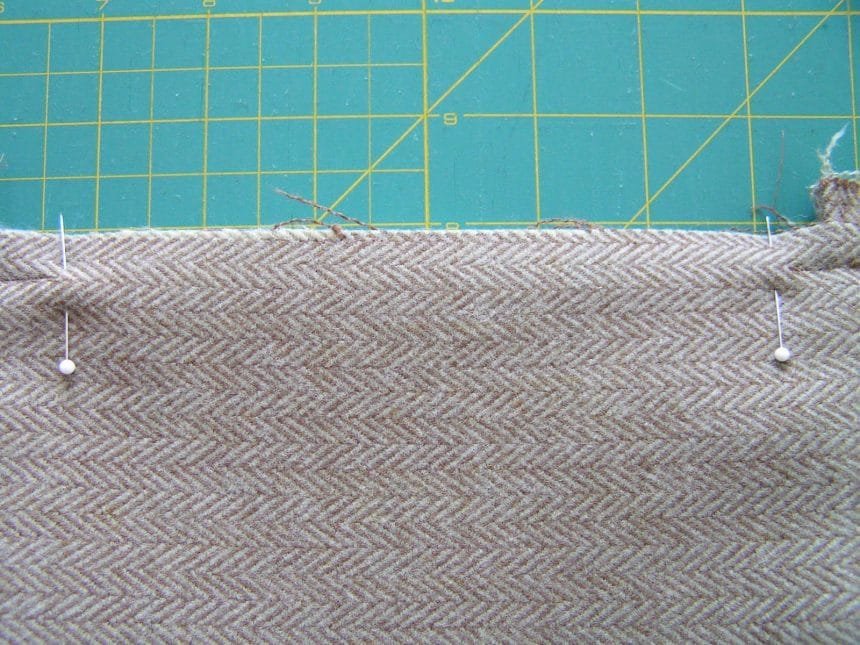
11. Sew around the top. Make sure to leave a 5″ to 6″ opening for turning the fabric inside out.
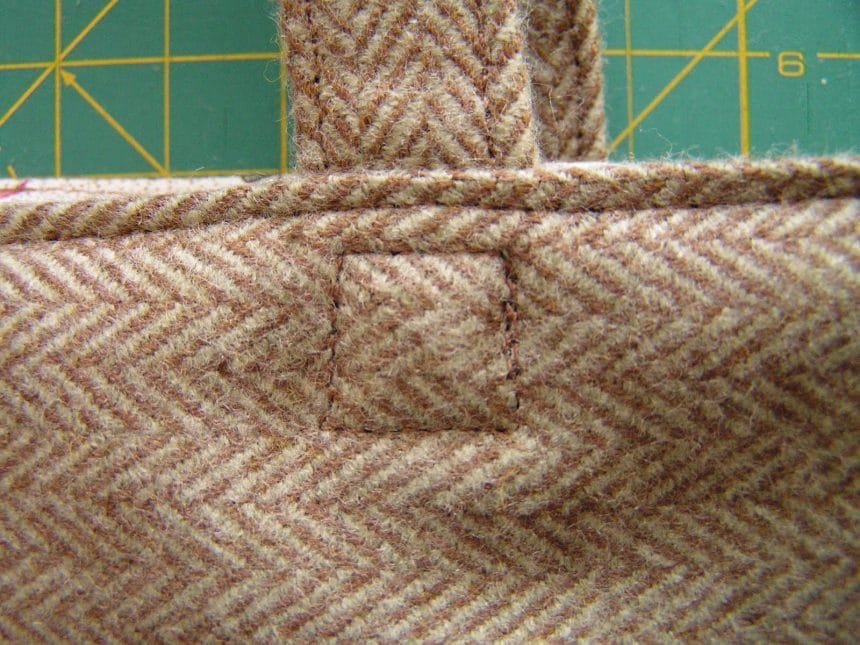
12. Turn the fabric out. Fold the opening nicely and pin it. Top stitch the opening and stitch the bottom of the handles to secure them.
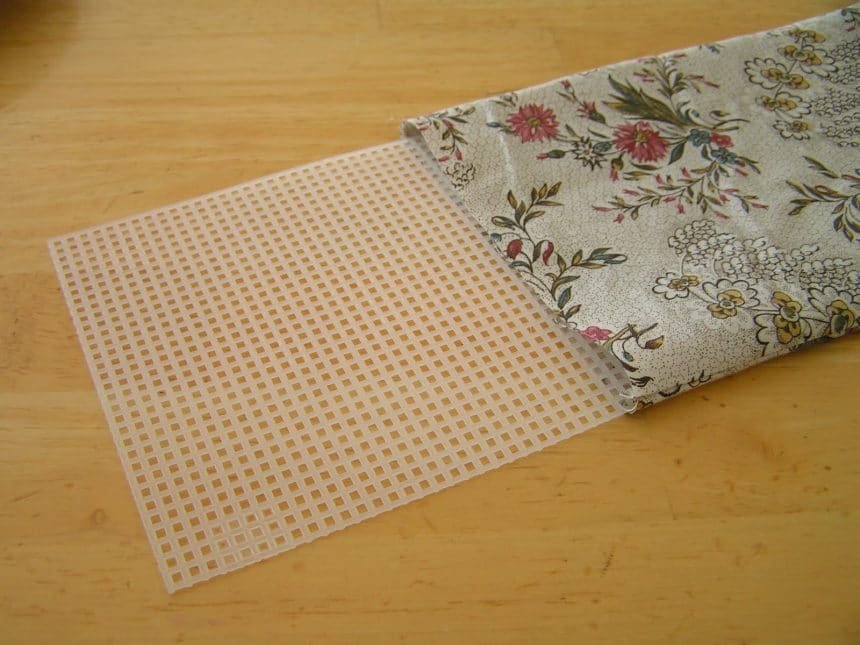
13. To make the insert for the bottom, cut 2 – 6″ x 14 1/2″ from the lining fabric, sew around it with a 1/4″ seam. Insert 5″ x 13 1/2″ plastic mesh and slip stich to close the opening. Put it in the bottom of the bag.

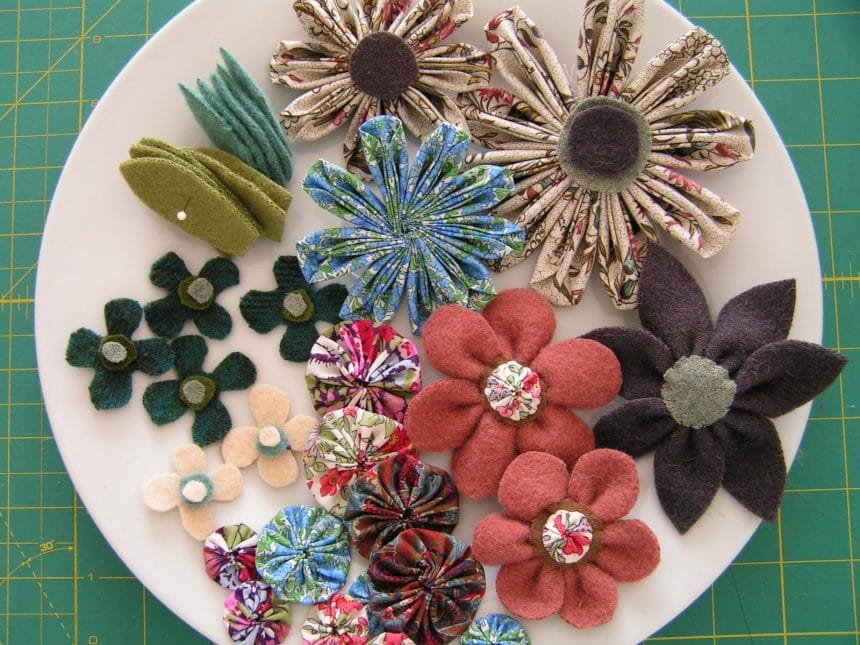
Folded fabric flower
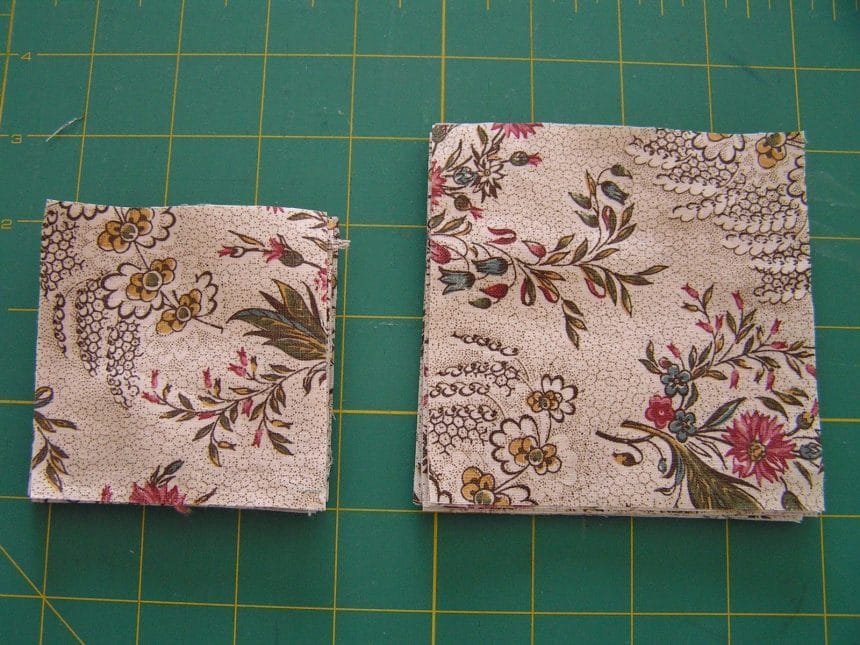
1. I cut two different sizes for two different flowers. 8- 3″, and 9- 4″.
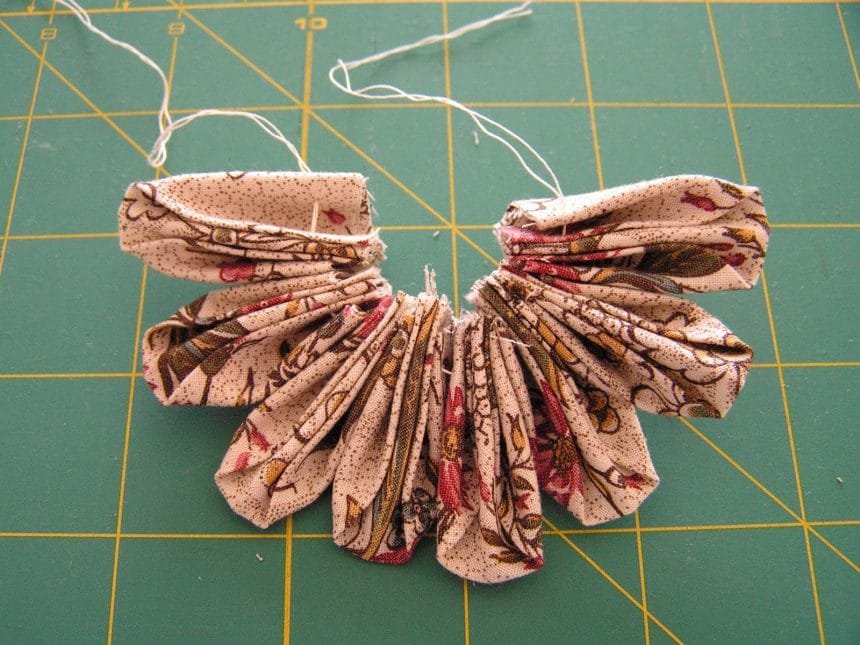
2. Fold the fabrics according to the picture.
3. Using two strands of threads, put through each petal to the thread, don’t forget to cut off the excess.

4. Tie the ends to form a circle, to make a flower. I like to sew each petal to each other to secure them.
Cut 1″ x 2″ rectangle first, and trim them so they look like leaves. They don’t have to be perfectly unified.

Cut 1 1/4″ x 1 1/4″ square and trim it so that it will have four petals. Cut small circles for the middle.
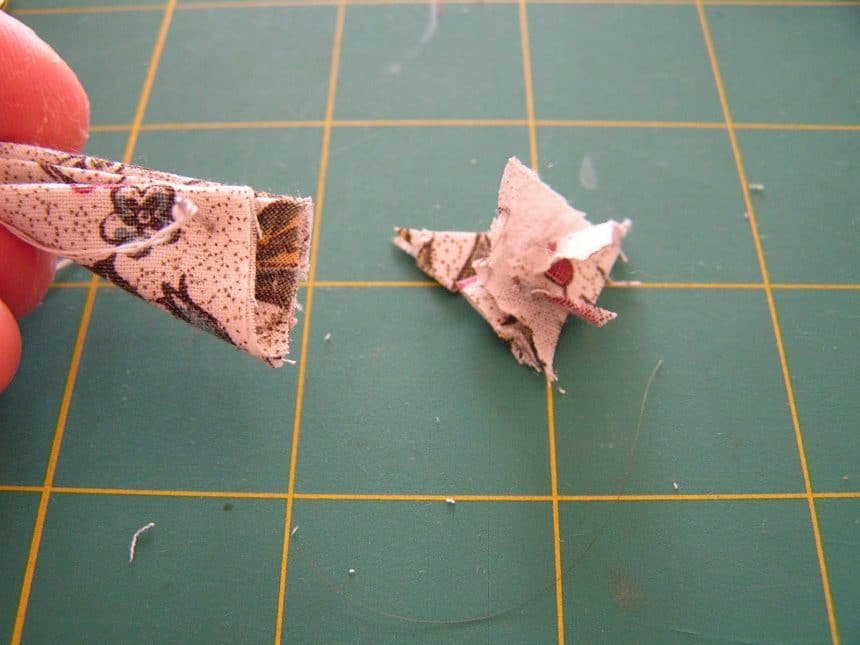
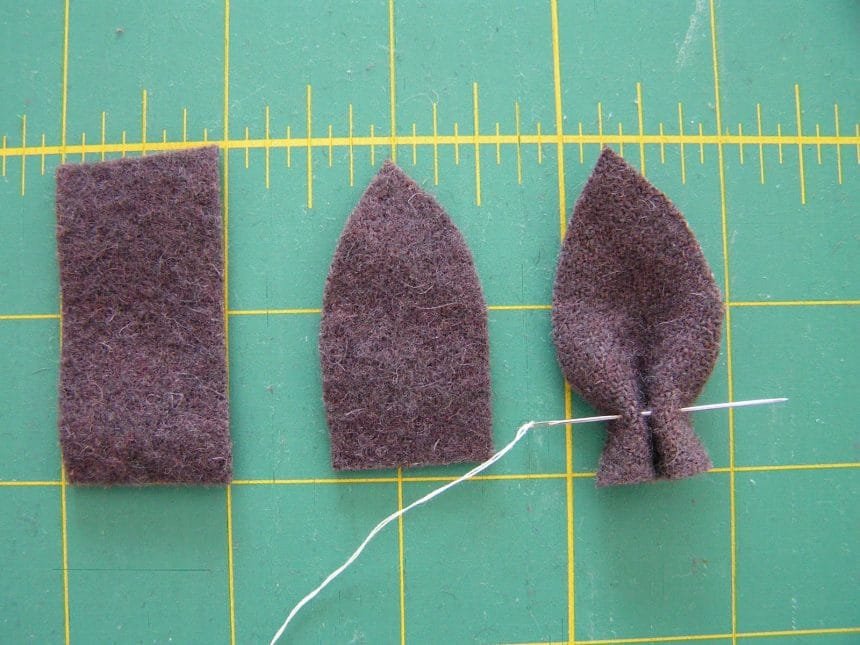
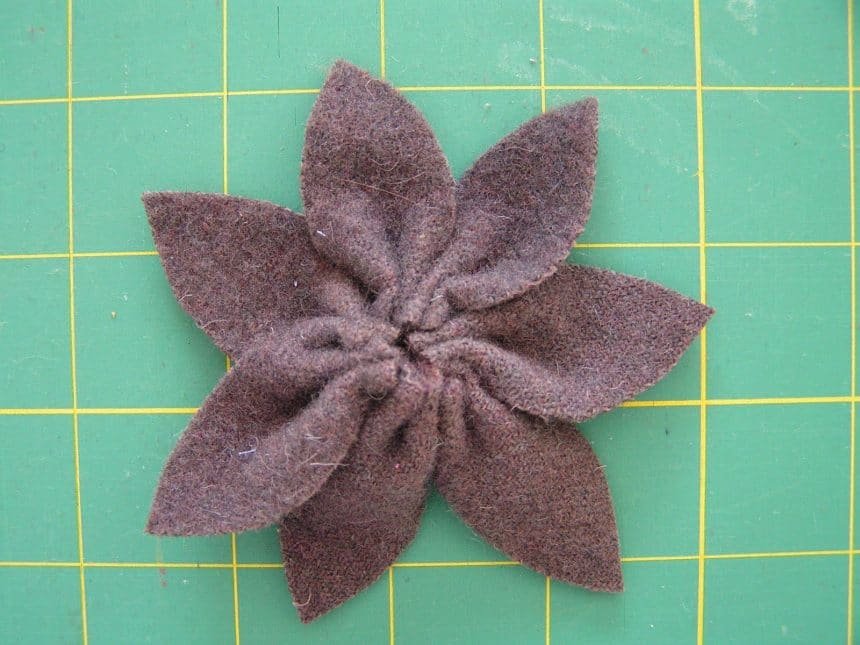
1. Cut 7 – 1″ x 2″. Trim them so that they have pointy top.

2. Fold the bottom in half, and fold the edges outward. Pull them through the thread to make a flower. I stitched them together several times to secure them better.
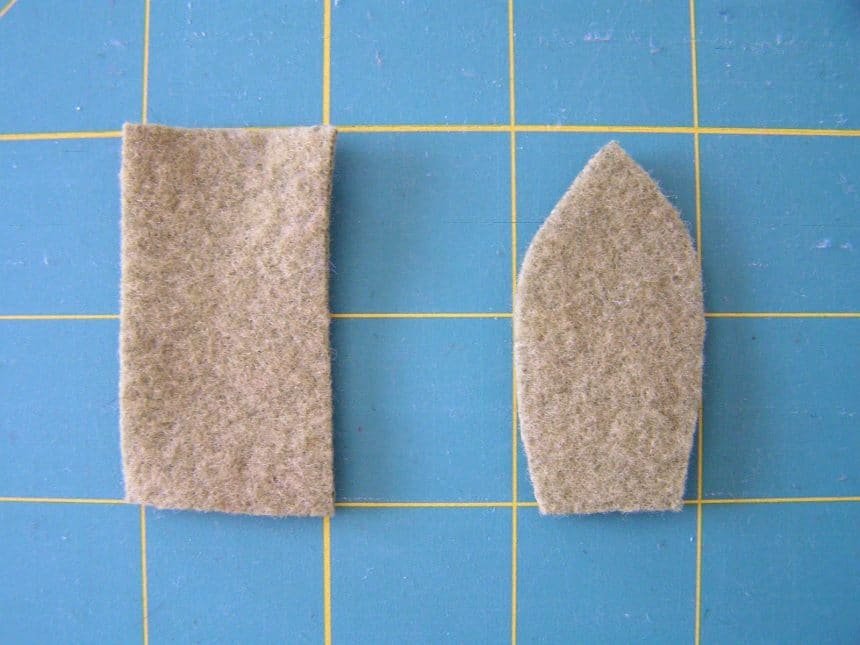
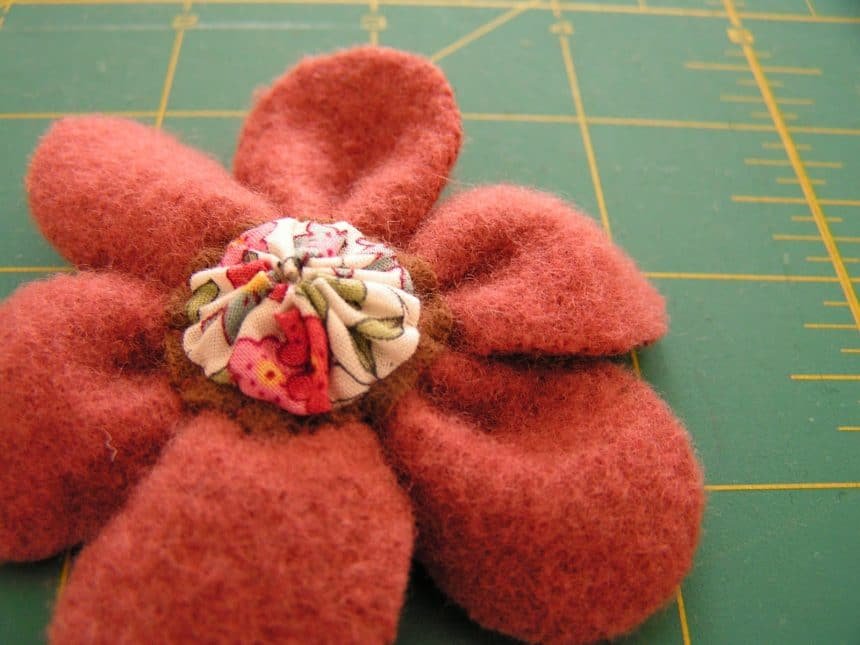
1. Cut 6 – 1″ x 1 1/4″ rectangles, trim them so that they will have a rounded top.
2. Using the same method from step 2 on felt flower (purple), make the flower.
3. Cut a circle for the middle and sew.
4. Sew yo-yo on top of the small felt circle
I used 3″ and 2″ circles to make yo-yo’s. Smaller ones on the felt flowers are made with 1 1/4″ circles. If you need to see how to make yo-yo, you can go to my tutorial.
In my opinion, this is the most fun part. Just lay down the bag and lay down the flowers and yo-yo’s to see what you can come up with! It is better to deiced where you want the bigger pieces to go first then decide on the smaller ones.
Pin them to see if you like the layout. If you do, it is time to stitch them onto the bag.
I used some DMC floss to do fun stitches on the flowers and leaves. I did lots of slip stitches around the yo-yo’s.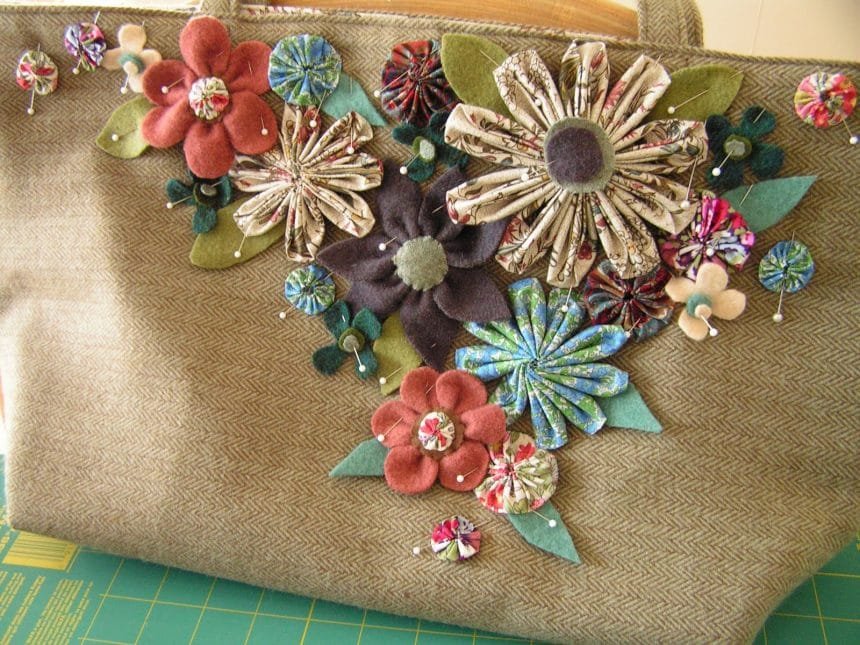
After you are all done with the above, you can add buttons and such.
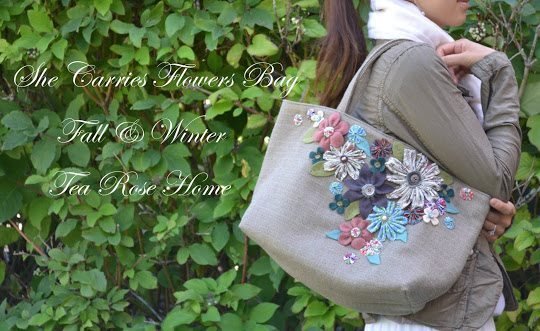
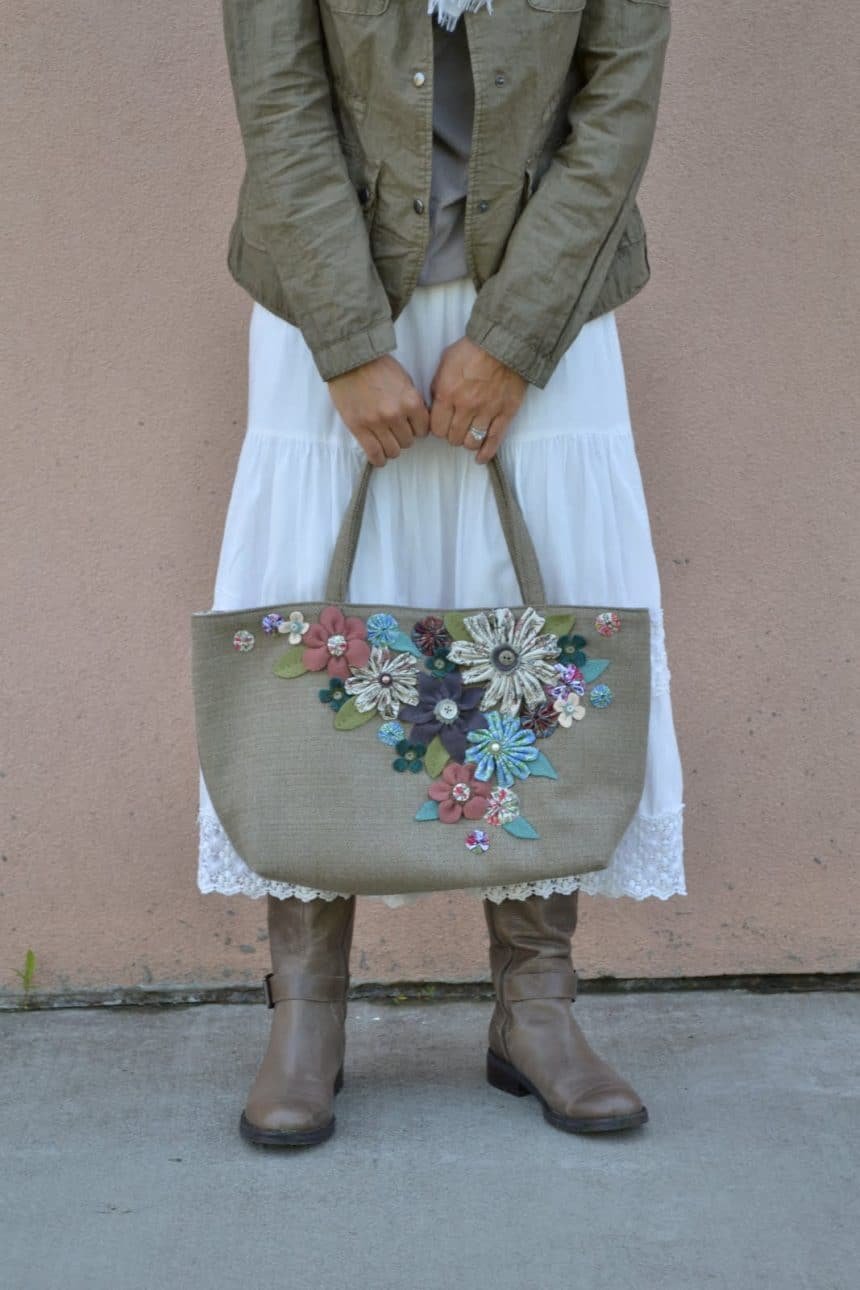
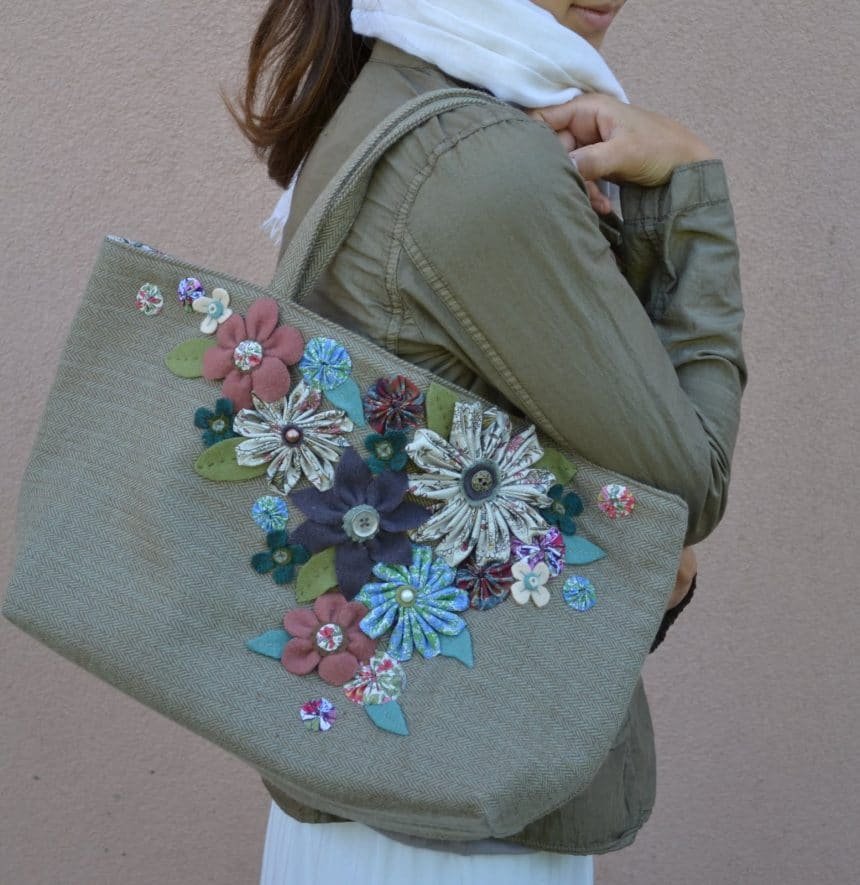
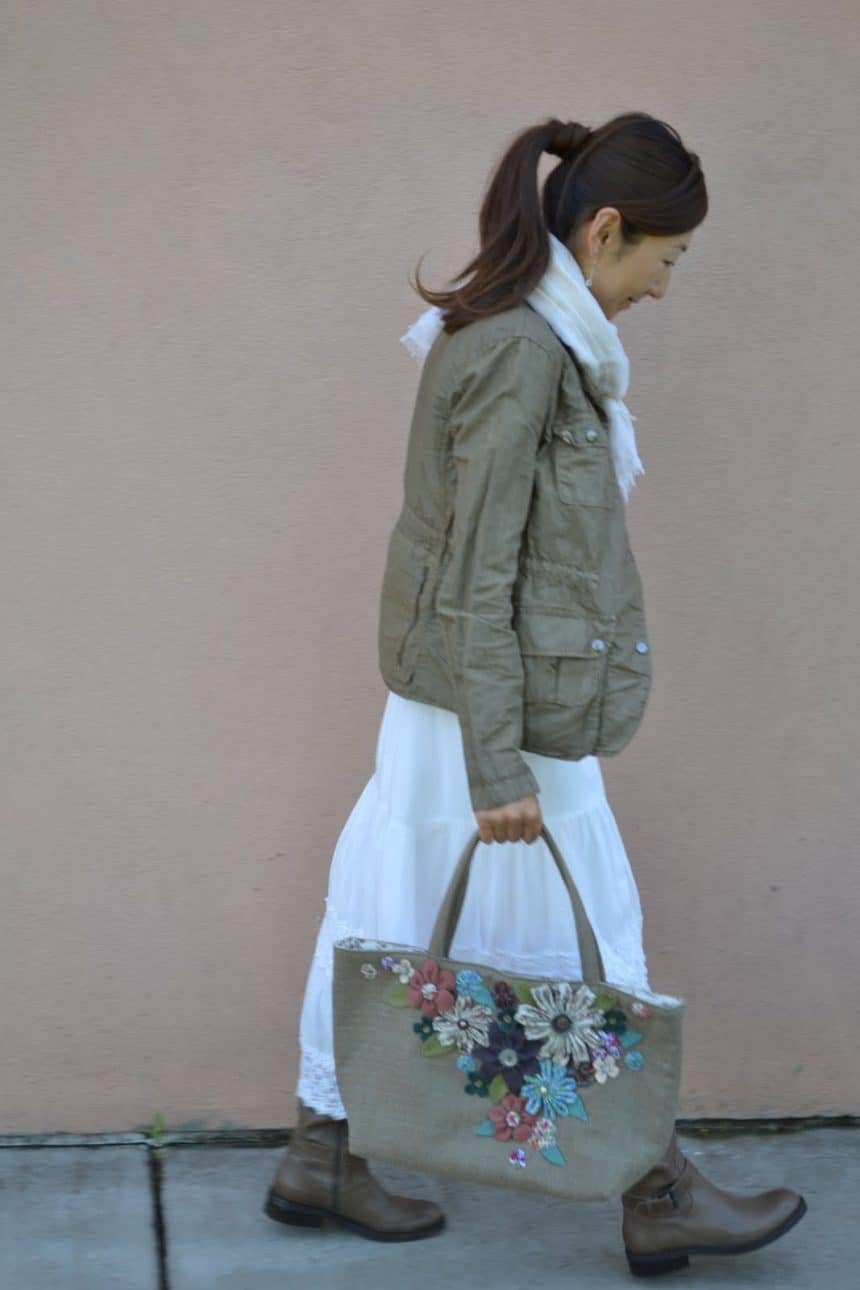
Time to enjoy the bag…
courtesy: tearosehome