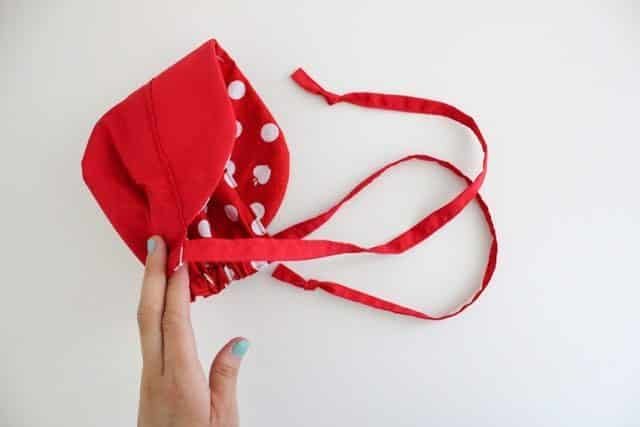
How to make reversible bonnet
To protect your children small external aggressions (the wind, the sun …) Actually, it’s time to get out your needles! It offers a boss both easy and quick to perform, which merely beginners as the most expert to make a cup Red Riding Hood for baby.
Come on … Do we put it?


What we need:
- Two pretty fabrics (one with peas and another color of your choice for the back. The ideal for playing Little Red
- Riding Hood is to stay in shades of white and red)
- A thick elastic thread
- A large sheet
- A pencil
- A pair of scissors
Let’s go!
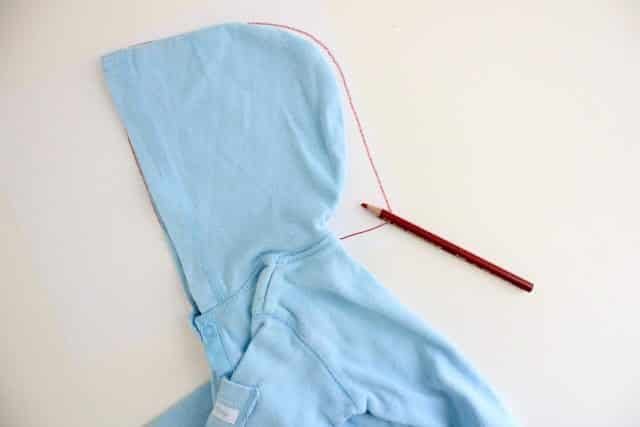
Begin by drawing the size and shape of the bonnet to be with your pencil on a large sheet with a hood of a jacket of your baby. This will allow you to have the exact dimensions to create your headband.
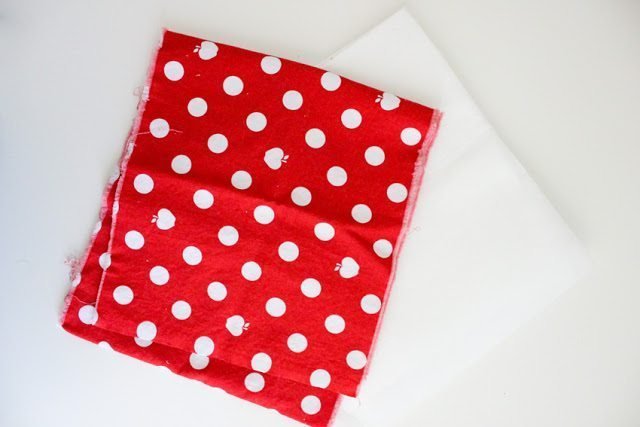


Now cut your pieces. You will need 2 pieces of each type of fabric to make a reversible hat. Remember to cut the wing of the bonnet 8 cm thick.

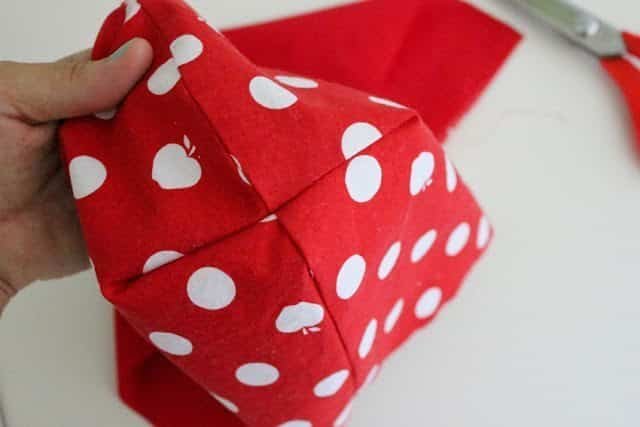
Afterward, sew the main rooms of the hat together.

Cut notches on curved edges, being careful not to cut through all sewn lines.

Trim the seam allowances if necessary.

Assemble your main pieces of sewn hood like the picture.


Put in place a hat pieces. Your rear hood should look like this:
Iron the raw edges of the cap pieces inside. Stack them on each other.

Mark the center of the wing with a pin.

Hang your wing cap as pictured.

Sew slowly and carefully the wing to your cup.


At this point, Now make two lines of stitching on the bottom of the cup so as to form an envelope. It will allow you to insert the elastic thread to adjust the cap on the baby’s head.

Attach a safety pin or pin the layer to the elastic and pass through the envelope.


Pull the waistband from one end to the other. As well as, sew the end of each elastic wire side of the envelope.

Inserting fasteners in small corners at the ends of the envelope.

Sew them.


Tie the ends and cut off the excess.