
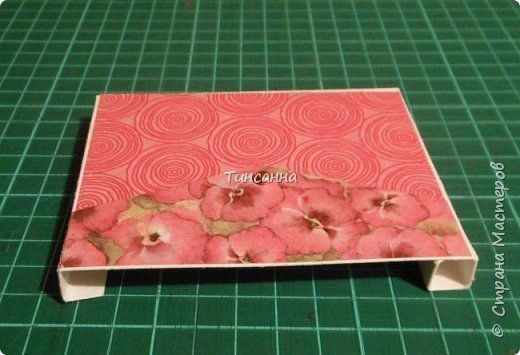
Mini organizer “pink backpack”
On the one hand a double pocket for pens and paper for notes on the back side- calendar for the academic year

he size is chosen based on the standard size paper for notes (8.5 cm) Product Dimensions foundations received 12 x 11.5 x 5 cm.
I forgot to take a picture of the necessary materials, simply list them (in parentheses indicate what can replace them):
watercolor paper (Whatman , drawing paper, pastel drawing or not very thick) sheet of A3 and a piece of 10 x 16 cm pocket.
color paper in two colors (I have a one-sided scrap paper)
piece of narrow tape (for loops)
cord (about 30 cm to Connection calendar sheets)
bradsy 2 pcs. for “button valves” (polubusiny fittings for bags. hats buttons, buttons).
glue “Moment Crystal” (etc.), glue stick
tools: ruler, pencil, knife, scissors, awl, paper clips, a device for creasing (handle with an empty core, stack for plasticine spoke)

Watercolor paper, take the size of 30 x 24 cm is a little smaller than a sheet of A3 It’ll put the rack organizer as a basic form of origami “door.” Paper thick, so bends the line of the future outline creasing. On the short side of the paper note to 6 cm from the top and bottom edges,

Fold along the lines creasing. I advise every fold, and even a well-ironed rings of scissors, for example. So learn the “door” of origami.

I turned preform and identified (scoring) three lines of the future folds. One exactly in the middle and two 5 cm from each edge. Bend and turn on the folds.

Stand ready. In the middle of the valve and an edge gluing podkleila.Pered follow the steps shown in the following picture. IMPORTANT: Leave the valve on the second edges are not glued-here “pocket” (I have it on the photo on the right)
So collect stand: Bend the center, left valve is inserted into the right “pocket”. You can expand a little edge of the pocket, if the valve is bad part.

The front is assembled.

From colored paper cut a rectangle about 2 mm smaller than the rack. I have a paper with a pattern of circles, the outer side of the rack. and with a pattern of colors on the inside and on the valves.

Start doing your pocket with two otdeleniyami- for leaflets and pens.
A rectangle of the same paper as the rack, 10 x 16 cm mark as shown. All narrow strips 1 cm wide. The red line – the edge of the workpiece. Hatch-place glue. Glue is applied to the front side of the valve, but the top polosy- iznanku.Po there for all lines to make scoring and bending. Cut along the contour.

Before gluing pocket tape the sides of the paper, glue valve simulating the cover.
Marking and assembly of the valve is given below.

Assembly Procedure (filmed on a test sample of white):
1. The upper strip bend inward and glue. It just strengthens the upper edge of the pocket.
2. Glue the small valve (in chertezhe- A) to the bottom of the inside of the on-spot B. (pictured left).
Do not confuse the number 8 on the photo. I had pocket 8 cm height. But it is better to make a 7cm as in the drawing, then the leaves are easier to pull out.
3. 4 Fold the narrow strip on the left tube. The valve (it is pictured above) glue into place B1 (indicated by the dotted line in the figure)
4.Kray bottom valve on the left stick to the tube, to the right on the corner of the right valve

Ready pocket from the inside out (from the top of the form). On the right is seen a pocket-tube to the handle.

The front side of the pocket.
Partitioning valves. The width of the workpiece great detail 4-5 cm.

Corners is best not to cut the red lines and bent inward, then the edge will look neater and more real. If you are using brads, it needs to be fixed before gluing valve pocket.

Okleyte outer sides of the rack.
Before pasting the inside, with an awl make holes for the belt-loops on the middle fold. The edges of the tape and close the CONNECT background paper. The narrow color band affixed on the valve “pocket.”

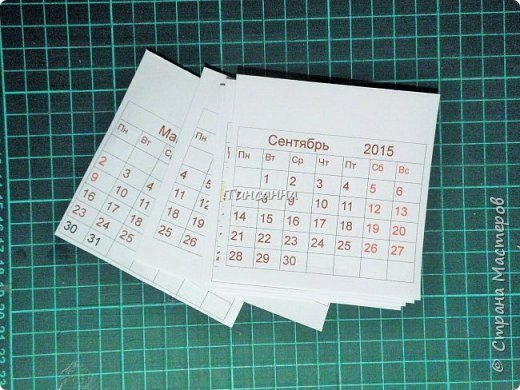
Print calendar months, cut, leaving the top strip 2 cm wide. Collect months in order in a stack, connect the terminals. I have the size of the leaves 9.5 x 10 cm. From the flowered paper substrate made under the calendar size 11 x 11.5 cm. The sheets are attached to the cord and will come off in the end of the month. Flipchart paper to fit here, t.k.budut close the backpack on the back of the rack.
I advise you to make a line on the machine without thread. These holes are easy to rip the sheets. But this is not necessary if the calendar sheets are not out of construction paper.

On the wrong side of the last leaf mark the 3 points: the center and 2.5-3 cm from it, from top to pull back 1 cm.

I did the opening such a tool, the most subtle punch. You can pierce with an awl.

Paste the substrate on one side of the rack, put the unit leaves, outlined terms and pierced with an awl holes.
The cord is first threaded through holes in the block and the extreme base ends of the cord inside the rack.
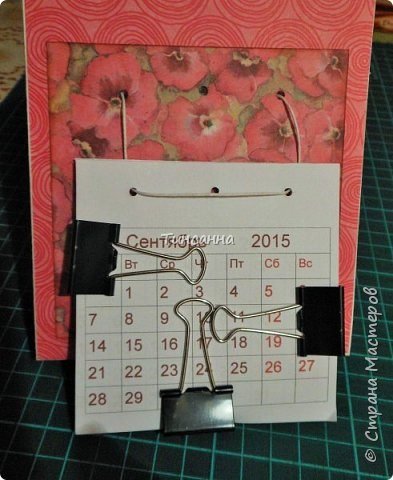
Now both ends of the cord is passed from the inside to the middle hole on the front side. Distributes the ends on both sides of the horizontal string. I pull together the thread, tie a knot, and then do a bow.

On the other side of the rack pocket and pasting large valve.
The product is ready. It can be folded for transport (like a mini-organizer in the previous post).

Or fold the rack.

Add a note paper and pencil / pen.

Inside the rack, you can put a chocolate bar! A useful gift to the beginning of the school year ready!

Courtesy: stranamasterov.ru