
Today I’m participating in a very fun Blog Series presented by Kristen Duke at Capturing Joy. It’s a series all dedicated to decorating with pictures. If you’ve read this blog for a while you know that I love pictures! I love to scrapbook, display photos around my house and even sew with them.
There are many fabulous giveaways going on at Capturing Joy, in association with this series. Make sure you stop by and check out the other projects and enter a giveaway.
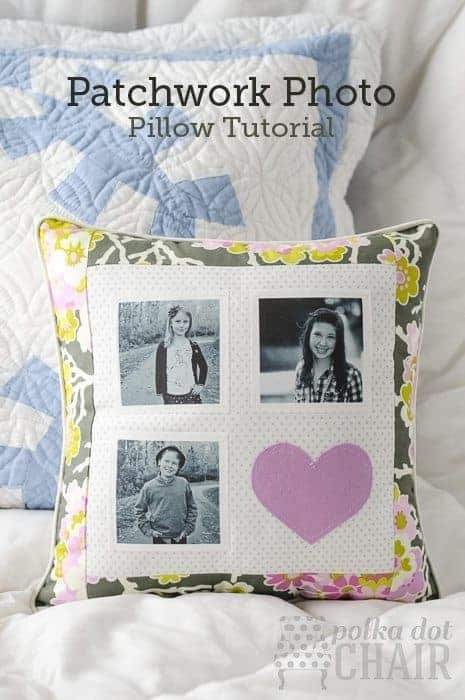
In the spirit of Valentine’s day today I thought that for my pictures project, I would make a fun throw pillow with photos of some of the people I love most in the world.
Would you like to make a pillow too? Here’s how you can do it.
You’ll need:
1 sheet of fusible printable fabric
1 10” x 10” piece of light colored fabric
1 14” x 14” piece of fabric for pillow back
2 strips 10” x 2 1/2”
2 strips 14” x 2 1/2”
3 1/2” wide heart backed with fusible web
1 package of piping
1 pillow form
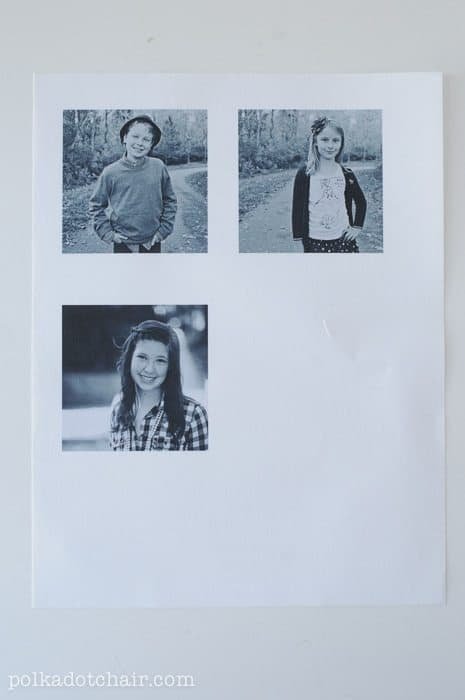
Print your photos 3” x 3” onto your sheet of printable fabric. You’re going to need some sort of photo editing program to do this. I used photoshop but I know that in iPhoto you can print custom photo sizes all on one piece of paper.
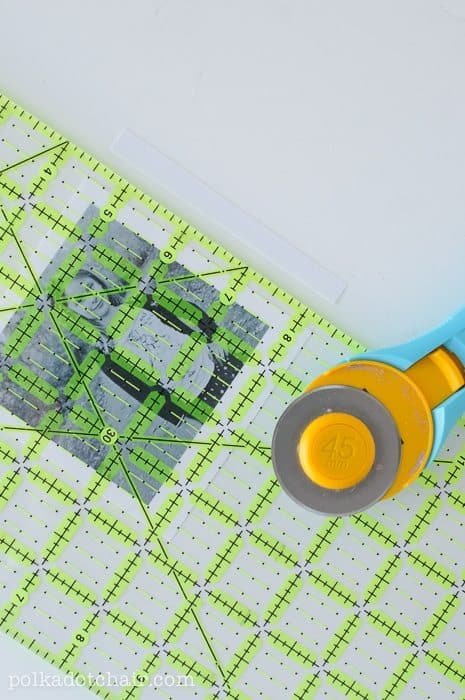
Using a ruler so that you can see where you are cutting, cut the photos out leaving a 1/4” border of white around each photo.
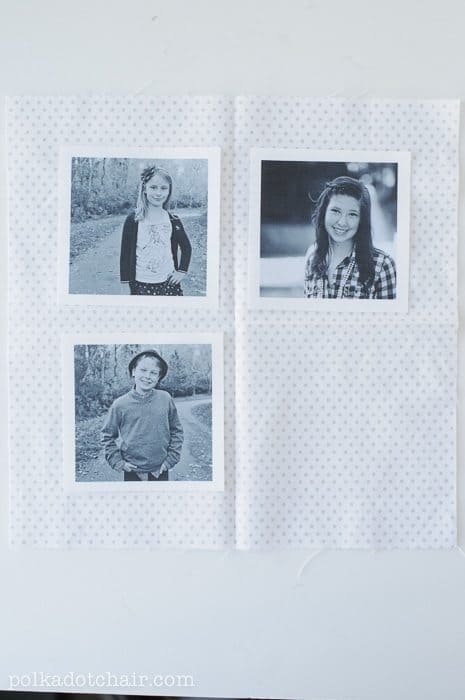
Mark the centers of the 10” x 10” piece of fabric by pressing the fabric in fourths. This will give you a visual grid for laying out your photos.
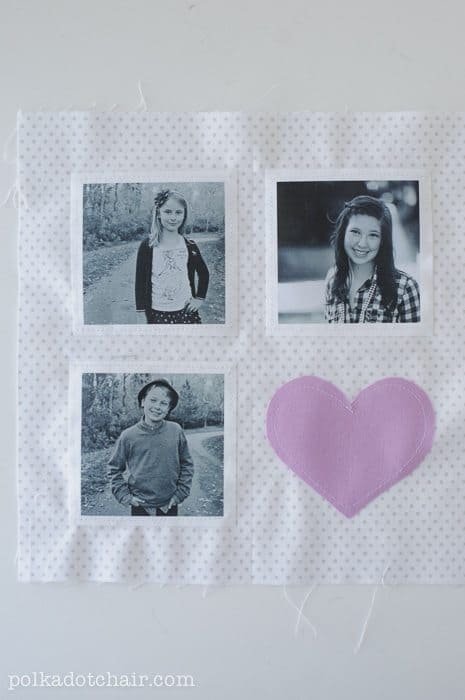
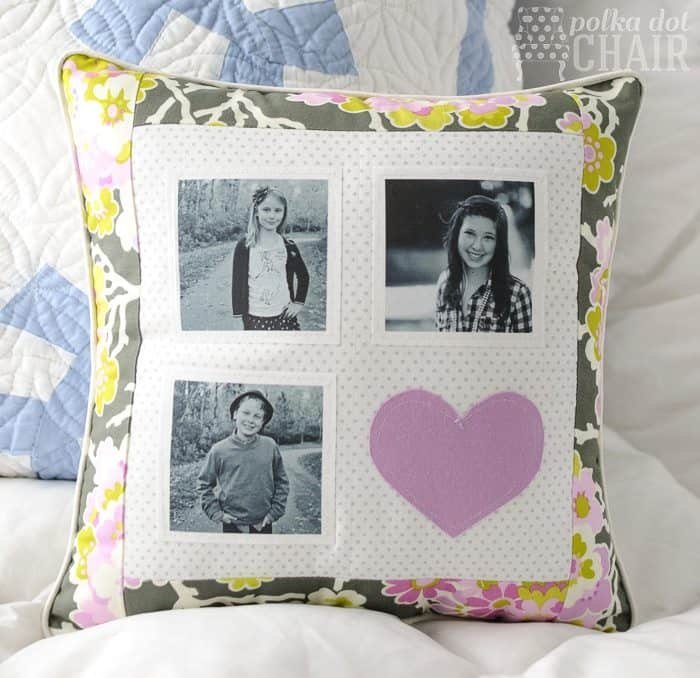
Press the 3 photos and your heart onto the pillow. Stitch around the edge of all items.
Sew the 2, 2 1/2” x 10” strips of fabric to the top and bottom of the square with a 1/4” seam. Press seams.
Sew the 2, 2 1/2” x 14” strips of fabric to the other two sides of the square. Press
Sew piping to pillow front, if you need to know how to do this you can read my tutorial all about piping here.
Sew pillow front to back leaving a 6” opening to turn pillow right side out. Turn right side out, insert pillow form and hand stitch opening closed.
courtesy: polkadotchair