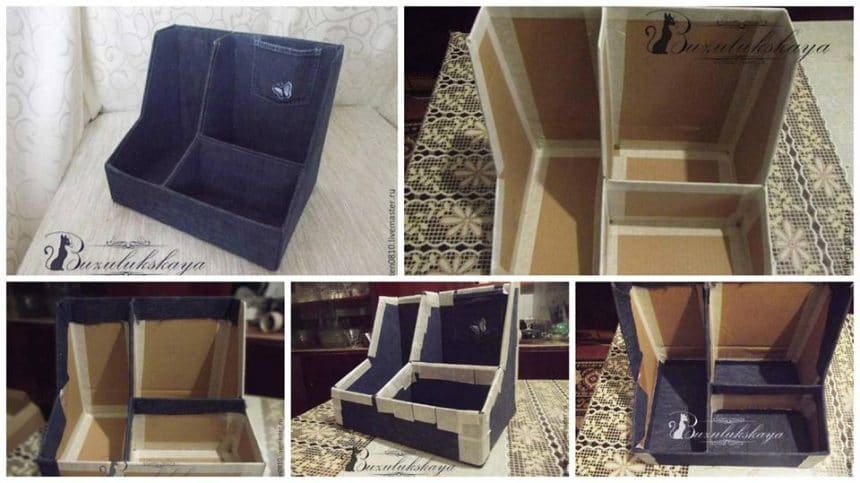
I would like to bring to your attention a master class in the art cardboard. Similarly, the organizer of 10 children in a class of my daughter’s school to the labor class teachers made gifts for the holiday “Teacher’s Day”. Respectively – it is not so difficult, but for a long time. Such an organizer you can do for yourself and as a gift. The dimensions, the height of the departments and you define yourself.
What are the tools we need:
– packaging corrugated box, clean and large;
– Stationery knife, sharp;
– masking tape, wide;
– PVA glue, thick and brush;
– glue “Moment Crystal”;
– cardboard white, dense;
– Fabric c / b, thick or thin jeans (not stretch);
– pencil and ruler;
– a pair of scissors.
1. I always start their work with drawing and dimension. When the shooting size is added 1.5-2 cm allowances.
2. In accordance with the size of the cut out of the box part. The box must be removed from pre-adhesive tape and stickers. Notice how going to the box. Mode using a stationary knife, not scissors. Otherwise, the edges are not smooth but crumpled. To add the angle was equal to the length of the outer walls of cardboard thickness to internal as is.
3. At the bottom of the adjacent sides of the draw and the location of interior walls, to further their smooth paste.
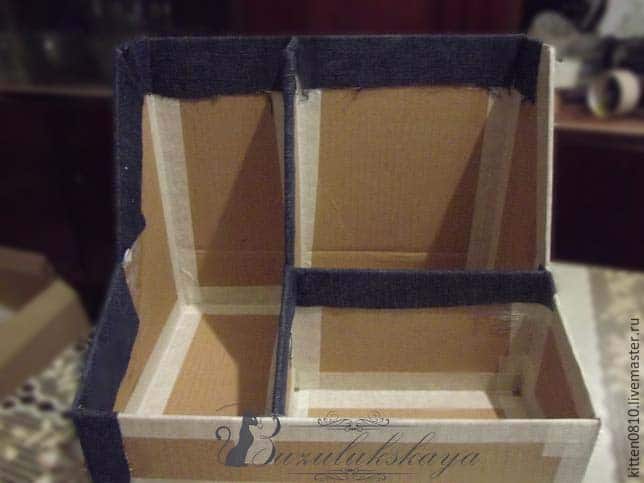
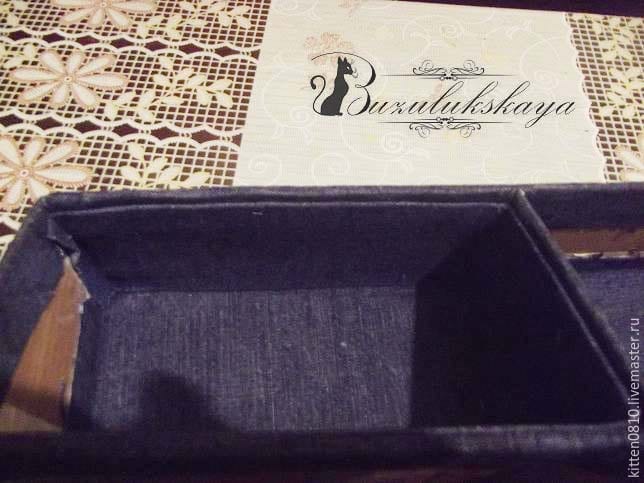
4. The first glue internal partitions. This is what would be convenient to “crawl” on all sides. Glue masking tape, no glue PVA. It is easier to alter if suddenly something goes wrong. Then glue the outside. Angles sizing on both sides is required structural strength. Just ribs sizing masking tape. Wat should get this:
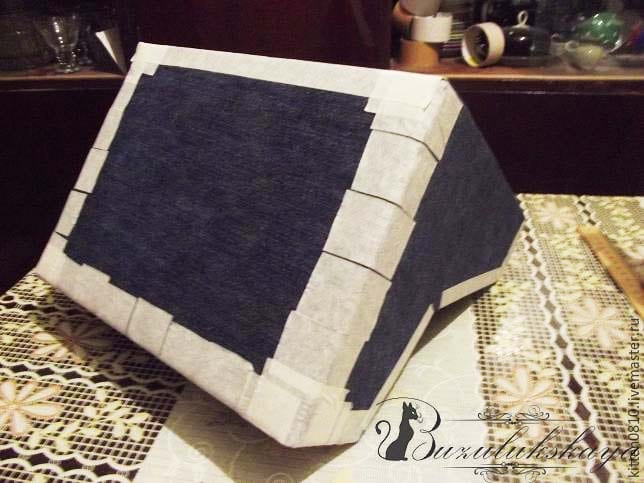
5. Then start to stick the fabric to the base using PVA glue. We start with the inner edges of our organizer, and then with a strained side. Be sure to make allowances for the tissue on all sides by 4-5 cm.
6. For further finding the box need to fold one edge of the fabric overlapping and sticking.
7. If the thin fabric underlay recommends white cardboard cut to size. Side edges pasted, and the top and bottom are wrapped inside and outside the box.
8. tuck the edges from the bottom and make beautiful corners.
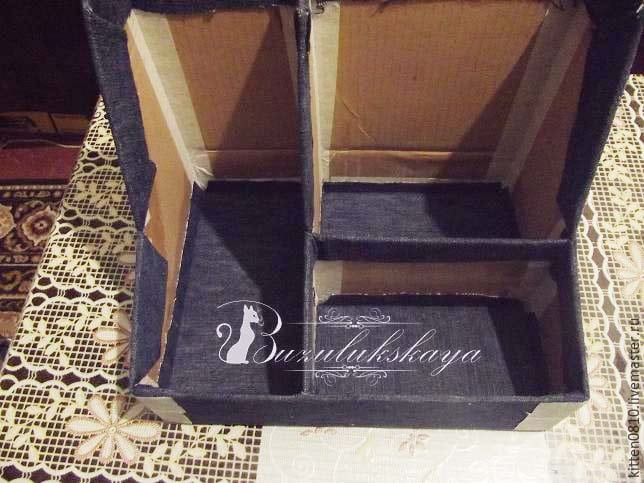
9. Then go to the inside of the box. Glue bottom in each department. Be cut from a white cardboard box and try on. In the inner part of the organizer suitable rule: “better a little less than more.” The angles are not cut off close to the cardboard and leave 2-4 mm. So you are completely close the inner corners, the edges, in this case, are glued to the inner walls of the box.
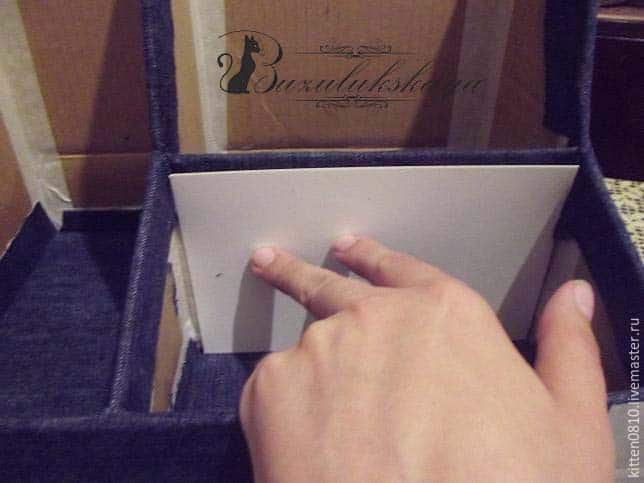
10. Now paste inner walls. Since each wall shooting exchanges (individually) and try on.
11. The fabric to the first wall of the glue to the cardboard by folding and edge top and bottom. When we stick to the wall of the left and right edge of the glue on the adjacent wall. So we all receive exactly the closed inner corners.
12. The following two panels: the fabric to buckle on three sides on white cardboard and glue overlap with the previous round.
13. On the last wall: Fold the fabric on white cardboard on all sides and glue. So we proceed with all the other compartments.
14. Longer bottom cut from white cardboard or thin corrugated cardboard and glue the fabric, folded the inside from all directions. Glue to the base.
15. After gluing all exterior joints need to fix the masking tape and leave to dry. Do not use clothespins or binder course and so on. Since corrugated cardboard, plus the glue becomes more and moist walls are deformed and ugly dents.
16. In this state, leave to dry completely. After carefully removing the masking tape. If somewhere is lagging behind, a strong glue “Moment of Crystal”. Again, fix masking tape to dry completely.
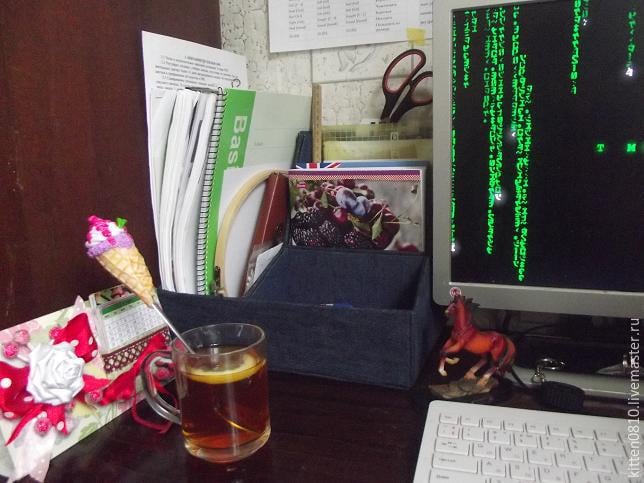
Here’s what you end up with.
Thank you all for your attention. Success and inspiration.