How to organize your tools and crafts
If you are fond of crafts you sure you have plenty of tools commonly utilizes and that you need to have on hand: paintings, scissors, markers, brushes
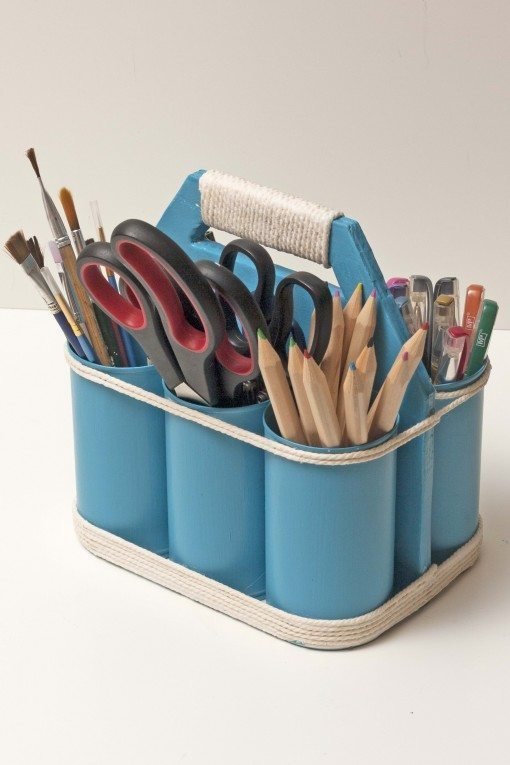
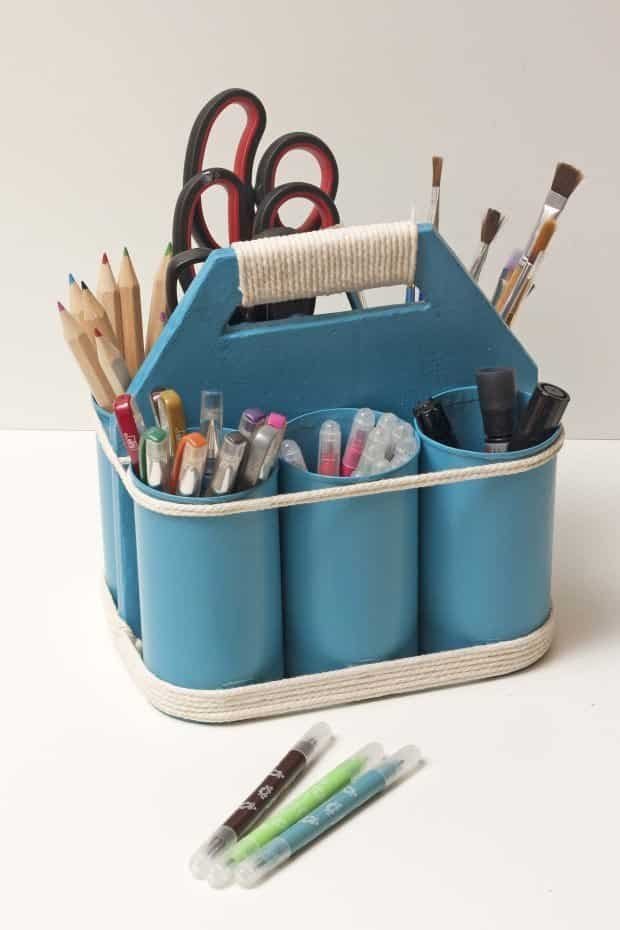
In this week’s tutorial I suggest making an organizer have all these things in order and also portable, so you can take where I needed.
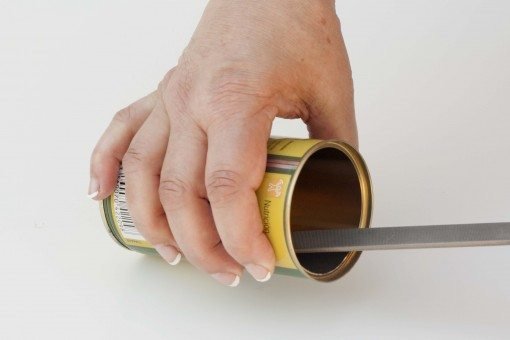
We will need six empty cans. If you have the cutting-edge
We put six cans together and take steps to make the handle cardboard organizer.
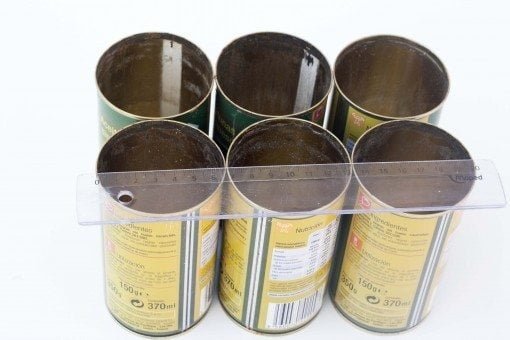
We draw the template handle, considering that should measure the same width measuring three cans together and be high enough for us to take the organizer easily once it is full of tools.
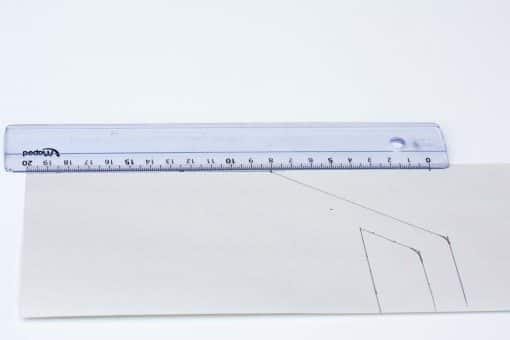
We cut cardboard template.

If the board is not too thick, you can join multiple layers, sticking together

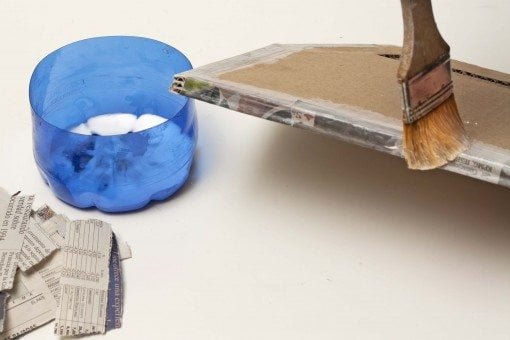
To round off the edges of the cardboard, stick pieces of newspaper with white glue. We apply a layer of plaster (3 parts water to 1 part agua Plast) and let dry. Sanded with a fine sandpaper and paint with acrylic enamel.
Enamel paint cans. Depending on the type of glaze and color of the boats we may need to apply several coats.

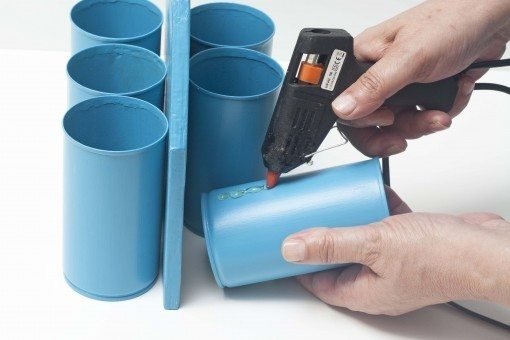
We use hot melt glue gun to glue the boats to handle.
Hit a cord around the boats several turns so the bottom, as above.

Also, roll up a piece of cord on top of the handle. We apply a coat of white wood glue on the cord so that it is plasticized and cleanable.

And this is the result: an organizer for tools as practical and well made with recycled materials.