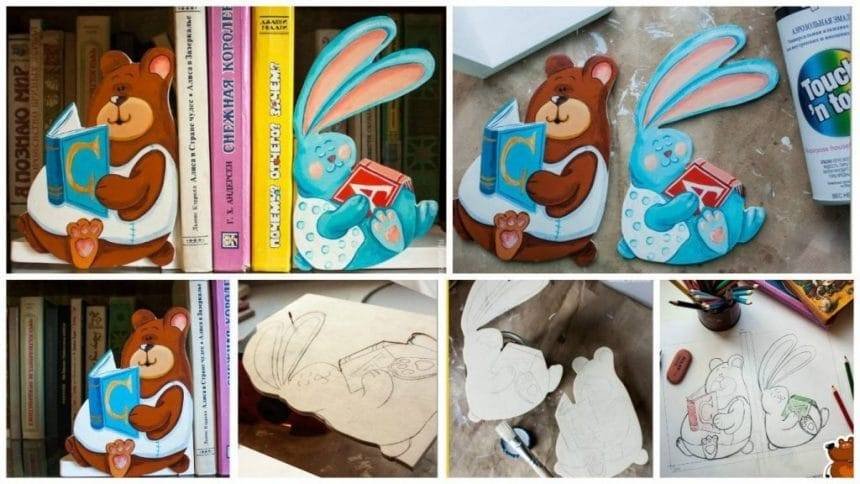
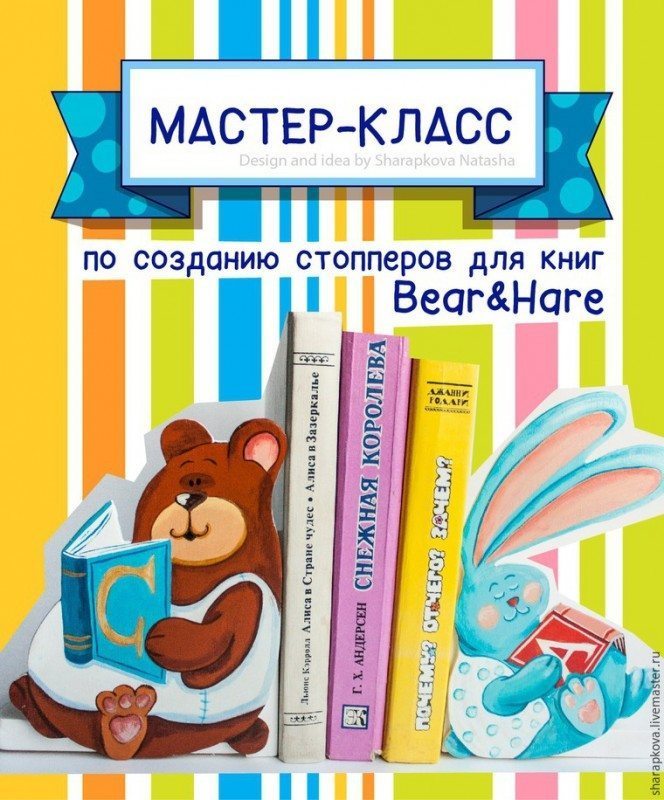
Today we will do fun stoppers for children’s books, “Mishan and the Hare.” They are happy to settle on a bookshelf and books will fall. A baby will be happy to take with a shelf favorite fairy-tale.
What you will need:
3 mm plywood sheet A4;
wood wedges 15 mm 2 90 mm square by 90 mm square and 2 – 90 mm to 120 mm;
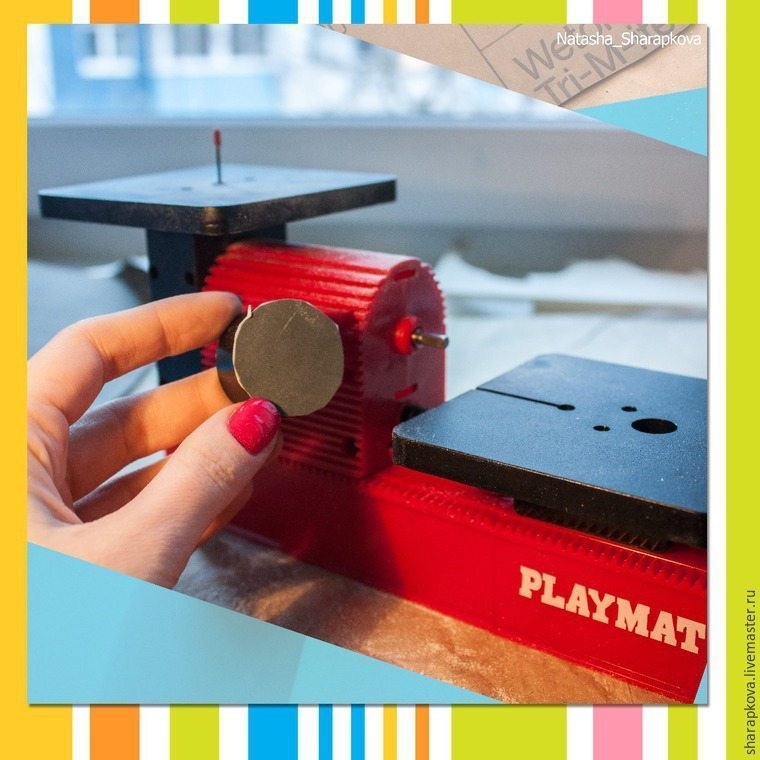
Children’s modular machine Playmat (this is my innovation – he saws and polishing, details below);
pencil, eraser, acrylic colors + white;
Plain paper, copy paper;
spray paint;
acrylic primer;
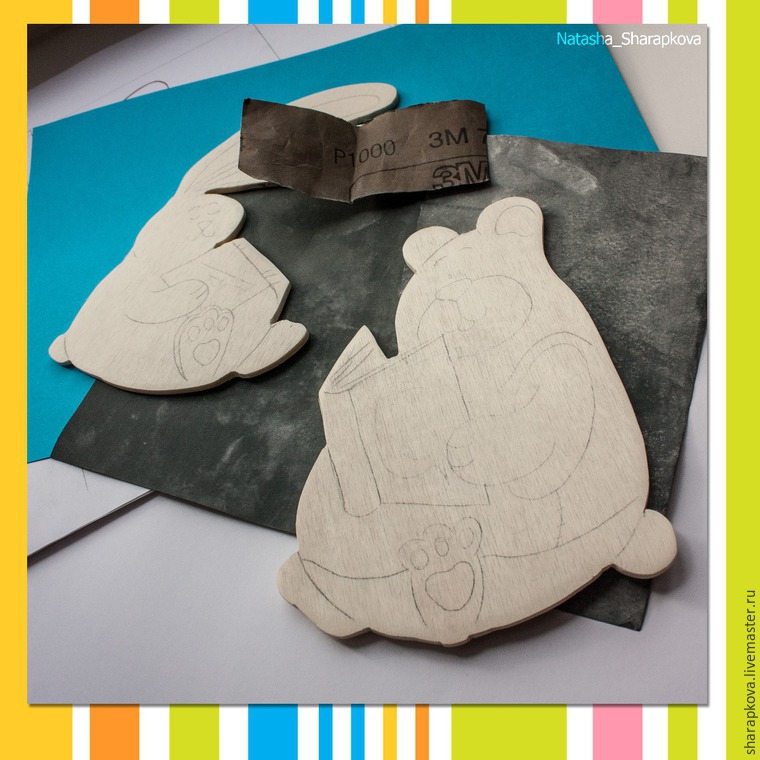
sandpaper P1000 and another harder for initial processing;
scissors;
Thermal adhesive gun.
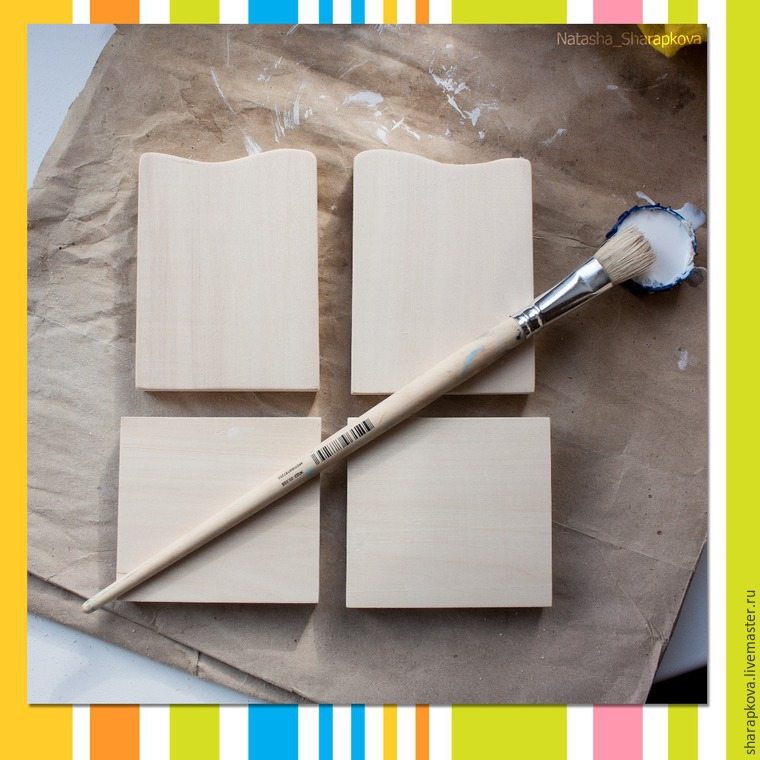
Perhaps all. That together, photographed:
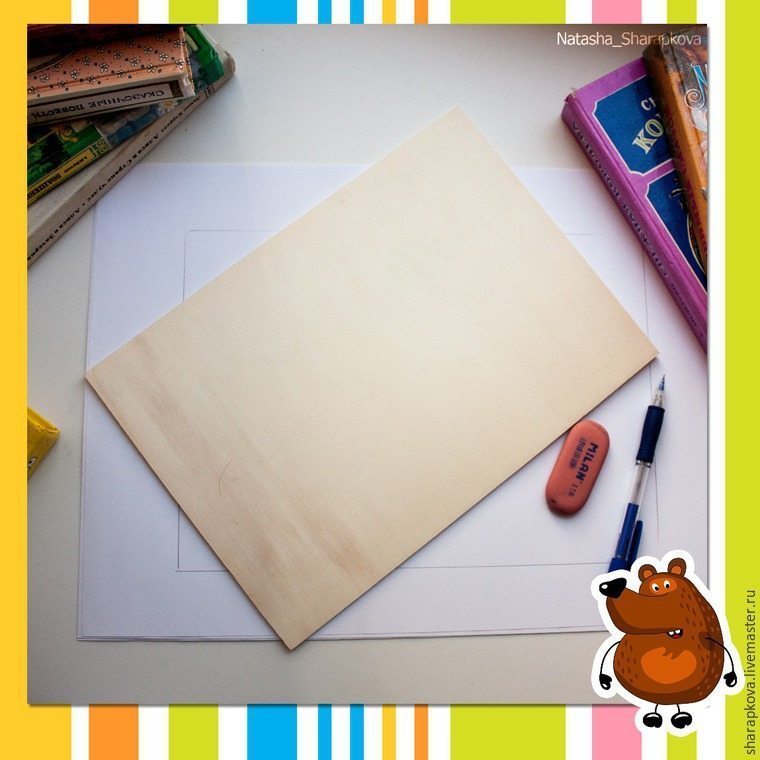
1. contours of plywood on paper, note the center and back down to 1 cm on all sides.
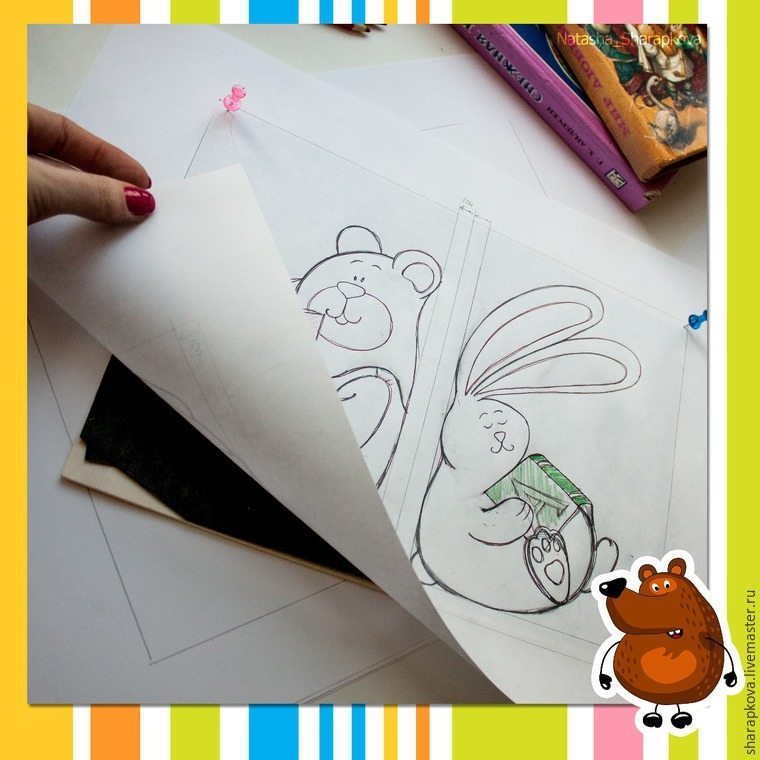
2. Create a sketch in the given framework. We strive to make the back evenly to create the illusion that they were propped up books.
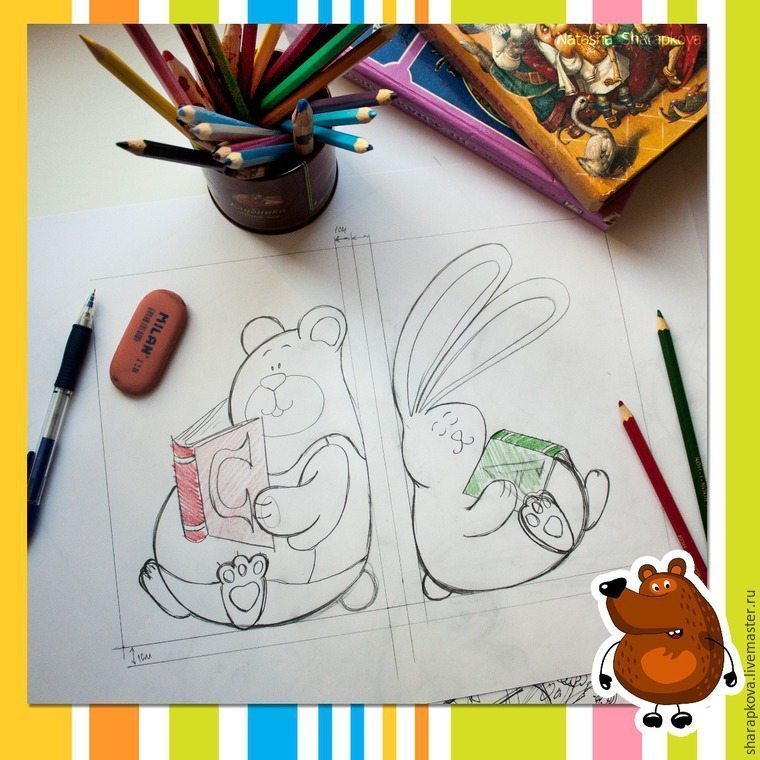
3. inviting cat, it helps to choose the best design.

4. We translate it to the plywood. We place the plywood on top of the carbon paper, then draw out a sketch and drawing confidence motion in a straight line. If the sketch more than plywood, then substitute clearance smoothly and attach to the corners of the paper using the buttons to the plywood.

5. Take the kids Playmat modular machine for cutting. Generally it has 4 functions that I used sawing and sanding.

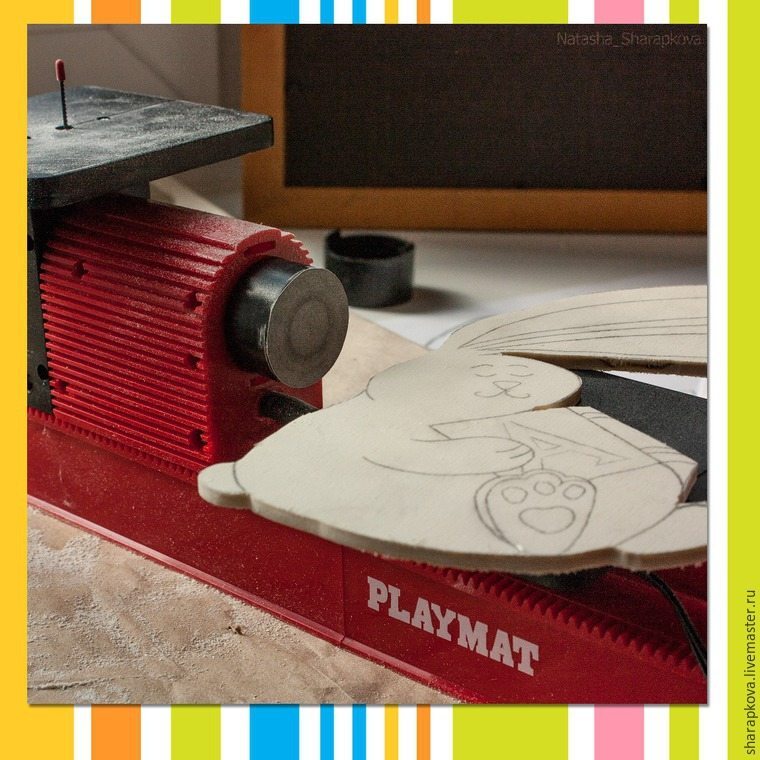
6. The principle of cutting like a manual jigsaw, but it works very fast. We need to turn the workpiece smoothly, without jerks and slowly fed forward. Turns sharp corners – a bit we pass back saws in one place and turn. You must be accustomed little, sawing smooth, splinter-free. Safe, finger does not cut yourself, specially made for children.
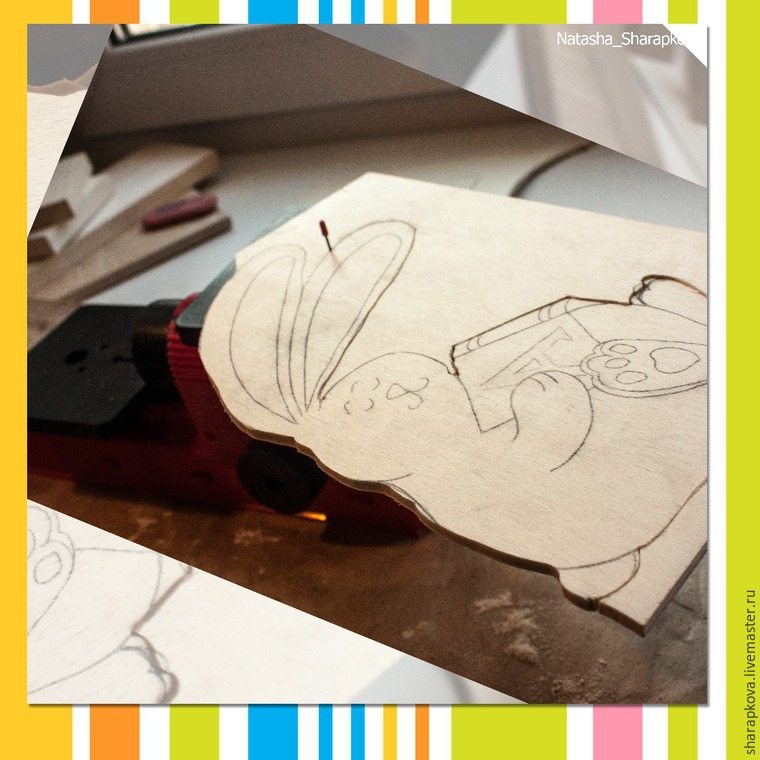
Scrollsaw Hare.
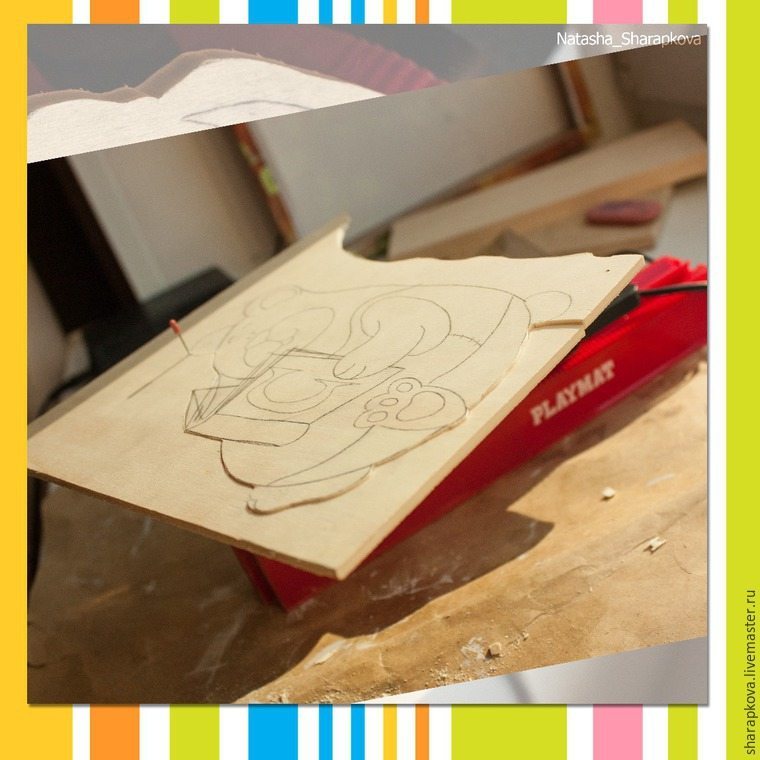
Then, Mishan.
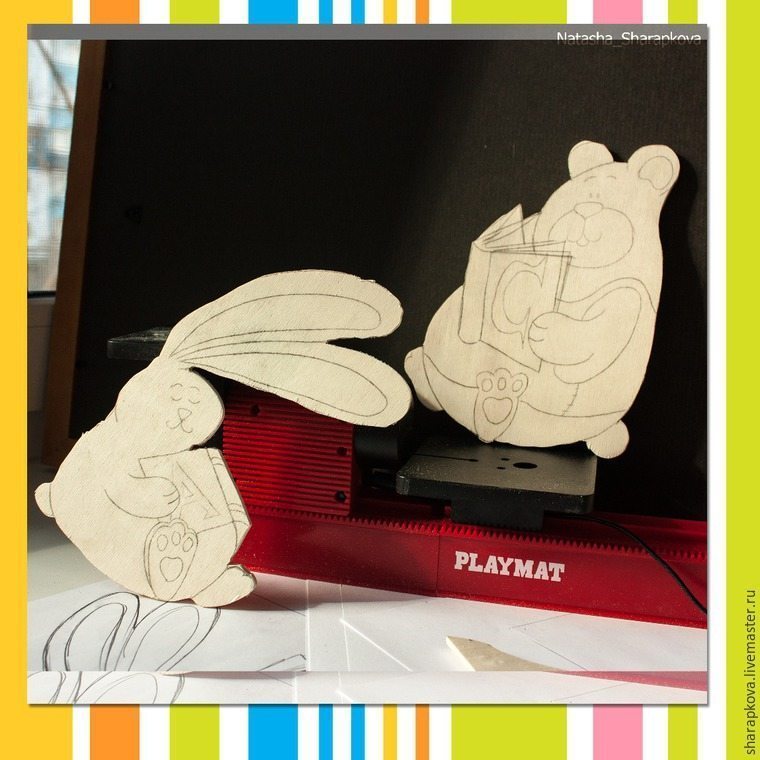
Getting grinding!
7. First, grind the ends, if somewhere nail file left on the drawn line or angle turned out uneven, these defects can be and must be removed with a grinding wheel.

The kit comes Playmat circle with coarse sandpaper attachment. I need less, so cut out a circle of the desired diameter on a sheet nazhdachki required granularity. Then glue on double sided tape and cut. Then remove the protective film from adhesive tape and fasten onto the disk, in advance peeled off the previous layer. For convenience you can prepare a few laps nazhdachki different grain and change as needed.
Then grind the whole workpiece surface – the first a coarse sandpaper, then all the skins until smooth sandpaper P1000.
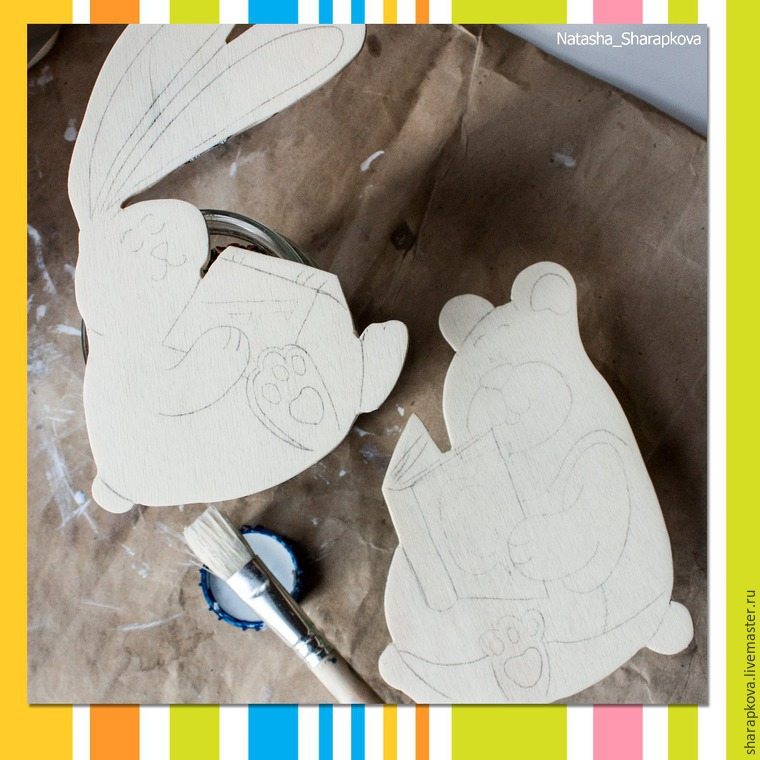
8. Cover the acrylic primer. I use ordinary universal construction wood, plywood. Gruntuem on both sides. Do not forget about the ends.

10. While the workpiece dry zaymёmsya shelves. Square just grind on rectangular – with one end on the same workpiece pencil draw a wavy line. Scrollsaw manual jigsaw, is then applied to the other workpiece draw out a pattern and also Scrollsaw. Then grind.
Coated with a primer on all sides.
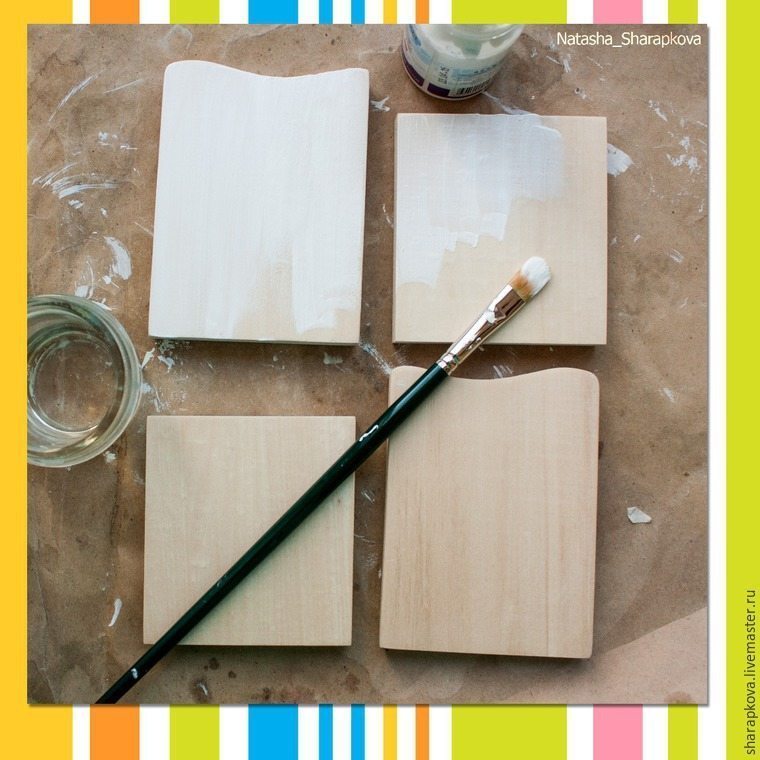
Paint white acrylic paint, at least 2 layers.
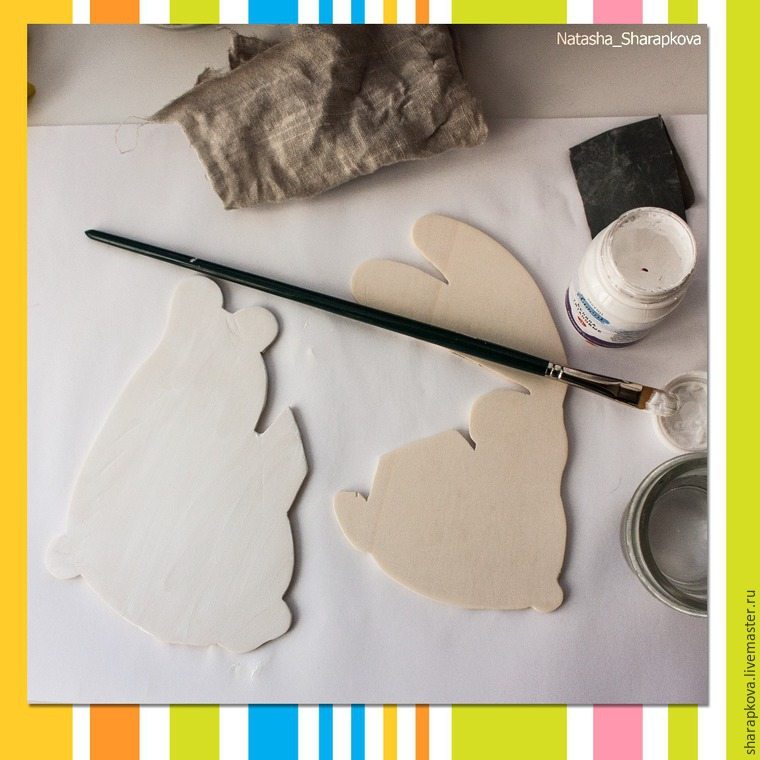
Also paint turnover blanks Mishan Hare and white acrylic 2 layer drying for half an hour.
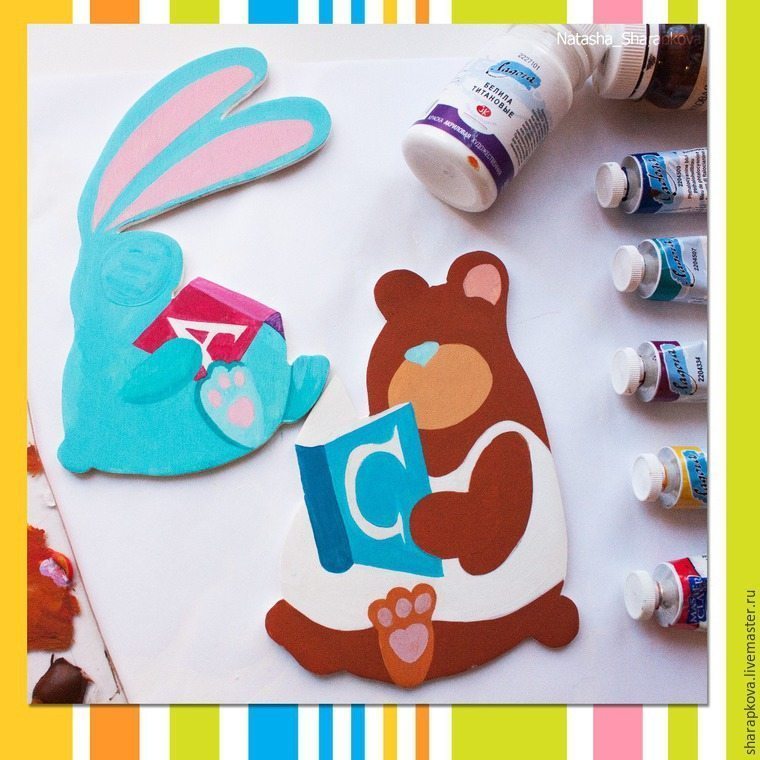
11. Now, paint the front side. First underpainting – local pure color, for each animal its own. In total my color palette includes 7 acrylic Ladoga – the average yellow, white, blue “FC”, brown, red, turquoise, pink dark. In order to lay down the color more evenly the work already done by sanding and priming, but also can add a little white, and do not use a solid color from a tube or jar. In this case, the added white cyan, and brown – yellow.

Now dry brush add shadows, each local color do a little darker and slightly touching the surface, add shadows. Since muzzles smeared, then putting a sketch exactly to the light and pushes the top, on the plywood will remain traces of lead round a pencil.

At the final stage of drawing adding details, and thin lines emphasize the darker the entire drawing, draw eyes peas. And cover a spray lacquer in 2-3 layers with drying according to the instruction.
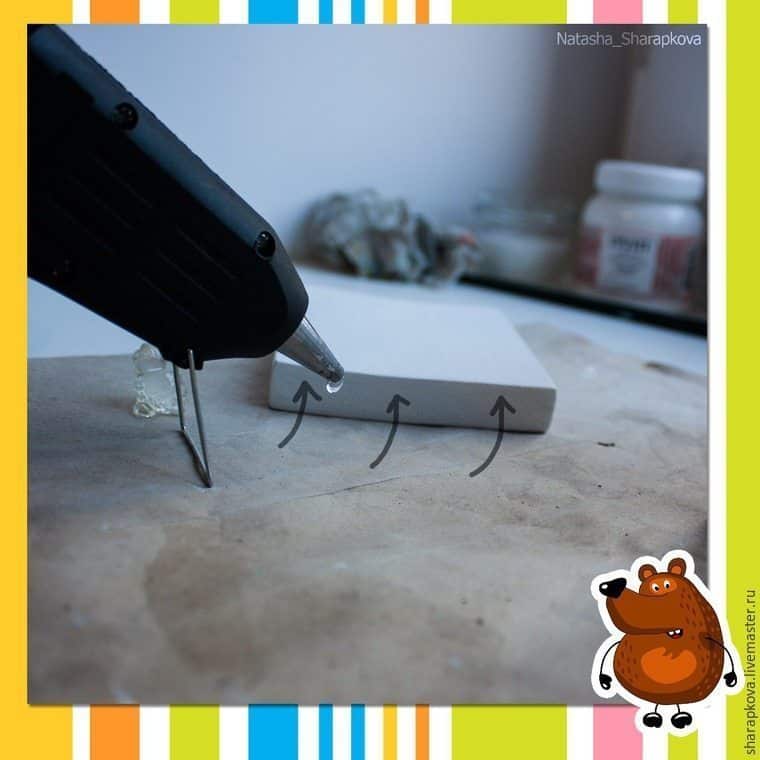
12. Putting shelves. When everything is dry, proceed to assembly. I use the hot-melt gun (can be small cloves). A rectangular piece – Apply glue to the flat face, putting a square bar and presses.
We get this result here.
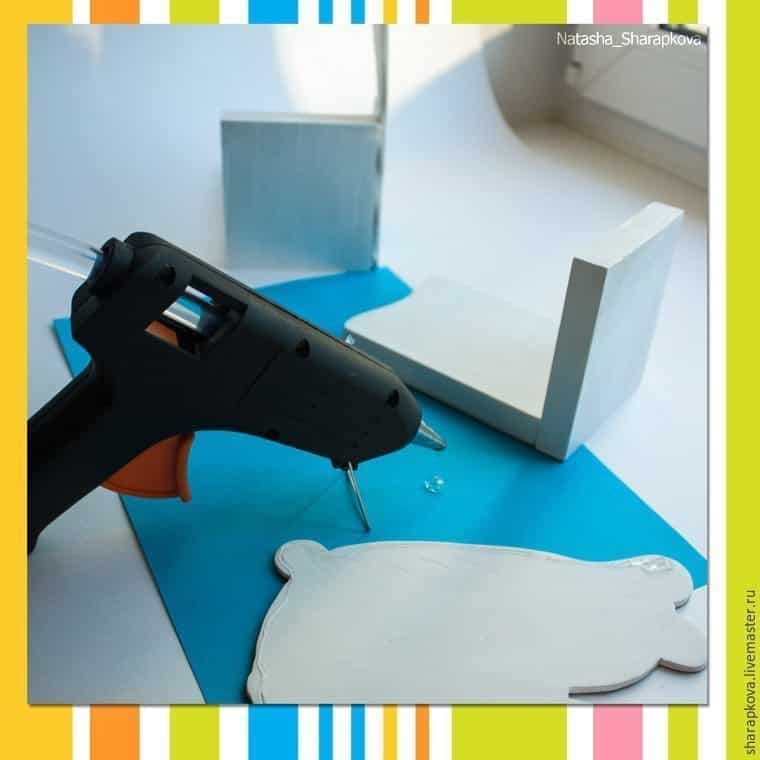
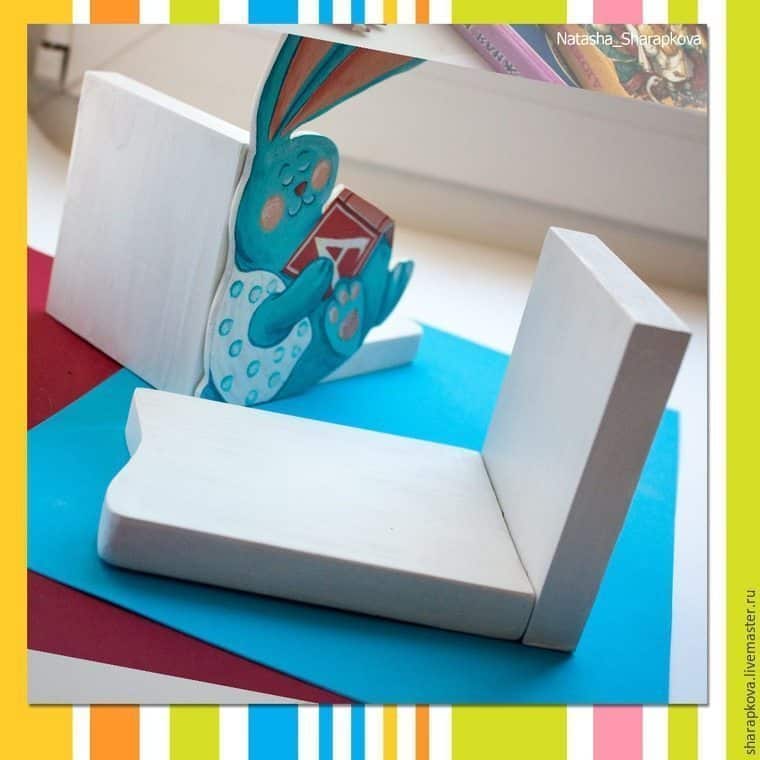
Then glue the animals, are putting at first, look where contact with a shelf item, and the item is put on the contour of the back side of a thin strip of glue. We put equals presses.

Voila! A little bit of magic and sleight of hand and stoppers, shelves for books ready!
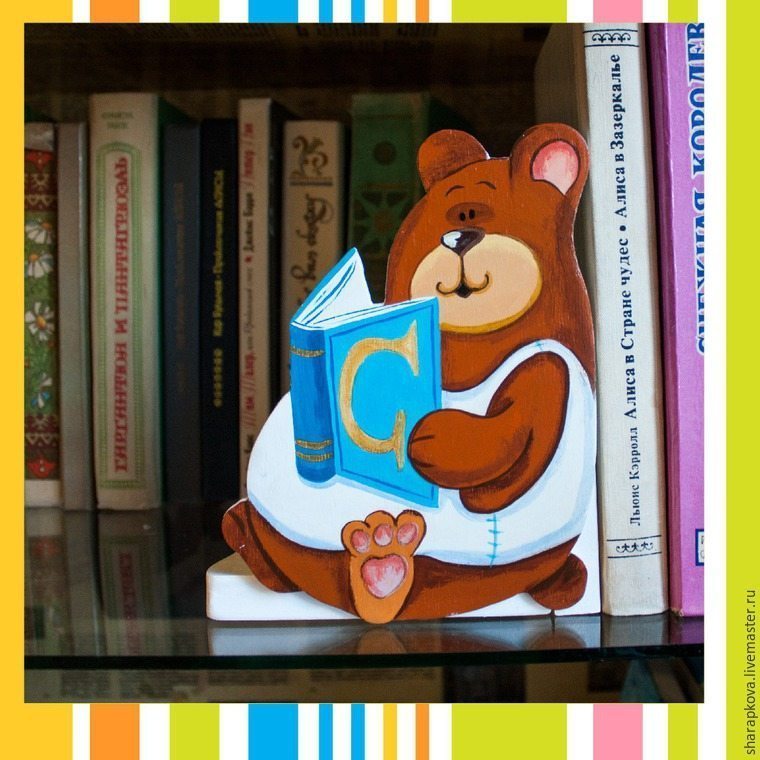
Mishan:


Funny stoppers for book ready to guard the pile of books, until the baby does not want to plunge into the wonderful world of fairy tales and adventure 🙂
Thank you for attention!
Good luck!
courtesy: livemaster.ru