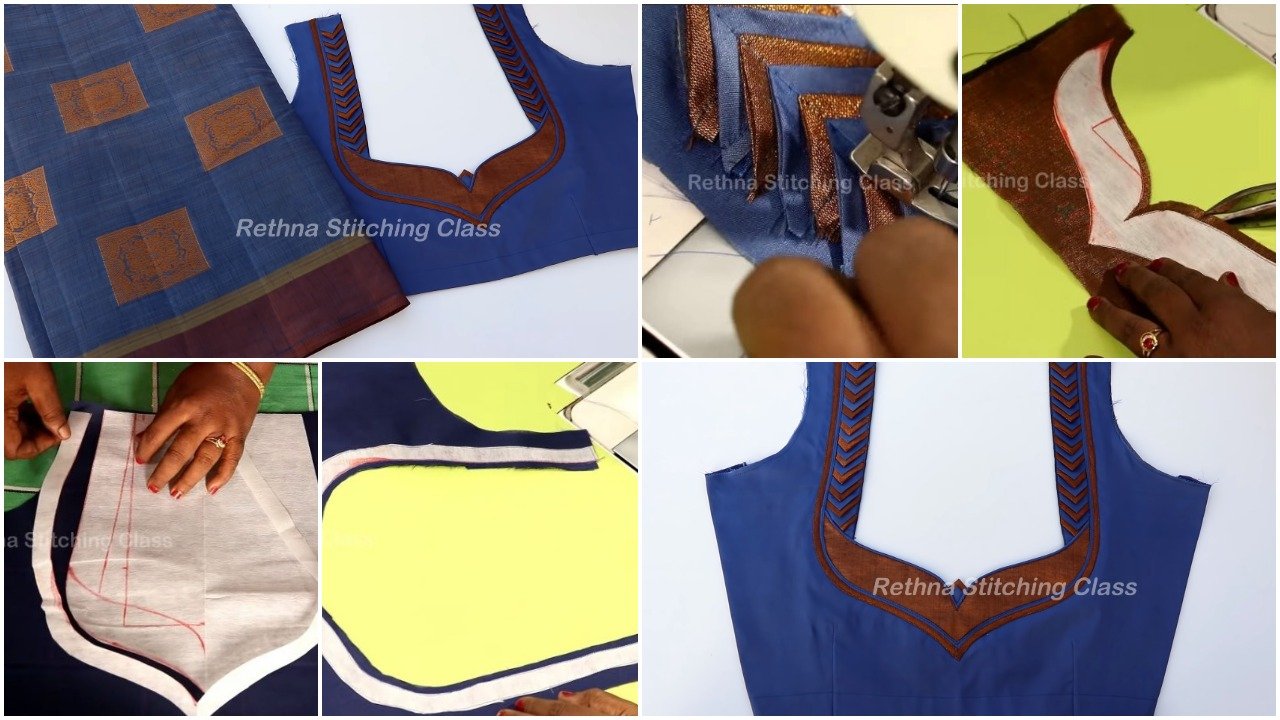
Ever wondered how to create stunning patch work blouse designs that blend perfectly with your silk cotton saree? Whether you’re looking for new blouse ideas or an easy way to up your blouse game, this step-by-step guide will help. Let’s dive into crafting a back neck blouse design with detailed techniques for cutting and stitching.
Materials You’ll Need for the Patch Work Blouse
Before we jump into the design process, here’s what you’ll need:
- Silk cotton fabric for the blouse
- Coordinating fabrics for patch work
- Canvas material for added structure (optional)
- Tailoring chalk, measuring tape, and scissors
- Sewing machine and thread
- Lining for reinforcement
- Decorative elements like piping or lace, depending on your preference
Having everything ready will make the process smooth and enjoyable.
Step-by-Step Cutting Process
The right cut determines how well the blouse fits. Start by laying your fabric flat on a clean surface.
- Measure Accurately: Use your body measurements or a pre-existing blouse that fits well as a guide. Take note of the shoulder width, bust, waist, and armhole measurements.
- Mark the Cutting Lines: Using tailoring chalk, mark the back neckline, front neckline, and other necessary dimensions. For patch work designs, include space for the patches to blend seamlessly.
- Back Neck Pattern: Cutting the back neck design is key. You can create a deep U-shape, square neckline, or a more intricate style. Keep symmetry in mind during this step.
- Canvas Placement: If you’re adding canvas for additional support, cut the canvas material to match your neckline design.
Be cautious during this step—it’s easier to adjust fabric than recut it incorrectly.
Stitching Your Blouse: Bringing the Design Together
Once your pieces are cut, it’s time to stitch everything together. Here’s how:
Back Neck Detailing
- Begin by attaching the canvas or lining to the back neck area. Sew it gently to ensure it stays smooth and enhances the neckline’s finish.
- Add any decorative finishes like piping or lace along the edges of your neckline. These small details can elevate the final look.
Patch Work Assembly
- Securely sew your patch work pieces onto the blouse base. Align patterns and colors carefully for a cohesive result.
- Make sure the stitching is neat and doesn’t bunch, especially at the corners of your patches.
Shoulder and Side Seams
- Join the front and back pieces of the blouse at the shoulders, then stitch the side seams. Check the fit before proceeding.
Sleeves and Finishing Touches
- Add the sleeves to the armholes, carefully matching the edges for a clean finish. Short or three-quarter length sleeves work well for silk cotton sarees.
- Finally, sew the bottom hem and inner lining, ensuring everything is secure and polished.
Customizing Your Patch Work Blouse Design
Want to make your blouse stand out even more? Here are some customization ideas:
- Use contrasting fabrics for the patch work, adding a modern twist.
- Incorporate metallic or sequin details for festive occasions.
- Experiment with different back neck patterns—try keyholes, bows, or criss-cross strings.
Your creativity is the limit when personalizing your blouse. Designer silk cotton fabric for blouse-making
Styling Tips for Your Patch Work Blouse
- Pair your blouse with complementary silk cotton sarees to highlight the colors and patterns in the design.
- Opt for minimal jewelry when wearing heavily designed blouses—let the blouse shine.
- For formal events, drape your saree in a classic pleat style to showcase the back neck design prominently.
Conclusion
Creating a patch work blouse design can seem intimidating, but with the right tools and techniques, it’s simple and rewarding. With silk cotton sarees, these blouse designs balance tradition and modernity perfectly. The right fit and creative patch work can transform a basic blouse into a statement piece.
So, grab your fabric, start cutting, and stitch your way to a customized blouse! Got questions or ideas? Drop them in the comments below. We’d love to hear from you.