
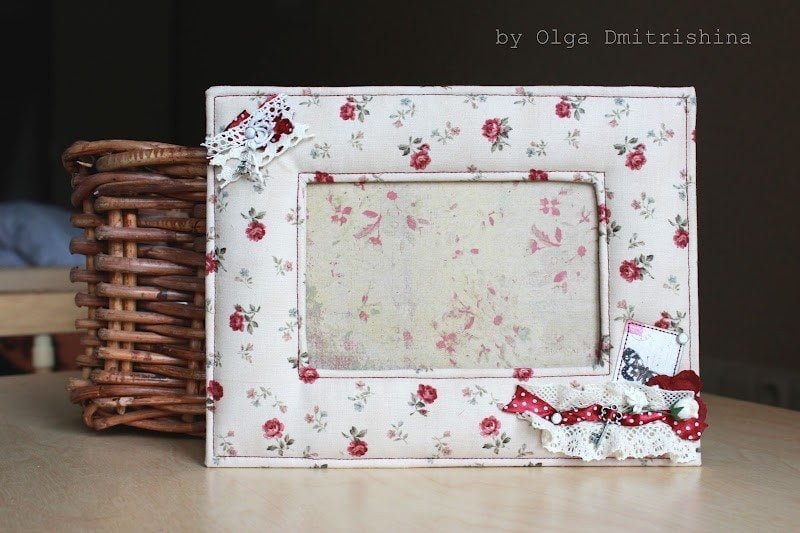
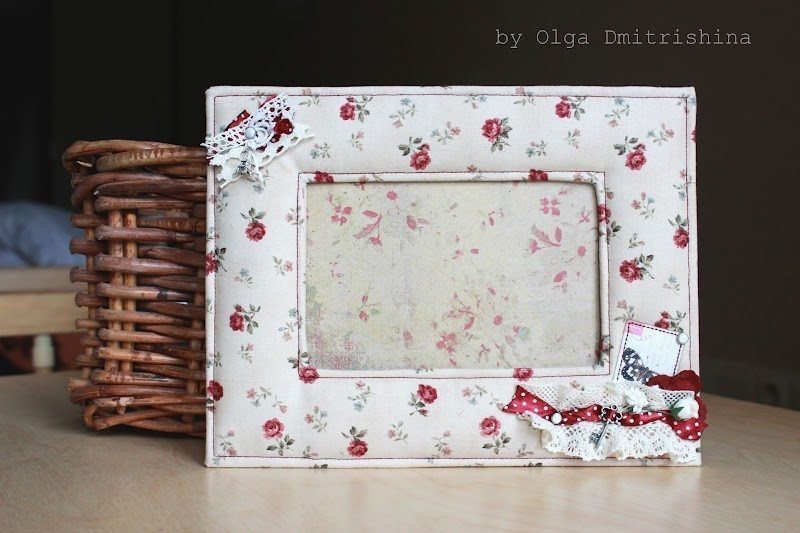
Photo frame made of cloth and cardboard
Wonderful soft Frame
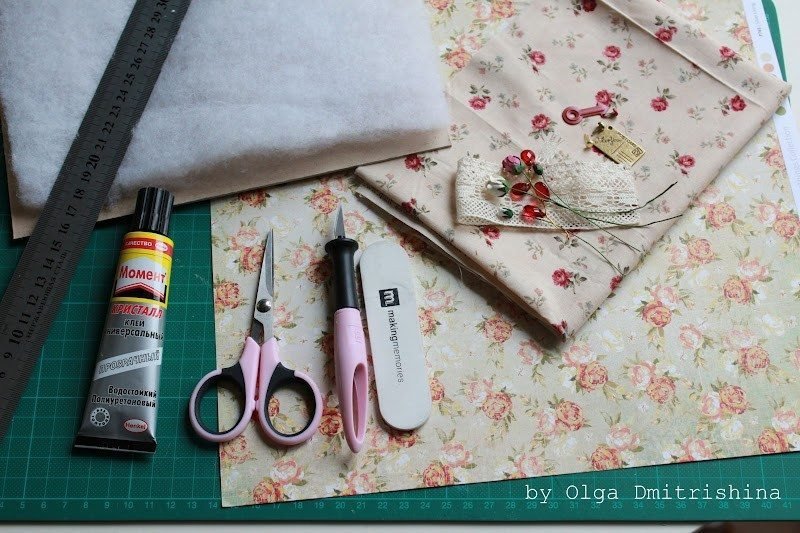
For work, we need:
-webs (best to take 100% cotton, it is easier to work);
-perepletny cardboard (or any other thick cardboard);
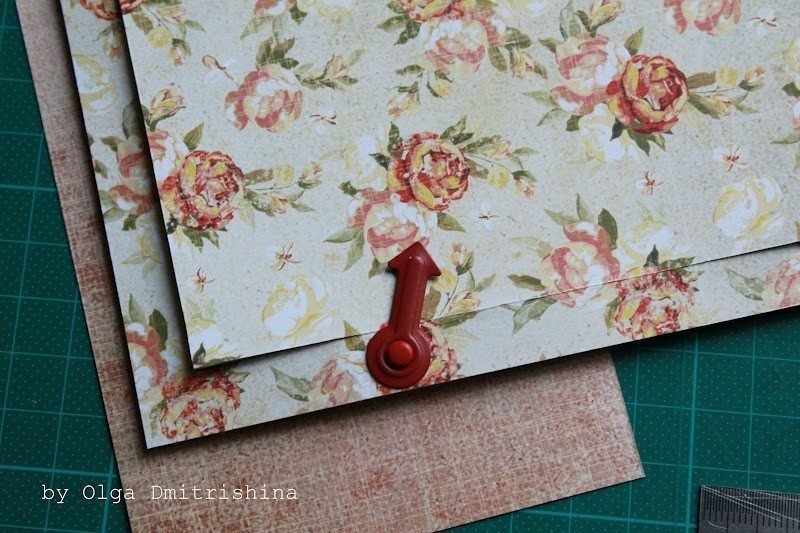
-list scrapbook paper 30×30 + more piece the size of 10.2 cm h15,3 cm;
-sintepon;
-kley “Moment Crystal”
-stationery knife;
-Scissors;
-shilo;
-bradsy;
-anker;
-dekor to your liking.
Getting Started!
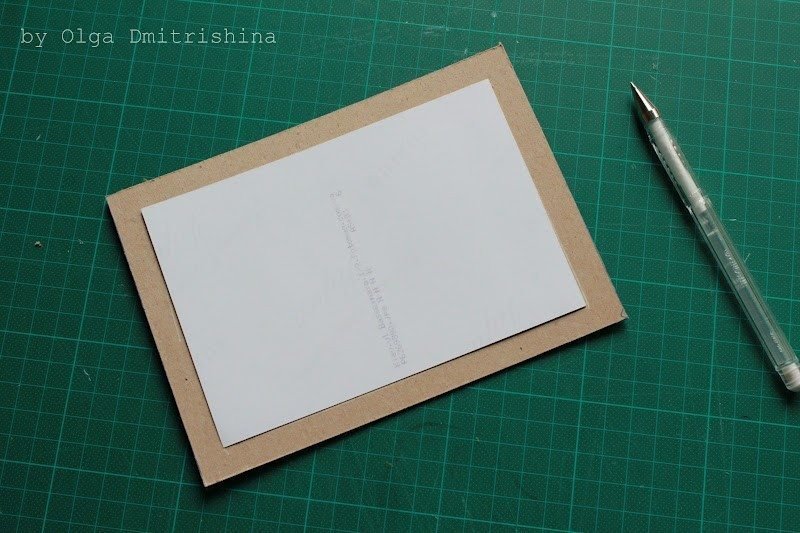
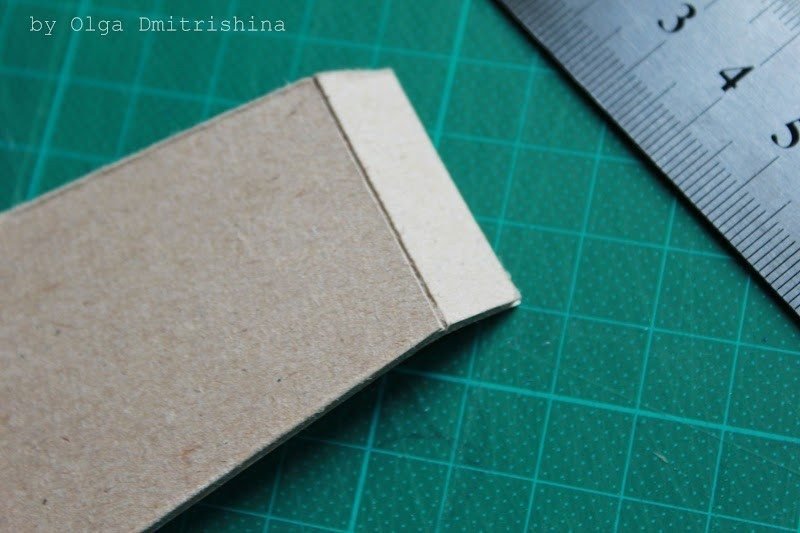
1. From cardboard cut out all the details of our framework. The size of the front of the frame I – 23h17,7 cm, the size of the cut in her window – 14h9 cm. The size of the rear wall – 17,5h12,5. And the leg length of 15 cm.

Tip: to correctly cut corners legs attach them to the corner of the frame. One slice you should get a larger angle.
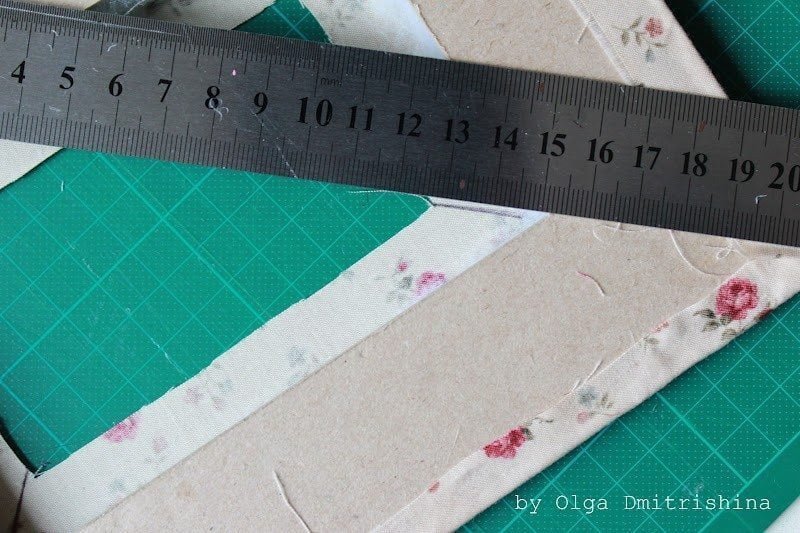
2. Now, the rear part of the frame. Until we have this rectangle 17,5h12,5. It is easiest to most accurately measure the size of the window in order not to make mistakes – it’s to make the photo. Apply, we draw out. I got 10,2h15,3.
Then cut the rear wall along three lines:

On the fourth line (the future fold line) we spend 1-2 times with a knife is not deep, and then bend, it turns out that’s a window:

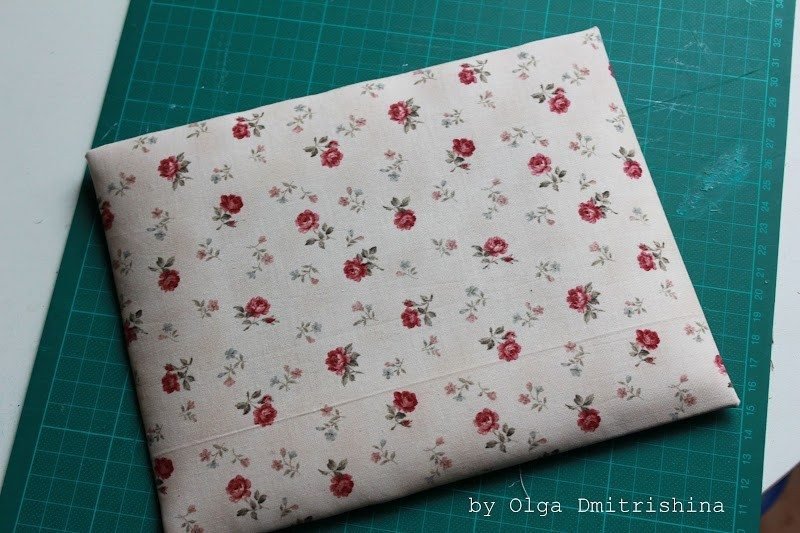
3. Next, take the scrap paper and cut the workpiece from it. We will have 4 parts. The front wall of the frame (here the size better to 2-3 mm less than that we’ve got padding – 23,8h17,5 respectively) All other parts of the same size as the cardboard. For the legs cut out 2 pieces on the inner and outer sides. Only when we cut the second item on the leg, remember that the item has to be reversed mirror 🙂
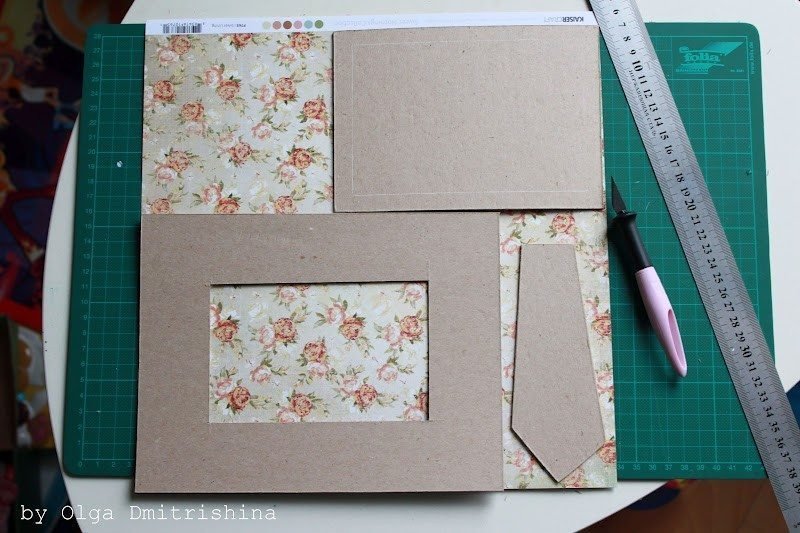
And another piece of cut to fit the wall of our window. I 10,2h15,3 window.

Take padding polyester and cut a piece the size of our framework:

Zatem cut a piece of cloth the size of the frame, leaving the margins 2-2,5sm. We put exactly fabric padding polyester, cardboard. It follows that nothing will not moved down!

Now the crucial moment, which determines the accuracy of your frame – fabric glue. Home – evenly stretch the fabric, so that the frame has turned out accurate. First glue the corners in this way:
Sticking to the “Moment Crystal” – we are tightened firmly pressed, keep a couple of minutes. When all four corners are glued, glued starting side.
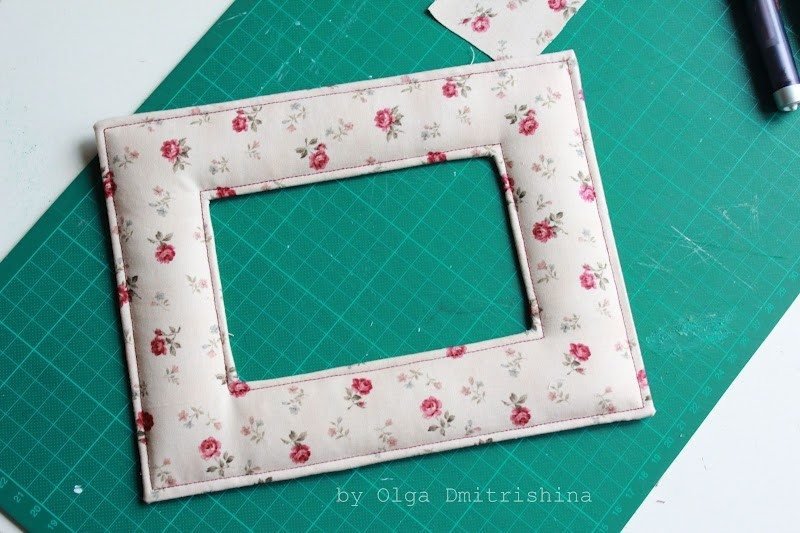
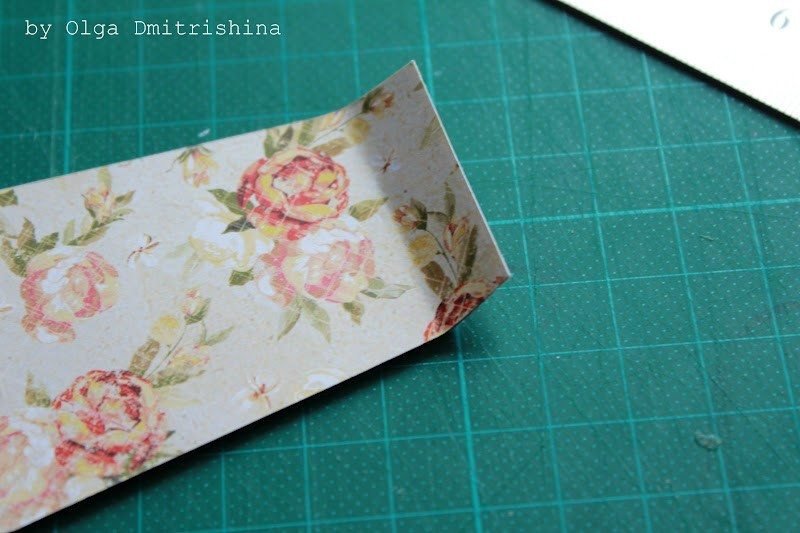
As a result, you should have such a corner.
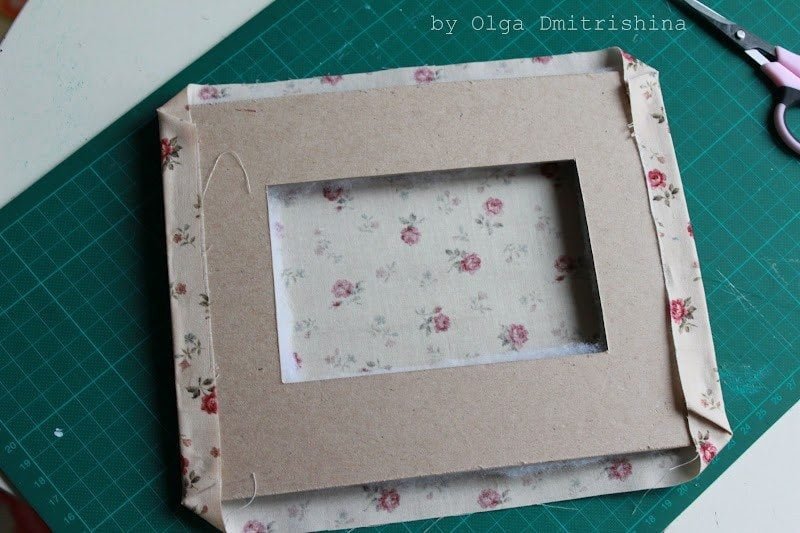
If the frame is evenly tensioned, you will have such here cushion:

In it, we cut out the window, leaving margins of 2-2.5 cm on each side.
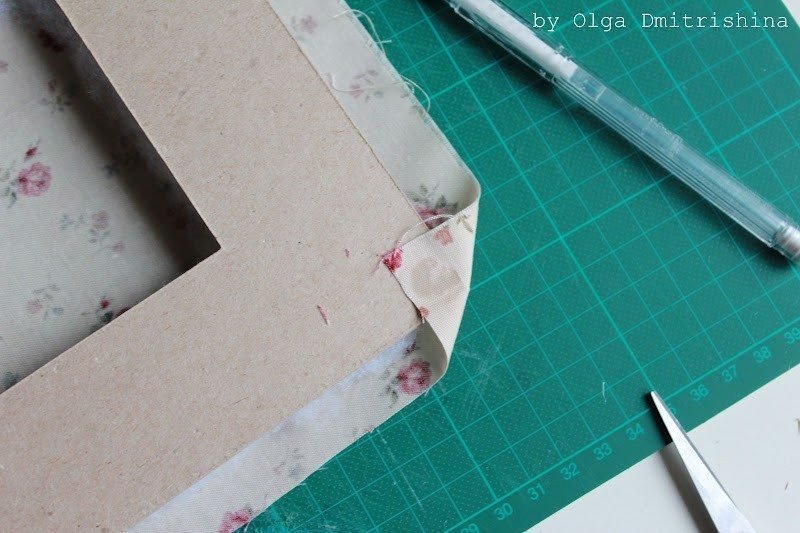
Another important point, which could affect the accuracy of – cut out the inside of the gently is not easy, so do not rush! Draw the lines of future cuts. The line should clearly fall into the middle of a corner:
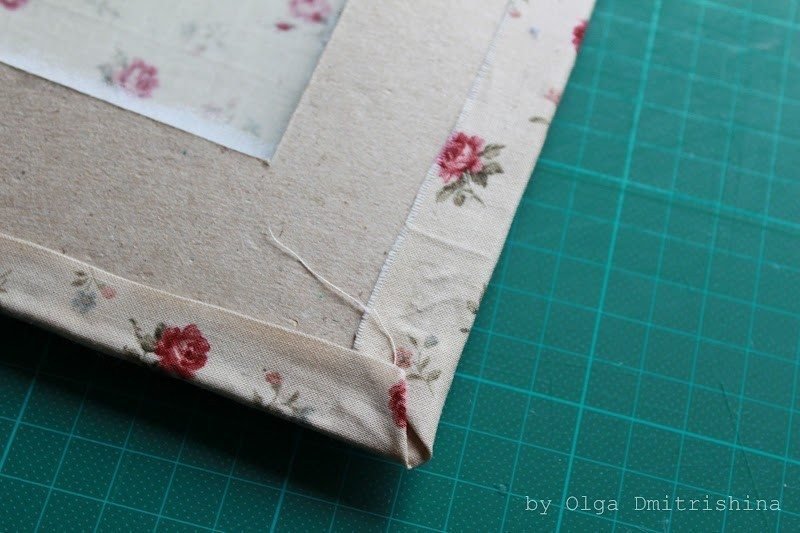
Cut, and watching the notch on the front side of the frame so as not to overdo it with the notch. Glue all sides, pulling them well. If you are careful, you will have such a corner.

At this stage, you can stop and start decorating our frame, but if you wish, it is possible to stitch:
Now, decorate!

Getting to the assembly. First prikleevaem back wall glue “Moment Crystal”.

Then glue the paper on the back of the frame and cut our spending on the cuts on cardboard.

Fastened to the rear of the anchor or more:
Leg. Stepping back about 1 cm from the top of a couple of times we do not deep cut and fold it:
Paste on both sides of our leg of scrap paper:
Break through with an awl holes:

And inserts bradsy:

Putting a foot to the frame, and a little pushing, “envisage” space for mounting bradsov.

Only now glue the front substrate for a photo – if you will paste it before, will stick out from the legs 🙂 bradsy final point – the glue to the back wall of the box!
Done!
Joyful Spring you 🙂
Courtesy : www.liveinternet.ru