
Pockets on the wall
“Let me introduce you to my amazing Ballard Design style pockets on the wall, which are created using only the cloth and cardboard.
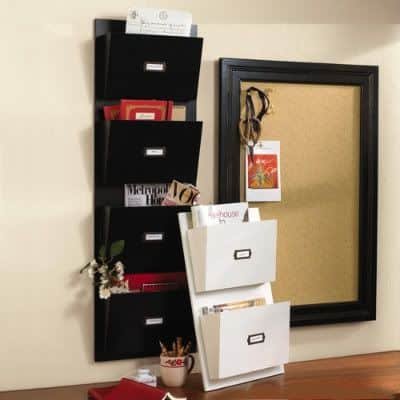
And making a smooth, convenient organizer for all home folders, payment books, mail and receipts, with no material costs, I felt Superwoman.

You want to make your own?
To base pockets you will need:

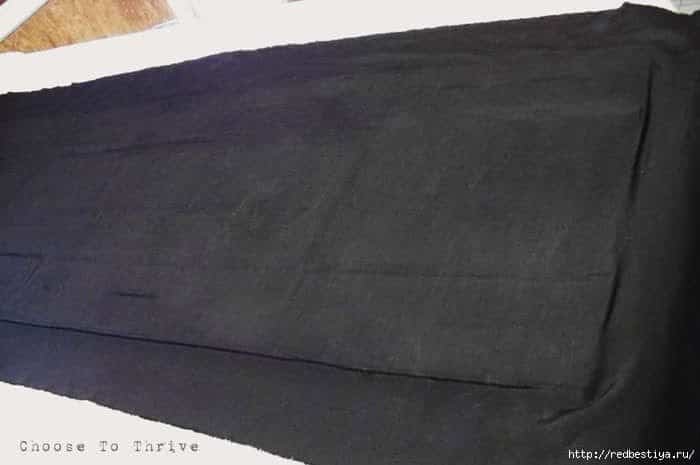
To cover the board, you’ll need paint or fabric. I originally planned to use paint, but my board was wrinkled my children so much that I decided to use a tissue.

My cloth was on the front side of the application, I have decided not to use them, so I just turned the application and used the wrong side of the fabric.
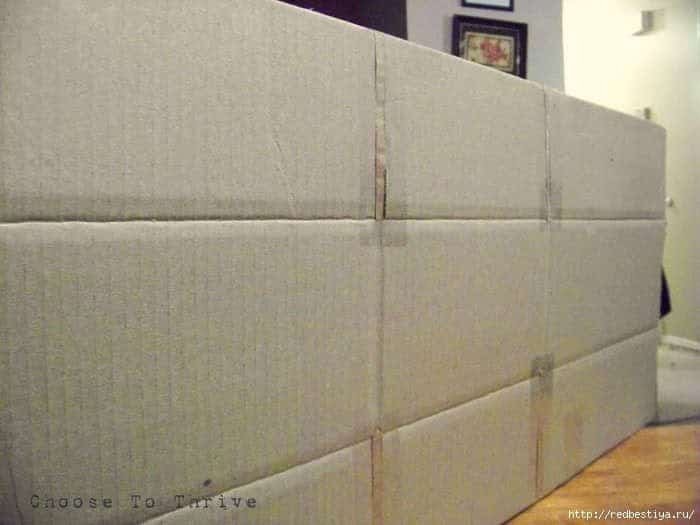
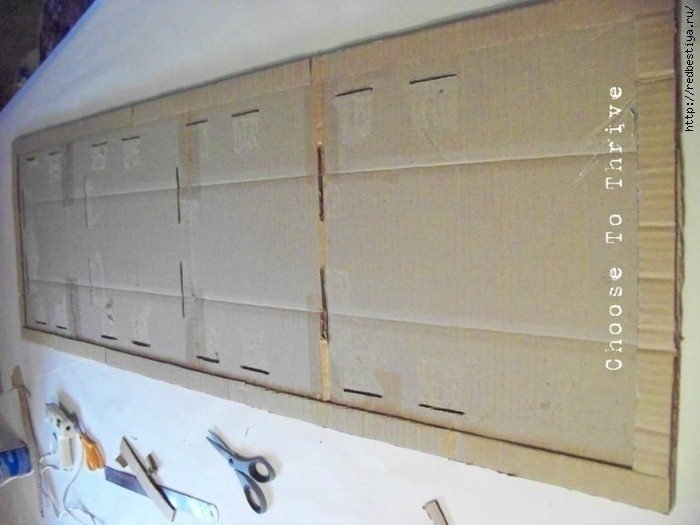
Create a database.
Open the middle two cardboard boxes and glue them together a large layer of glue. Make sure that the folds and offset look outward, otherwise it will be a great possibility that the curved line bend. Trim up to 15 3/4 “x 49 1/2”.

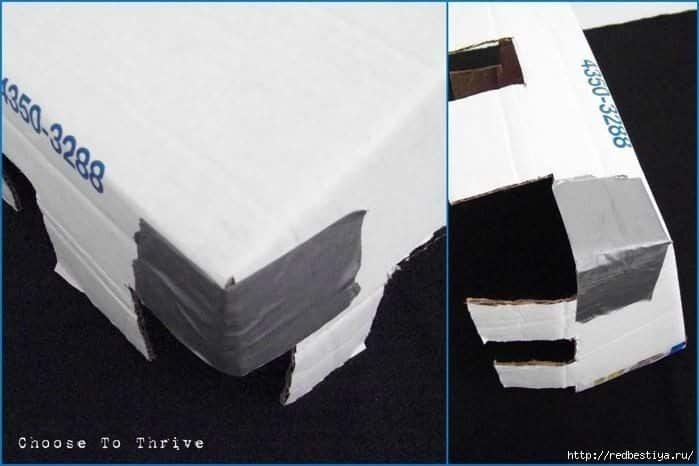
Fill in the gaps along the crease with a cardboard scrap and secure with tape. Secure the corners and sides of pieces of packing or duct tape, make sure that the entire piece of cardboard became solid.
From another piece of cardboard cut into strips for pasting base.

Use the glue make a box around the wrong side of the base. Cut a slit in the base for pockets, use this size with the drawings at the end of the craft
Create pockets. Our print and glue pattern four pockets (drawings below microns) leads them on a new sheet of cardboard.

Then he cut out and dump the pockets along the lines of our microns. Insert pockets in the base to make sure that they fit nice and tight.

After everything is checked, carefully remove pockets and fasten the bottom corners of each tape. Set aside.
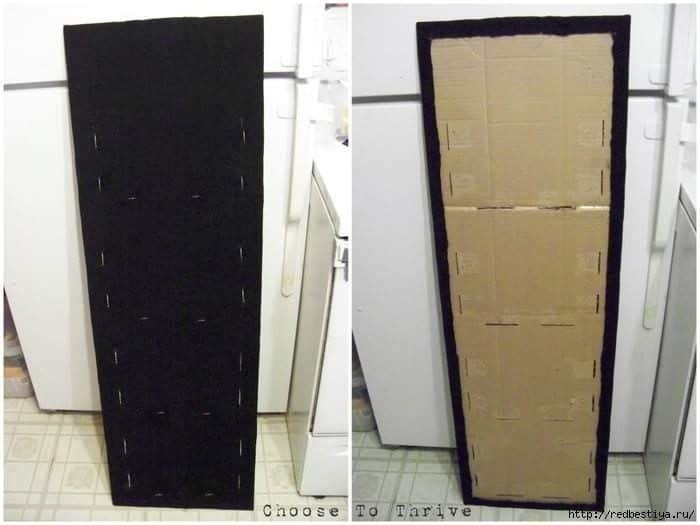
cover with cloth. Cardboard base generously sprinkled with glue and cover with a cloth until the smoothing out wrinkles and bubbles, the fabric has pulled overboard.
Now glue the fabric from the back of our base-frame using hot glue, after gently pulling the fabric. This smooth out bubbles and wrinkles, make sure the fabric is dense and smooth. After drying, remove the excess tissue.

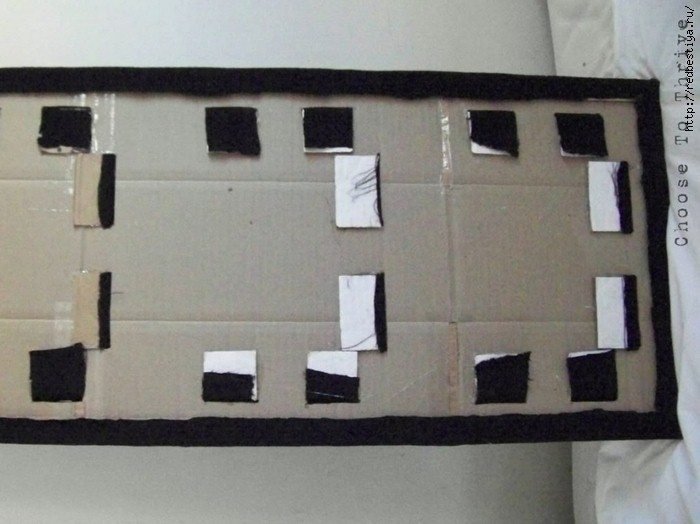
The probe fingers along the front of the base sections under the pockets and in this place, cut the fabric prototyping or office knife.

Your base should look like on the front and back. Mel put a markup pockets.
paperboard to generously treat adhesive pockets – inside and outside – and carefully iron the fabric on the surface.

The assembly and decoration – the most interesting! Insert pockets in cuts on the base.

Glue the “ears” pockets hot glue to the base.
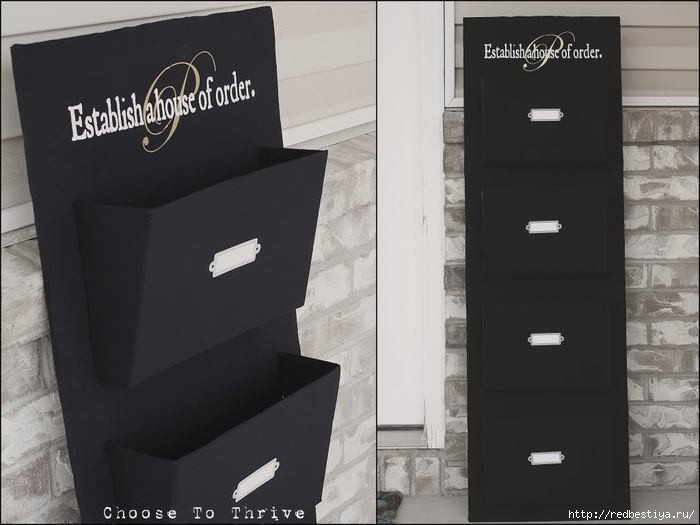
Correct minor error m space with a black marker or paint.

To personalize our organizer, I deliberately left extra space above the top of the pocket, so that I can add a monogram or family motto.

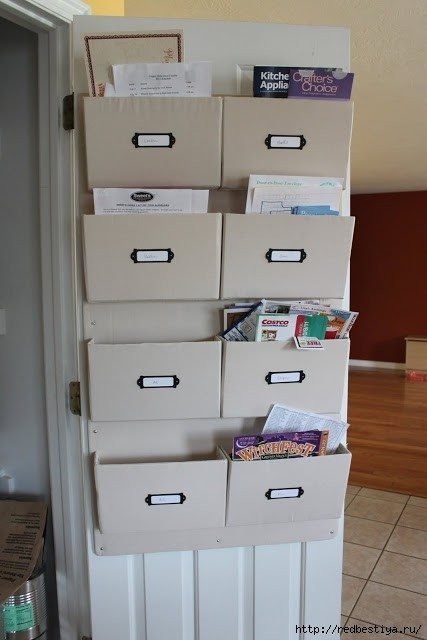
In simple pockets stick labels indicating their destination: receipts, invoices, post office, etc.

At the end I just hung a new organizer for the two existing screws that are left of the old decor. Everything turned out fine!

Courtesy: liveinternet.ru