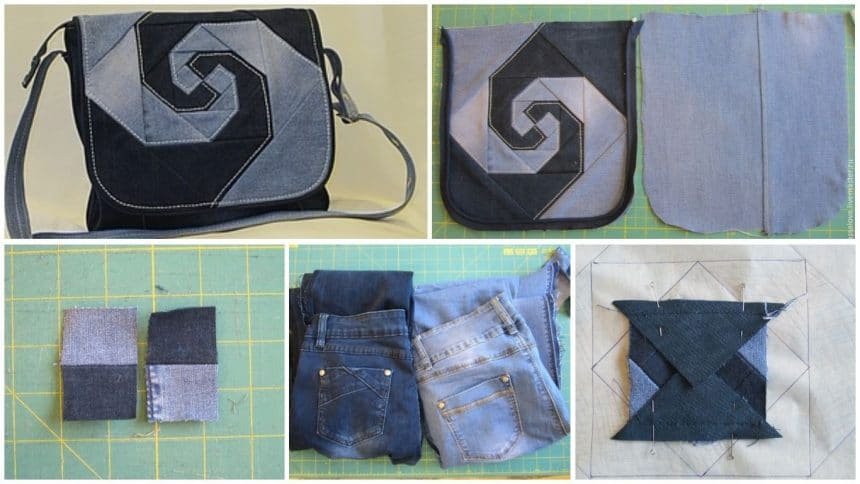
How to sew a denim bag with a valve decorated with a patchwork block
sew a bag with a valve decorated with a patchwork block “monkey’s paw”. For such a bag, we need flaps of two jeans of contrasting colors, scissors, thread with needles, lightning, lining fabric, paper, tracing paper, nonwoven fabric, ruler. And of course, a good mood!

Make a pattern of paper: the base of the bag and the valve.


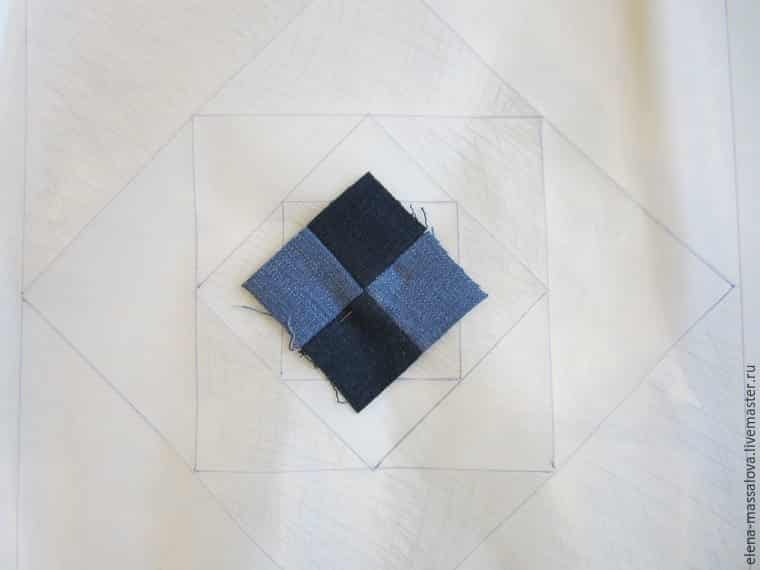
Let’s start with the valve. On the paper pattern of the valve, we impose a tracing paper and we draw here such a pattern. Since we use contrasting tissues, it should be noted (shaded).

The sewing technique is familiar to many. We measure the internal squares, take into account the allowance for the seams, we cut out two strips, from which we sew a two-colored square.


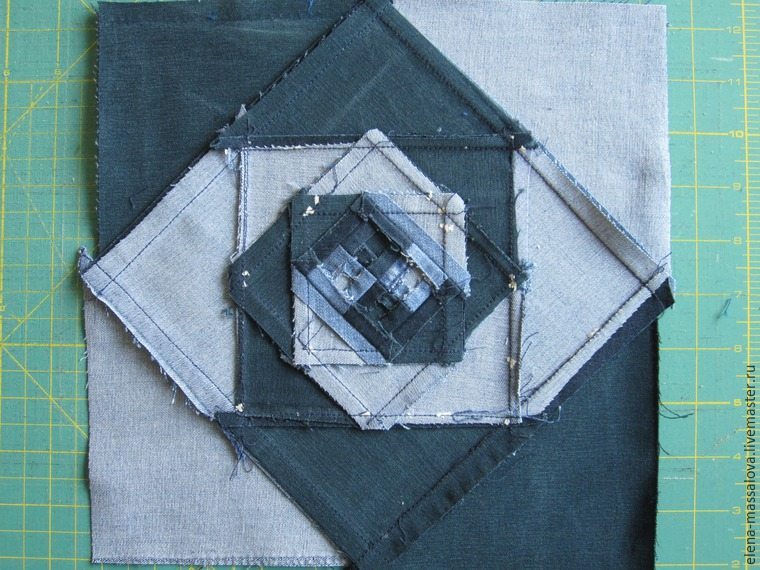
Next, we measure one of the triangles following the central square, add to the seams and cut out the triangle from the fabric of the desired color.
We prick, we put out, we turn, we iron, we equilibrate. And so, sequentially, the remaining triangles.

The first row is ready. In the same way, we do with all the other rows, we do not forget about colors. Every detail must be ironed out.


The result is this kind of beauty.

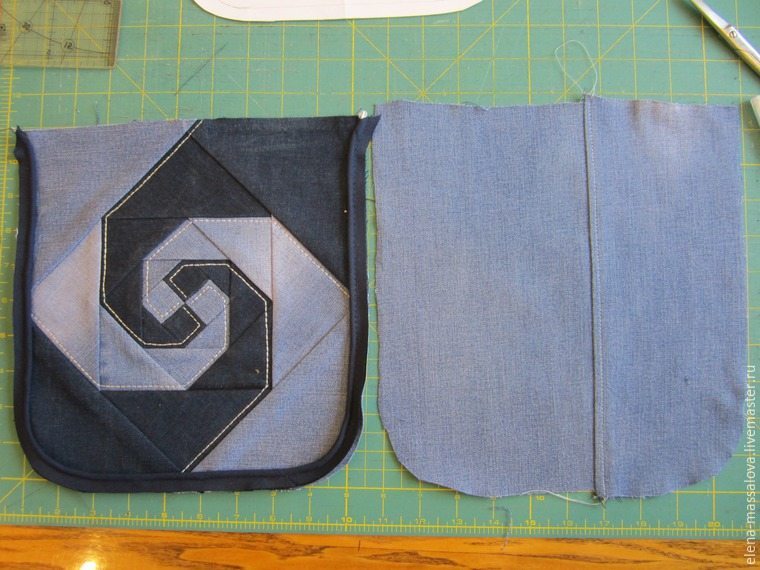
We remove the paper (it is well removed).
We attach the patchwork set to the glutinous base (nonwoven, double rinse), we make a decorative stitch and adjust it according to the pattern of the valve. We sew the edge (at will), we cut out the lining of denim fabric and we put it face to face to the patchwork of the valve.
We proceed to the basis of the bag. We take a pattern and cut 4 details from denim and 4 details from lining fabric. On one of the details of jeans, you can make a pocket (this will be the back).


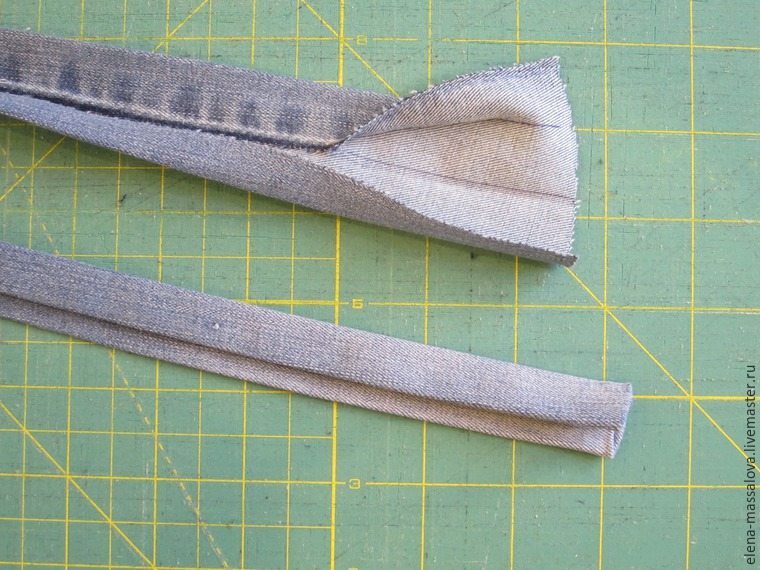
Immediately prepare the handle for our handbag (120 cm) and the strap, which will hold the buckle (11 cm). Width and straps, and handles for me – 2 cm in finished form, you can have it different – it depends on the width of the buckle.

Sew the handle and strap into the inserts of denim fabric (squares 6×6 cm, folded in half).
I use buckles, rivets, eyelets and other metal parts. Their installation requires special tools, but you can do it in a special workshop.
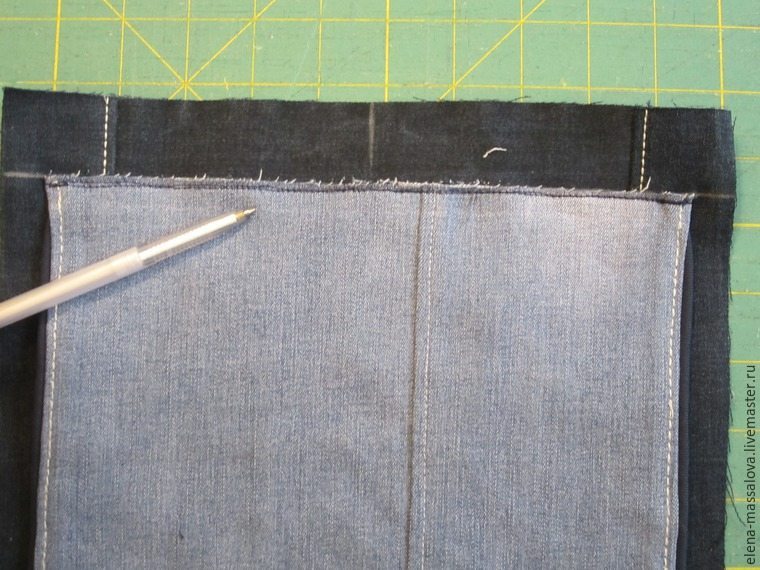
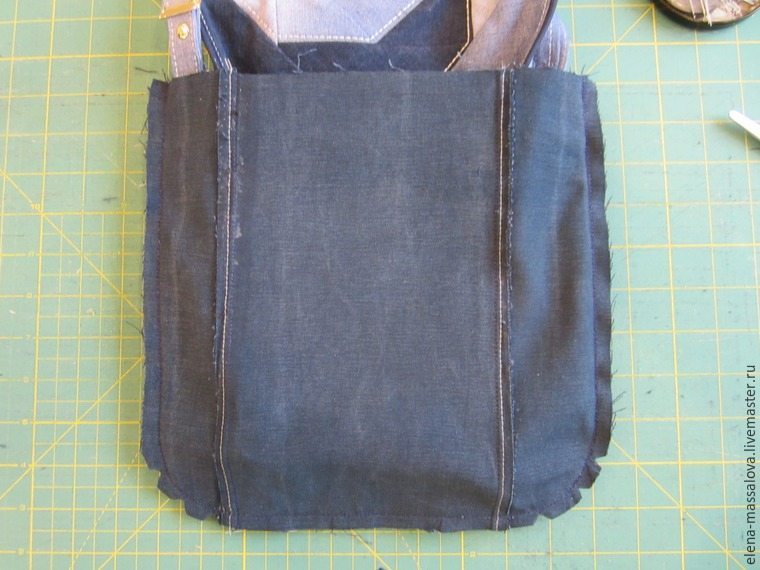
Now we collect the “carcass” bags. We take two jeans details (those without pockets), we put them face to face. We transfer the line of the internal seam from the pattern and spend it.


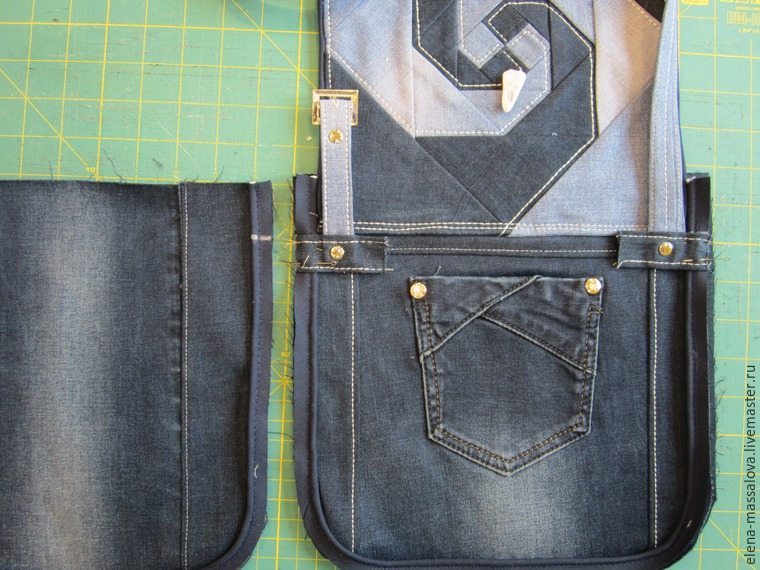
Next, take the detail of the backrest (on it I have a pocket), from the top measure 3 cm, draw a line, apply a ready valve to it and add it, retreating from the edge of the valve 0.3 cm.


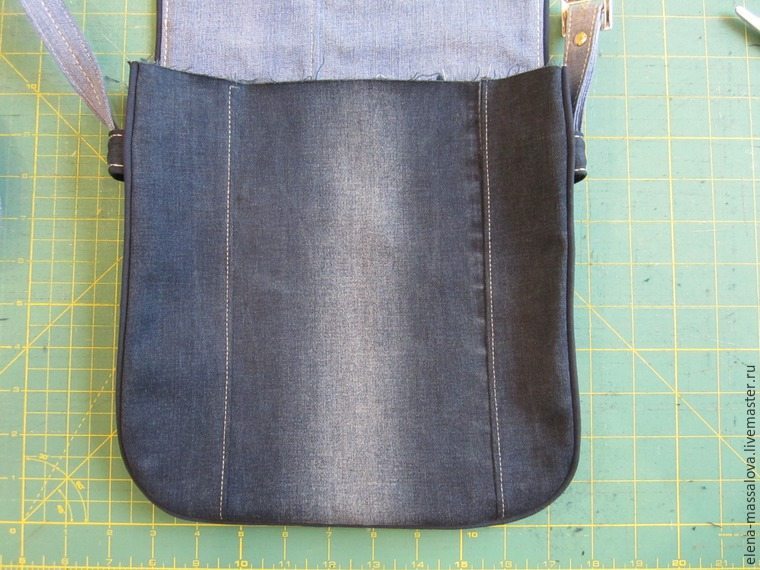
We turn on the face and lay a decorative stitch, retreating 0.5 cm.

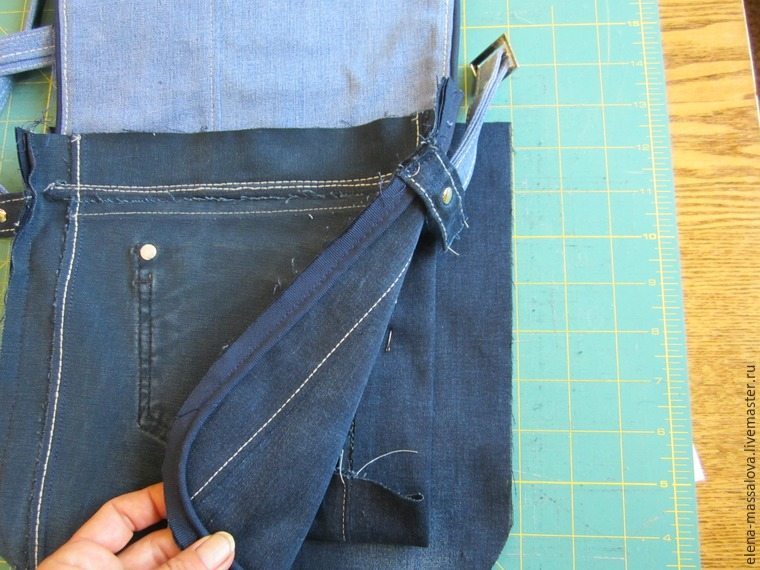
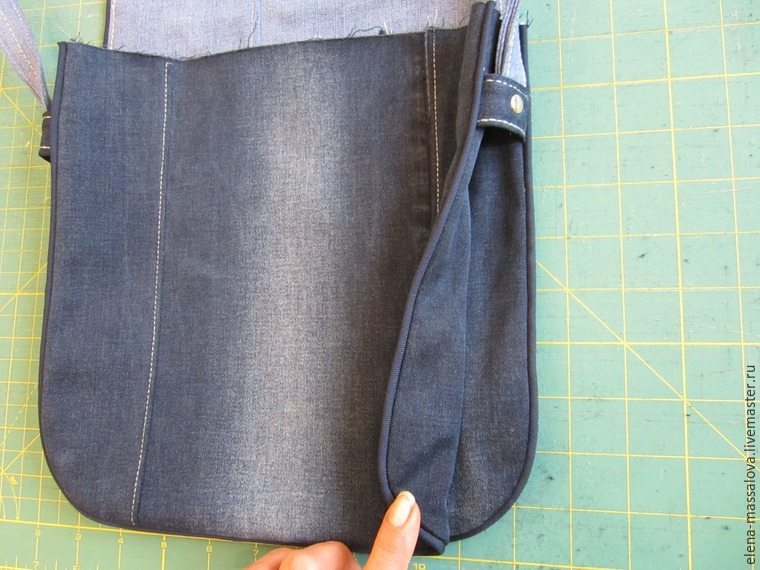
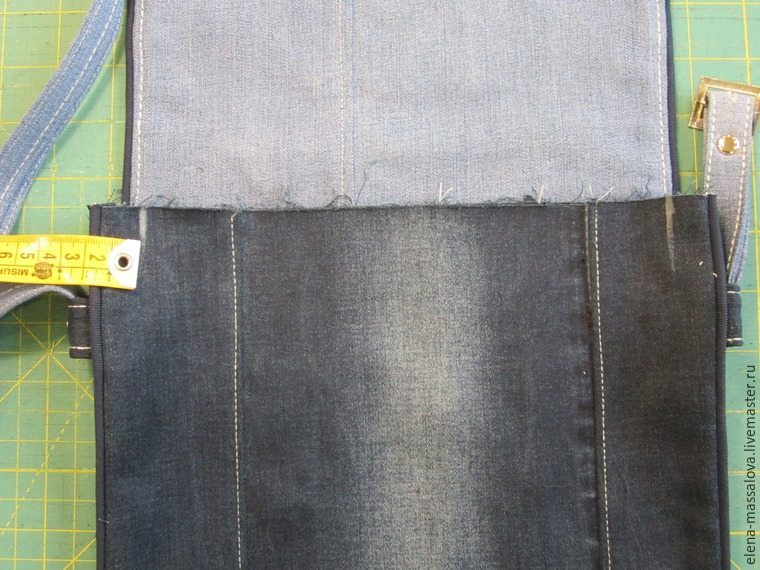
Prikalyvayem crossbeams, which are attached to the handle, at a distance of 3 cm from the top of the “back” of the bag.

To the bottom panel of the central part, we put a “back” and sew them together. If you do not accidentally hit the top panel under the needle, tuck it off the edge and pin it with pins.
We turn out, making cuts in the corners – half of the bag is ready.

Now we puncture the edges of the finished (back) halves, put the front part of the bag face down and spend it the same way as the backrest (do not forget about the inserts!). We cut corners, we turn out. “The carcass” is ready.

Go to the lining. Two folded parts are folded face to face and stitched along the perimeter. We do the same with two other details. It turns out two bags. Entrance to the pouch is tucked in 1 cm, and we lay it out and for a while put it aside.


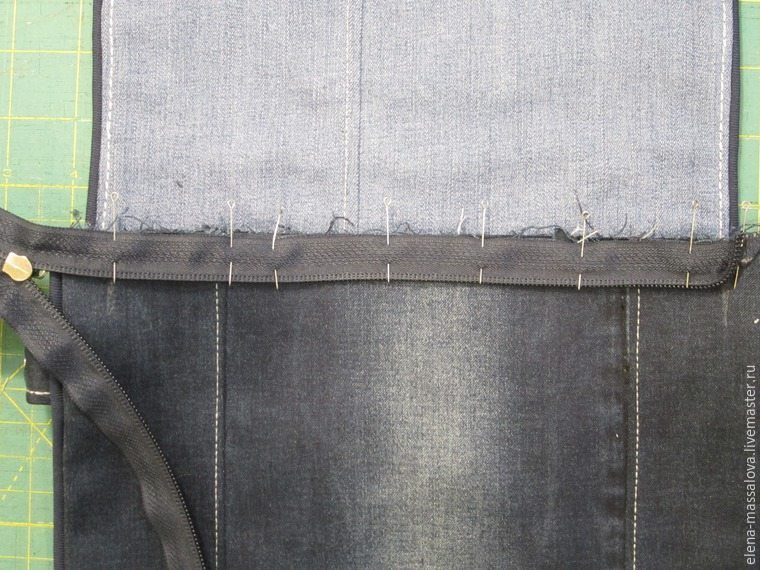
Take lightning, apply to the entrance to the bag, add 5-6 cm, cut off.


At the entrance to the bag on both sides of the side, seams measure 1.5 cm to the center, make a mark.

We prick (or notice) the lightning, carefully tucking it into the beginning.

Spread from the edge of 0.7 cm to the mark at the end of the zipper. Repeat the operation on the other side.
Carefully turn the inside by 0.7-0.8 cm edges of both parts of the bag, including those to which the zipper is sewn, we plan
Now we take stitched bags, we put (without turning out) in each department of the bag, we take it to jeans and we make a line on the face of each department.

We put on the zipper a slider and a tail-limiter made of denim.

We install the eyelets on the strap.

And the bag is ready!


courtesy: livemaster