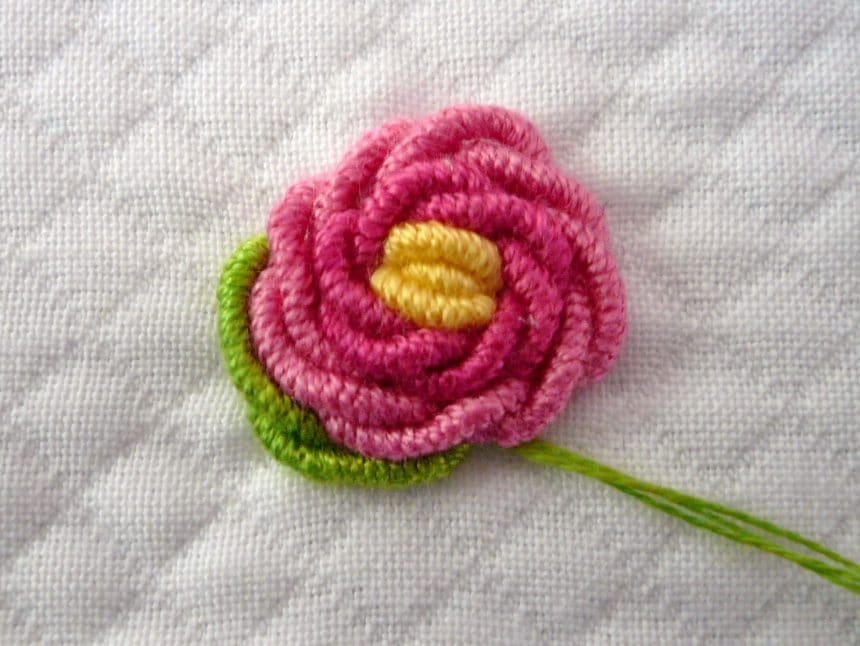
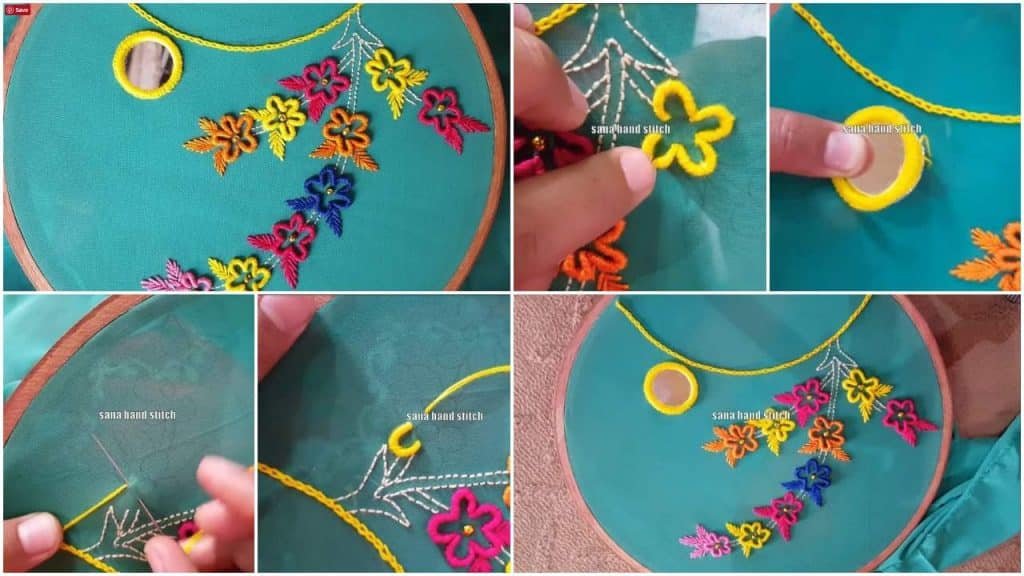
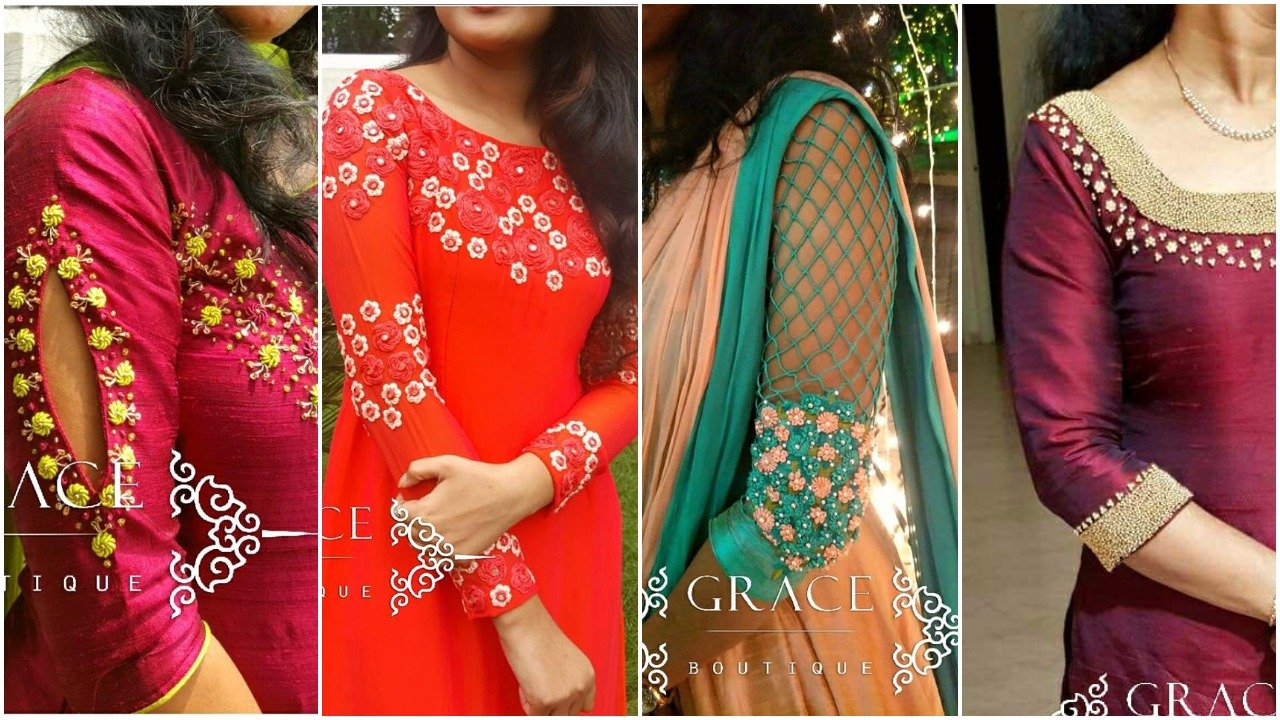
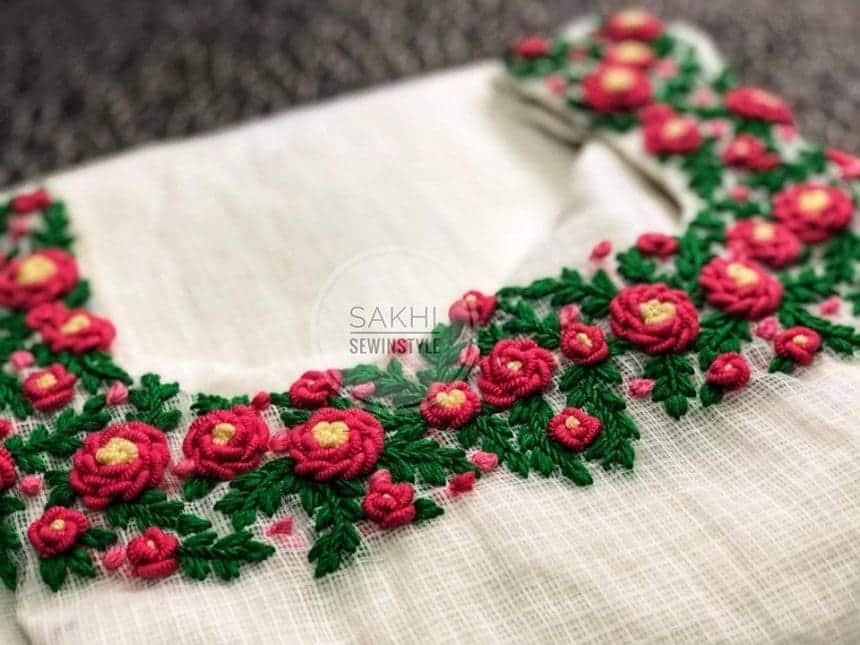
There are probably as many ways to make a bullion rose as there are people making them. I would like to include my take on the classic spiral bullion. These instructions are for big chunky roses as shown on the kurti.
 Spiral Bullion Rose:
-work with three strands of floss and a # 7 milliners needle
-it is helpful to interface the area behind the embroidery
-use three colors of floss plus a green. Use a contrast for the center and two shades of pink or red (a light and a
-medium shade) for the spiral rose petals. Use the darker shade for the center fifteen wrap spiral bullions and
-the lighter shade for the outer twenty-two wrap spiral bullions.
-the spiral bullion is made in four sections (colors):
-center – one, five wrap bullion and two, ten wrap bullions
-inner petals – six, fifteen wrap spirals
-outer petals – eight, twenty-two wrap spirals
-leaf base – four, twenty-four wrap spirals
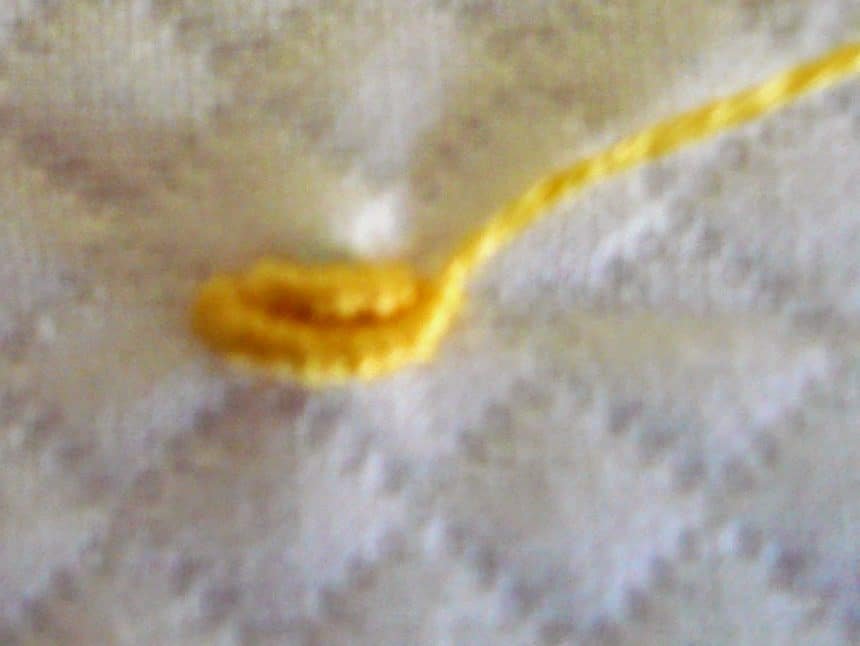
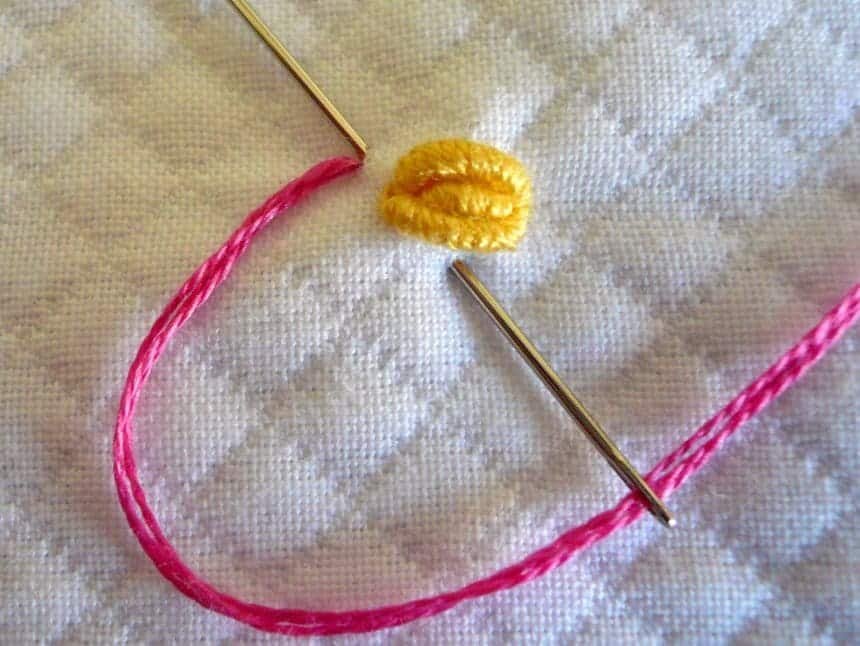
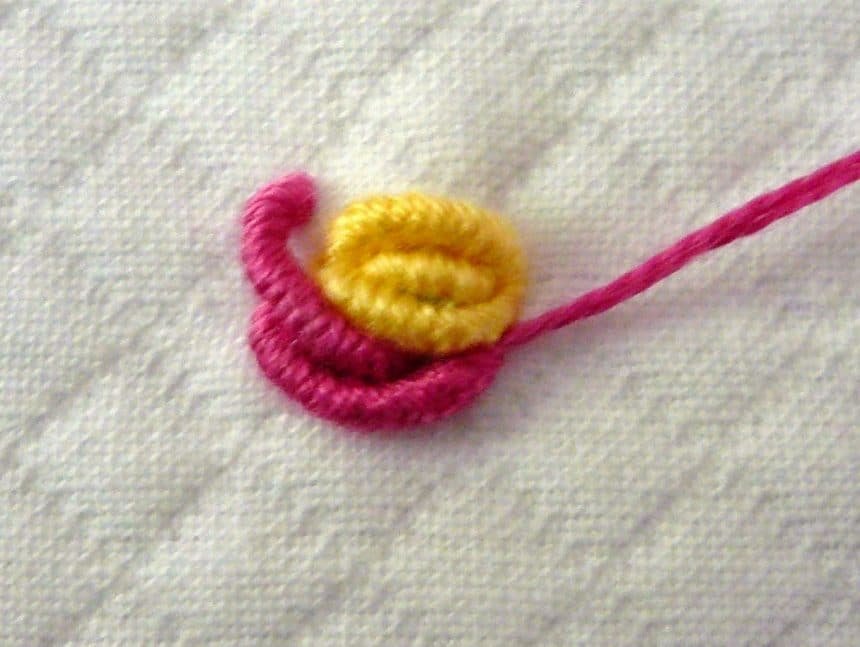
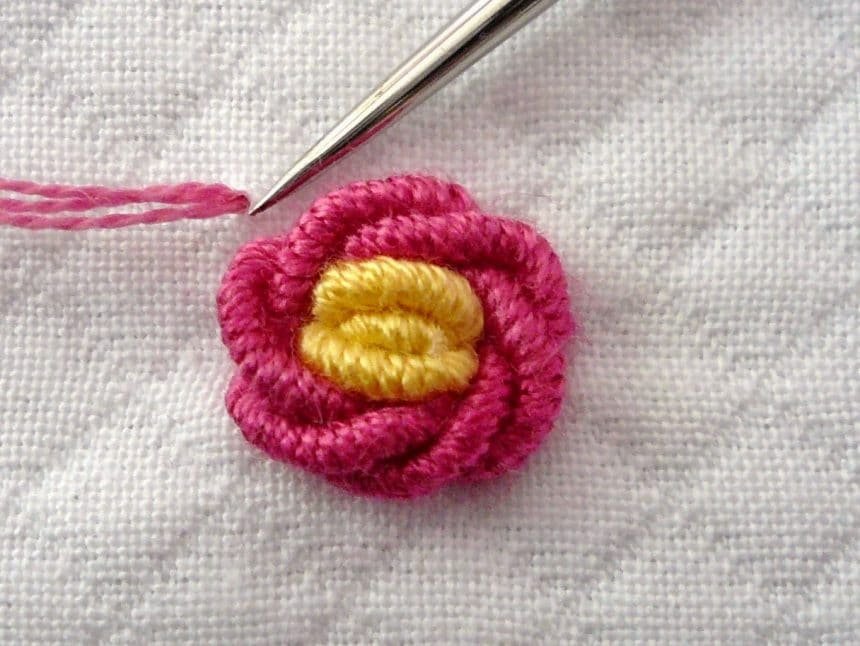
Work one, five wrap bullion at the center point

Bring the needle back to the left and take a new backstitch to make one, ten wrap bullion that cups beneath the five wrap bullion

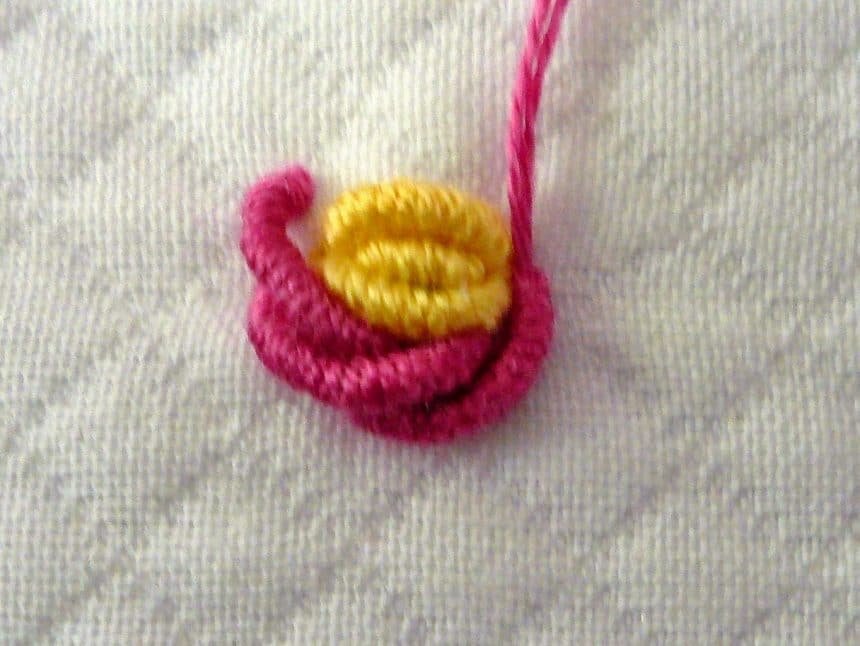
Turn the work completely over and make a second ten wrap bullion.

To make the first fifteen wrap spiral bullion, bring the needle up at about 11:00. Leave a gap, the width of one bullion stitch, between the entry point of the thread and the center bullion stitches.

Backstitch about ¼ of the way around the center. Make the first fifteen wrap bullion.

To make the second fifteen wrap spiral bullion, drop the needle to the back of the work and bring it up at the half way point on the first spiral bullion.
Backstitch about ¼ of the way around the center and make a second fifteen wrap spiral bullion.

Repeat Steps 6-7 to make the third, fourth and fifth spiral bullions

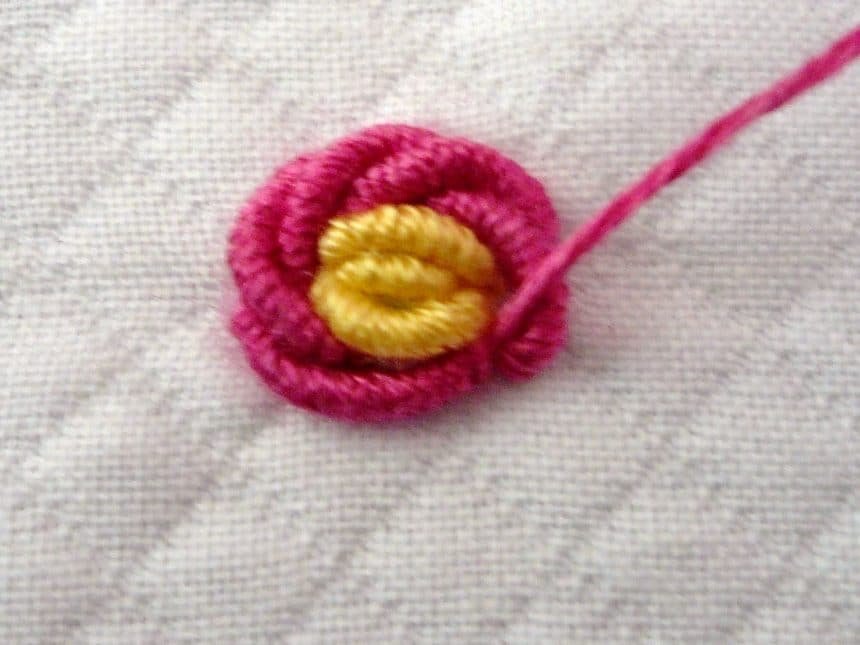
The sixth, and final fifteen wrap spiral bullion is made by bringing the needle up at the halfway point of the fifth fifteen wrap spiral bullion. Backstitch about ¼ of the way around the center bringing the needle in close to the center, to the inside of the first fifteen wrap spiral bullion. Make the sixth fifteen wrap spiral bullion.

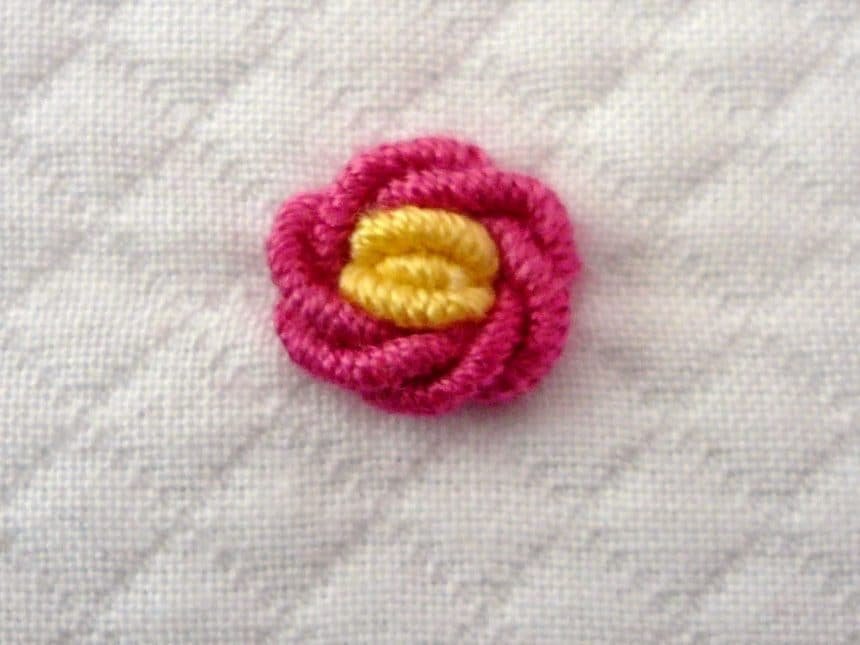
To make the first 22 wrap spiral bullion bring the needle up at 11:00 leaving a gap the width of one spiral bullion stitch. Backstitch about 20% of the way around the center fifteen wrap spiral bullions.
Make the first twenty-two wrap spiral bullion.


Make the second through seventh twenty-two wrap spiral bullions in the same manner as the previous color spiral bullions.
The eighth and final twenty-two wrap spiral bullion is made by bringing the needle up at the halfway point on the seventh twenty-two wrap spiral bullion. Backstitch about 20% of the way around the center, bringing the needle in close to the fifteen wrap spiral bullions. Make the eighth twenty-two wrap spiral bullion.

Bring the green in about 2/3’s of the way up on the left hand side of the spiral bullion rose. Backstitch about 20% of the way around the rose.

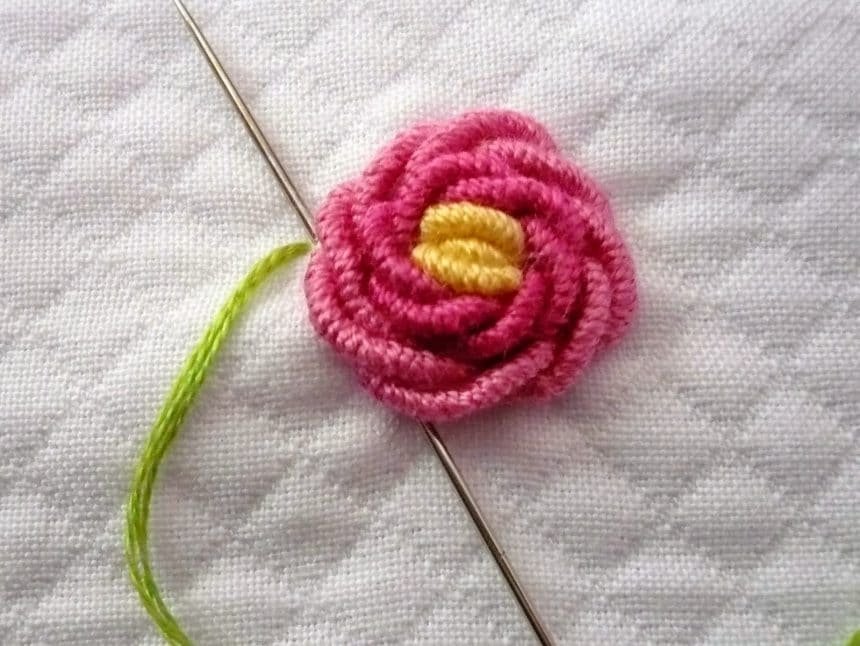
Make a twenty four wrap spiral bullion. Make the second, third, and fourth green spiral bullions in the same manner.