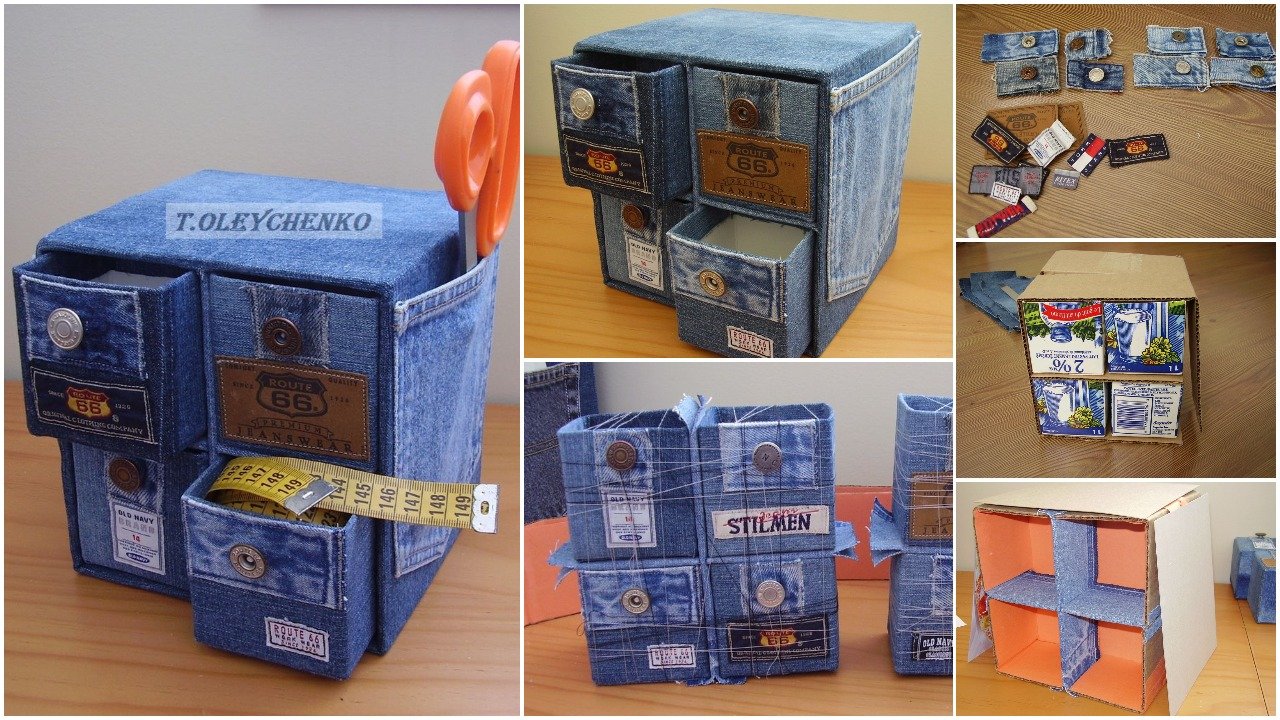
I’ve always loved making creative items and crafts, especially by repurposing old materials and giving them a new life. This is a tutorial on how to make a small drawer using cardboard and denim. I personally use it to store supplies and notions for future projects, but the drawer itself could be used decoratively as well.
I have not specified measurements for this project because you could technically use anything – the sizes depend on the type of cardboard, type of fabric, and the size of the tetra packs.
I hope you enjoy the process and the result.


For this project you will need:
Cardboard, preferably the sturdy and smooth kind.
A ruler.
Scissors.
A pencil.
A utility knife (optional – depends on the type of cardboard you use)
Craft glue.
Firm thread.
8 (clean) tetra packs from juice, milk, or other products.
Pieces of fabric and labels from old jeans.
8 buttons (I used the ones from the jeans themselves).
Construction paper.
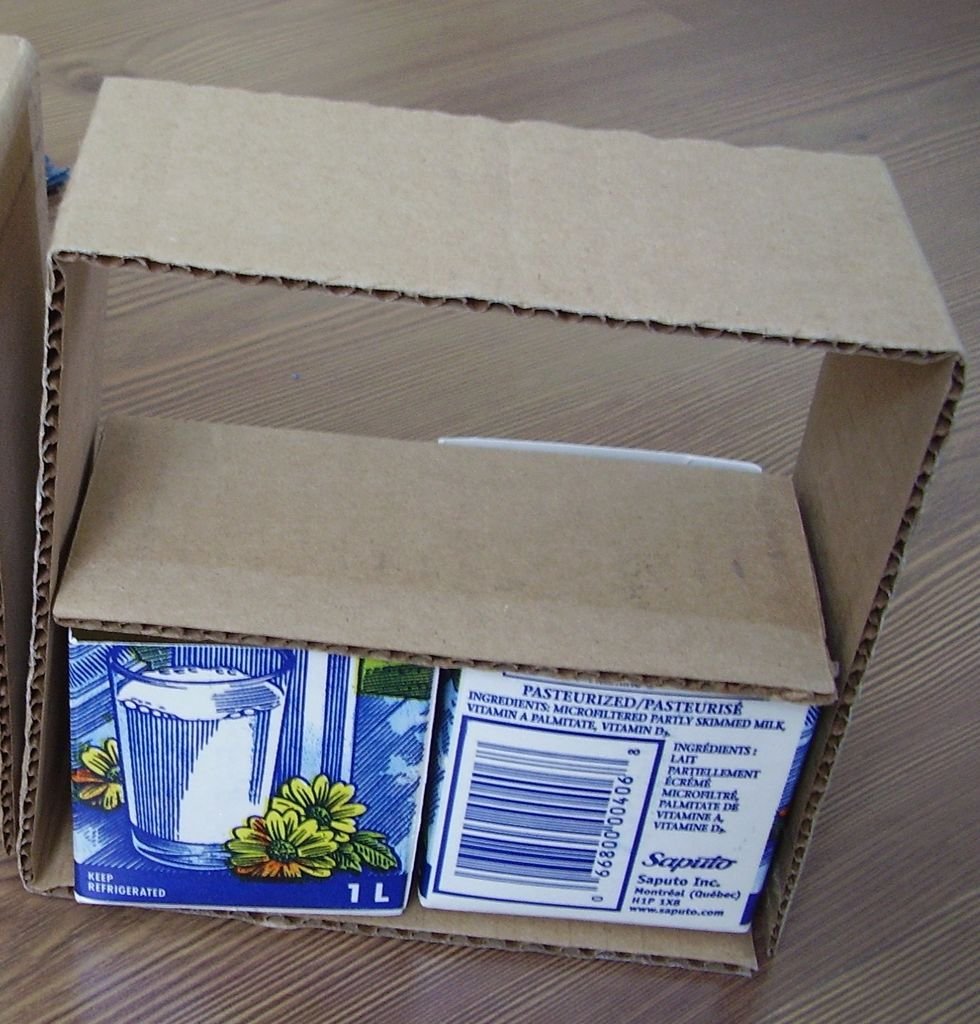
For the drawer, you will need only the bottom part of the tetra packs.
Cut them to the desired height.
I made mine square, but any size will work.
The top part of the tetra packs will not be needed – you may set them aside or recycle.

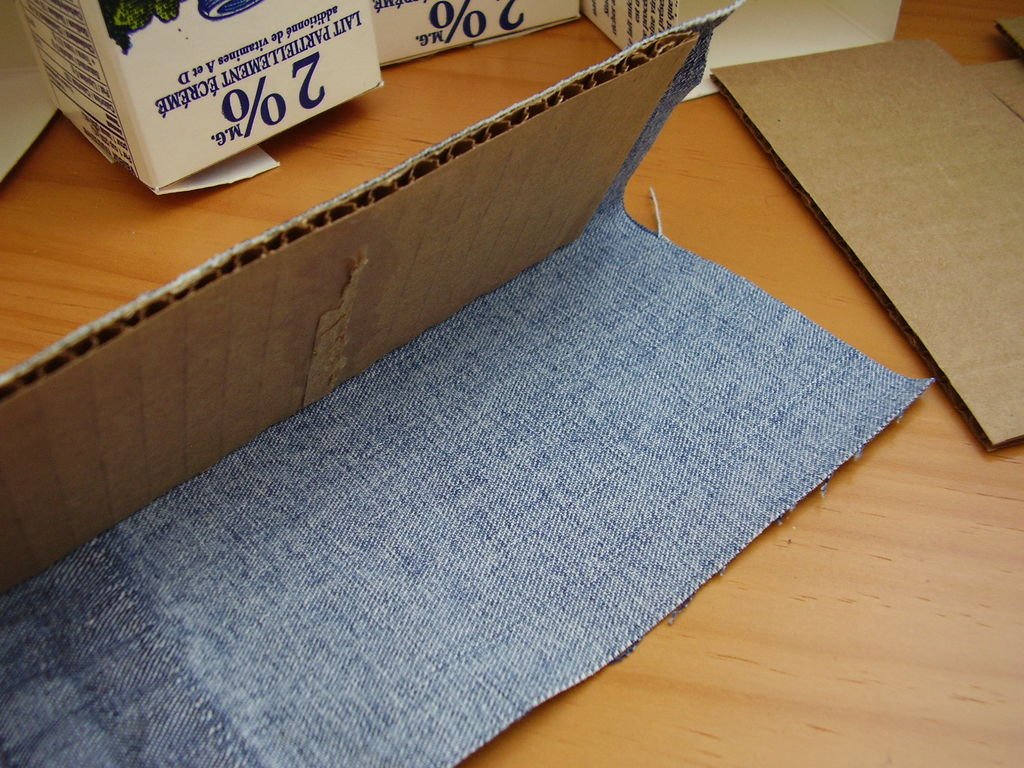
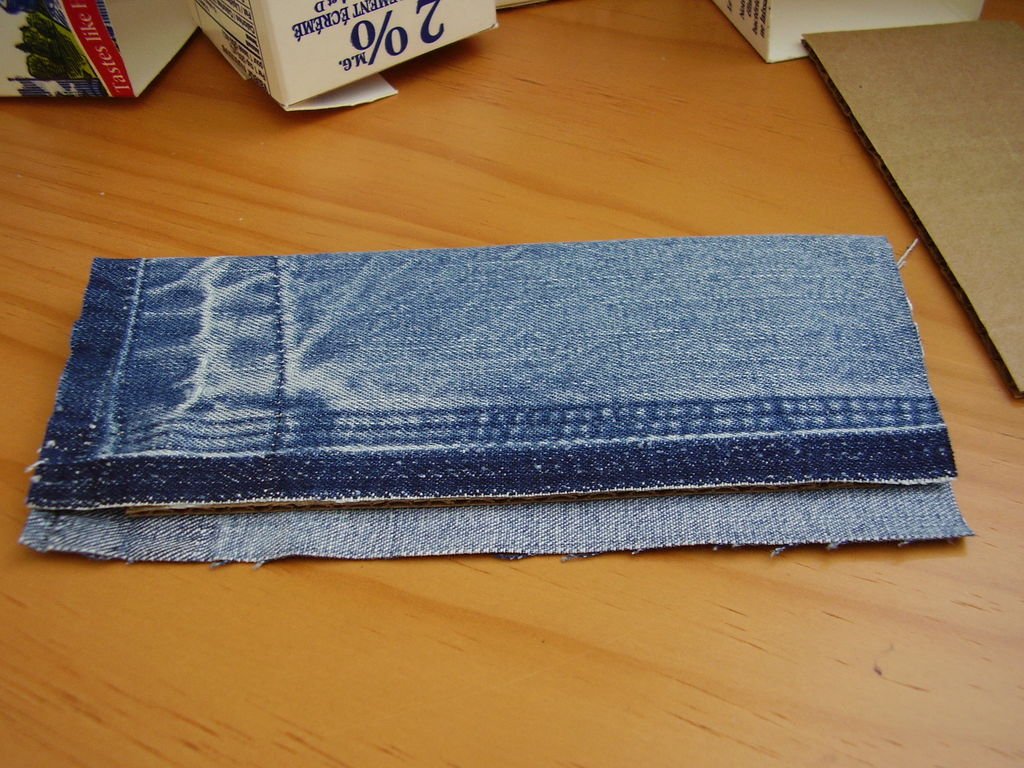
Cut a piece of denim
Next, cut 16 squares of equal size (two for each tetra pack). These will be used on the bottom of the packs, one on the outside bottom and one on the inner lining.


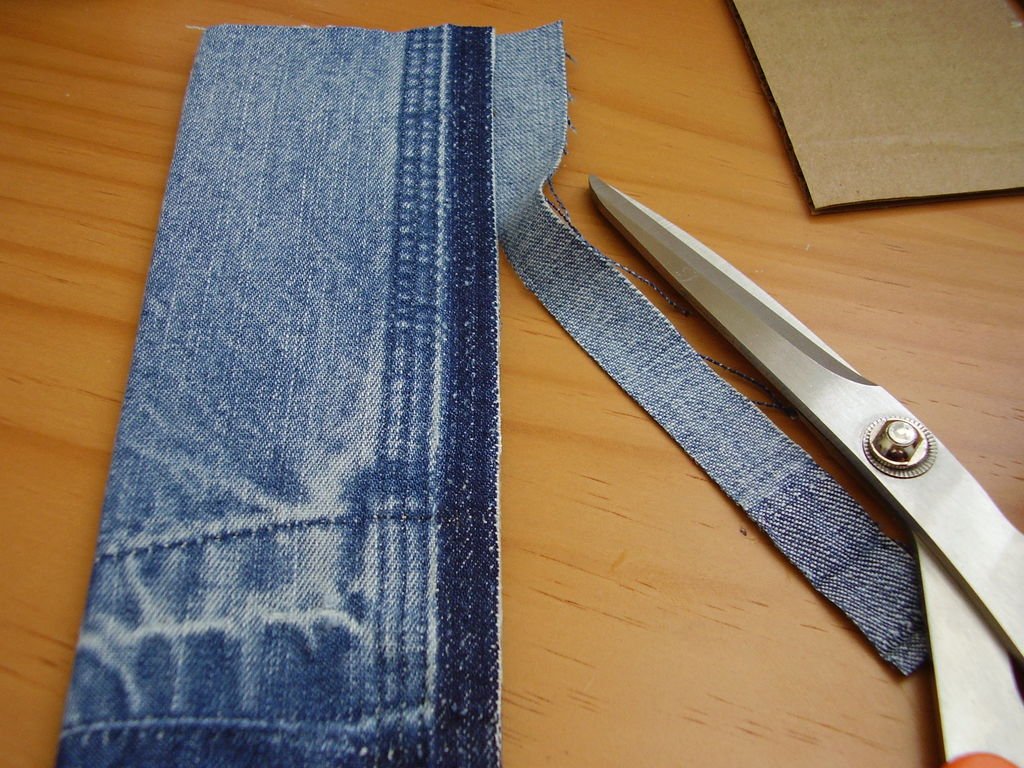
For each of the 8 long denim fabric strips:
Set the fabric strip so that the longer side is facing you. Measure and mark a distance of approximately two centimeters from the edge on one side, as shown in the first image.
Now step away from the short edge of the fabric strip by the width of the box and mark the location of all four sides of the tetra pack, as shown in the second image.
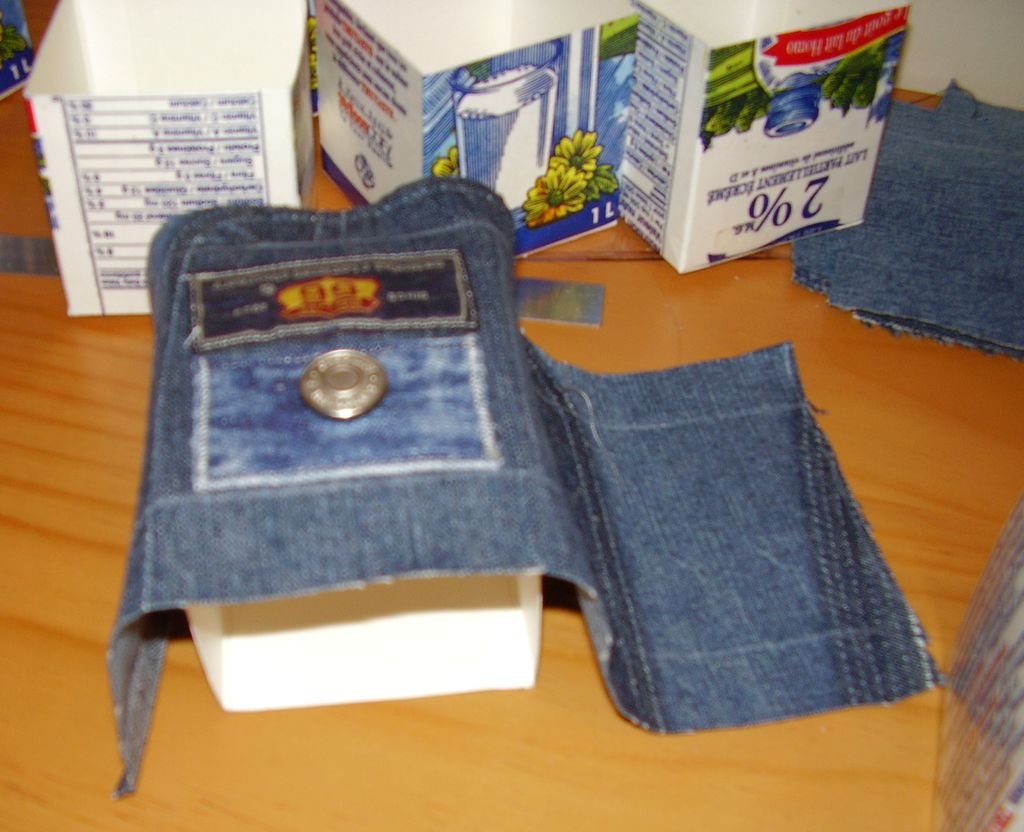
Place the labels and buttons anywhere you wish on the marked space and sew them firmly on. Alternatively, you may attempt to glue the labels on, but I have not tried this and do not know how it will turn out.


For each of the 8 tetra boxes:
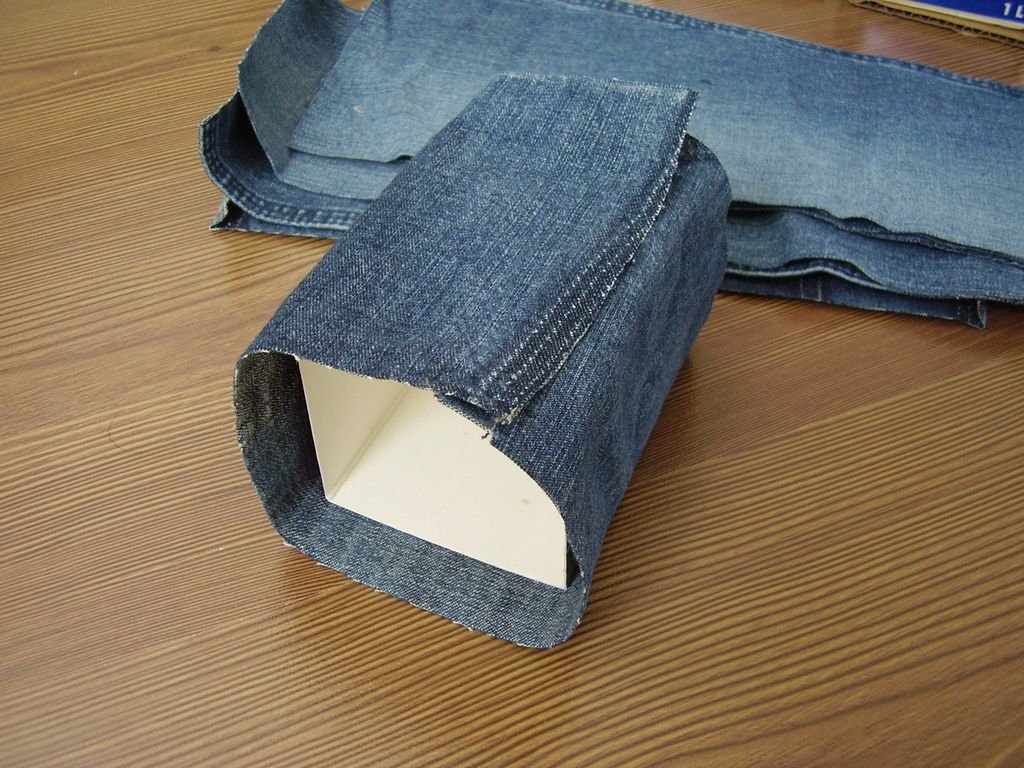
To start, set the displayable side onto the tetra pack and glue it. Wait for the glue to dry before proceeding to the following steps. The reason for this is to ensure that the visible side of the boxes will be glued accurately and won’t move when you glue the other parts of the fabric strip (Pic. 1).
Once the glue has dried, wrap the fabric strip all the way around the tetra pack and glue it. Wait for the glue to dry (Pic. 2.)
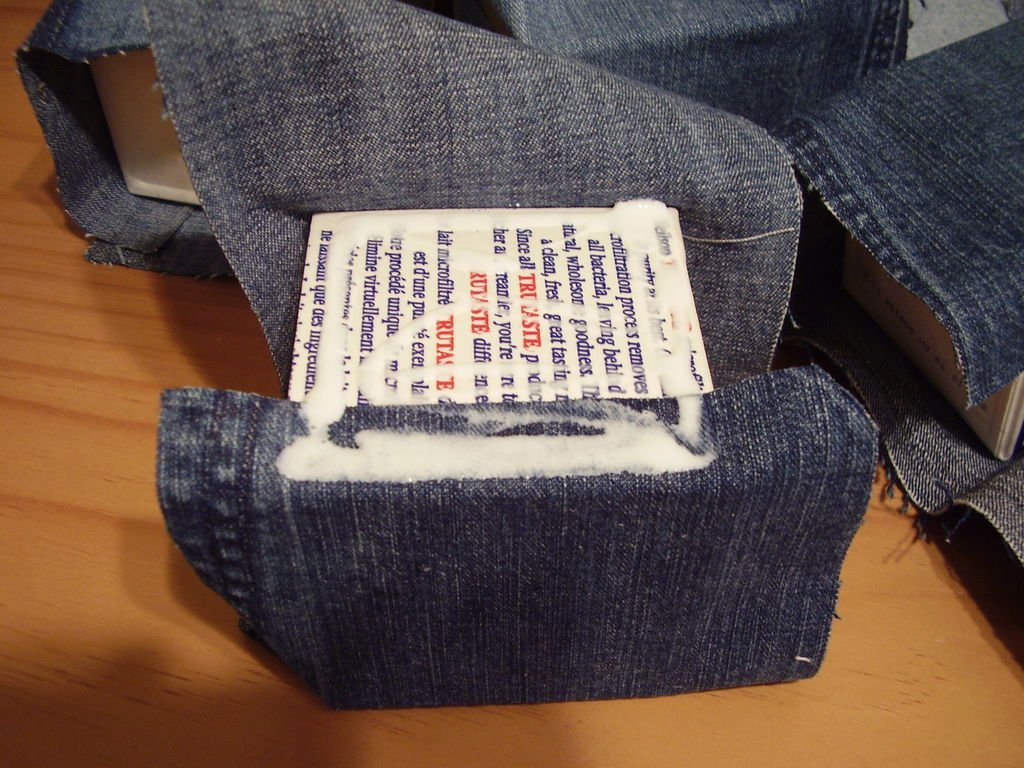
Fold and glue the top allowance into the inside of the tetra box and wait for the glue to dry, again (Pic. 3.)
Flip the box and cut off the excess fabric in the corners so that when all edges are folded in, they don’t overlap. Glue them to the box (Pics. 4 and 5).
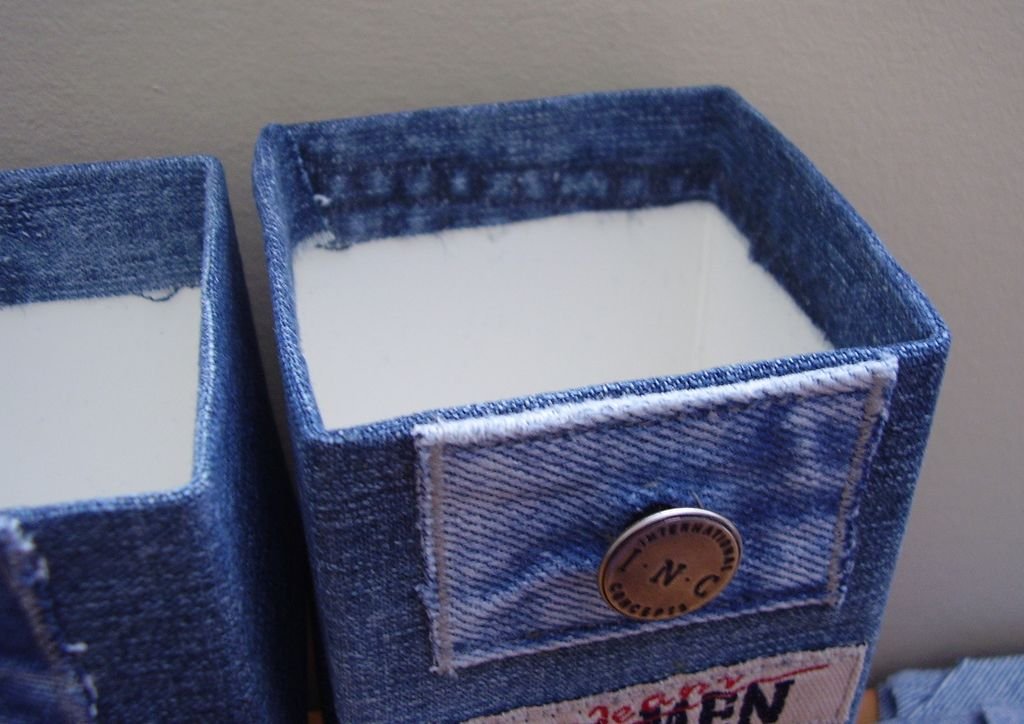
Take the 16 squares you cut out in step 3 and glue one to the outside bottom of the box to cover the space left from folding the edges in (Pic. 6) and glue the other to the inside bottom of the box (Pic.7).

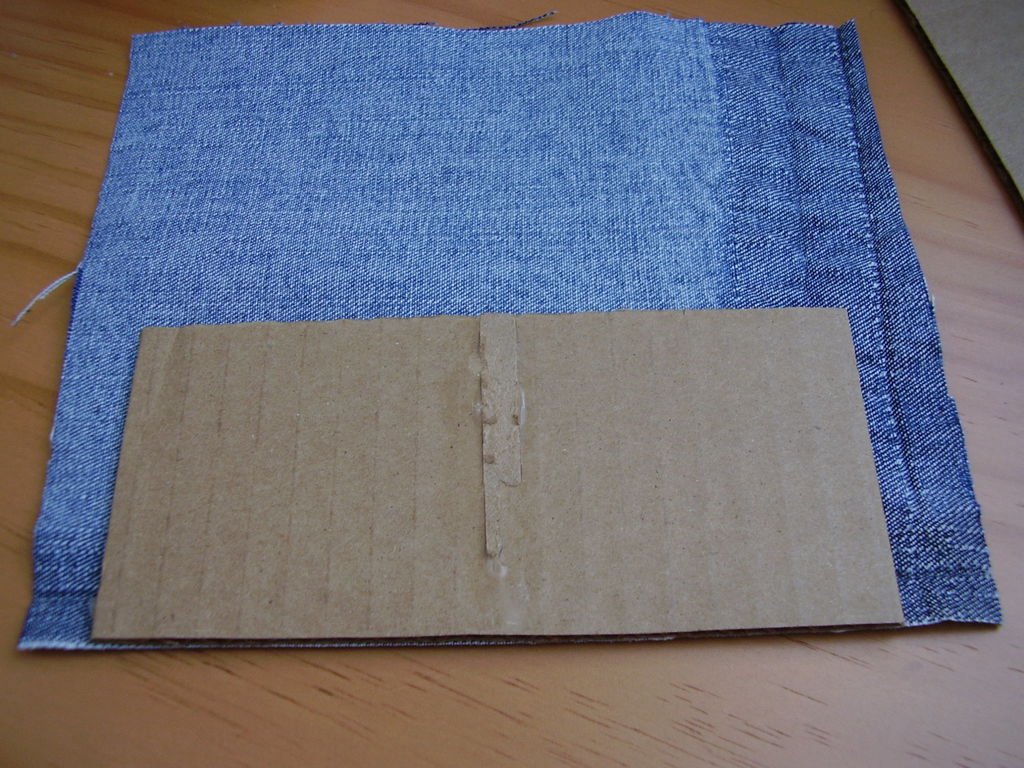

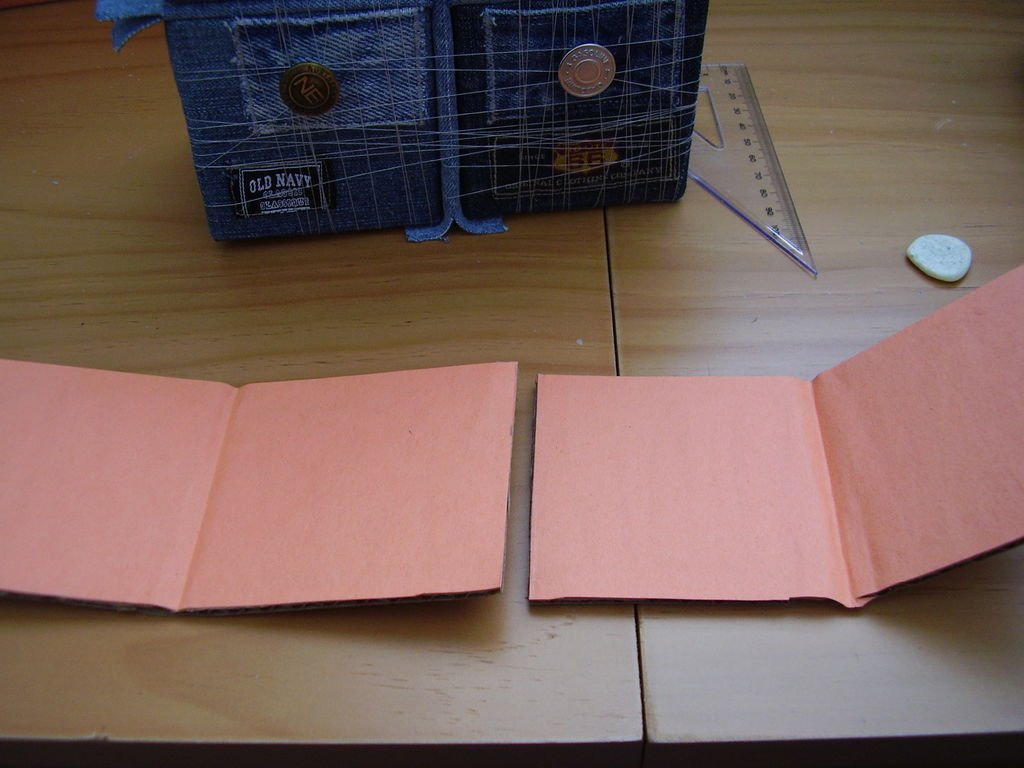
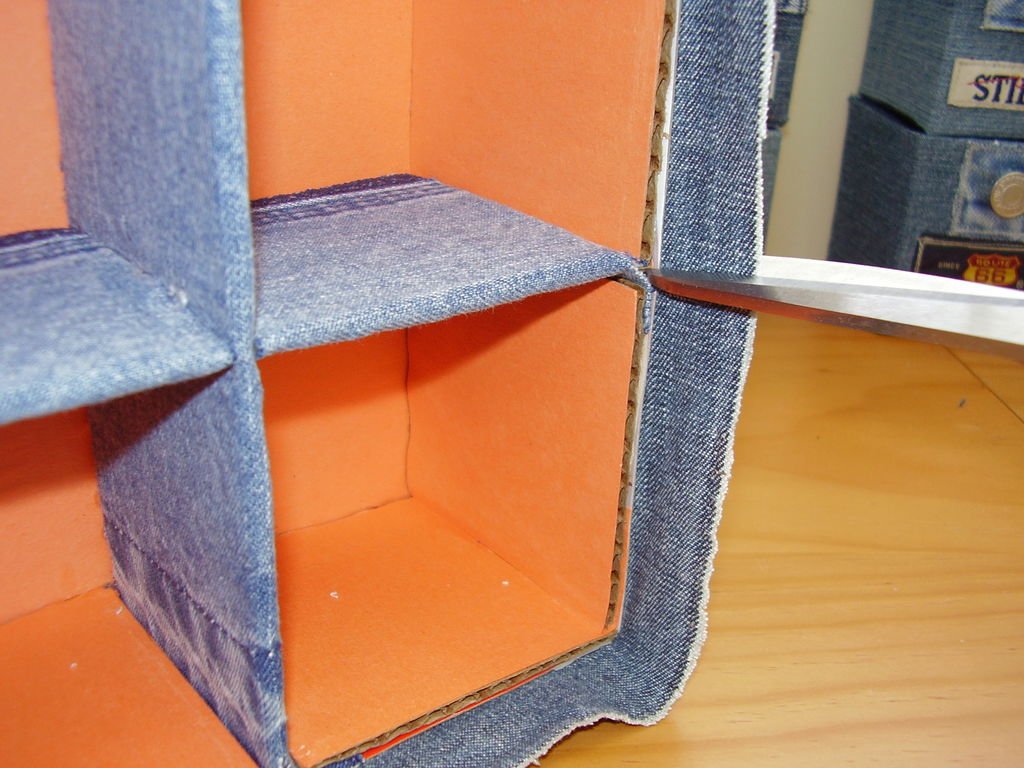
ut out 2 pieces of cardboard with a width equal to the width of one tetra box and a length double the length of the tetra box, plus the thickness of the cardboard and 4 layers of denim. Without the added thickness, your boxes won’t fit when inserted into the final product. If your tetra boxes aren’t cubed like mine, you may have to fiddle around with the measurement to get them right.
Wrap and glue the 2 pieces of cardboard with denim. If the denim extends past the cardboard width-wise, cut the extra off. However, it should extend slightly past the cardboard length-wise (1.5 cm – 2 cm). Don’t glue the extra extended fabric length together!
Finally, cut a small indent into the middle of each piece of cardboard. Make sure that one piece is cut from the raw, uncovered side (the side which still shows some cardboard) and the other from the covered side (the side that has been fully wrapped with denim). This way, when you insert both pieces into each other to make a cross, both of the covered sides will be aligned. Otherwise, you will have an ugly combination of one covered and one uncovered side.
Repeat this step a second time.


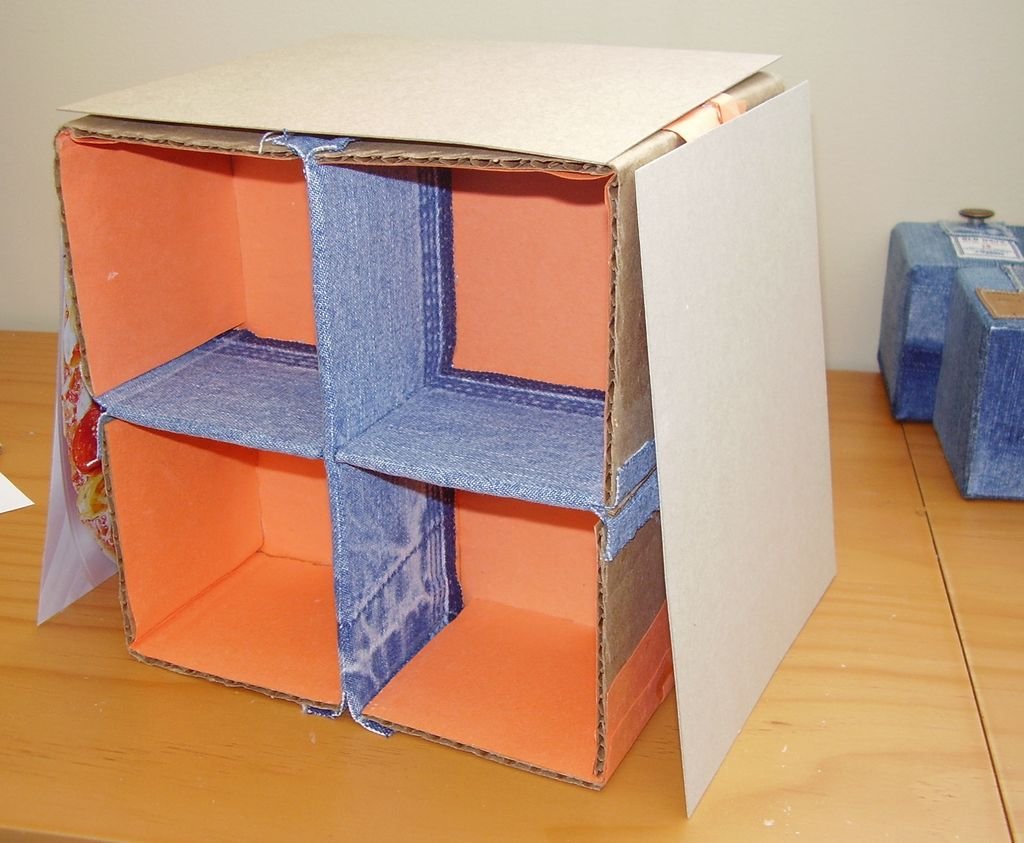
Now it is time to prepare the outside frame of the box.
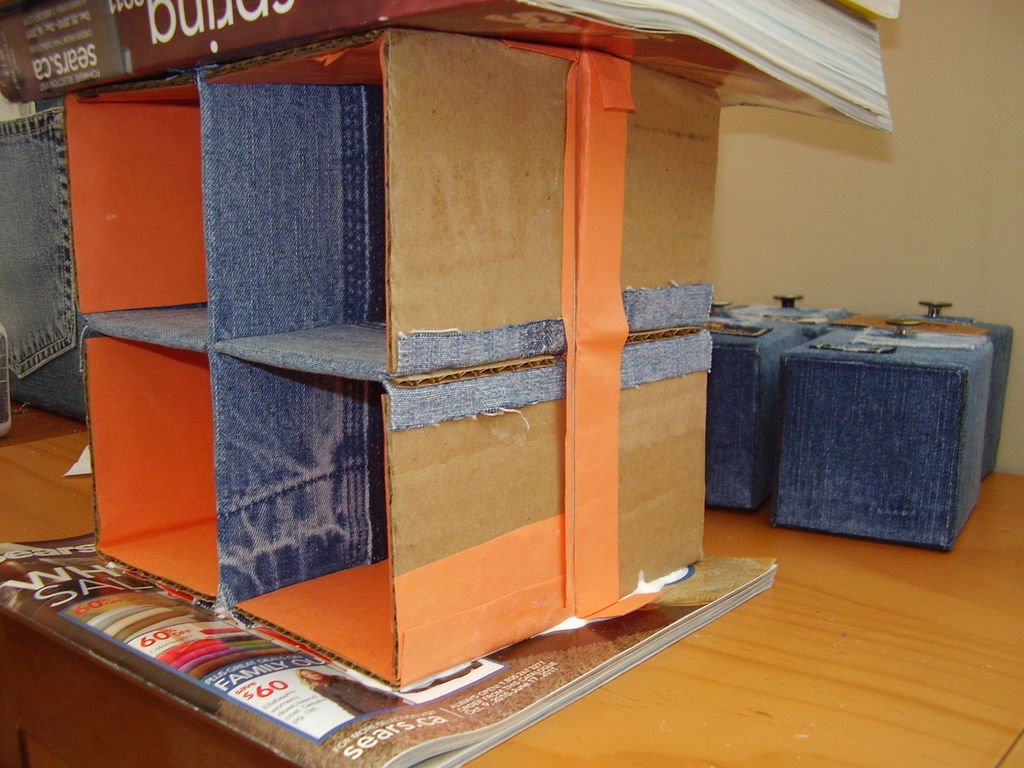
Take four tetra pack boxes and secure them to the cross-insert using firm thread. Do not actually attach the thread to the boxes, just make sure that the whole contraption becomes stable and doesn’t move too much (Pic. 1).
Now we need to make four pieces of cardboard that will be the frame. Each of these pieces should be the same width as the tetra boxes and should comfortably wrap around the corner of the aforementioned contraption (as shown by the orange parts in Picture 2).
Next, address the fragments of denim that are sticking out of the assembly. Snip the uncut edges of the fabric bits so that they can be folded two separate ways. Wrap the cardboard corners around the assembly and glue the cardboard to the fabric bits (Pic. 4).
You may now remove the strings.
Repeat this step a second time.


Using construction paper, wrap the back of both assemblies as shown in Picture 1.
Glue a piece of cardboard with a length and width equal to the size of the entire assembly to one of the contraptions.
Finally, glue both halves together.
This is done to separate both halves and make sure that when one box is inserted on one side, it doesn’t push out the box on the other side.
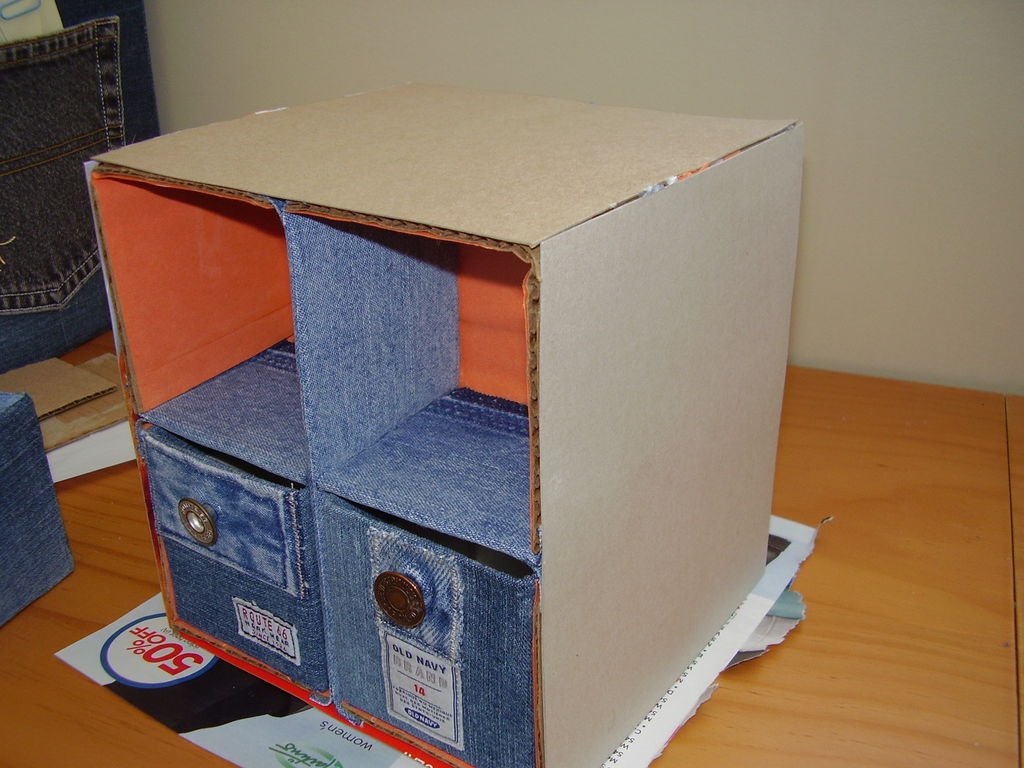
This step is conducted in order to ensure that the outside of the drawer remains smooth. All of the rough edges created in the previous steps will be covered with one piece of thin cardboard.
Cut out 4 pieces of cardboard large enough to cover the outer sides of the drawer, as shown in the pictures. Glue them on.
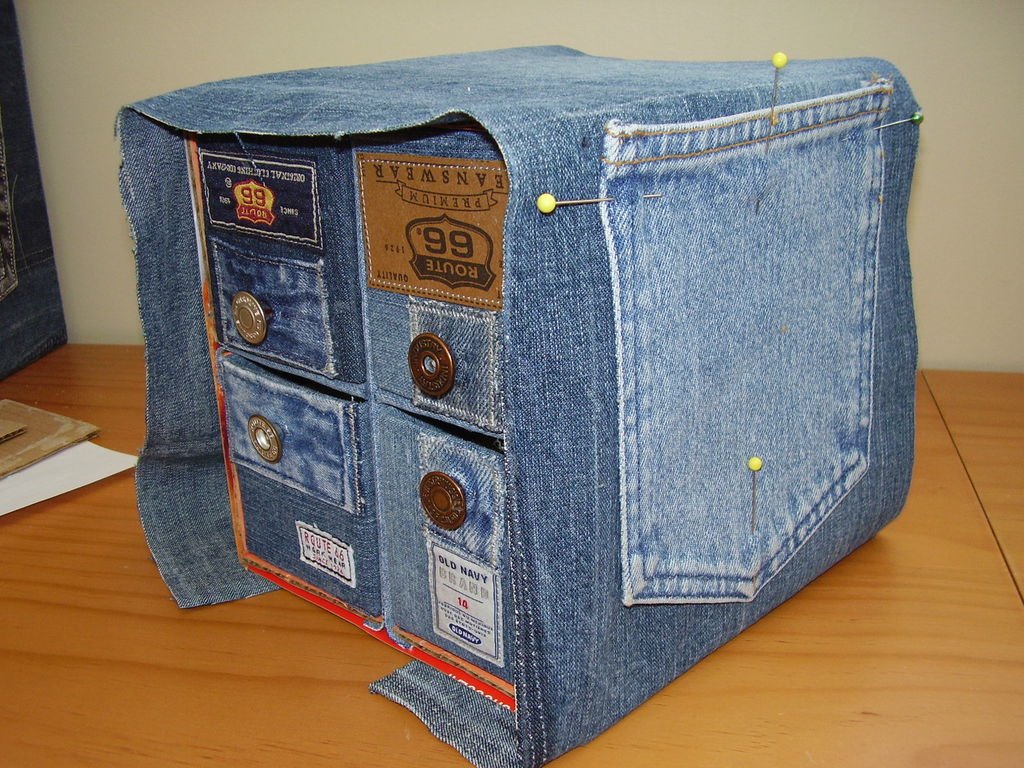


Procure a piece of denim big enough to wrap around the entire box (excluding the sides with the drawers). Make sure that the denim overlaps the sides with the drawers slightly (Pics. 1 and 2).
Glue the wrap to the box. Personally, I added a small pouch to the side of mine, but this is not mandatory. Wait for the glue to dry.
On the overlapping parts, cut slits level with the cross-insert (Pic. 3).
Fold and glue these overlapping parts into the box.


Congratulations! You now have fully functional denim and cardboard drawer.
courtesy: instructables