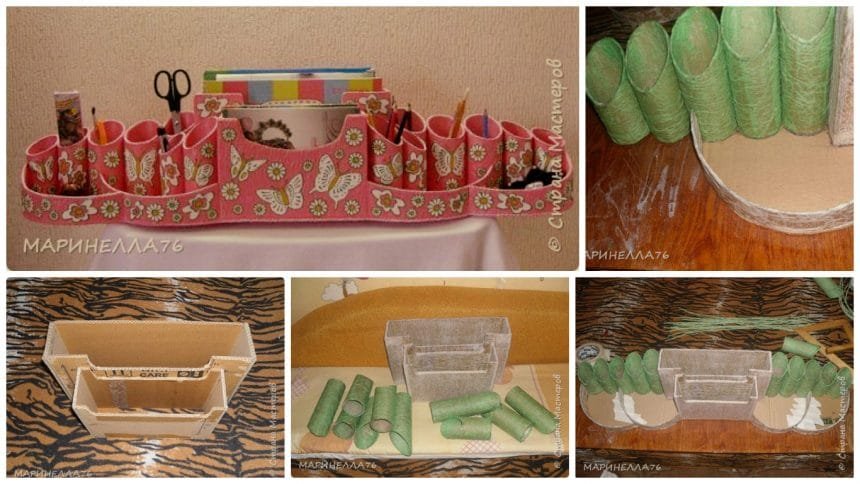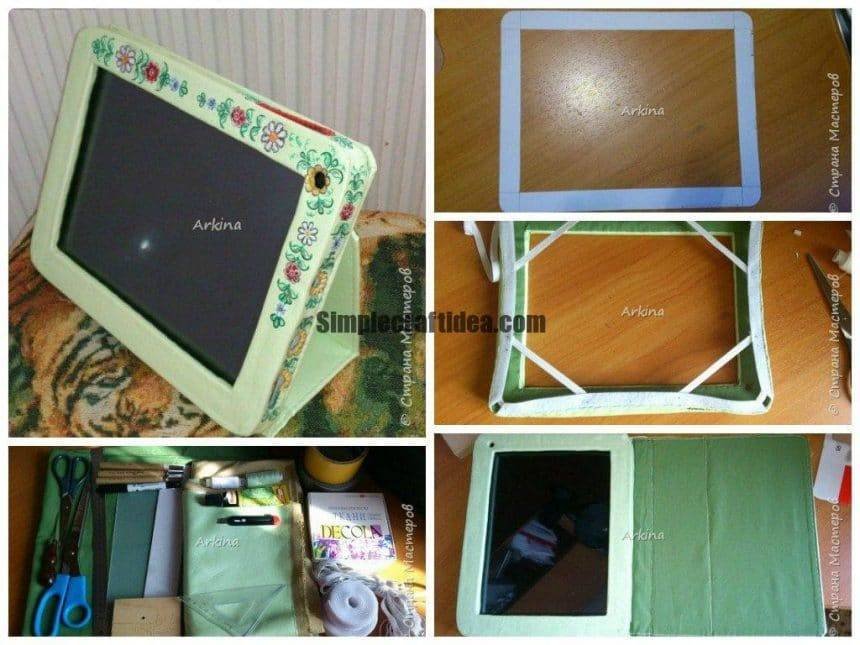
Case for children’s tablet
I want to share with you the experience in creating a cover for children’s tablet. After my eldest daughter broke the glass of its first tablet, I decided to make a case on their own, without relying on mass producers and trying to maximally protect the already new toy (bought a new Birthday) from damage. This is my second creation

So, I needed to work the following materials and tools:
– artificial leather;
– fabric (I have cotton medium density)
– corrugated cardboard;
– plastic;
– stationery scissors and tailors;
– awl;
– a marker for CD;
– pencil (on photo not shown);
– line;
– gon;
– semi-circular and flat tools for carving;
– a piece of plywood for the lining under the cut-out material;
– thread white and color;
– needles;
– glue;
– knife breadboard;
– tape right;
– tape reinforced;
– acrylic paint;
– elastic width of 7 mm
– tape “Velcro.”
– sealing material (foam, wrap of purchased equipment, etc.) with a thickness of 3 mm (photo not shown)
– sheets of writing A4 paper (depending on the size of the tablet).

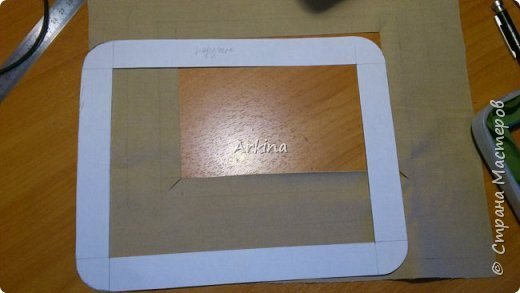
First you need to put the tablet face down on a sheet of paper and cut around the contour of our wealth pencil or felt-tip pen.

Measure the distance from the edge of the plate before the screen from all sides. Take a margin of 3 mm (so that following application to the frame plate was 3 mm prior to the screen). If your tablet is not on Android, as, on Windows 8, the gap should be increased, since otherwise it will be difficult to “pull” from the edge of the menu. Who worked on the tablet with “Windows”, he will understand me. Although this is not the plates for a small child.

Cut out the pattern of plastic, cardboard and “crema” (foam). The inside of the cut “foam” is not delayed. It is useful to us later. If you, like me, feel sorry for wasting a large piece of plastic on the narrow frame, it can be cut into two parts and then glued together at the joint reinforced with tape, as shown in the photo.
The first retreat: to cut the adhesive tape is better to use some scissors. Adhesive remains on them and cut their cloth and all other materials becomes impossible, and scour the blade after each cut a very long time.
The second digression: I use and plastic and corrugated cardboard, plastic I have thin and easily folded cardboard, along the same they form a durable material.

Putting a plastic frame to the plate and planned location of the camera (and / or the light sensor, proximity sensor). Their size will be adjusted later, but first, they are still required. Next, cut them semicircular tools for carving. You can, of course, and a scalpel, but it is very difficult to do exactly. Ideal – the right diameter punches, but I have none.

By “Pink” glue along the perimeter of double sided tape.

Glue plastic.

And for the same double sided tape, fasten the plastic over cardboard.

Measure the thickness of the sandwich: a tablet, “foam”, plastic, cardboard. The measurements should be carried out on a solid surface. Ideal – this caliper, but to me, to be honest, was too lazy to look.

Cut the strip (or strips, depending on how much of the material we have) “crema” and bonded at its perimeter. Edge “foam” must match with the end board. On top of it to fasten plastic double sided tape of the same width. If the strips are short zippers, fasten reinforced tape.

On each side of “foam” and reinforced cardboard held together with tape, both outside and inside.
Retreat third, in his first experiment to create a cover for the tablet I flexed the plastic so that the sides and top frame are made of one whole piece. As a result, the front side of the frame behind the screen cover plate (plastic even well bent and then penetrate into the ground bending spring). So that the front of the hood and sides for the second time I made separate parts.

Our paper frame should be put on the fabric and make a pattern with a seam allowance. Shall be measured along the perimeter of the workpiece, cut from a fabric tape (strip width = width of the blank + 1.5 cm length of tape preform perimeter = + 2 cm.). Sew together the tape and fabric frame, as shown in the photo.

Insert the lining resulting in a box-blank, after making nibbling on the tissue at the site of rounding. Laid inside the tablet. He must lie inside without any gaps. If the gaps are big, then you need to reduce the frame and glue the rim again. If the interference is too large, or even a tablet does not fit inside (this can happen if the “foam” glued wrong, or lining material is too thick), it is necessary to cut off the bumpers and strengthen their already directly on the double sided tape (no glue), and alter the lining .

Would look like the lining in the frame.

You can just sew the lining to the box in the corner joint. Possible to facilitate the work to fix the fabric in the box using double-sided tape in several places (at least in the corners). Here there is urgency reinforced, rather than a simple tape. If you pierce the ordinary adhesive tape, you get perforation, and a chance to break strongly increase.

It looks like the seam on the outside.

Sewn around the perimeter of the fabric. The inner perimeter of the fabric is not circumcised in the region, but just tucked.

The resulting preform encircle the perimeter. This frame I have called the “Outer”. It is larger than the previous. Simply add the thickness of the plastic and “foam” I do not advise it because such things are better measure “after the fact”. Apply a template to the wrong side of the artificial skin and contours. Cut with the SEAM.
Since we have the thickness of the workpiece from the side of the screen is not small, then we still need 4 pieces of artificial skin about the size 10h30 mm, which we will paste into the inner corners.

Paste the rectangle must be as shown on the photo. I used glue “moment”. On the part of the fabric of their tuck.

Next folded the artificial skin. I stuck to the edges of the double sided tape and gently pulled the skin.

Next hidden seam I sewed together the fabric and faux leather.

Area artificial leather sewn inside out so as to form a small preload.

Cut off the excess skin and gut-wrenching product in the face.

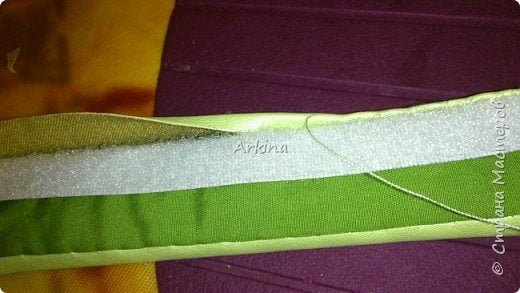
To sew the fabric through the plastic tape “Velcro” (couch). Belt width of about 2 cm. Working part was about 1-1.5 cm.

The result looks like this:

The next step is to tuck and sew hidden seam artificial skin to the velcro.
In the photo, edges are tucked and stitched. The tape itself is bent as much as possible.

Let us Further sides: cut tissue foam, plastic and skin in those areas where there are holes and buttons. And I deliberately “blocked” some inputs / outputs. I felt that the HDMI and a USB connection to a computer and a memory card in constant use for a child – it’s too much. Adults also may then pull the plate out of the case if necessary.
Sheathed all the holes as sheathe loop. Frankly, I hurried, and then had to expand the hole. The plate was stood in the end just in a different position and trains require more holes. So we can not yet flash, but only mark the holes.

When we later will be mounted on a rigid part of the “Velcro” our top part of the cover, the soft part of the “Velcro” should be tucked, and better, so that the tablet was fixed at this point. For this, I sewed in the corners gum.

Next sewn longer gum, which are optional and to fix the plate.
The retreat of four: at this stage it is necessary to re-try the plate to see if the gum does not cover the openings such as speakers, microphone or camera. With this in mind gum scheduled and sew.

I had to move one gum. It overlaps one of the speakers. After fitting twist plate in all directions, looking blemishes, check the “bolt almost” in a case, check the access holes I / O.

According to the “outer” do the pattern-frame rear wall of the cover of our tablet. The lower edges, if you provided cover for the tablet, not rounded off. Cut holes for the camera, speaker, microphone (one that is) and stick double sided tape. For we need to glue the cardboard “foam”.

The width of the “foam” must be less than the width of the folded cardboard with a soft “Velcro”.

Cut a rectangle of fabric. Width = length of cardboard + 4cm. Length = width of cardboard * 2 + height of the finished cover + 7cm. Do not feel sorry for material allowances. Too much can be cut, but it is very difficult to sew.
The fabric is laid over the board and “scum”. In deepening using stapler fasten the hard part “Velcro”. Sew this part of the better free hook strip. It is narrow. From the outside, it is better not to cut.Tape so that, on the one hand, to fit it tightly “the Skin” under the fabric and the other to 1 mm inward from the edge defended cardboard.

All “Velcro” we need to sew the inner edge. Holes do, between the table and put a cover. The hole made by high quality when heard a quiet “crunch” entry sewed into a tree. The outer edge while not touching. Under it we will tuck artificial skin.

At the top of the cardboard onto hooks staple stapler glue plastic.
Cut a rectangle of artificial leather of the same size as the fabric before. We need to fix it with little interference on cardboard with plastic. Fixation in this position is provided by double-sided tape, glued to the edge of the skin. Do not attach adhesive tape to the back side of the cover, to the plastic. This will be evident in the artificial skin. Edge, as I said earlier, under the folded the tough part of the “Velcro. All together: leather, plastic, cardboard and” Velcro “sewn. I do it manually.

Thus, it looks to the inner portion.

Vladyvaem plate to the top of the cover and glue the two parts of “Velcro”. This is our regular fitting to identify “blunders”. At this stage, I have just moved holes along the edges of the plate.

At this stage, I have just moved holes along the edges of the plate.

So as I look forward to cover, which will support the tablet in nearly vertical position, and then I bend the cardboard. The aspect ratio of 1: 2. Cartons same size as that of the previous one. Each of its parts is glued plastic part that is 1 mm does not reach the folding carton.

As before, everything is turned in and filed through the plastic and cardboard. The narrowest part (root) stitched on the fabric and the skin and into the already inserted only strip of plastic.
The retreat of five: if plastic is not inserted, the plate then very often overturned on the table.

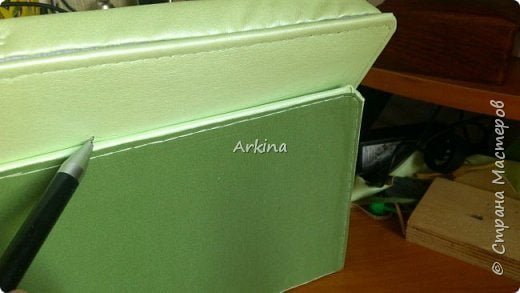
Here’s our cover in the closed position.
The next step is to put the tablet in a convenient position to the desired angle. Note the position of the cover in pencil.
Cut the plastic base stand for the following sizes. Imitation leather and fabric with the hem of increases to cut a rectangle.

As in previous cases, tissue and skin bend, fixing with double sided tape.
The sixth retreat if adhesive tape lies on the seam line, the needle is very difficult to pierce the material. Adhesives deposited on metal and sewing becomes difficult. You must if possible, to have scotch so that it does not enter the joint. However, this is not always possible.

The photo shows which line you must ask. The rest we will have to sew directly into the cover.
Seventh digression: I placed the lining over the entire area of the holder, although, of course, we can restrict only the upper part (up line drawn from the beginning to the end of the seam.

On the back of the cover, I pointed to the middle of the width of the cover previously made line. Two lateral points recesses are arranged in the center of the holder.

The recorded tape bilateral position of the holder. Next, the perimeter of all flash through the skin, plastic, cardboard, “foam” and tissue.

That’s how it looks from the front.

And this is part of Wrong

Next, I need to expand the hole. For best camera insert plate and incorporate them looking not obstructed if the picture. All openings customize with the connection cables.
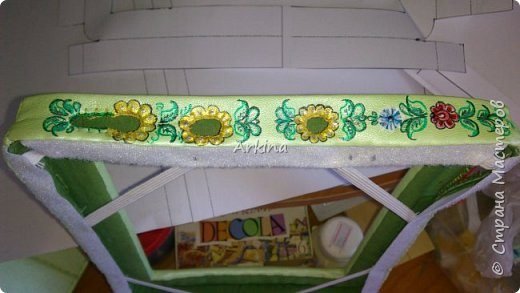
Then they need to “disguise”. I did it with acrylic paints in the style of “Gorodets”.

This is the right side of the tablet.
This top: “Home” button and volume control.

This is the back part. Holes are cut and where visible cardboard, plastic and foam, I covered the paint. Come on a little artificial leather and the lining, the fabric is not mahram. Edge before pasted on the perimeter of the adhesive.

So it looks like from the inside.
The retreat of eight: cameras, microphones, speakers and connectors can be left thick, ie, does not reduce the thickness of the protection around the holes. On the same buttons such will not work: it is necessary to do so that the thickness around them was the lowest at around 1-2 mm, otherwise the press will be very uncomfortable, especially the child.

On the front side is the hard part of the “Velcro”. Glue and sew it. Then, masquerading as “daisy”.

Cover with sew soft part of the “Velcro”. That’s right because if you open the tablet to put on my knees, it is likely to damage the pants, tights, etc.

Here is the final version of the decorations.

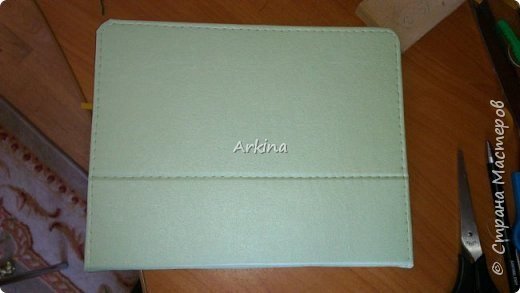
Here he is, the final version.
For decoration you can use the technique of “decoupage” (I just do not like her), applications, and if the outer part is made of leather and fabric, the fit and fabric markers on.
Good luck, and let Appliances serve you faithfully for many years.
PS Field trials of the tablet will be held in December, after the birth of her daughter, which the tablet is intended, as long as it old with cracks on the screen and made after the fall of a simplified version of the cover.