How to make a lego-memory stick
This small craft technology will allow us to renew the look of our USB stick more dated, that I compared to the current almost looks like a brick, it will really give an appearance of real brick, a lay brick. It’s simple transformation process, with a few pieces of construction, whether they are lay or other we can build a modern and very current housing for our old pen drive.
If we have children at home or have had and are no longer so young, sure we have some pieces for home construction.
Materials needed:
- Lego pieces or another brand, we need depending on the size of our memory stick
- Hot glue gun
- Polish for metals
- Cloth
- Pliers or a utility knife

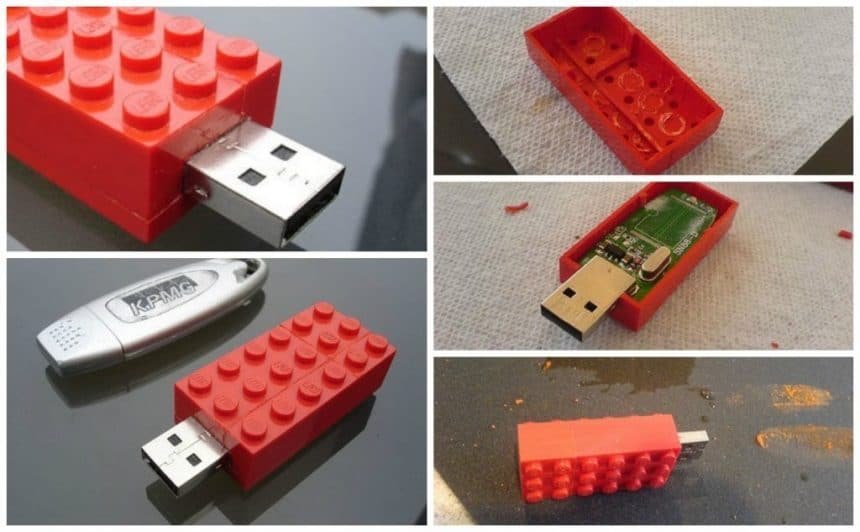
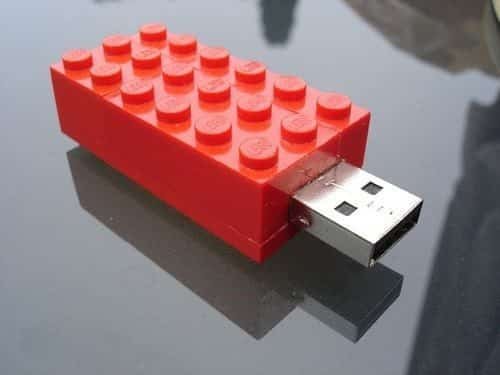
Depending on the size of our pen drive need a size Lego pieces in the example we set is said to create a piece of 6 x 3 attaching a piece of 4 x 2 and 2 x 2. Then we have to remove the reinforcing ribs Inside the building blocks, we will use a needle nose pliers or if we are working we can make do with a utility knife.

our USB stick to your old housing and introduce the inside inside the brick. We’ll have to practice a recess on one side to fit the USB connection.

When we pencil plate fitted inside the Lego piece recubriremos with the hot glue gun glue. He set the plate and protect it from any eventuality.
If we had to unions pieces to create the part that needed our memory stick because of its size we be clear about unions and even some may have a small gap. We can fix it with some sandpaper. We place top made with Lego pieces and sanded the whole.
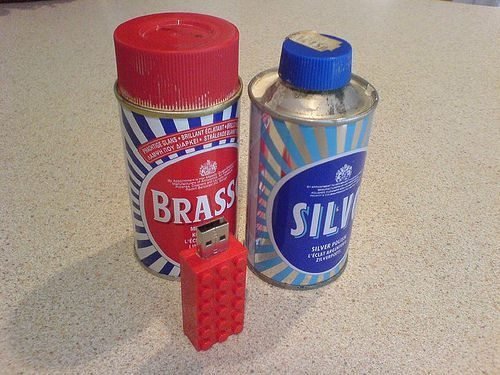
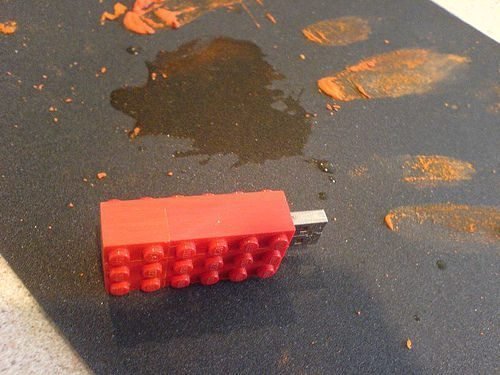
After sanding our brick you will have a matte appearance and so painful, with some metal polish and a soft cotton cloth will polish the piece.

We will have our renewed and updated memory stick ready for use. A simple and fun work we can do in a short time.
Courtesy: guiademanualidades.com