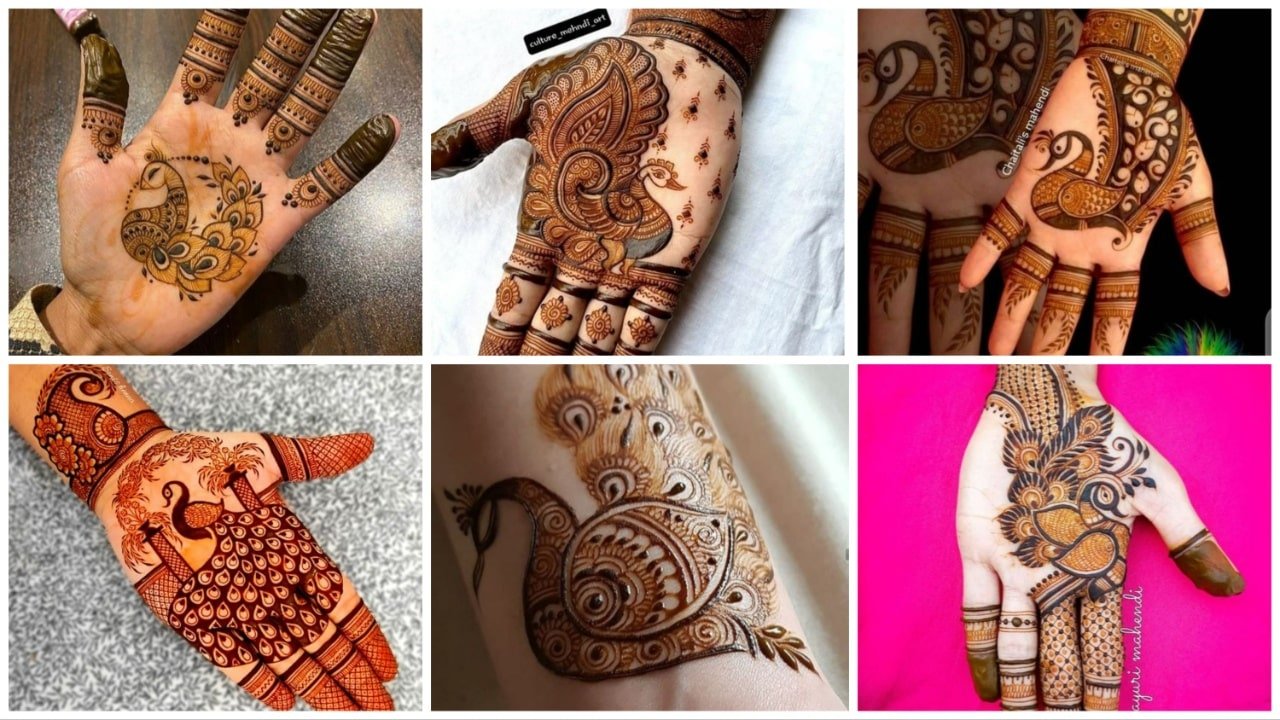
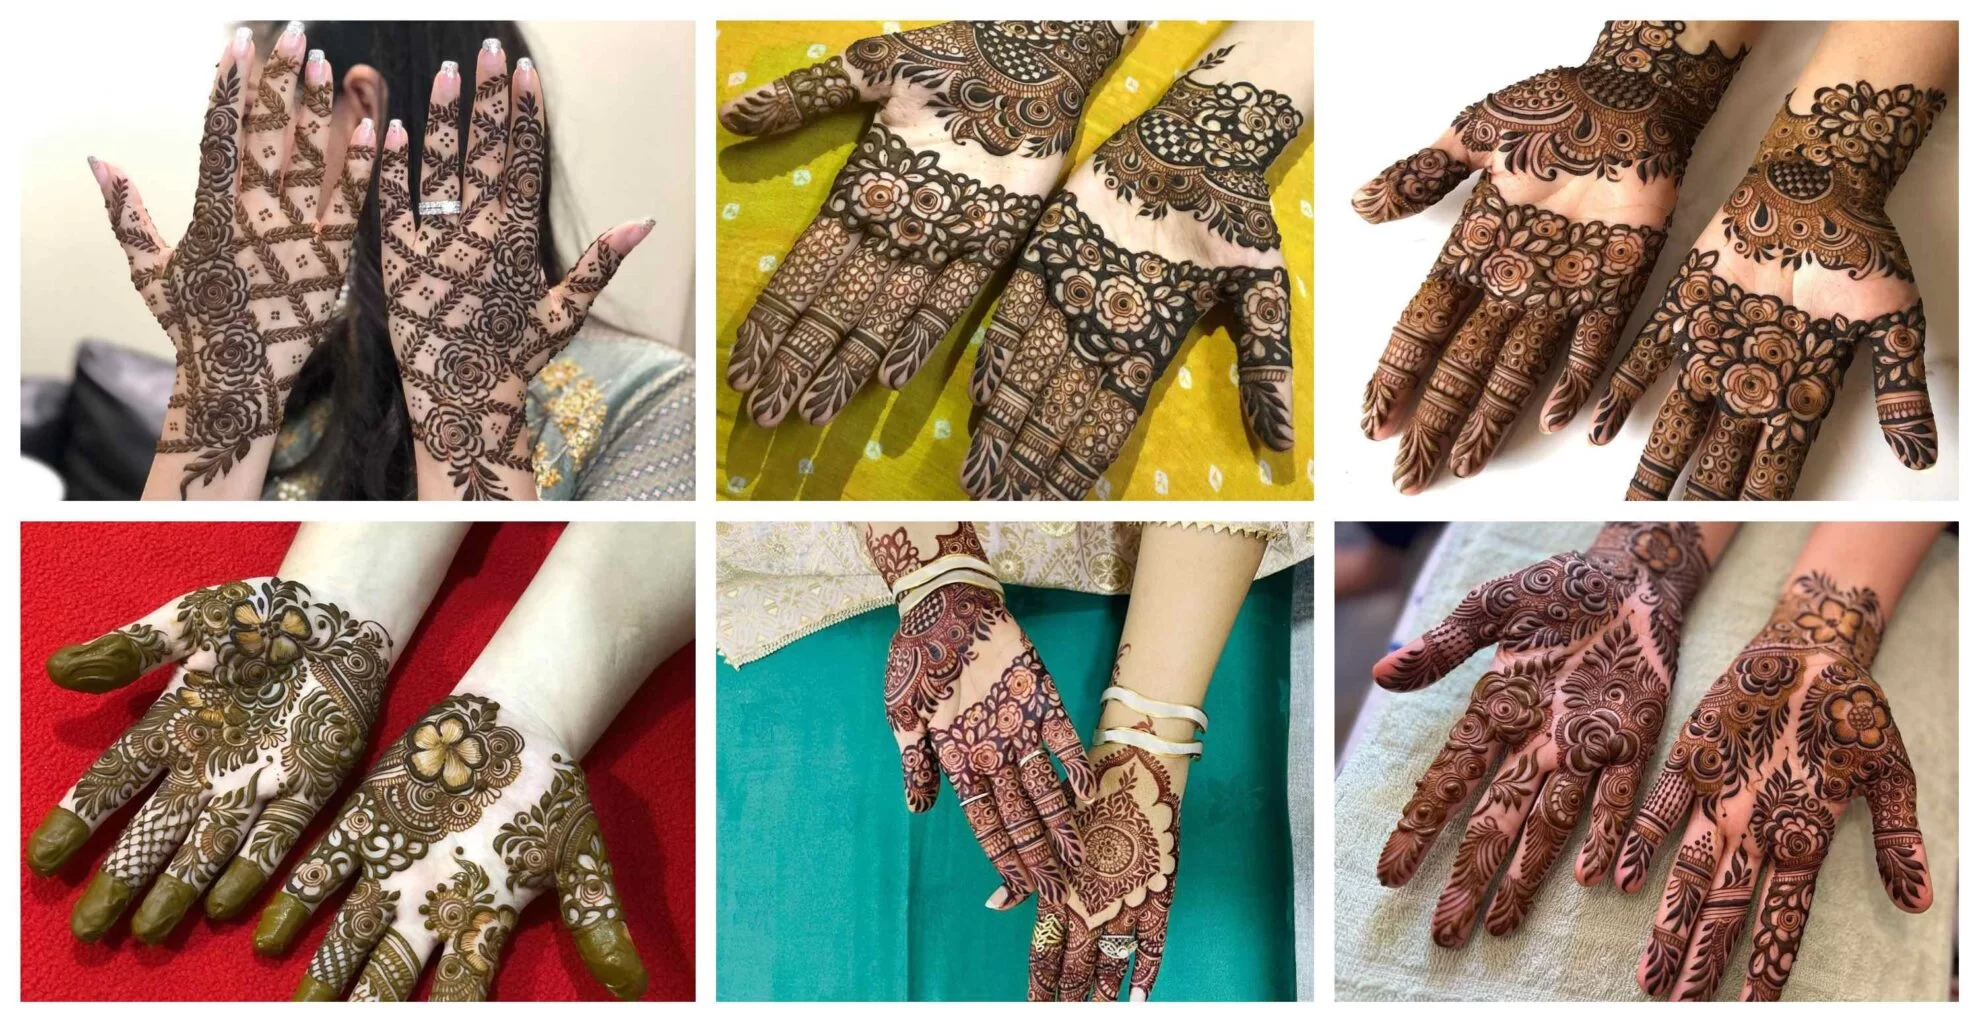
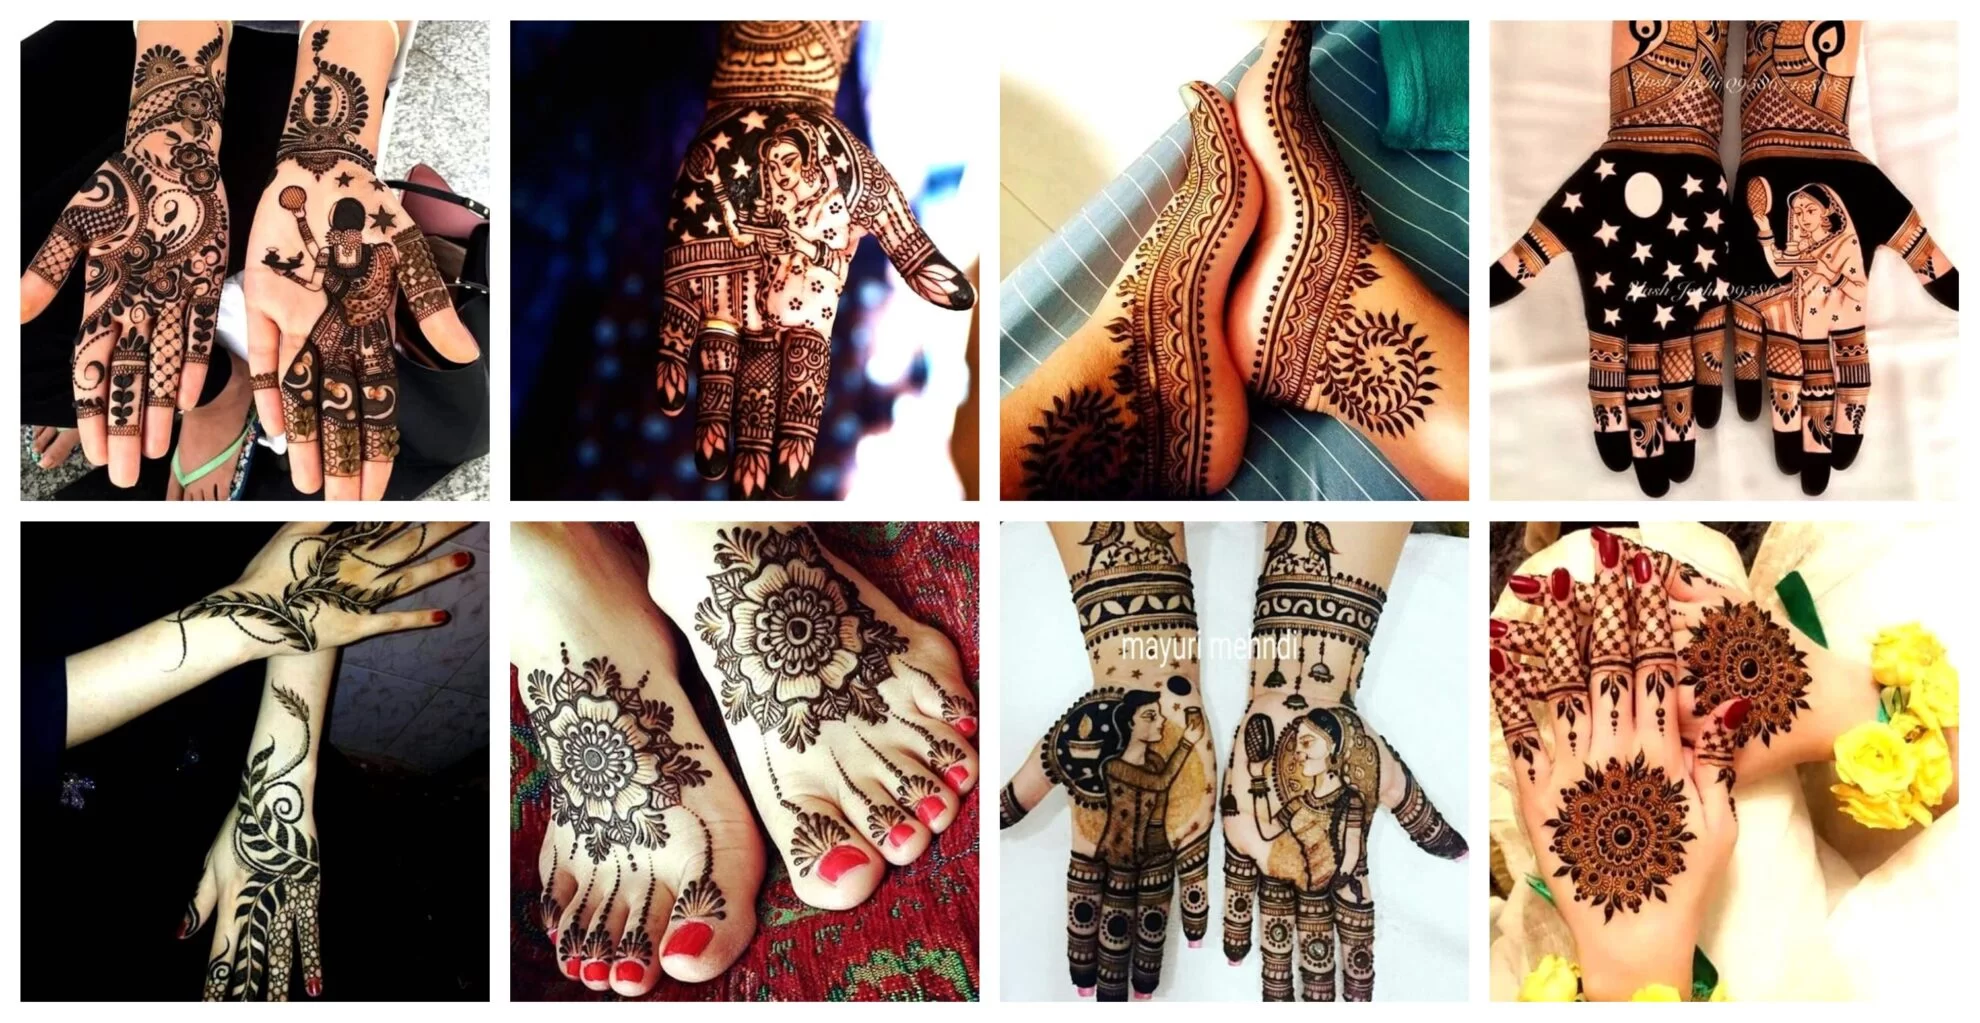
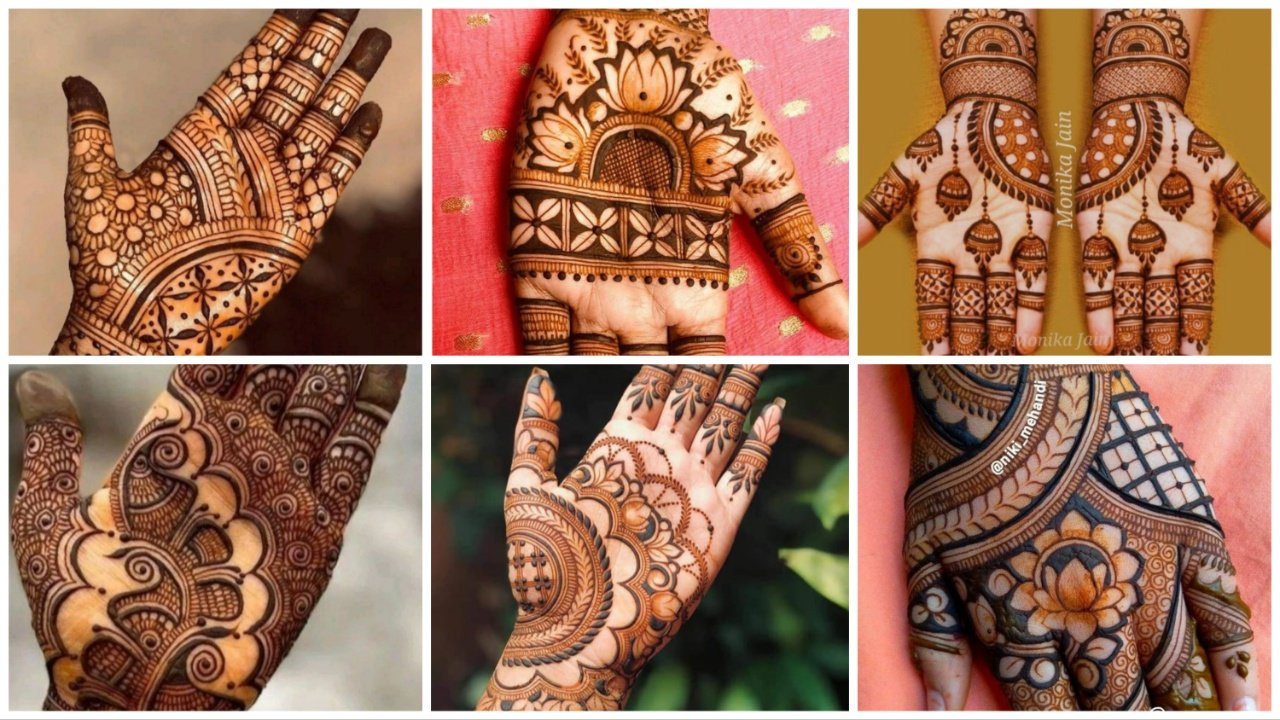
Are you searching for information on “how to design Mehndi” or”how to design henna”? Here is a comprehensive guide on step by step mehendi design for beginners. It is beyond doubt that henna looks pretty even for all occasions and it has got a unique meaning when used for festivals. Henna designing is much easier when you acquire the right flow and style.There are many ways to express yourself through design.
As a beginner, you just need to need to familiarize with some basic elements of designing.Henna is also called mehndi or mehndi. It plays a crucial role in the festive occasions and wedding functions. Henna designing has gained much popularity during the recent years. The art of mehndi designing has got its own importance as a functional element of decoration.
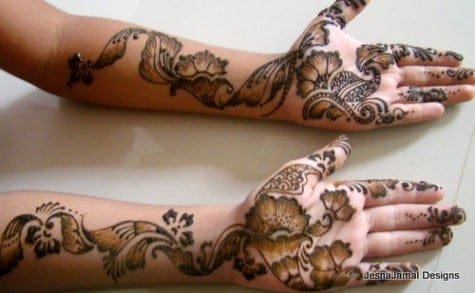
Step by Step Mehendi Design
How to Design Henna on Hands
Let’s start. Here I am giving you a step-by-step tutorial on how to design henna on hands. Let me tell you that henna designing has got its own styles and specialized designs. Once you are into the art of designing, you would find it much easier to try different styles and patterns on your hands.
Let’s suppose that someone asked your help to design henna on their hands. How do you come up with a henna design? Here are a couple steps to guide you through the art of mehndi designing.
First, keep your hands clean( it is your canvas). Make your henna tube or cone ready to use by making a small hole at the tip.
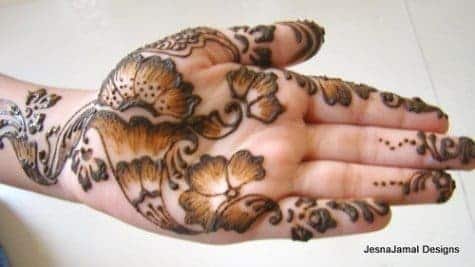
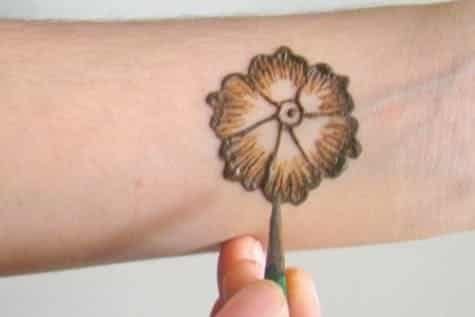
Henna designs are characterized with some basic shapes and elements like flowers, curls, dots, and lines. We can start with a floral pattern. You might have noticed the shading effect on each petal of the flower. How to create shading effect with henna? You can simply do it by dragging your henna cone tip from the outline of a petal to inwards so that several light-weight lines are formed.
Outline the design and then proceed to the finer details.
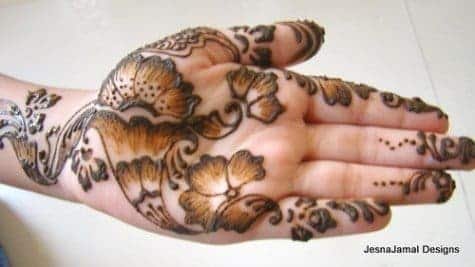
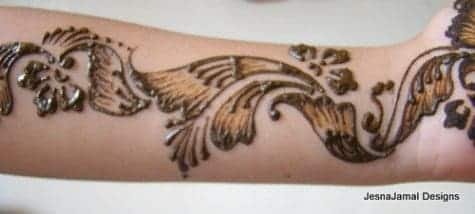

Arabic mehndi is the latest buzz word in the world of henna designing. What is the difference between Indian, Pakistani or Arabic mehndi? Here what you find is an Arabic mehndi design which is slightly influenced by the Indian henna designs.
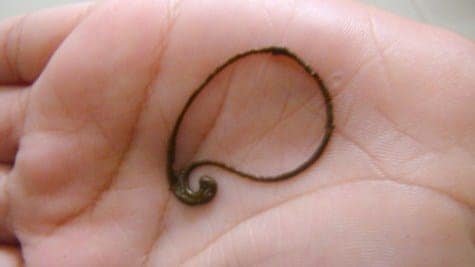
Designing henna on the wrist is the next task. Use of elongated patterns would help you to achieve a good finish. Arabic designs are characterized by thick lines and shades. Thick floral designs add to the beauty of a henna design. Continue designing freely with your choice of patterns and once you practice the designs, you can make it more perfect.
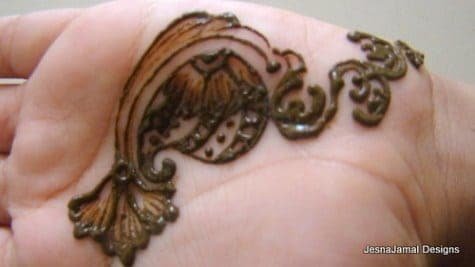
Now, we have finished up with a henna design. I know it is hard for you to design Arabic henna patterns. Here is another tip. Try to draw the below mango-like shape on your hand. If you find it difficult to make a correct mango shape, try several times.
Henna designing step-by-step
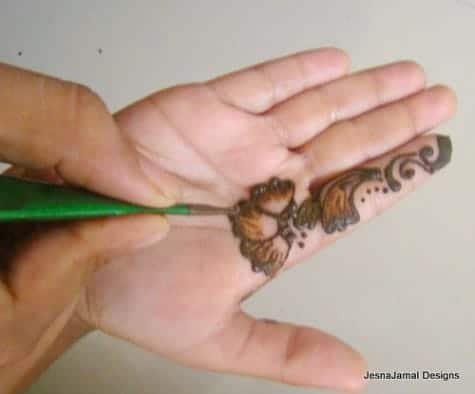
After you finish the mango shape, try to draw some petals inside the mango pattern. Outline the basic design with lines and end up with a flower of three petals. You can try any design of your choice to make it more attractive.
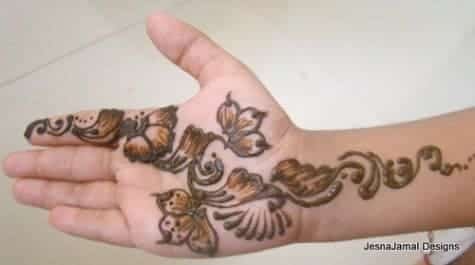

We can try another design. Start a simple pattern from the tip of your finger as shown in the picture. You can add floral designs with thick outlines so that it looks like Arabic design.
This simple design is easy to create and good for beginners. Note that here I am not showing any complicated henna designs. These all are easy designs made from simple patterns. If you have ample time and patience, you can easily master the art of henna designing.

Henna design on wrist
Henna designs are widely used over hands and legs. Nowadays people prefer designing on wrists, belly and single designs on fingers. This one is a simple henna design for the wrist. Start up with a floral outline and thicken the edges.

Add more shapes and designs so that it looks combined with the floral pattern. Try to make thick strokes for a better outlook.

If you are an avid henna design lover you can try and the combination of Arabic designs. Please leave me a comment and let me know your ideas and suggestions on mehndi designing.
courtesy: lifechilli

