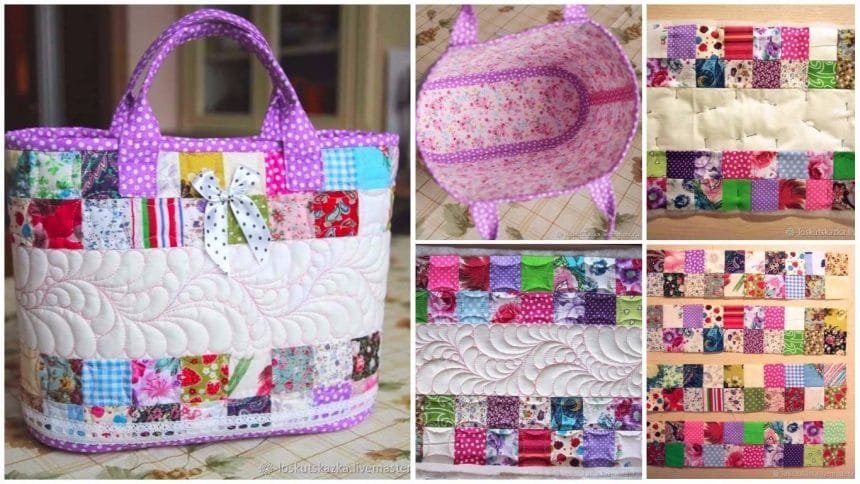
Surely, everyone has scraps of cloth, various scraps from previous works. All this in no case is thrown away, but let’s get to work. Here on such boxes, I fold the cut squares from pre-ironed shreds. In this box, the squares are 5 by 5 cm (2 * 2 inches) in size.
That’s them, we will let them in.
Sew the squares in the strips 10 by 2, only 4 bands. The allowance is 6 mm. (1/4 inch).

Between the strips of squares sewing stripes of white cloth width of 9.5 cm. Two panels for the bag were obtained.

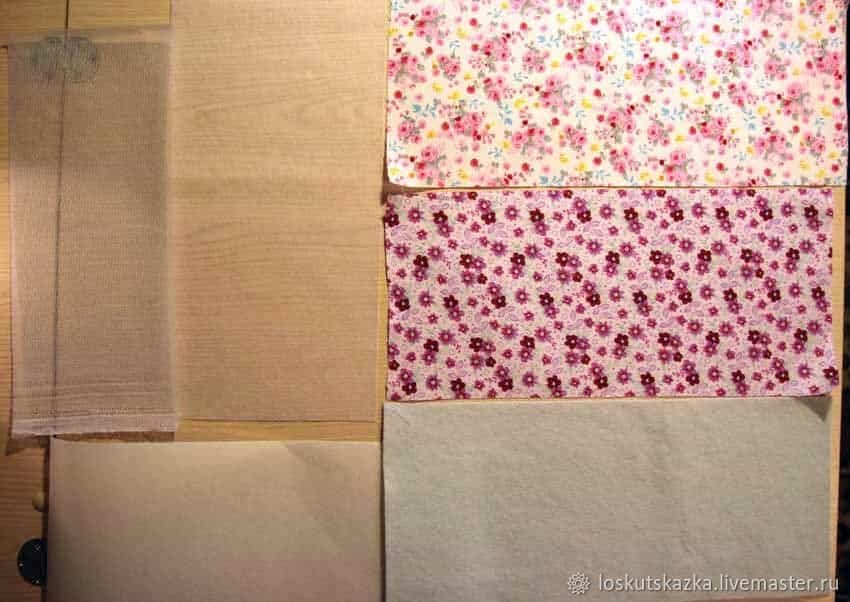
Now we need to collect sandwiches for stitching and quilting them. Take the lining fabric and strengthen it with glued fleece.

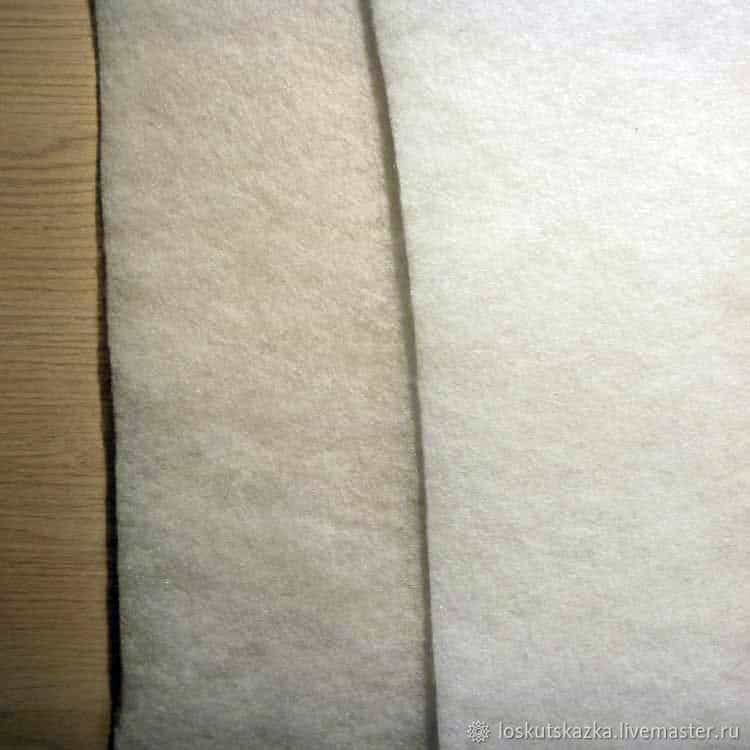
As a cushioning material this time I chose steamed sintepon 150.

I want my purse to be more or less plump, cozy. After all, it’s a little girl.
We collect a sandwich: lining + sintepon + sewn panel, with pins.
We lay two lines in the seam.

We set up the machine for free running and proceed to the stitch.
On the white band, I want to stitch the feathers. I’ll draw a sketch of the stitch. Directly on the fabric, I paint with the disappearing marker the central branch of the pen. Then I begin to scribble feathers.

We build feathers from one side, then the other. It turns out that the pen is filled immediately from both sides, starting from the bottom.

The dashed line showed a return line. So fill the stitch with a white stripe to the end.

Color squares arrows, because they are colored and any intricate stitch is not visible, and the effect of bulkiness will not work. I draw a sketch of the stitch of colored squares. I start with short rows.

I go to the end, then I squeeze the central row.

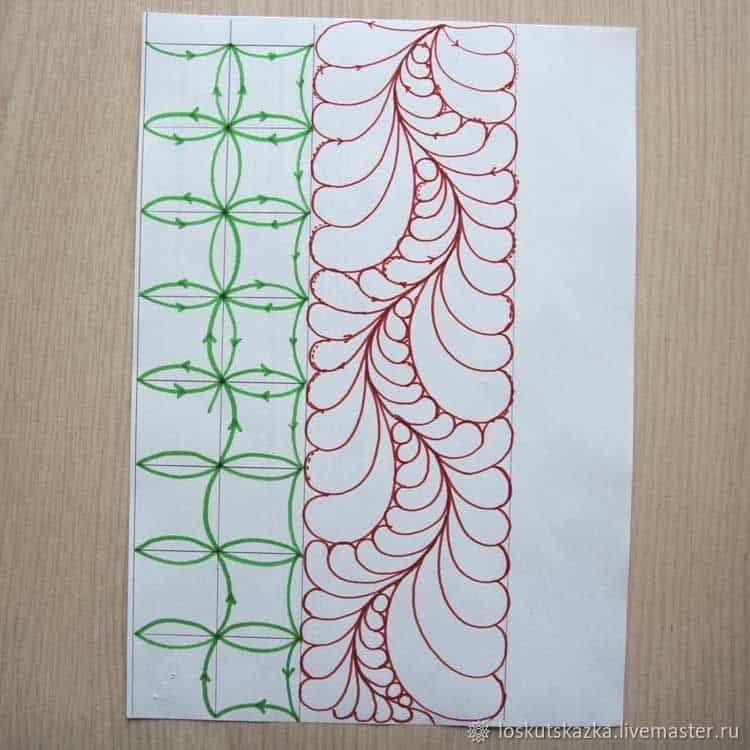
In the last place – the last row.

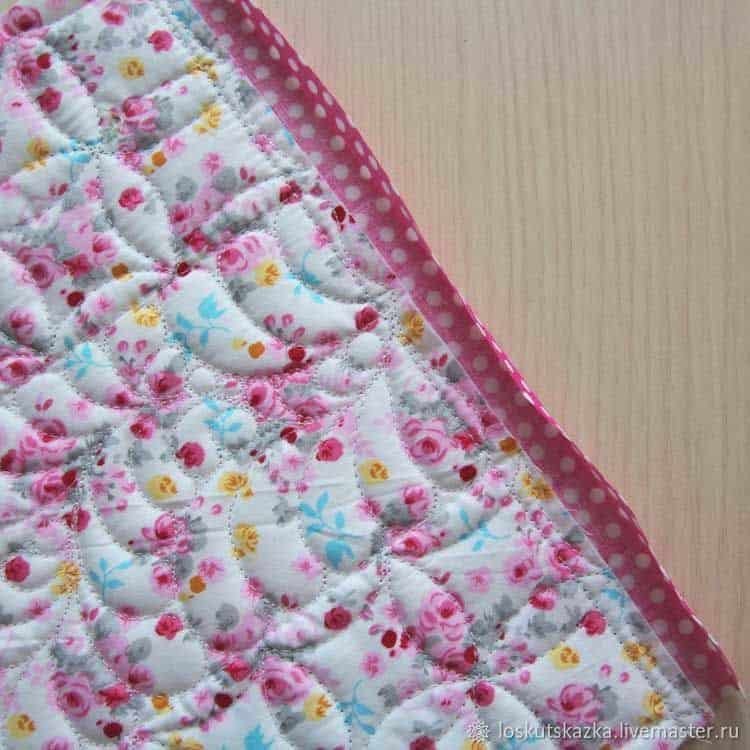
In this way, I swipe both panels. That’s what it turns out.

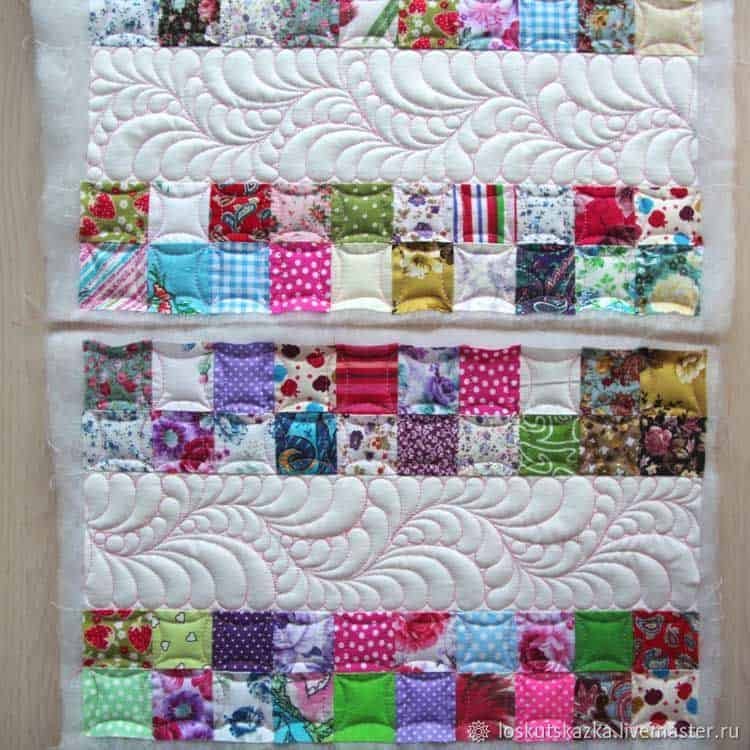
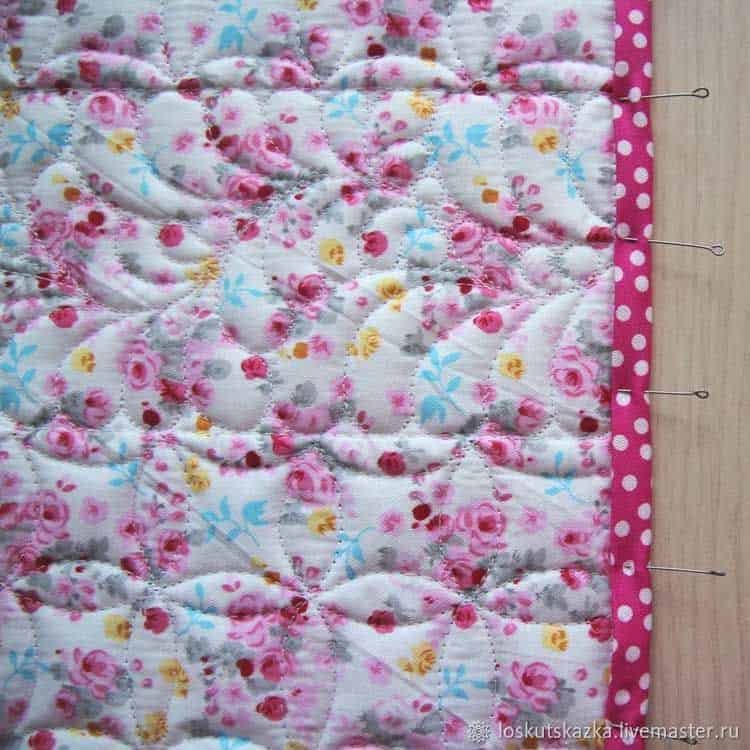
The panels are leveled with a knife and the sides are trimmed with strip strips 3.8 cm wide.

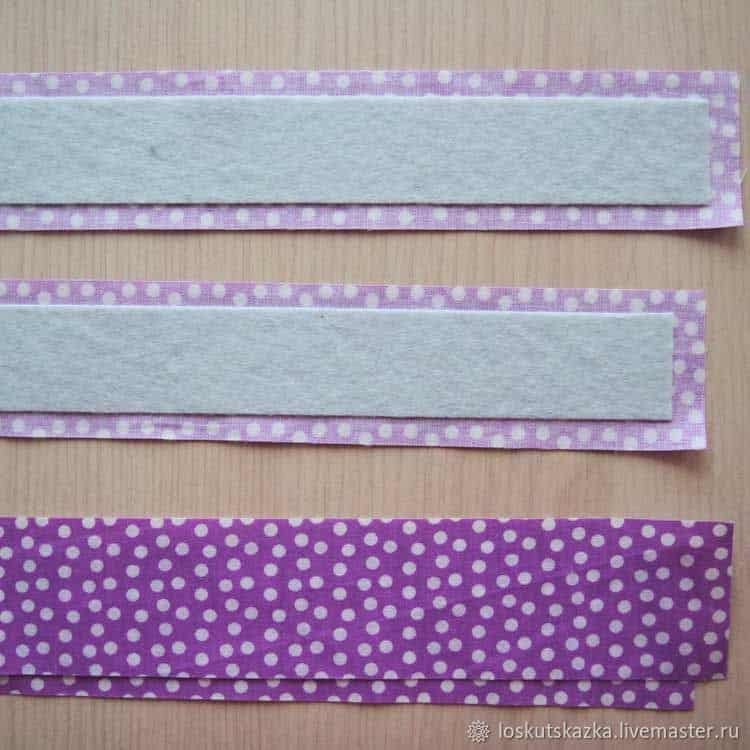
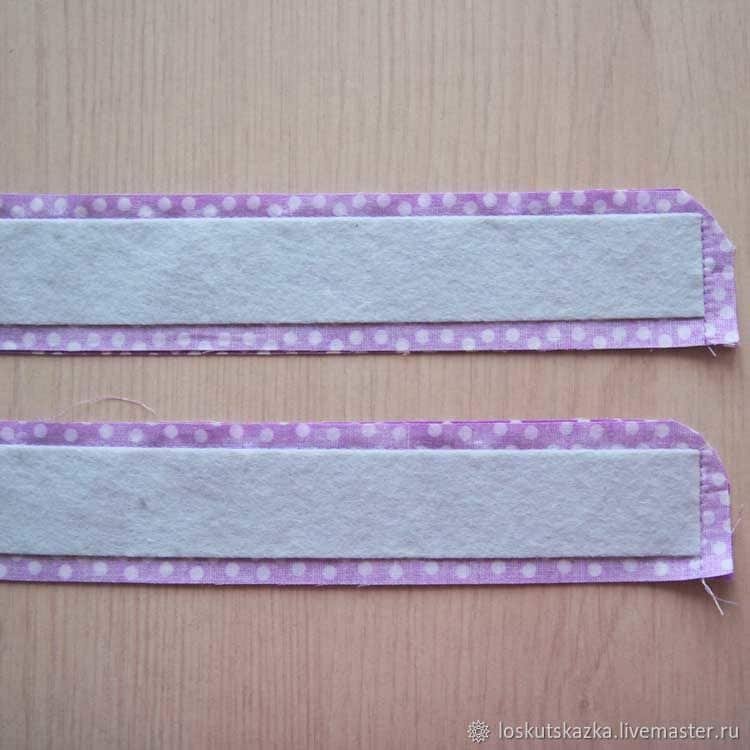
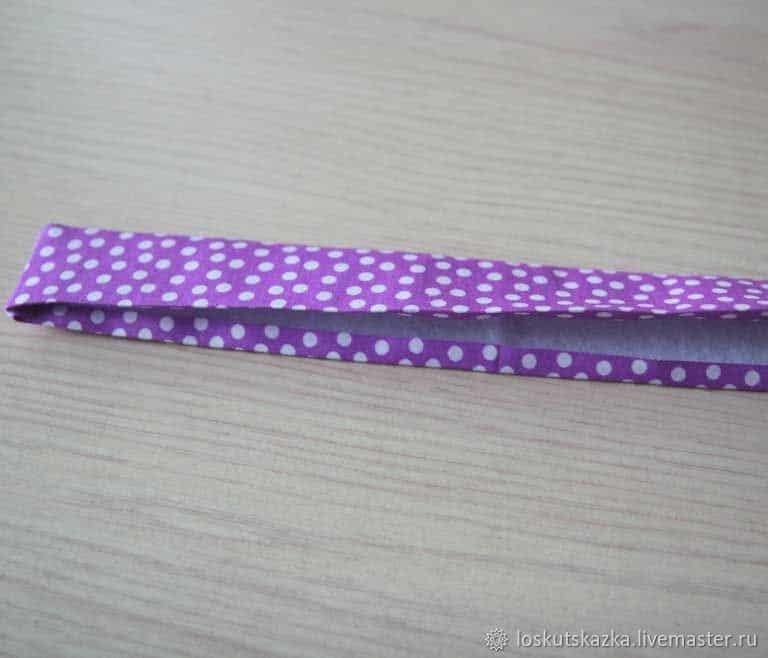
Let’s turn to the pens. We will open share strips 4 pieces 4 cm wide, 37 cm long. You can cut two strips 6.5 cm wide and do not stitch them, bend them along the length. But I had a narrow band, so I found 4 strips. Also, we need a seal. I took the adhesive sintepon, the width of the strip is 2.5 cm, and the length is 35.5. We paste the sintepon on 2 strips.
Sew on one side (who has a wide strip, bend along the long side), cut the corners.
We turn it over our face and we add the allowance.
Inside the handle, I also put a strip of spider and stroked it, so I glued it in addition.

On the ready handles, we make straight stitches and sew, not reaching the ends of 8 cm.

Ready-made knobs are sewn to the panels, having deviated from the middle mark by 7 cm.

It’s time to sew the side seams. Panels are folded face to face, we combine the sides and sew a zigzag with a width of 3.5 mm and a step of 1.5 mm. The edge of the panel is not combined with the edge of the foot, but with its center. Stretch the sides to the sides.
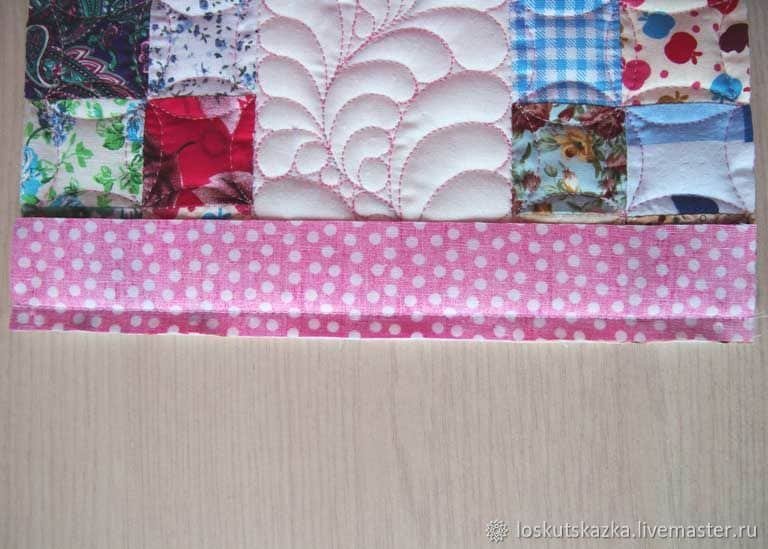
It turns out the cylinder. We trim the share strips on top and bottom. At the bottom along the edge, we sew decorative cotton lace.

It’s time to tackle the bottom. To build a pattern of the bottom, you need to measure the circumference (perimeter) of the resulting cylinder. The width of our bottom is 12 cm, respectively, the radius is 6 cm. We need to calculate the distance between the centers of the circle of the bottom. It will be equal to: = (Perimeter – 2 x 3,14 x Radius): 2

For the bottom of the sandwich, we make it tough. To do this, we will need a fabric lining, facial fabric, fleece glue, double glue, sintepon glue, nonwoven fleece.

We glue the sintepon to the facial tissue, we strengthen the purl fabric with non-woven fabrics and Dublin. We collect the sandwich.
Cut out the pattern from the quilted billet bottom and edging it with a lateral bake (tensile it is enough for such a radius of curvature).

We put the marks of the sides’ centers.


We proceed to join the bag and bottom. We fix the control points of the centers of the sides with the clamps.

Sew the double thread over the edge with small stitches.

We turn out on the face a handbag, steam off the iron and sew the bows. The handbag is ready.


courtesy: livemaster