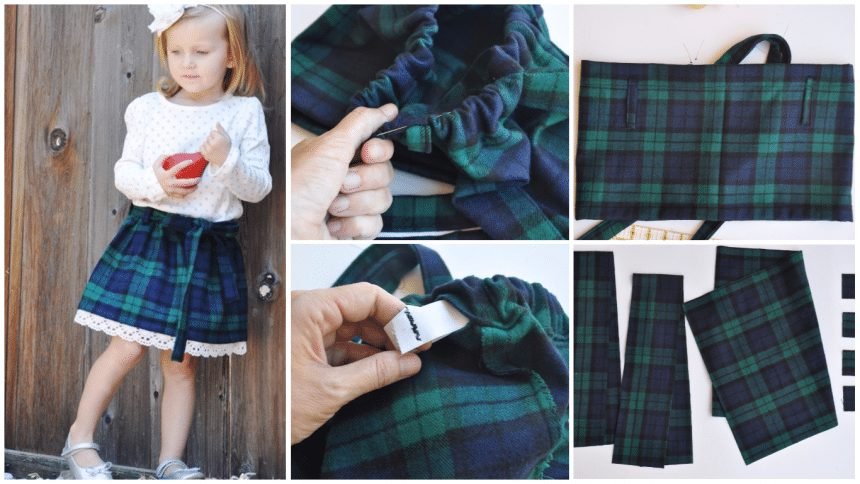
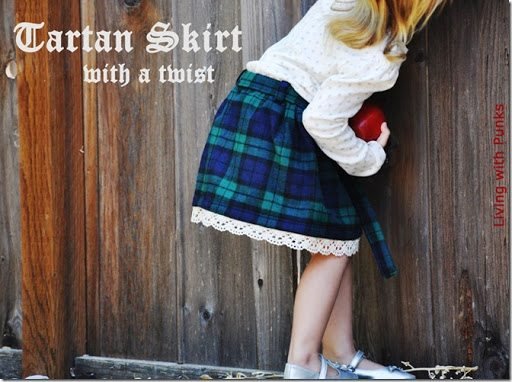
This particular fabric I used is a brushed cotton that is ultra soft and easy to work with. I added a crochet lace trim to one of the skirts to mix it up a bit, make it seem not so school-girl.
It also has a built-in belt. Helps with the annoying, slipping belt raising up to the waist, causing all sorts of mood swings from the wearer.

To make one you will need: *fits 3T, but you can easily adjust measurements to fit your child*
3/4 yard plaid fabric (I use Platitudes from Joann)
20” of 3/4” elastic
1 yard of crochet lace trim (if using)
Sewing machine and supplies
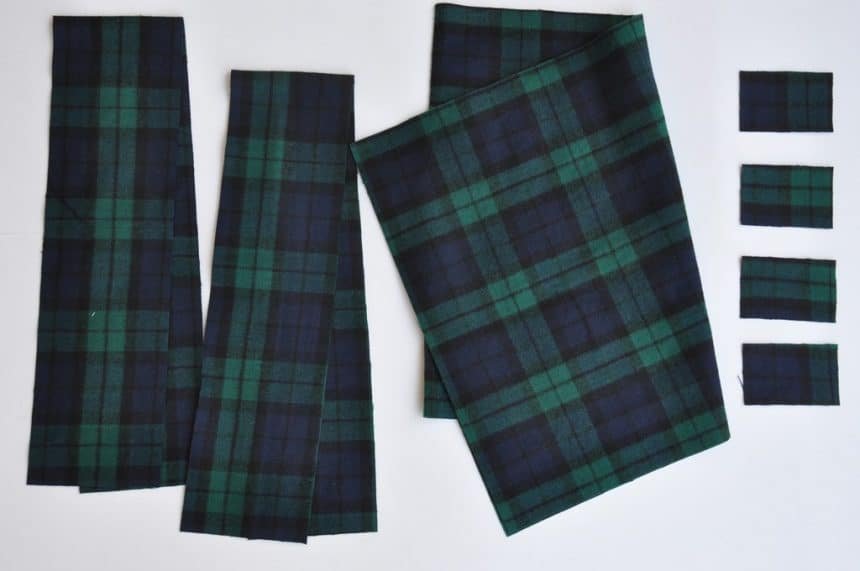
Cut your fabric as follows:
1- 36”w x 13.5”l (skirt)
2- 30”w x 4”l (ties)
4- 2”w x 3”l (belt loops)
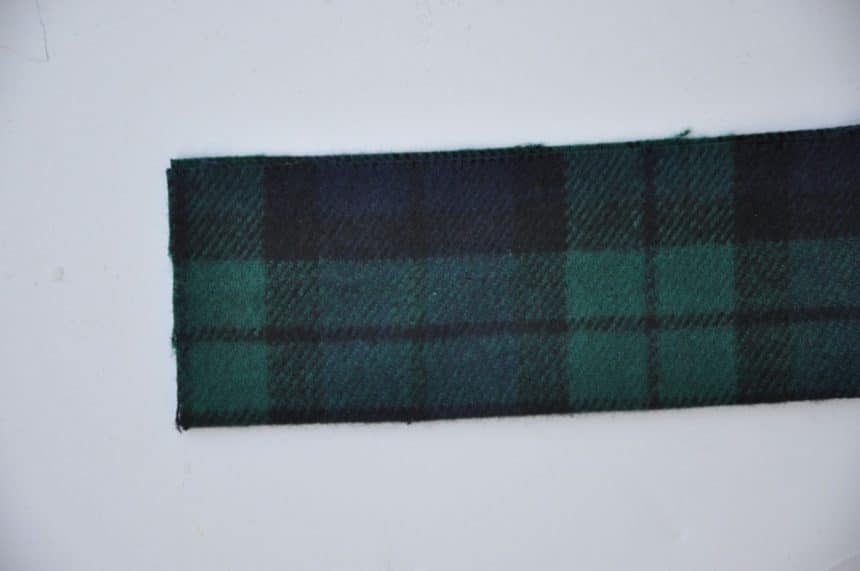
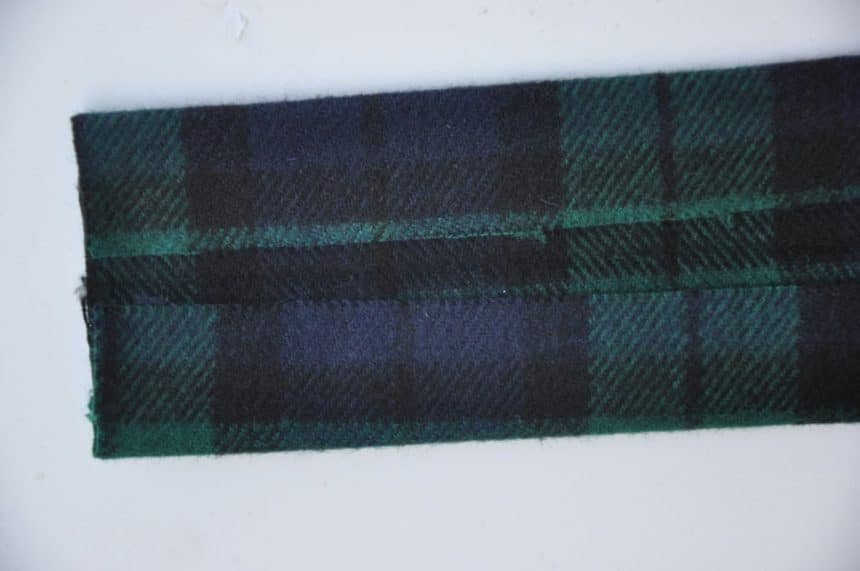
Start with your ties. Iron in half lengthwise, open up and iron each side towards the crease. Fold over and iron to create the tie. Sew the side closed, leaving one end open and the other end closed.
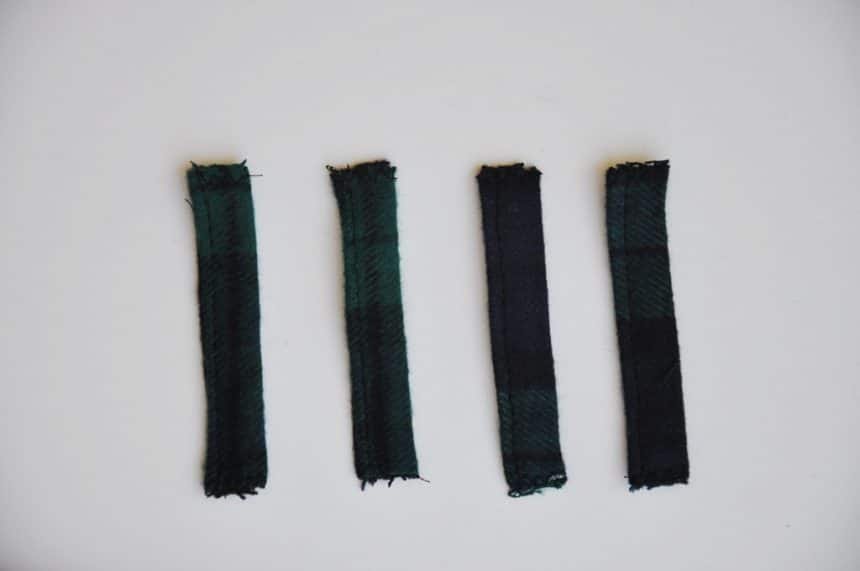
Use the same method for the belt loops, although leave both ends open. You can zig-zag the open ends to prevent fraying
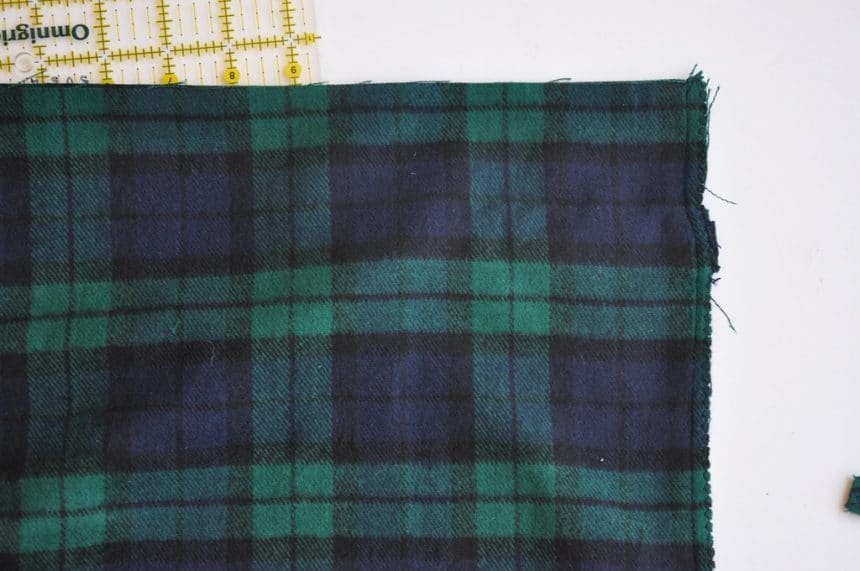
With your skirt fabric, create the bottom hem first. Just iron up 1/2” and again a 1/2” to close up raw edge. Sew close to the folded edge.
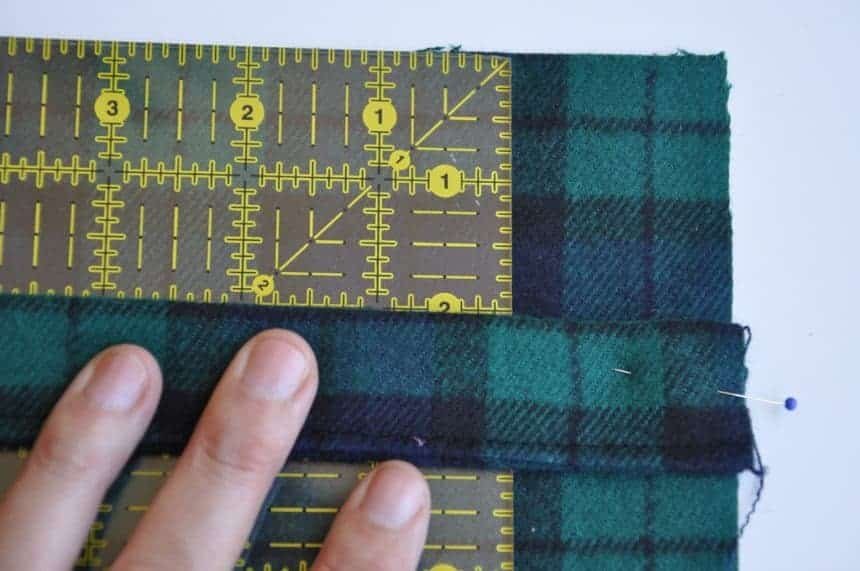
Take your finished ties and measure down 2” from the top and pin the top of the tie as shown to the right side of the fabric. Add the other tie to the other side.
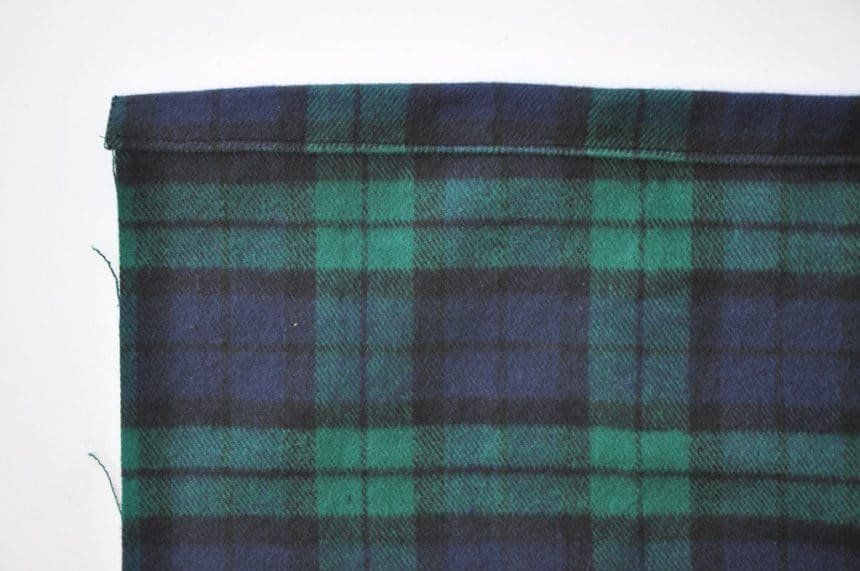
Fold the two ends together, right sides together and sew the back hem, catching the ties in the stitch. Zig Zag seam
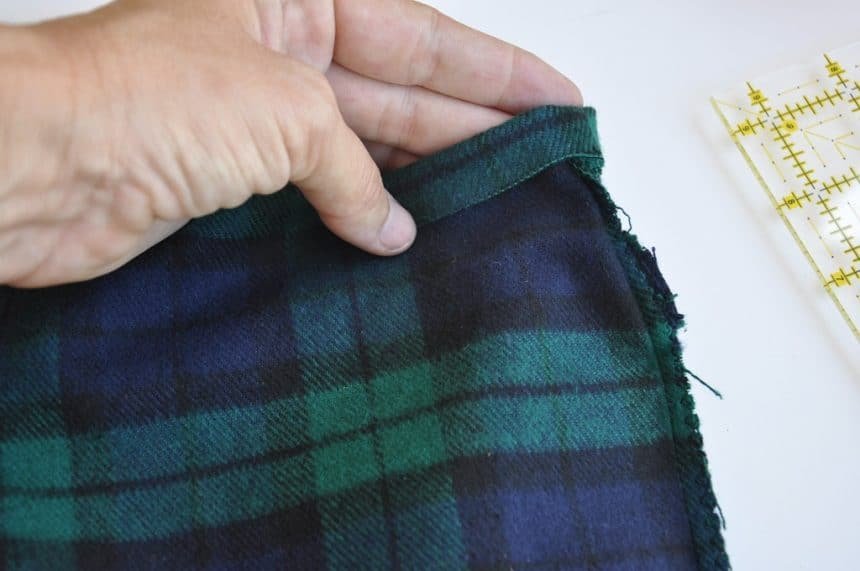
Take the top of your skirt and fold about 1/4” down
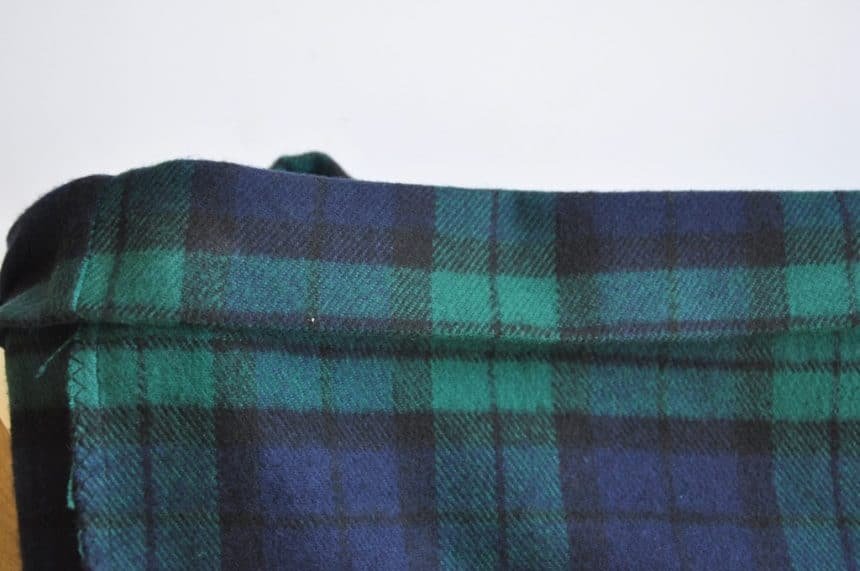
Fold over the top to create the casing for the elastic. Make sure the ties (still inside) will be in line with the waistband. Pin in place
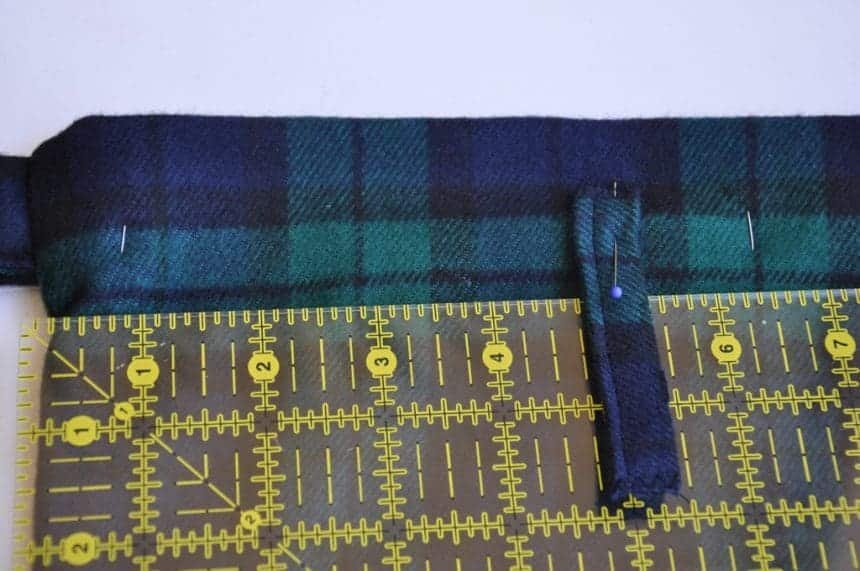
Carefully turn the skirt right-side out and measure 5” from the back seam, Pin a belt loop on the mark, making sure the belt loop end is well above the perceived stitch line
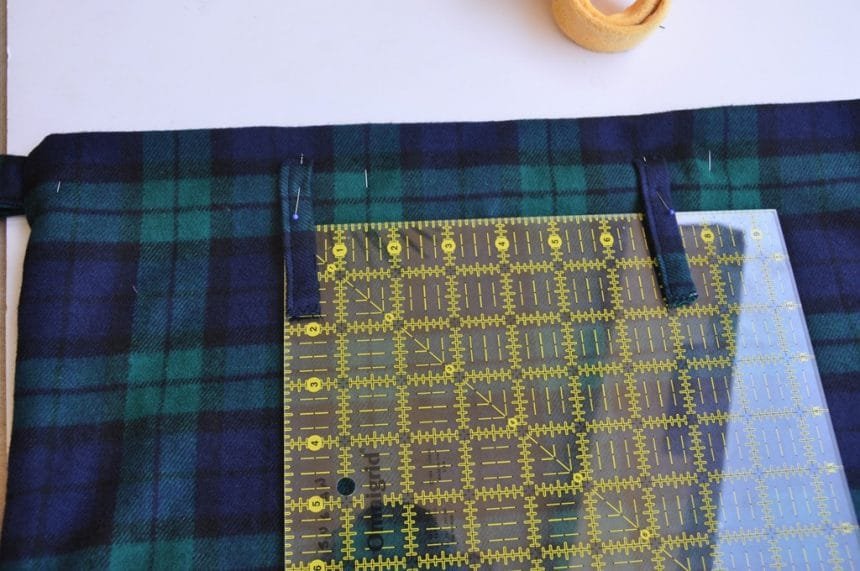
Measure 7” from the pinned belt loop and pin another. Complete these steps on the other side.

Turn the skirt wrong side out again so it is easy to see the folded edge, and stitch the lower waistband all the way around, leaving about a 1-inch opening to feed elastic through
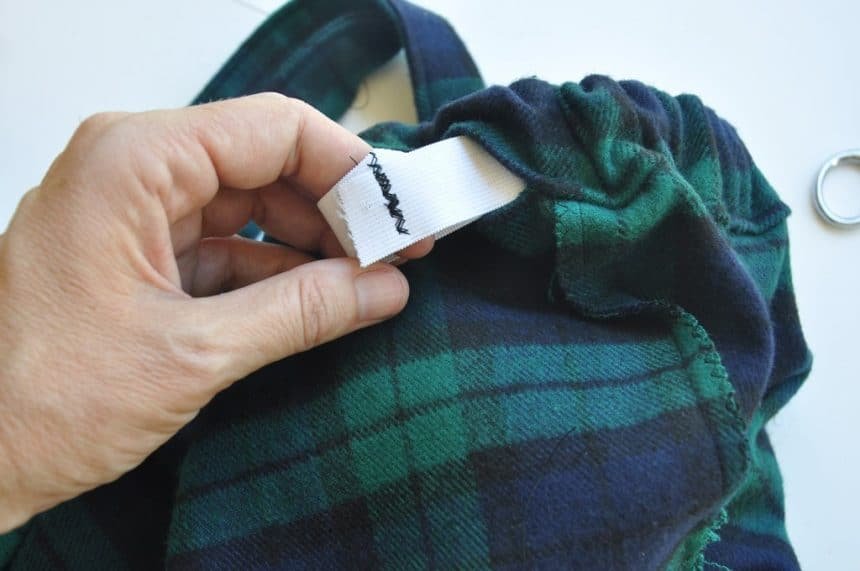
Feed the elastic through and secure with a few passes on zig zag. Close up the 1” opening
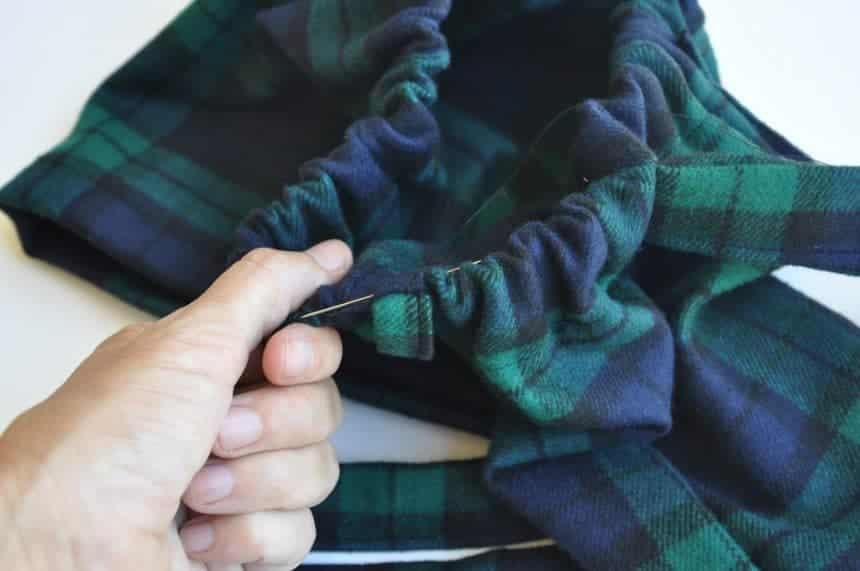
Turn the belt loop up towards the finished waistband and secure using a hand sewing needle. Easy!

If you want to add the optional crochet lace hem, just pin to the wrong side and stitch in place.

courtesy: livingwithpunks