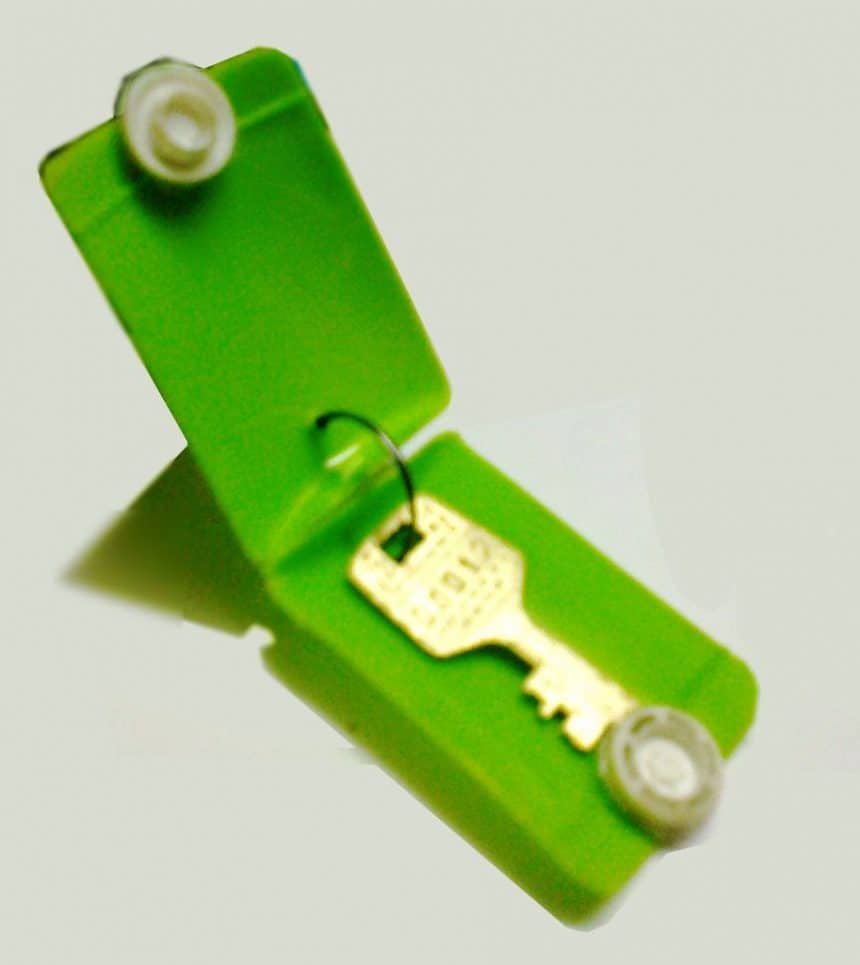
Are the sharp edges of your keys shredding the lining of your wallet or purse? Here is a simple and elegant solution to store your keys safely in this flip-cover!
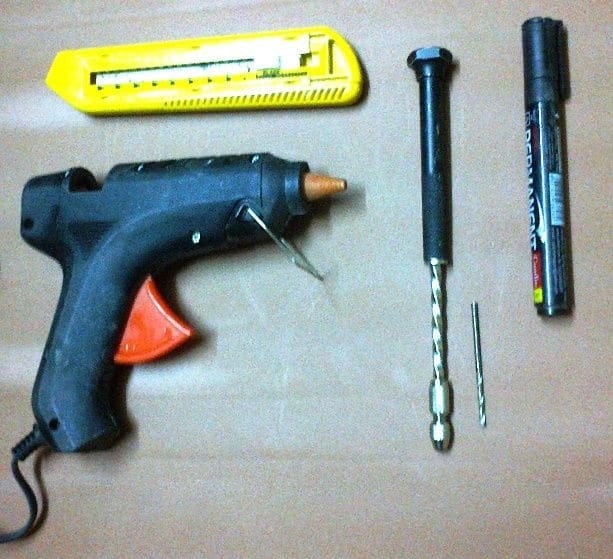
Tools :
– Marker
– Craft knife / cutters
– Hand drill
– Drill bits (1 mm diameter)
– Hot glue gun
– Scissors (not shown in the picture)
– Ruler (not shown in the picture)
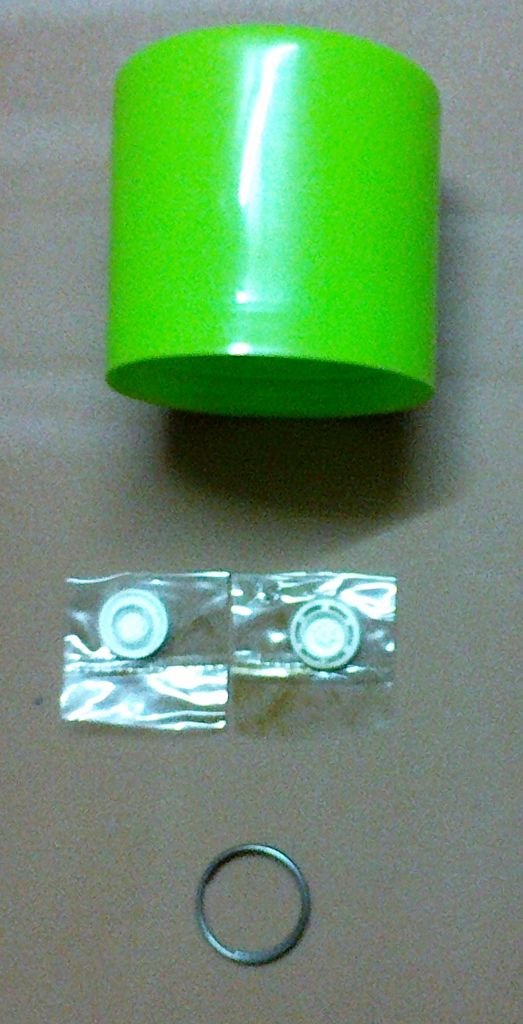
Materials
– Plastic bottle cap (I used a cap of doing bottle, though cap of aerosol can also work)
– Plastic press buttons (I salvaged these from an old rain-suite)
– Key ring (This one came with the lock I purchased)
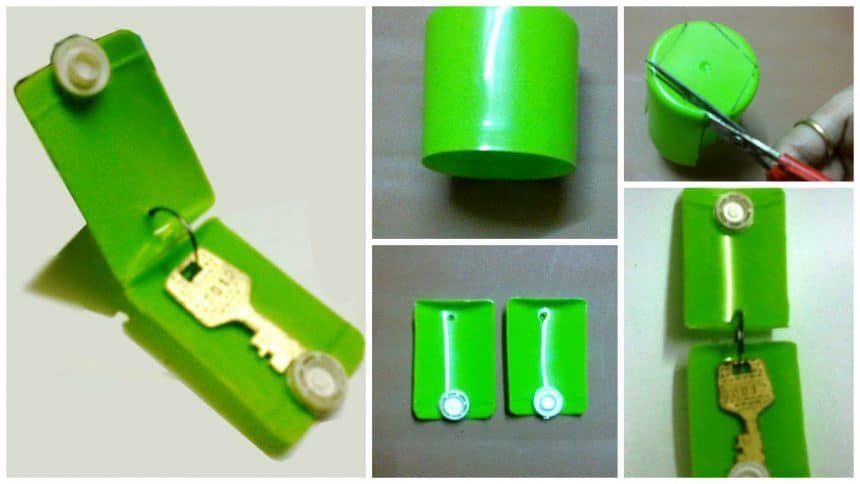
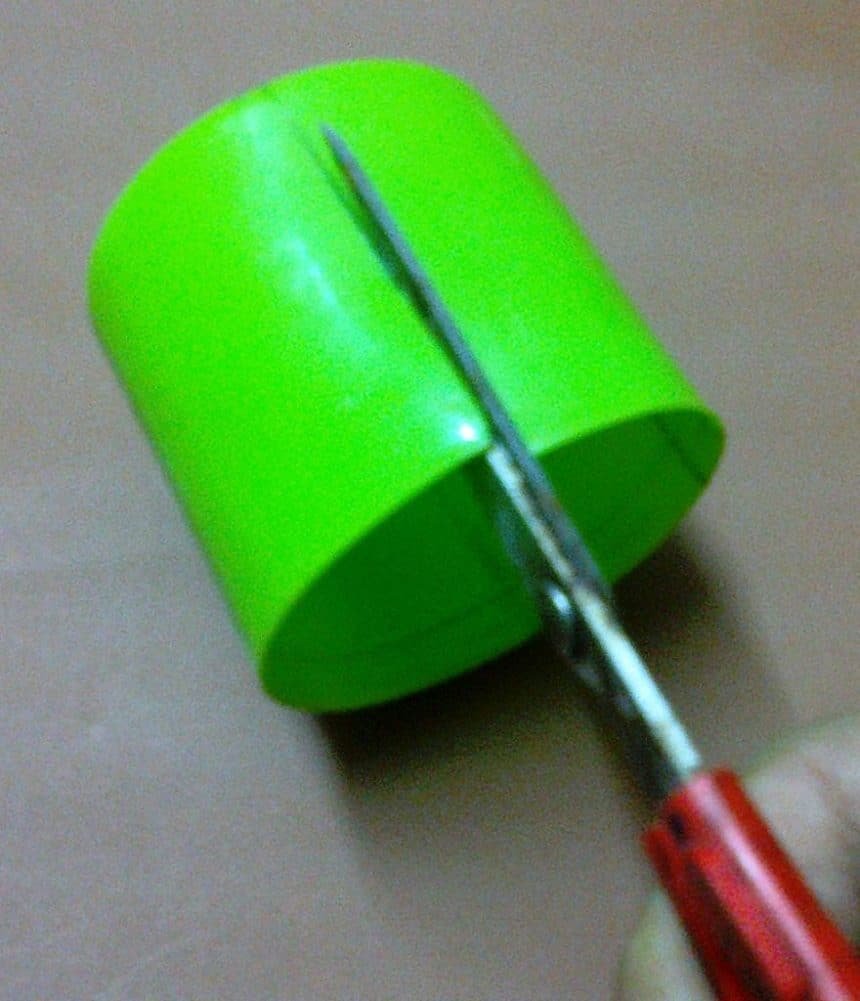
Using your markers and rulers mark a sector of the lid as shown. There are no hard and fast measurements, just ensure that the height is more than half of total height of key or bunch of keys you wish to carry.
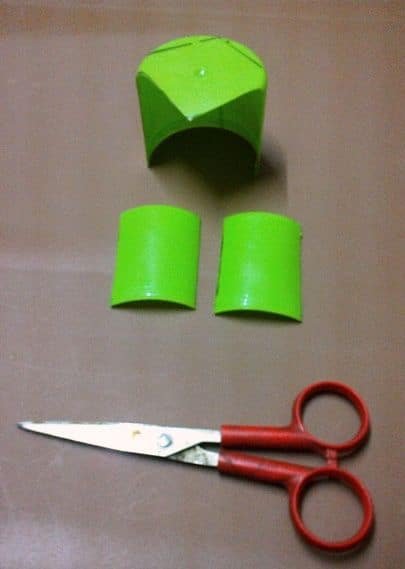
One cap makes two sets of flip covers (bonus!)
For this instructable, I would be showing only one!
Using scissors carefully cut along the lines.
The bottle cap I used was thin enough to by a pair of regular scissors. Experienced people might use saw for this.
(WARNING: Scissors are sharp and might cause injury. Please use with caution)
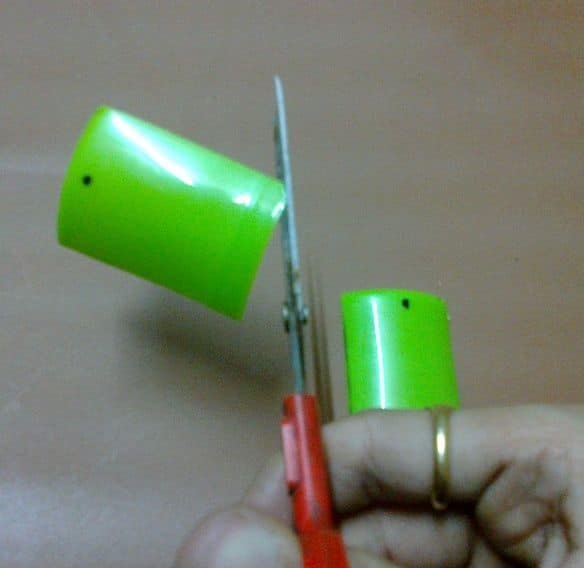
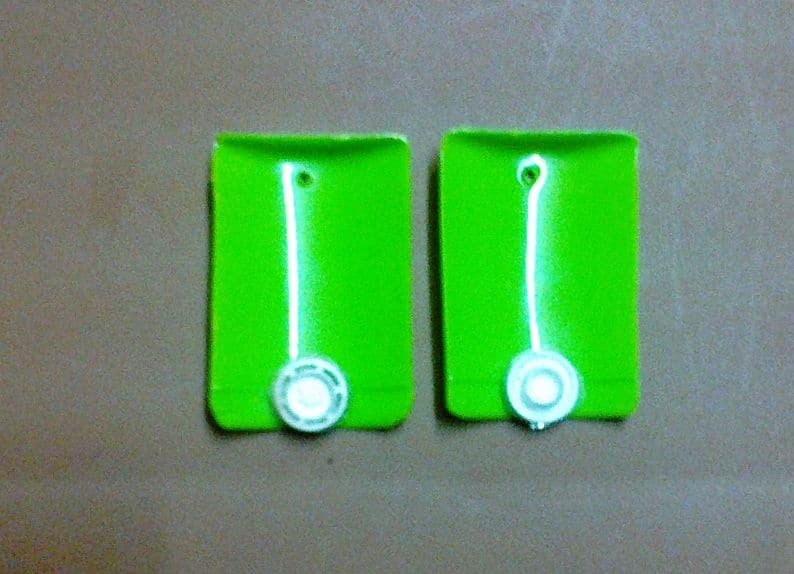
Mark the center point of the flip piece where the hole in the key aligns.
Using a hand-drill make the hole at this point
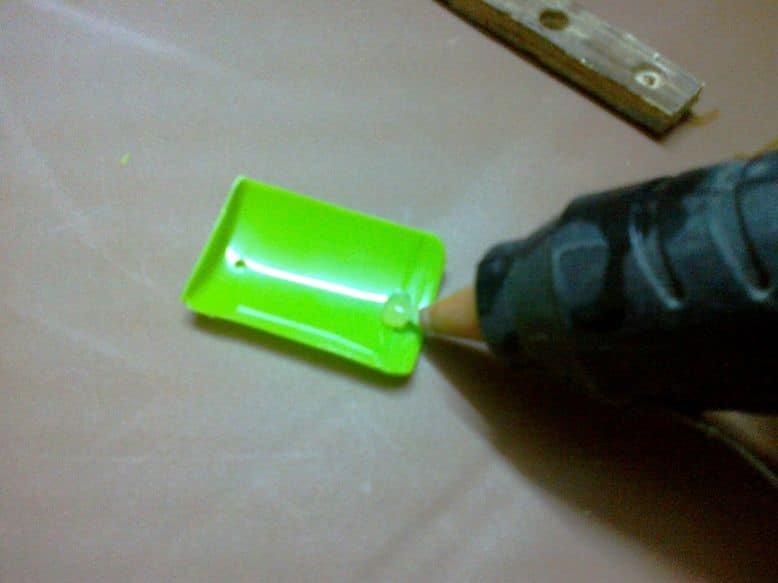
Then, trim off the corners and round off the edges
To hold the flip halves in place, I am using plastic press buttons.
Use the hot glue gun and paste one-half of the button on each side
(WARNING: Hot glue guns can cause serious injury and burns. Follow necessary safety precautions during the use)
Sandwich the keys between the two halves and insert the key ring through all of them
Be careful. Sometimes the tips of the ring can be sharp
Test out whether the covers move freely. If not, use the craft knife to gently fine tune the covers wherever needed
Again, be careful while using sharp instruments like craft knife.
And you are done!!
No more worries about keys abrading the lining of your pocket or snagging the lining of purse