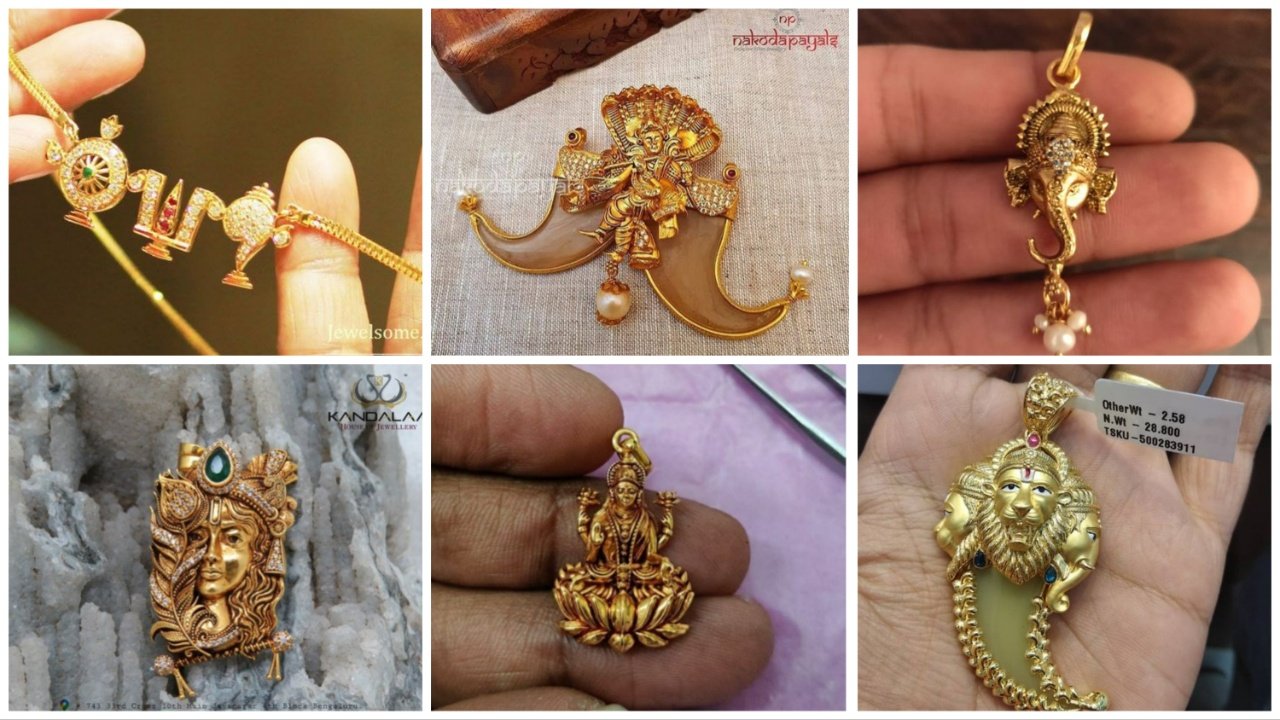
Terracotta was the only clay product used until around the 14th century. Terracotta is the term normally used for sculpture made in earthenware and also many practical uses like vessels, wastewater pipe, bricks, surface embellishment in the building. Terracotta literally means ‘baked mud’ and is made from natural clay and generally found in a reddish-brown colour. It was also used traditionally to create figures of deities on festive occasions and ceremonies besides its use in jewellery and handicrafts.

Terracotta uses because of its simpler and quicker characteristics with much lower cost.
Terracotta modelling, typically with a limited range of knives and wooden shaping tools, but mainly using the fingers allow the artist to take a more free and flexible approach. Its making is super exciting and easy too. You can make it easily at your home by using natural clay and some basic technique.
Terracotta jewellery is counted as traditional jewellery and the best part of this is, you can wear it any of your outfits. It looks more brilliant with saree or any ethnic kind outfit. So as the Mother’s Day is just around the corner, why not we gift this time beautiful handmade jewellery to our most beloved person.
So let’s move to the step by step process


Step 1: Material and Tools Required
Materials Required:
1. Terracotta clay
2.Oil
3. Jewellery making Wire
4. Jewellery Pins
5. Acrylic Colour
6. Paint Brush
7. Terracotta Pot for baking
8. Rolling Pin
9. Cutting Mat
10. Tissue Paper
Tools Required:
1. Nose Pliers
2. Pallet Knife
3. Hobby Knife
4. Needle
5. Wire Cutter
Step 2: Preparation of Clay


Preparation of clay is the initial step in making terracotta jewellery. Break down the hard terracotta clay into small pieces and place it in a plastic container and sprinkle some water over it.
Now let the clay to soak water for few hours. After that, knead the clay well until it becomes flexible to mould.
Next, keep the clay on a flat surface and roll it out to remove the air inside. If you have air caught inside the clay, there are chances to break the jewellery while baking. You can see the above images.
To get an equal thickness of clay surface, first, make a ball shape with your palms then by using a rolling pin make the surface flat to get a desired thickness of clay.
TIPS:
1.while doing the process make sure you are using a little amount of oil in your hand to avoid stickiness of the clay.
2. Use a little amount of oil on the rolling pin.
Step 3: Make the Clay Cutting Die


To cut the clay into a uniform shape, you need a cutting die. You can either buy it or make it your own.
As it’s difficult to find the exact desired size of mould in the market, so it’s wise to learn it with some basic materials.
I made it by using a small piece of balsa wood (thickness 3mm). If you don’t have balsa wood, you can also use hard cardboard for it.
Then I cut out a square shape (16mm) by using my hobby knife.
TIPS:
1. Before cut the square, you have to measure your neck size where you want to put the.. square clay. Then draw the equal measured line on an A4 size paper.
2. The most convenient way to measure the neck size is by using thread. Use a thick thread to find the measurement and mark the length with your scale then proceed.
3. Now mark the positions you want to put the clay squares and decide what measurement you want with your design.
4. While cutting the Balsa wood / hard cardboard be sure you are using a cutting mat
Step 4: 3D Printed Clay Mold


For time management you can make a clay mould with 3D printer too. I have designed a mould for this project. I used Autodesk Fusion 360 to design the mold.
The design has two parts: one is the main mold to cut the clay into square shape and other is to pop out the clay from the mold.
I used my Creality CR-10 printer and 1.75 mm red PLA filament to print the parts. It took me about 30 mins to print.
My settings are:
Print Speed : 60 mm/s
Layer Height: 0.2mm
Fill Density: 100%
Extruder Temperature: 200 deg C
Bed Temp: 60 deg C
You can download them.STL files attached below.
Step 5: Cut Square Shape Clay


Place the square Balsa cut wood piece over the rolled clay sheet and cut the clay with a clay cutter. If you don’t have the clay cutter knife, you can use a pallet knife.
As the size of the square is 16mm. in each side, so I did use pallet knife no. 2.
TIPS:
1. Apply some oil on clay while placing the wood piece or cardboard in order to avoid the stickiness.
2. While cutting the sides, hold the pallet knife as exactly perpendicular to the clay surface (its a must note), then a smooth punch of pallet knife into the clay can give you a beautiful terracotta piece.
3. I would suggest you cut some extra pieces more than your calculation because sometimes we do mistake while baking or modelling. So keep extra pieces for back up.
Step 6: Make Designs on Clay


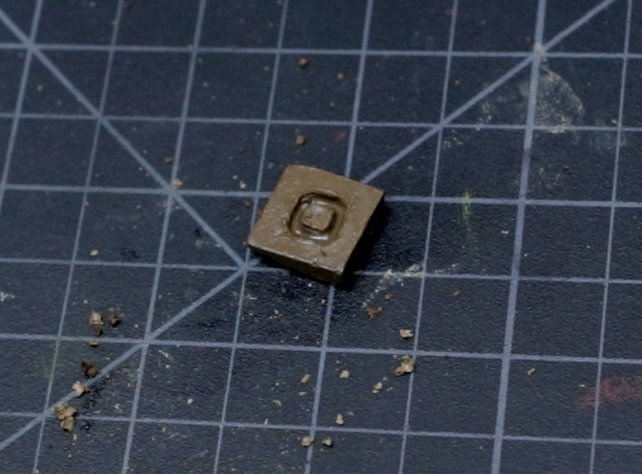
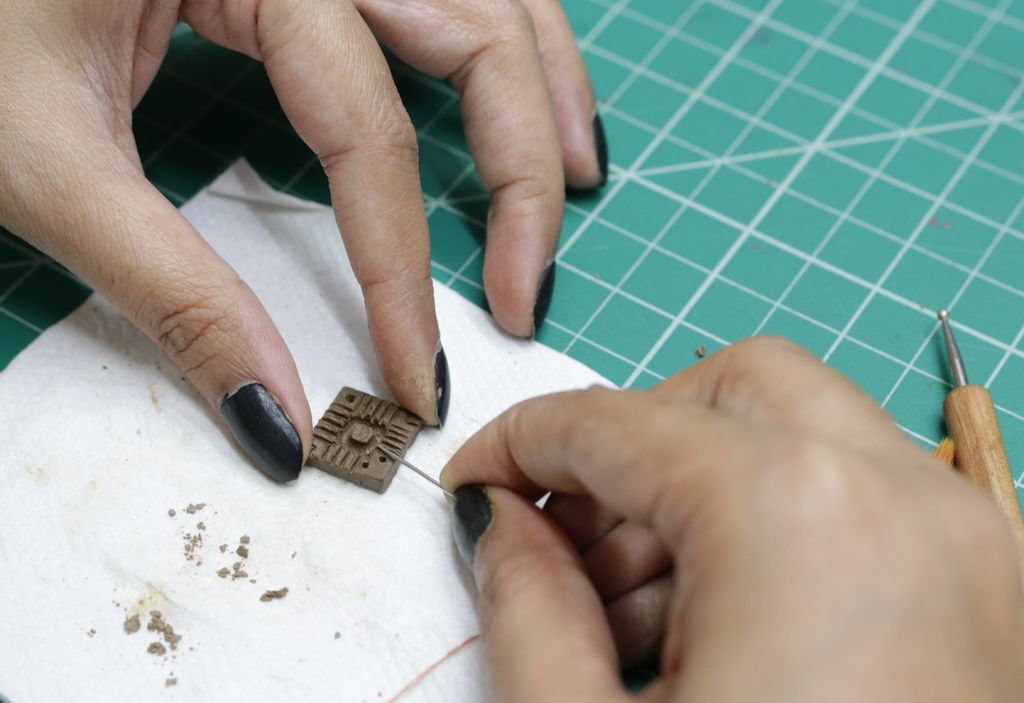


Now its time to put your creative design over the clay.
Its the right time to poke a hole on the clay, because if you will do it a little later it can break the material. I have putted a needle first then by the help of a eye pin I just made it a little wide hole.
I have use dotting tools to make a dip square shape.
As the squares are smalls in size, therefore I have used a needle to make some strip pattens.
Then by using a round floppy brush, I have brushed out the waste clay dust.
TIPS:
1. While holding the undried terracotta piece be sure you dint hold it tightly.
2. While work with needle or any sharp object, examine it should not overlap each other. Otherwise, it will give a messy look to the terracotta design.
Step 7: Dry Out the Clay Squares


As my design demands, I have designed two kind of square.
In one design, it has four holes on four corner. In another design , it has two holes on a corner and a single hole appears just opposite to that corner.
Now late it to dry at least a day with room temperature.
Step 8: Make Some Beads


Now again my design demands some beads. Because terracotta jewellery looks extraordinary with some hanging beads ( in Indian tradition it is called Jhumkka ).
Before making this step, I was worried, how could I get an exact volumetric area bead. Then this idea knocked into my mind.
First, make a flat clay surface with desire width ( As I instructed in step no.1 ), then take a straw and punch it into the clay. Collect the excavate clay material, and place it in the middle of the palm.
Now by the help of your fingertips, make a round ball shape.
TIPS:
1. Put a little oil inside of the inner periphery of the straw with the help of an earbud. So that it will be easy to get the excavated material, otherwise it will stick inside the straw.
2. While making the clay round shape, put some oil on your palm too.
Step 9: Make Holes in the Beads


Now after a little while, mark the place where you want to make the hole. The punch an eye pin into the clay. If you have small size beads then cut the extra pin ( but you should keep the one-centimetre margin and then cut). Now by the help of round nose pliers bend the pin and make it an eye shape. Let it dry a day, at least.
Step 10: Prepare Charcoal


To make the Charcoal, you will need some wood pieces and a terracotta pot.You will also need some smaller burning material like sawdust to start the fire within the pot. You will need a fairly strong fire going in the bottom of the pot before you add your hardwood.To make it easier, you can add some oil too. After your fire is completely out and your pot is cooled off, remove the charcoal.
If you are not interested to do this cumbersome step, you can skip it and buy readily available charcoal in the market.
Step 11: Bake the Terracotta Pieces


First make sure that the pieces is dried completely.
Spread a layer of charcoal which was made in the previous step.Then add a layer of saw dust over it.
Now on the top of that put all your clay pieces.
Put another layer of charcoal over it and burn the charcoal for few hours.
You can watch the below video for entire process of baking.
Step 12: Separate Terracotta Pieces From Charcoal


After baking, let it be cooled down completely.
Remove the charcoal and the clay pieces mixture from the pot.
Now separate the clay pieces from the charcoal.
Step 13: Clean the Baked Terracotta


Terracotta clay has a best characteristics that, after baking its too hard to absorb water.It becomes too strong and light in weight also. Now it is time to clean the baked clay pieces.
I have placed the baked designed pieces in side a water bowl.remove the charcoal dust and By the help of a tissue papers I have wiped out the extra water
Let it be air dried for an hour.
Step 14: Sand the Edges


Now because of baking, it may had loose its little sharpness.Now its time to recreate those little part.
From my experience, its easier than before to sharpen the parts because now its too hard and give a perfect material to play with.
First I have taken a very fine-grained sandpaper then I smoothly sharpen the sides of the terracotta clay pieces.
To create prominent sharp stripes, I have used needle again. Then brush out the dust with the help of the round brush.
Step 15: Tie the Clay Squares


As I have Planned to make this a two layered jewelry piece, on the first layer I have used jewelry making metal wires to tie the terracotta pieces.
Here I have used golden coloured metal wires.
First I have put the thread in the needle and took the length as required.
For more convenient put the last ends of the wire together and twist them with each other. By this method you can tie more easily adopting sewing method.
Now put the twisted wire on four sided hole clay piece.Put them from front to back, then pull out the wire into the adjacent hole from back to front.
Again take an another terracotta piece and follow the same sewing rule.
By this you can get a beautiful terracotta layer for your design.It’s the super easy method to tie the terracotta pieces.
TIPS:
Drag out the wire from back to front and front to back, you should use a nose pliers. Don’t use use fingers as it will bend the wires easily.
Step 16: Tie the Second Layer


Now first layer of my design is just over and we move towards the second layer.
Here I have tied up the rest pieces whose have two holes in two corners and a single hole just opposite to the previous holes.
As I did not find big sized open jumpring with me, I have used eye pins by cutting its eye end.
But I must suggest you to go with jumprings (Bali rings).
By the help of a Round nose pliers, I did bend a little on the mid portion of the pin .
I wanted to place the clay piece as a diamond shape and just the middle of the two above clay pieces. So I have place the two holes side heading up and the single hole side down.
As I told, I wanted to tie each in between the two upper layered clay pieces, I have tied one with the upper layer first clay and tie another with first layer second clay.And by doing so I got the lovely design.
I have used round nose pliers and wire snips to cut the extra pin.
Step 17: Tie the Clay Beads

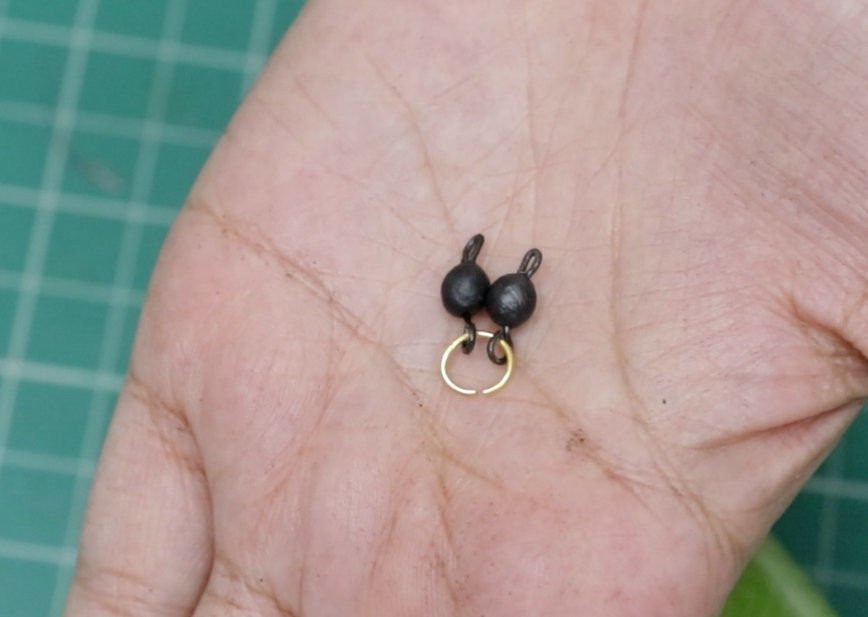

To tie up the beads , I have taken open jumpring of small size. Then I have opened the ring end and put two beads each and close the jumpring.
To make it open and close I have used nose pliers only.
Step 18: Jewelry Making


To hang the beads , I first put a jumpring in the hole of the lower portion of the clay.
Then again I did open the jumpring of the beads and close it properly by the help of same Pliers.
Seriously you will find the Jewelry look so amazing with this touch.
Step 19: Colouring the Terracotta


Though the clay looked black after the baking. Still I have use black colour, because the colour will help to safe it against extra adverse effect of the environment.
When I was colouring, some of my golden jumprings and golden wires got coloured with black,so I did remove the colour with the help of a tissue paper.
I wanted to give this an antique effect, so that I did use gold colour over this.But you should remember use a dry brush while doing this part.
Gold colour should not penetrate into the stripes. A little amount of water can be spoil out the entire project.
For the mid square portion, I have used red colour and gave its Two coats.
Like wise I have painted the beads with golden and red colours.
Now let it to dry for couple of hours.
Step 20: Tie the Ends of Jewelry


Now its the final part of my project where finished the look with a lovely way.
I took some stone rings to give the both ends beautiful touch. If you don’t have this, you can skip this part, it’s an absolutely not a mandatory part.
Then I tied two stone rings on each ends of the neckpiece. To do this, first I have insert the twisted end in the holes of the stone rings, then drag out the wire again into the clay hole( from back to front ).
Then again put the extra wires into the stone rings and make it a tight tie.
Now take jumpring and start twist the extra drag metal wires around its lowers part.
If you have a long extra wires then cut it with a wire snips.
Step 21: Tie the Extension Chain


The extension chain is an awesome thing that you will not take any headache to extend and wear.
It has two hooks on two ends just to hook with the jump rings.
Now my terracotta Jewelry is ready to use.
I personally prefer to use it with traditional sarees or love to use with ethnic dresses. Its a self satisfaction when you use your own handmade or when your beloved one get this traditional handmade stuff from you on a occasion or function.
Thank you so much for reading my Instructable.
This project is an entry in Jewelry Contest, please vote for me.
Give your feedback in the comment section below.If you make this Jewelry, please share your build pictures.
courtesy: instructables


