
Astra from satin ribbon-Flowers with your hands
A lot can be done beautiful ornaments of satin ribbons. The site has already collected a small Collection of various colors made with their own hands . Today we look with another master class how to make aster of satin ribbon . The author of this work is the hope Balabushko.
A method of manufacturing asters of satin ribbon:
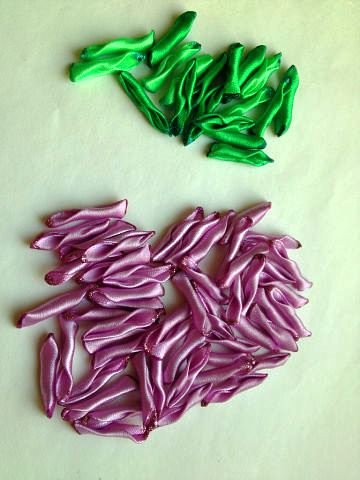
Take a satin ribbon width of 2.5 cm pink and cut it into 5 cm polosochkidlinoy Cut 50 pieces of pink color for the flower and zelenogotsveta 18 pieces of leaves.. Divide the eye about as shown in the photo.
now let’s get down to the master class to create clips in the style of hand-made kanzashi technology. Enjoying and educate yourself!
The material used to create the product:
- Satin ribbon – the color green;
- Satin ribbons – pink color;
- Wire;
- Bead imitation pearls;
- Barrette;
- Sequin;
- Decorations.
The tools used to create the product:
- Scissors;
- Lighter;
- The gun with hot glue.
The technique used to create the product:
Kanzashi.
Step 1. From the outset, we need to cut into lengths of satin ribbon. Number of pieces:
50 pieces – color pink, 18 pieces – the color green. This satin ribbon width should be 2.5 cm, and length -.. 5 cm length of satin ribbon obtained must be mentally divided into 3 parts. See photos below.

Step 2. Further required to make a bend in one direction to the first label …

Step 3. Now Fold the second side segment …

Step 4. Again, mentally divide the segment into 3 parts …

Step 5. Again Bends one side of our label in the segment …

Step 6. Fold the second side in the same manner …

Step 7. Putting together side lobe …

Step 8. Here pictured are our future aster petals.
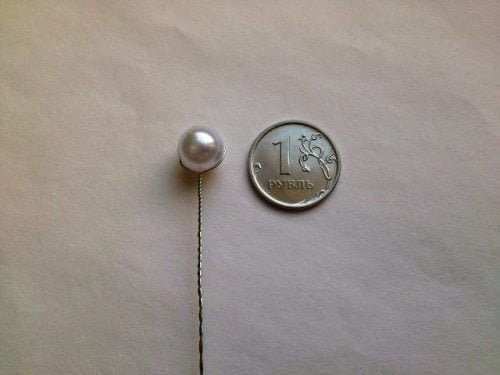
Step 9. To build asters take a bead in the form of artificial pearls and fasten it to a thin wire. How do you see the photo below.
Step 10. Now add a drop of hot glue on the tab and put it on the top bead …

Step 11. Also proceed with the second lobe …

Step 12. The same is done with the third petal …

Step 13. Repeat with the fourth petal. So, we have with you the first row is ready.

Step 14. Let us now proceed to the second row. Planting the pitch between the petals. See photos.

Step 15. The second row of petals is completely ready.

Step 16. The third row of petals is completely ready.

Step 17. Now you can see how it looks on the side …

Step 18. Fifth row of petals is ready …
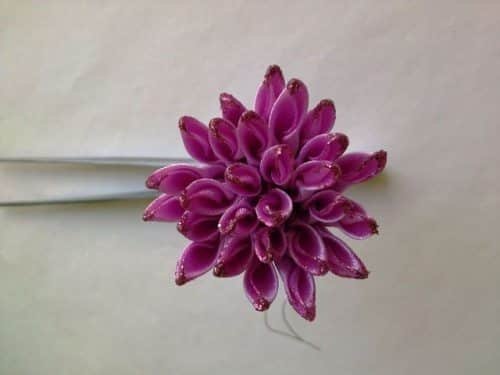
Step 19. Sixth row of petals is ready and our aster completed.
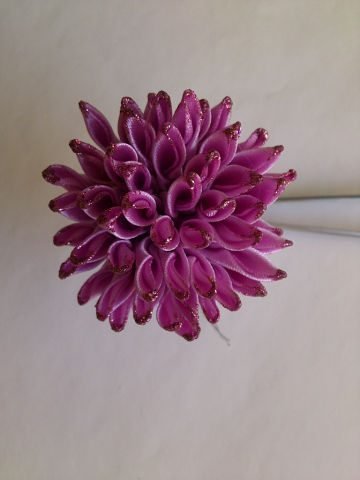
Step 20.View aster below …

Step 21.Then we collect green petals in a twig …

Step 22. Wrong side clips barrettes with our aster ….

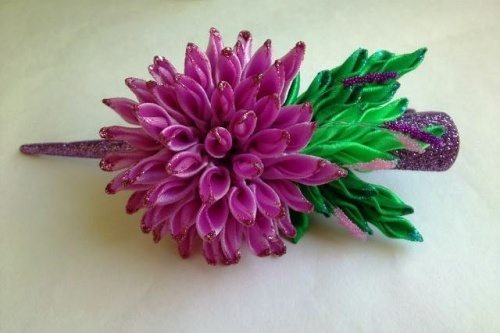
Step 23. Our final result clip “Astra” in kanzashi technology. It is lovely! Is not it so?

Hope, thank you very much for your wonderful master class on the art kanzashi. Hairpin “Astra” certainly can easily decorate any style most promising ladies and complement the outfit with his presence. We expect from you new ideas and master classes. Creative flight!
You want to have your product or workshops for hand-made technique kanzashi see on our website? To do this, you should only send us only and send their photos of finished products with a detailed description, we are pleased to show your work across the Internet.
I wish you all good luck and creative inspiration to you!