Bullfinch of wool

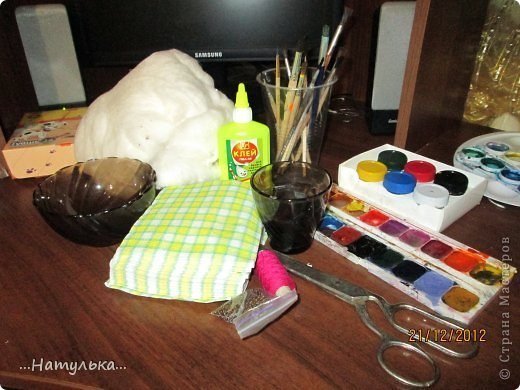
For the work we need:
1.vata
2. white glue
-better 3.kraski gouache, watercolor but also goes
4.ploshka glue
5.stakan water
6.voda
7.nitki conventional sewing
8.biser for glazik
9 .kisti different caliber ot1do 6ki
10.kley type “Titan” -for gluing birds on a sprig
11.salfetki
12 foam
13. thin wire
In bowl breed glue and water glue 2: 1 water
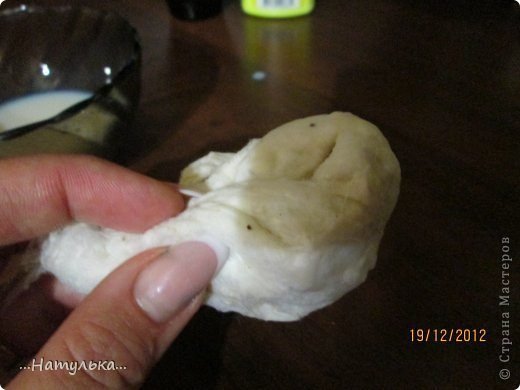
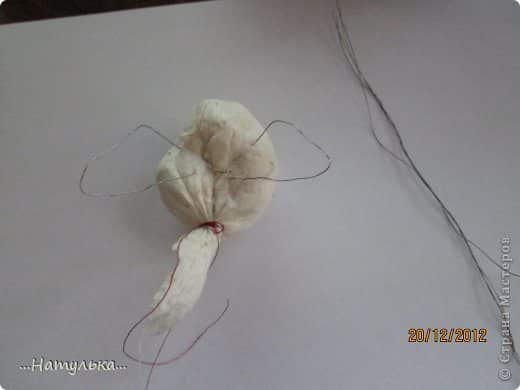
to break away from the main piece of cotton, a piece the size of a palm.
Approximately form the body and head

Quickly dip the carcass from all sides in the bowl. But what would she just gets wet on top. That would not wet ALL !!!

Hand to smooth body and to stretch the back and sides wool wrap inside
tighten thread space between the tail and calves, the end of the thread leaving about 20 cm long
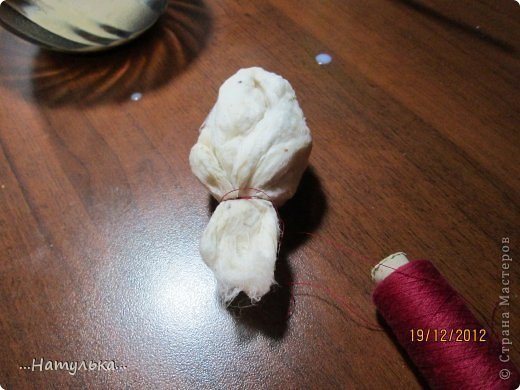
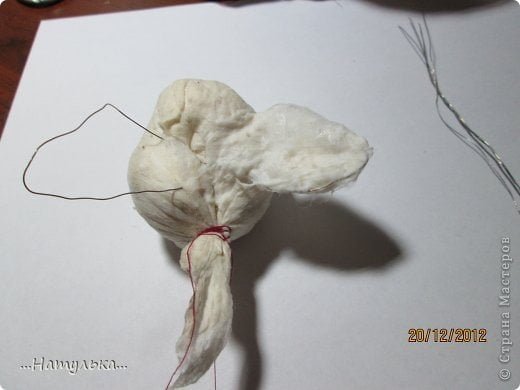
Again, brush the entire coat with a birdie solution of glue and water

if large tail cut off at its discretion


when hanging rounded breast, and if you put it to dry and trampled !!!

when dried birds they see the shortcomings of a head a little something vmyatinki,
smear glue solution space restoration, putting a piece of cotton wool
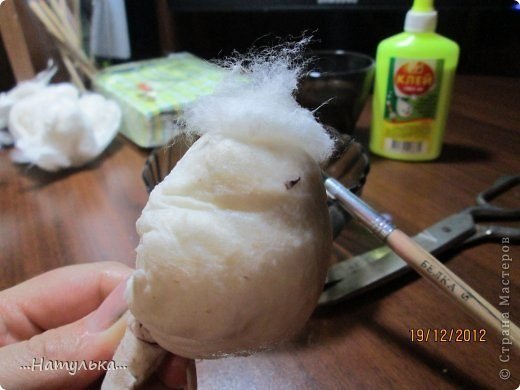
And again, we coat the top

back, we also do not equal

so they, too, we coat, fleece top and top coat with too.

a bird which has turned out too small tail, once we put a long piece of wool and coat with.
JUST DO NOT MUCH moisten, and even when dry !!!!

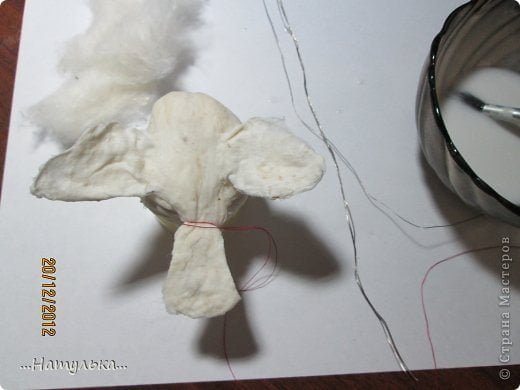
The result is a neat magnificent birds

Beak do this:
Rolling malengy piece of cotton wool into a ball, moisten a glue and form a cone.
Glue the beak to the body is the place previously smeared with glue.

If you want to chick taking off, then you will need a slim easy bending wire.
Then the bumps on the back will be closed after the wings are in place.
Thread the wire through the back, bend wings and how to stick the edge again in the back
thin slices of cotton envelops the wing and coat with a brush, to help have of course, cotton sticks to your hands.
the second wing as accurately
Finish the wings, close the back of a piece of cotton wool and coat with the top.
after closed all the flaws and has attached wings, hanging dry them again.
After drying, the birds are light and have a dense crust, which is easy to paint.
It is now possible to cut the hanging skin.
Dry bird can be held by the tail and paint

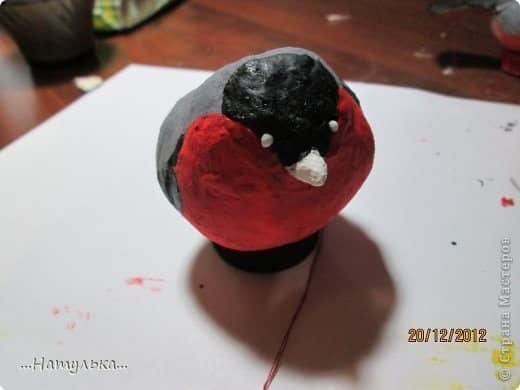
Begin to paint! There is already everyone has his vision as you like, I have a cartoon.
paint the breast that would be no spaces, thick and bright paint.
and dry !!!

Gray paint to paint over the back and sides. Back to drying

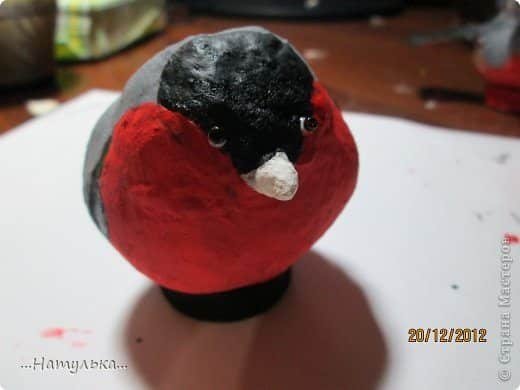
black colour (watercolour, gouache seemed to me grayish) draws the “cap”, wings and tails.

white paint the beak, feathers on the wings and under the tail

in places where it is planned eyes drip glue and puts beads
Ready to go on a twig.

wood already did not make, but I will tell how to do.
Through prepared penetrate the nail, turned so that the cap on the bottom, and the tip was stuck to him 2-3 sprigs of wire. Then the “trunk” coat with glue and glue the top ukutyvaem.Snova napkins. Dries and paint in the colour of the crust.
The foam broke his hands on a grater he strongly electrified. tree branches smear glue “Titan” and sprinkled with snow foam. The landing of birds as well glue “Titan.”
crafts evening gathered in the morning not to tear the birds.
Thank you for your attention !!!
