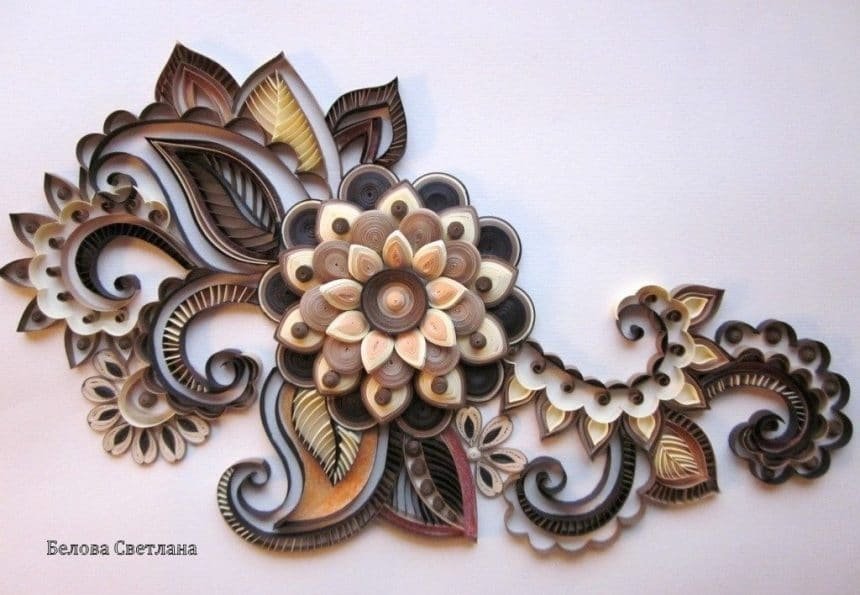
Decorative quilling flower
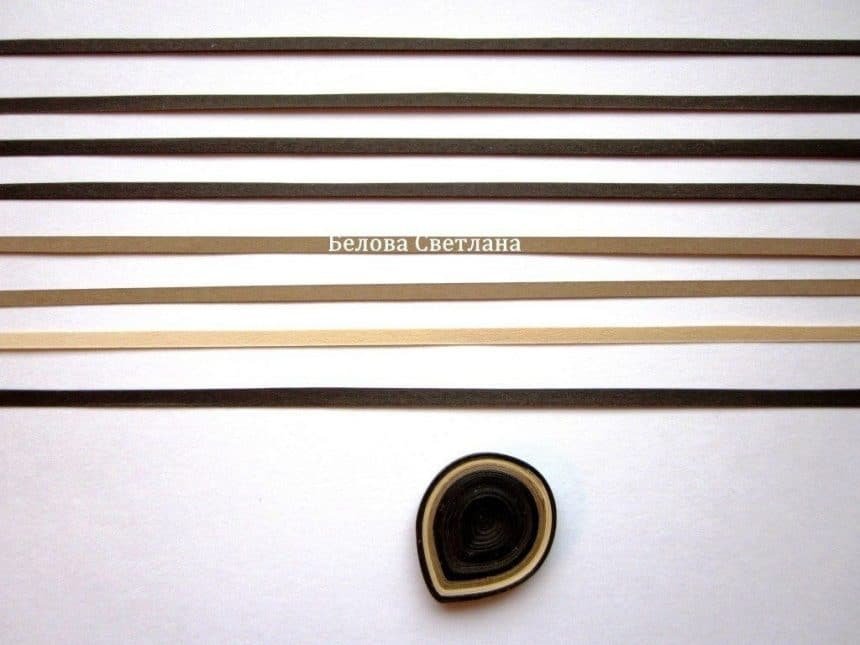
We start : glue 8 slips (width 2.5 mm), as
on the photos (of course you can make a flower in any other colour), twist roll, not
trying to do it the most tightly and give it the shape of the drop.
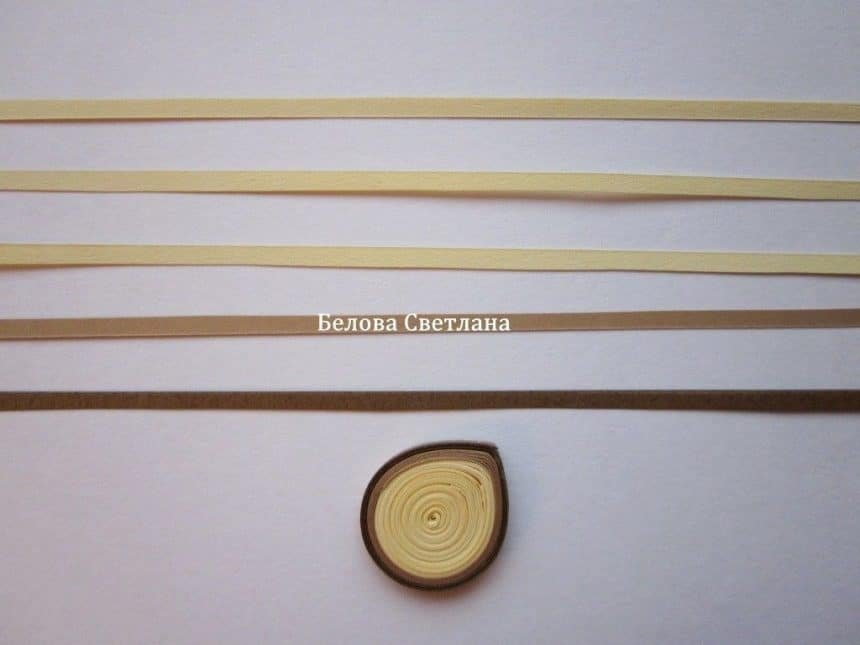
Following a drop of doing five slips and lighter shades. Also 10 pieces.
Third droplets me plain and made of 4 ……….make 9 pieces.

Recent droplets made of two slips and they also need 9 pieces.


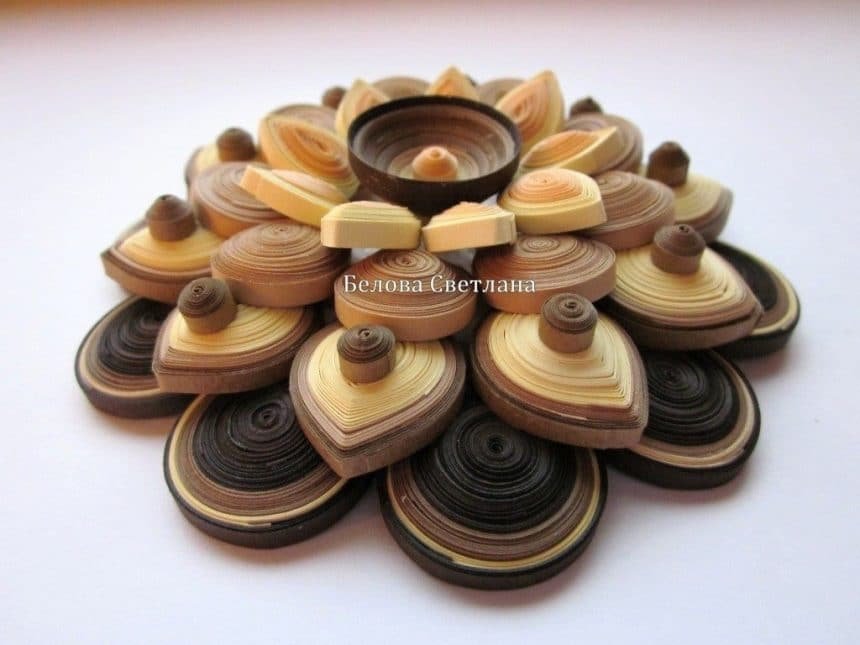
Give each drop of slightly concave shape of the cup … (this photo forgot to do) and do not
forget the back of the glue all the parts.

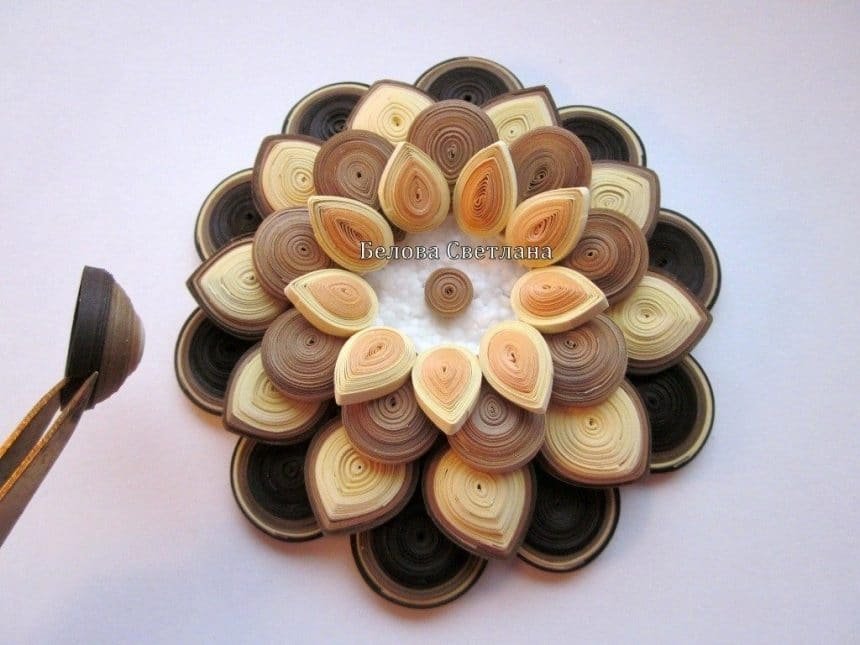
Getting to the assembly: put in a perfect circle the largest droplets and measure the internal empty circle – I got 4 cm. Now you need to cut the size of the circular zagotovochku of anything surround: I have a ceiling tile. You can take a piece of cardboard from boxes or simply twist the roll of disposable paper … Put this in the middle of a blank … What? To the following series did not fail …..number of droplets laid out a sharp edge and strictly in the middle of previous zagotovochek and yet without moving deeper into the flower …
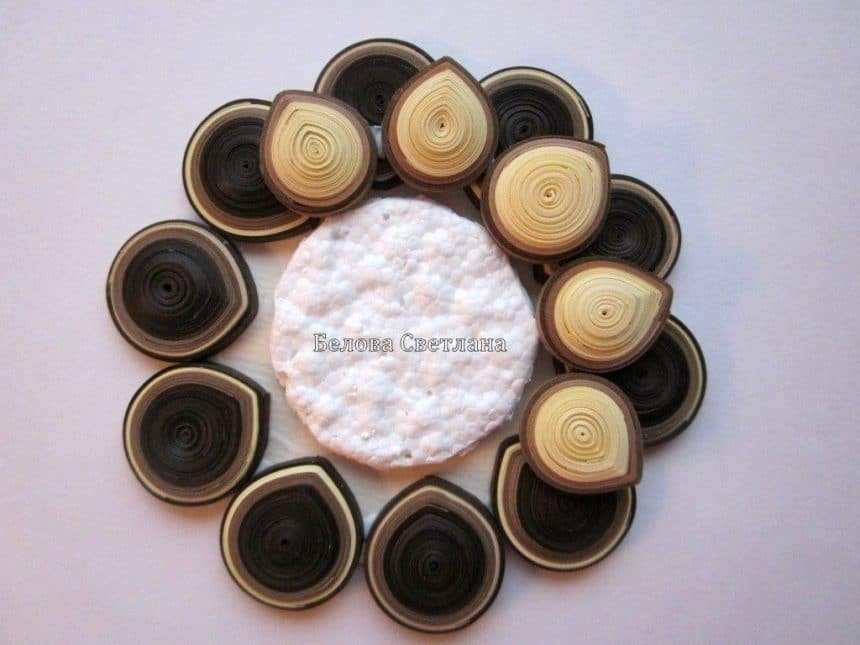
The third row has shifted inland and is simply applied in a circle, and not strictly
in the middle of the previous droplets. We put this number into the sharp edge …

The last row of a little shift and settle again Circuits strictly in the middle
of previous and sharp edge out … In the middle of the deepening lay twisted roll of a strips, width 1.5mm – for the stability of the final central Circuits. To connect it 11 slips with a smooth transition of colour from light to dark, shape the cups (as in the photo) and insert into the groove.
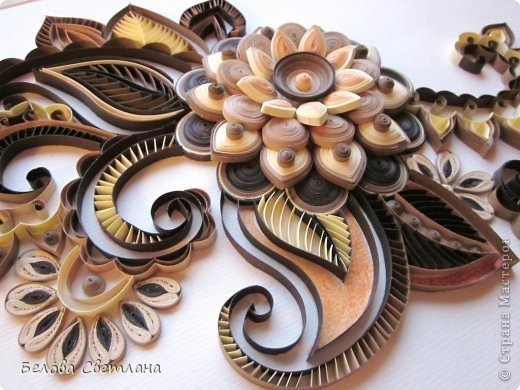
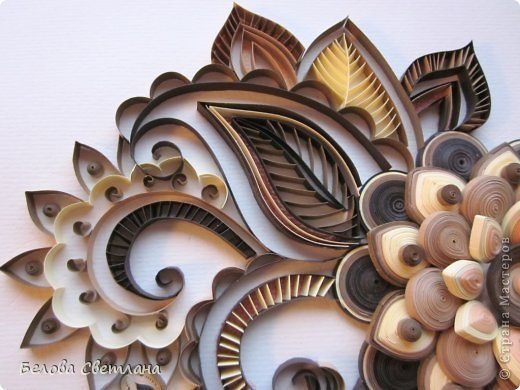
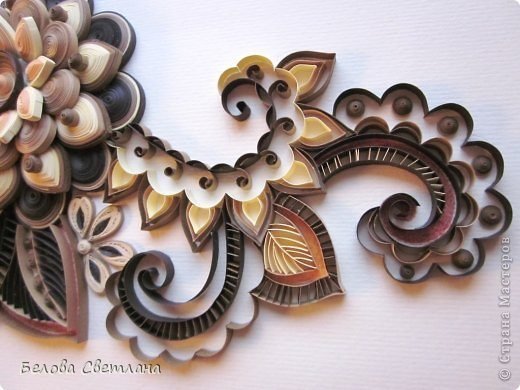
It remains to add decor … I twisted little rolls of half stripes, giving them
convex shape and decorate our decorative flower …!

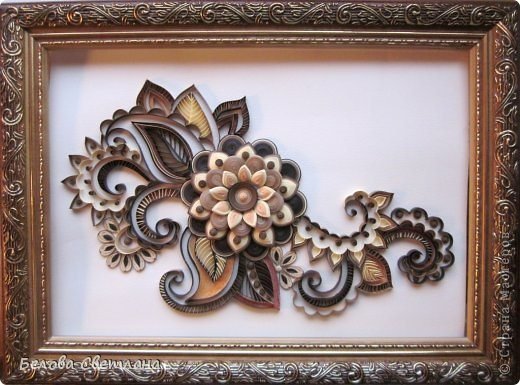
I went into a flower such a composition :