
I have always wanted to participate in a pet contest… but it wasn’t possible until now
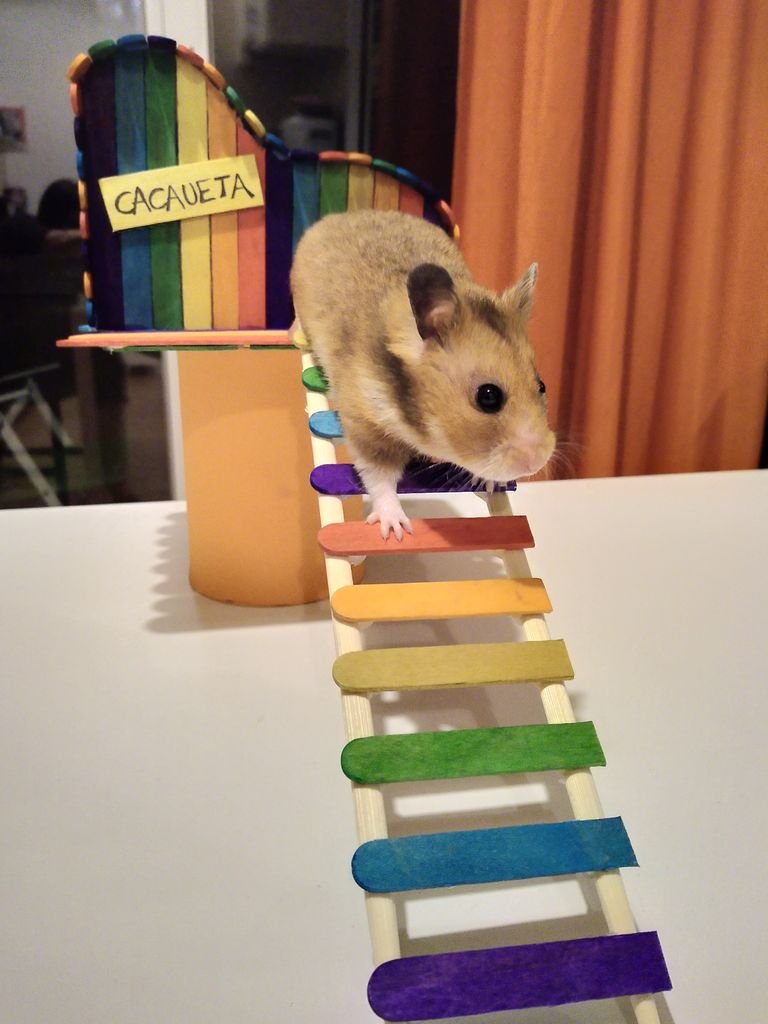
I a few months ago I went on vacation and when I came back I found we had a new family member, a lovely female hamster which I named “Cacaueta”. Since she is so sweet, I wanted to create something for her.


MATERIALS:
– 1.5 cm wide wood sticks
– 1 cm wide wood sticks
– Cardboard
– Chopsticks
– A box (to put the house on)
– Foam
– A hamster
TOOLS:
– Pencil
– Non-toxic Glue
– Glue gun + Glue sticks
– Brush (to apply the glue)
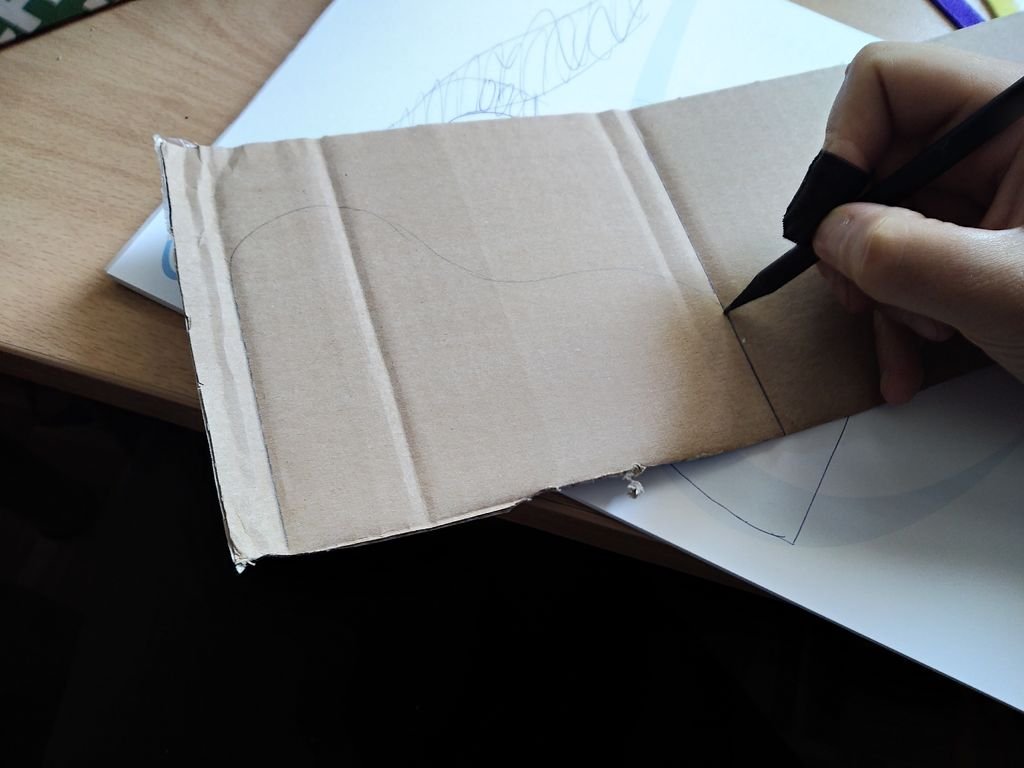
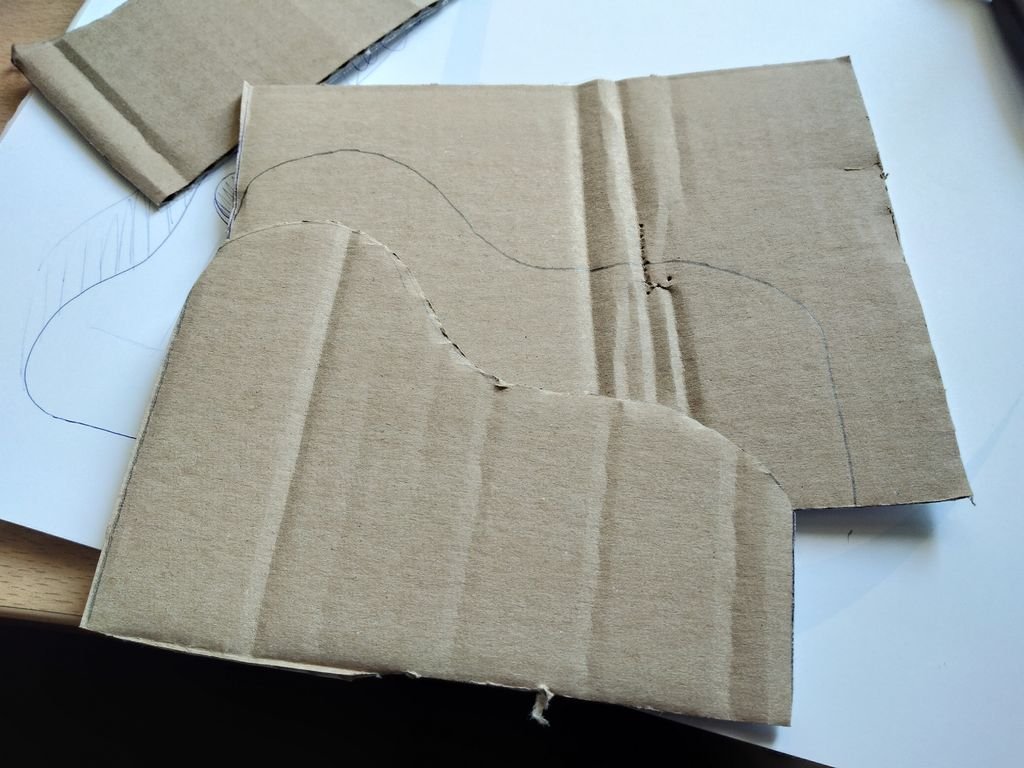

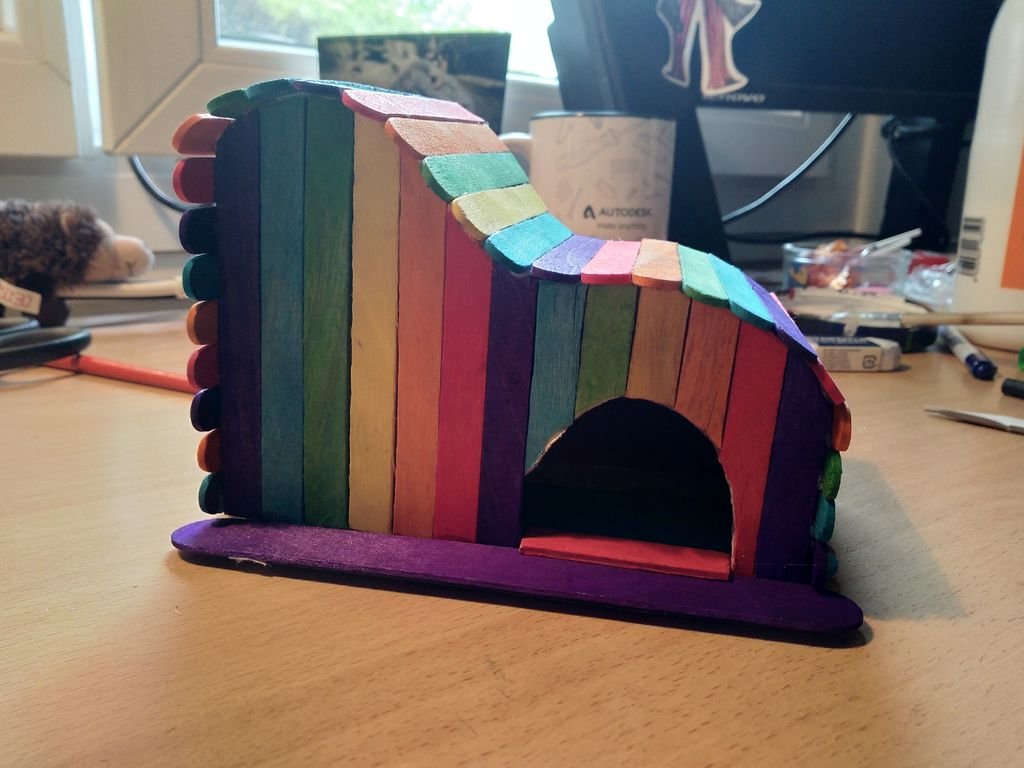
First, you need to create the house’s design. Use your imagination! Make it big, small, tall, wide, round, square… do as you please!
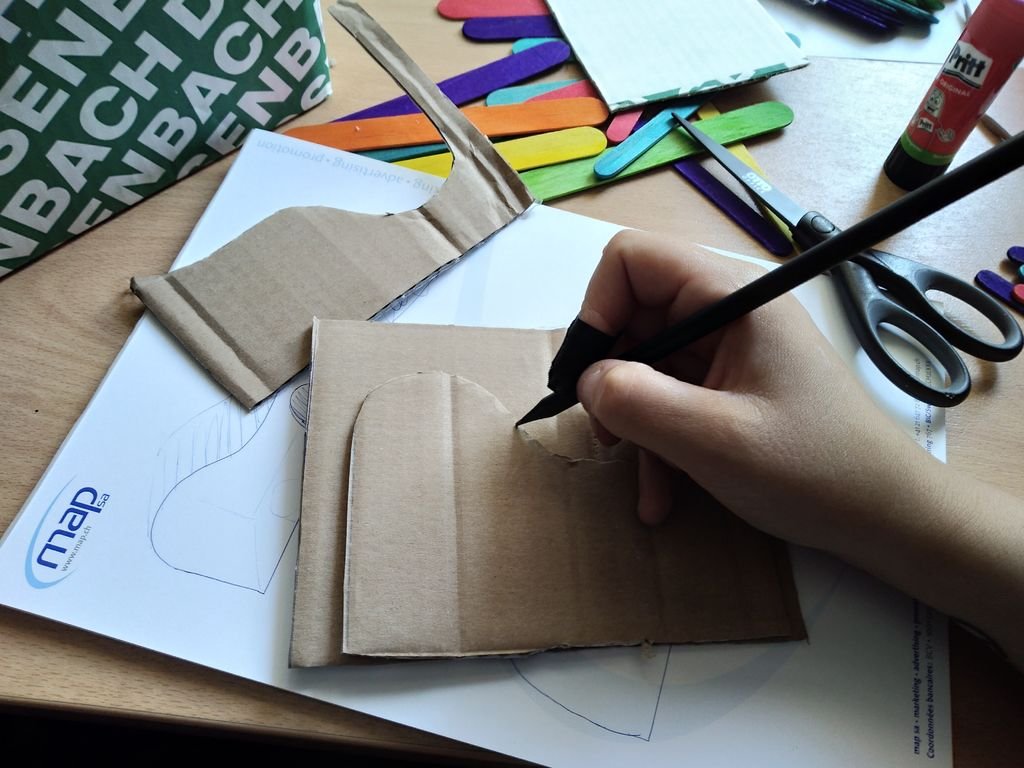
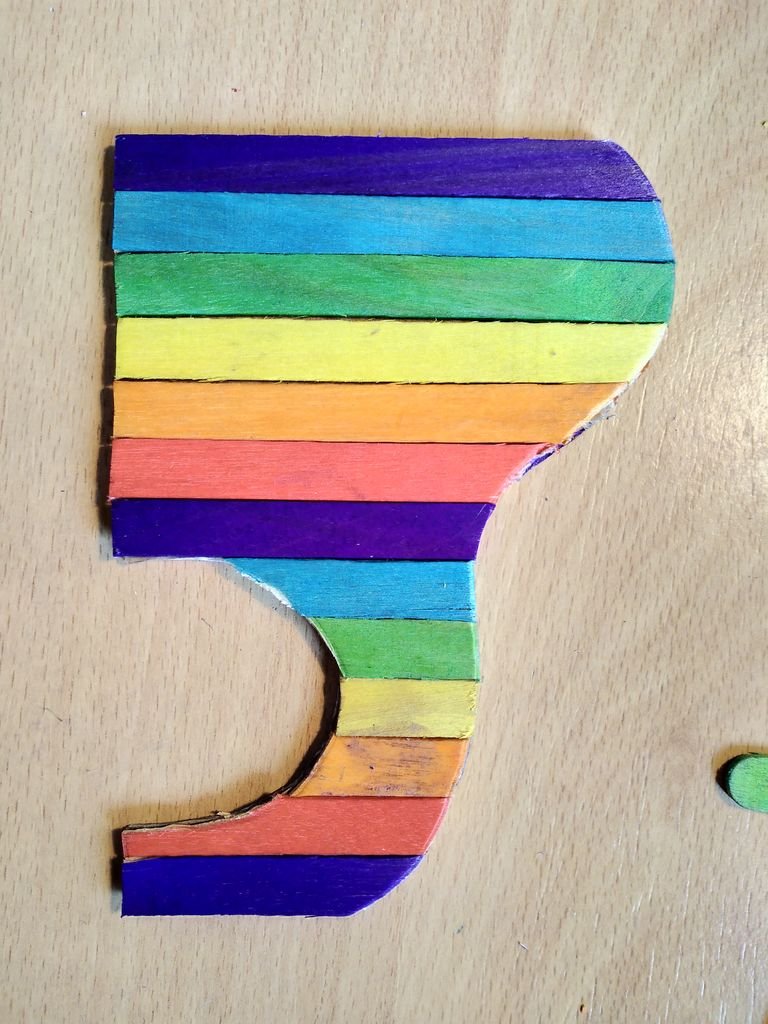
When the design is ready (at least on paper), draw every piece on cardboard. My design consisted in three parts: two walls and the floor (the roof was not made out of cardboard). Don’t forget to leave a hole so the little rodent can come in and out!
Once everything is drawn, cut all parts.
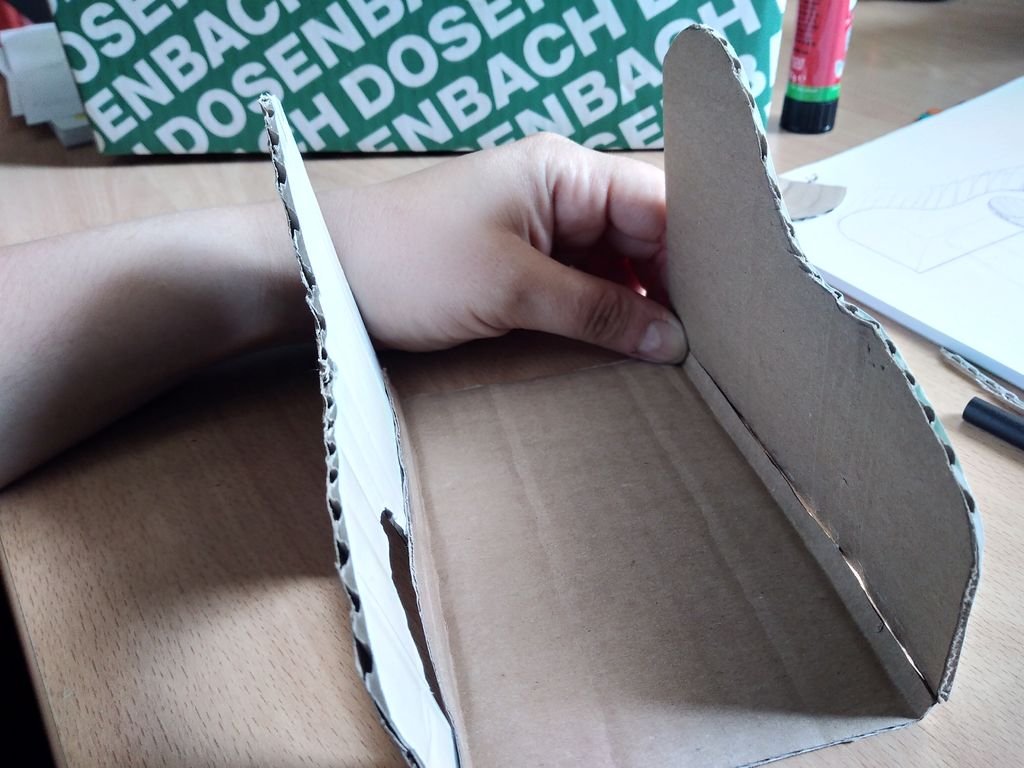
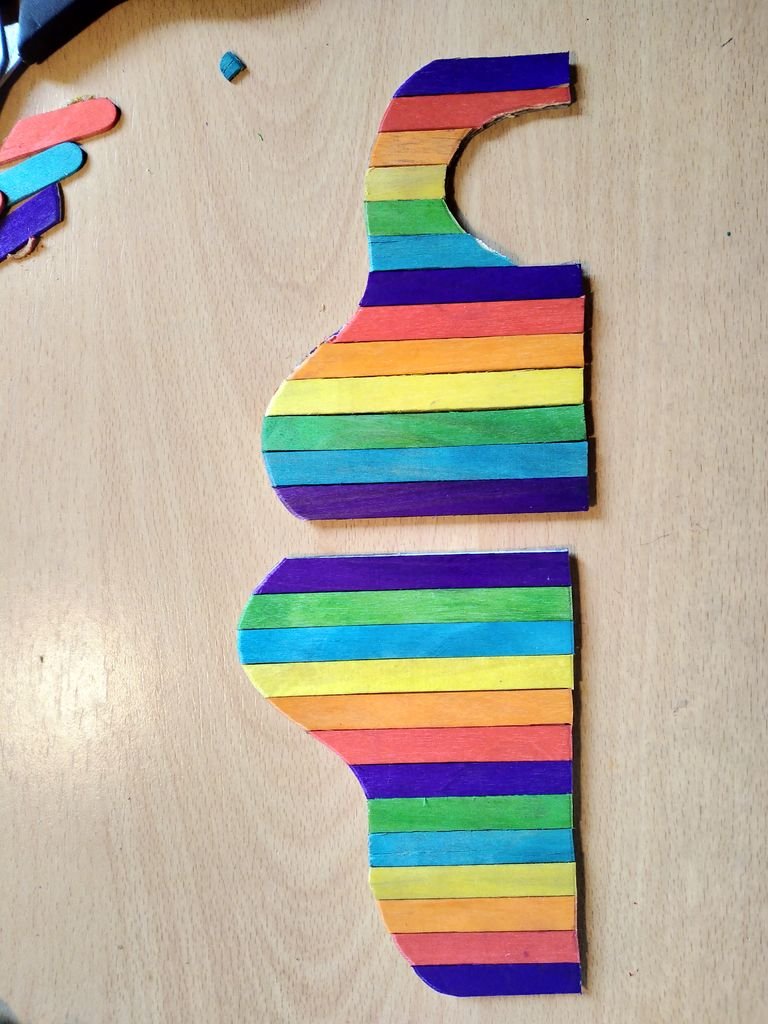
Place all parts together without glueing them together to see whether they fit together.
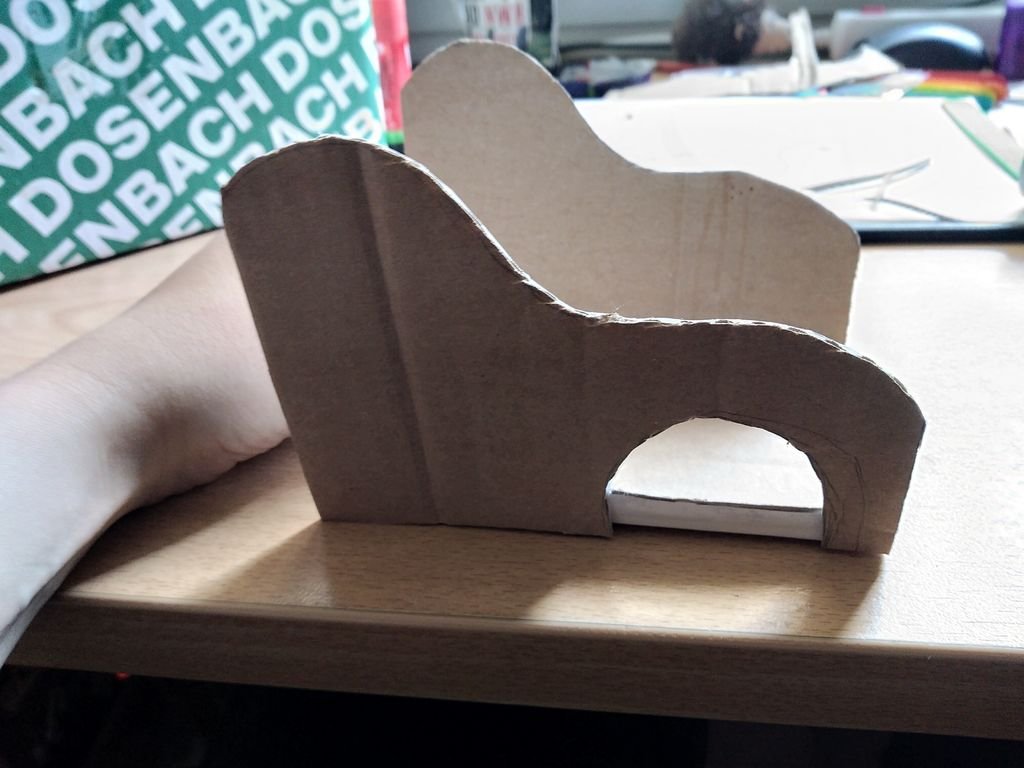
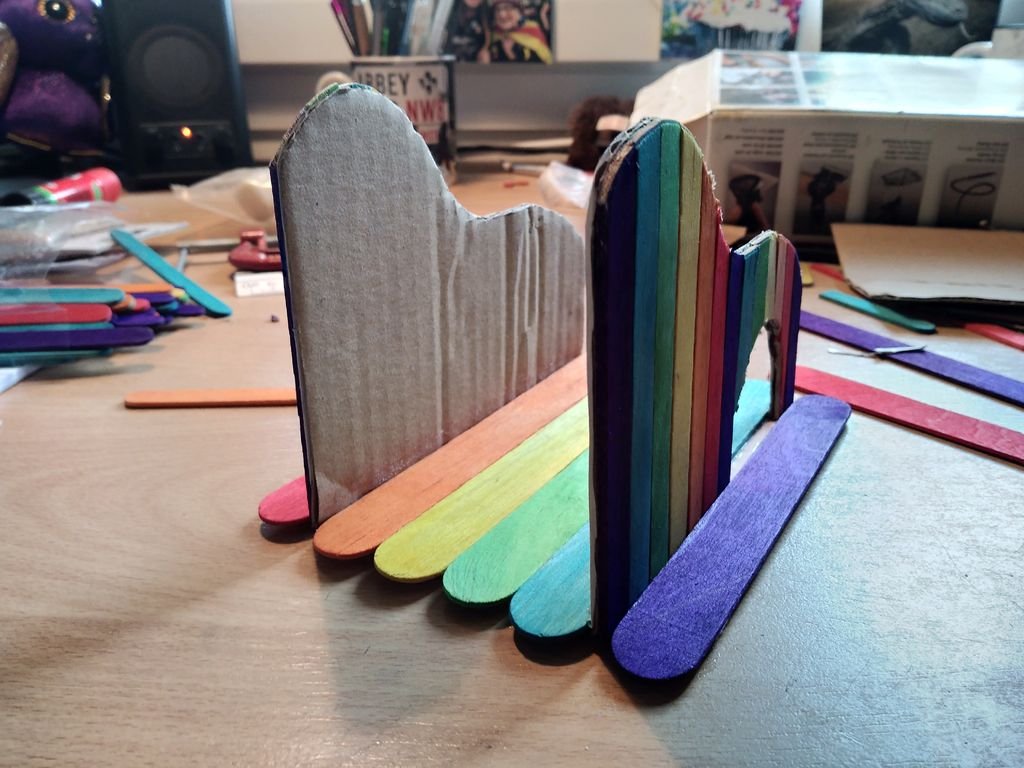
The house’s basic structure is now ready.
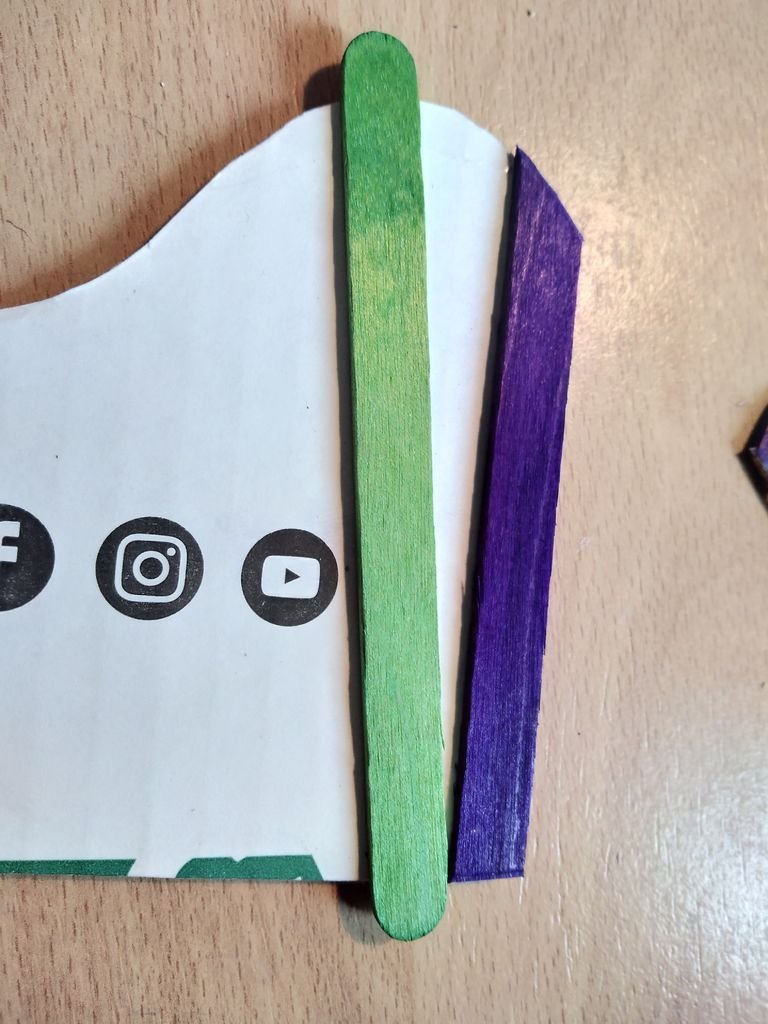
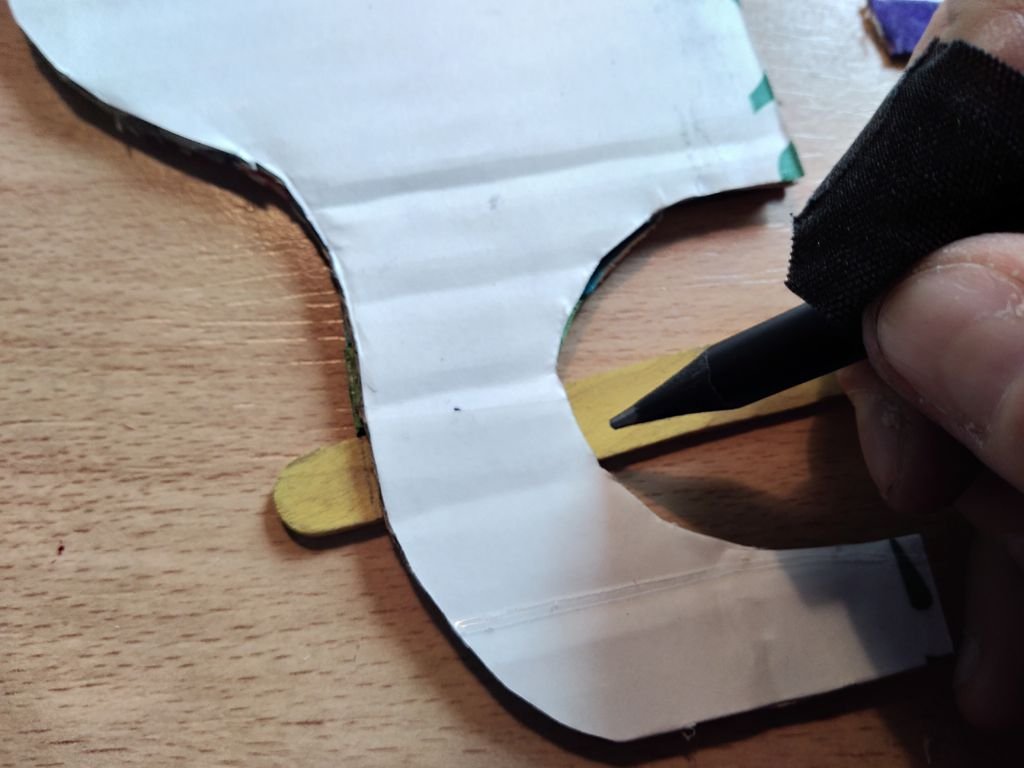


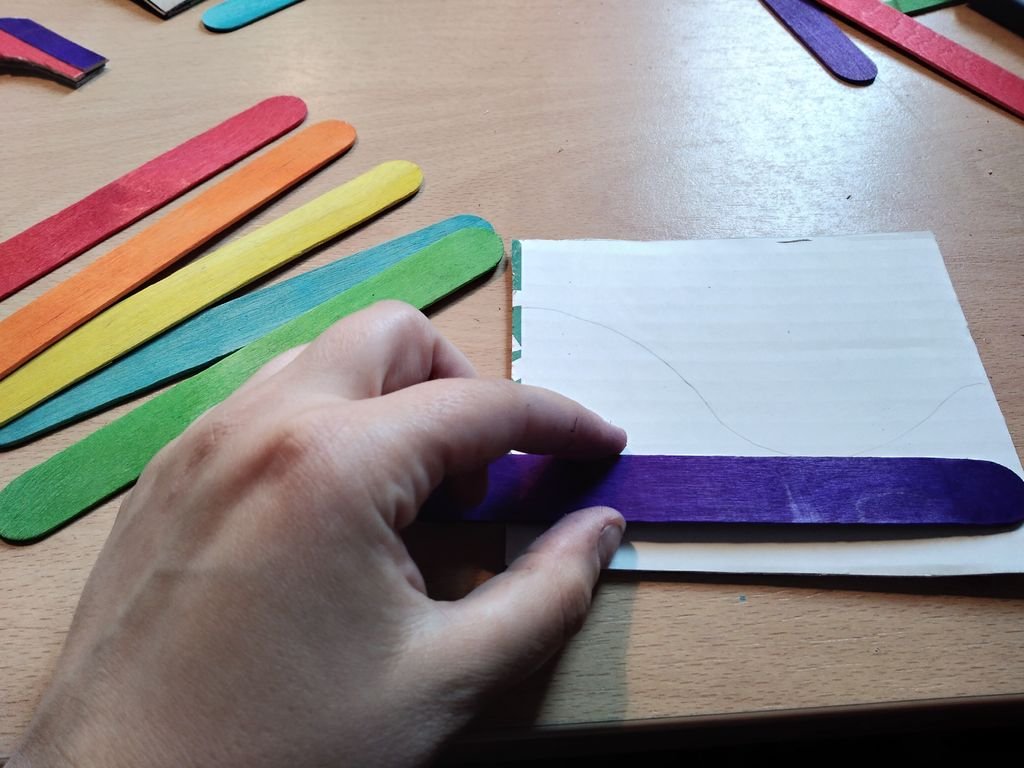
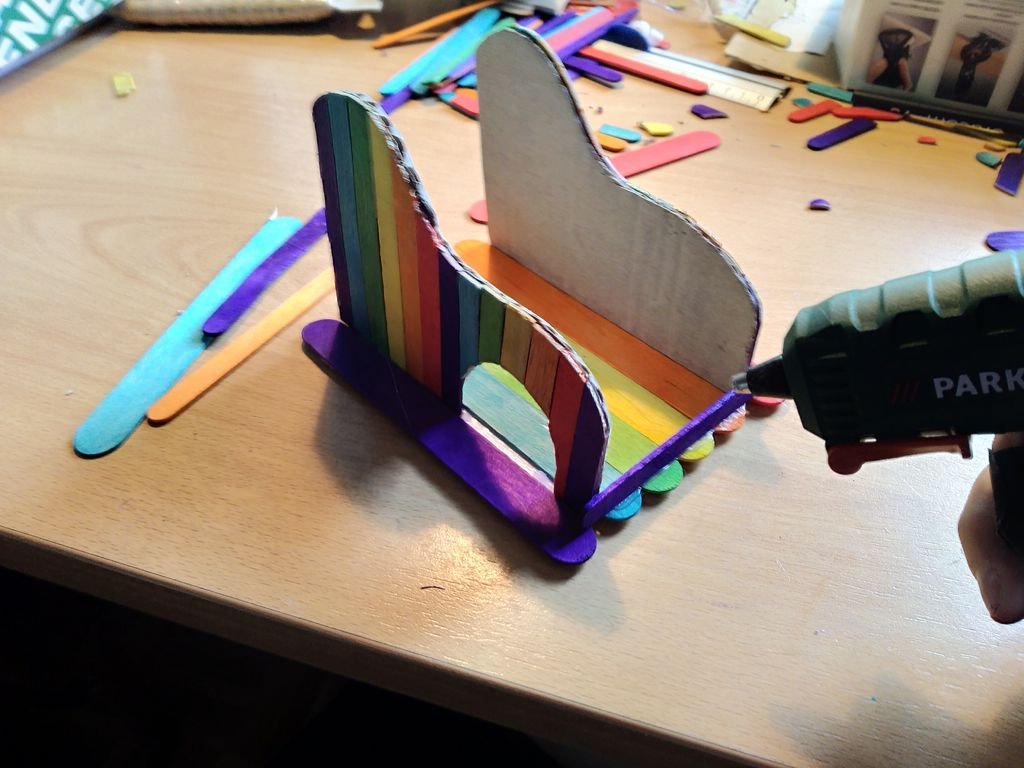
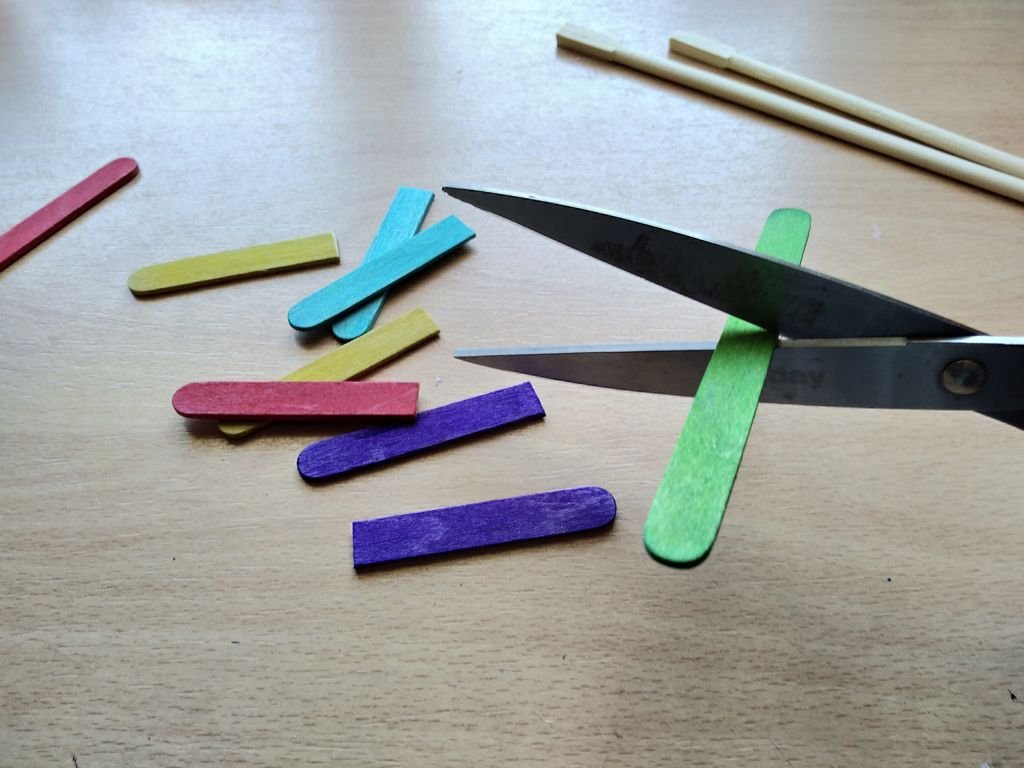
To reinforce the walls, take the narrower sticks (1 cm wide) -doctors call them “tongue depressors”. Place one against a wall. Hold it with a couple of fingers and carefully trace the wall outline against it. Mark the place where you will need to cut it out. When you are done, cut it with a pair of scissors and glue it to the wall using non-toxic glue (see video).
Repeat this step until the two walls are totally covered with wooden sticks -or tongue depressors.


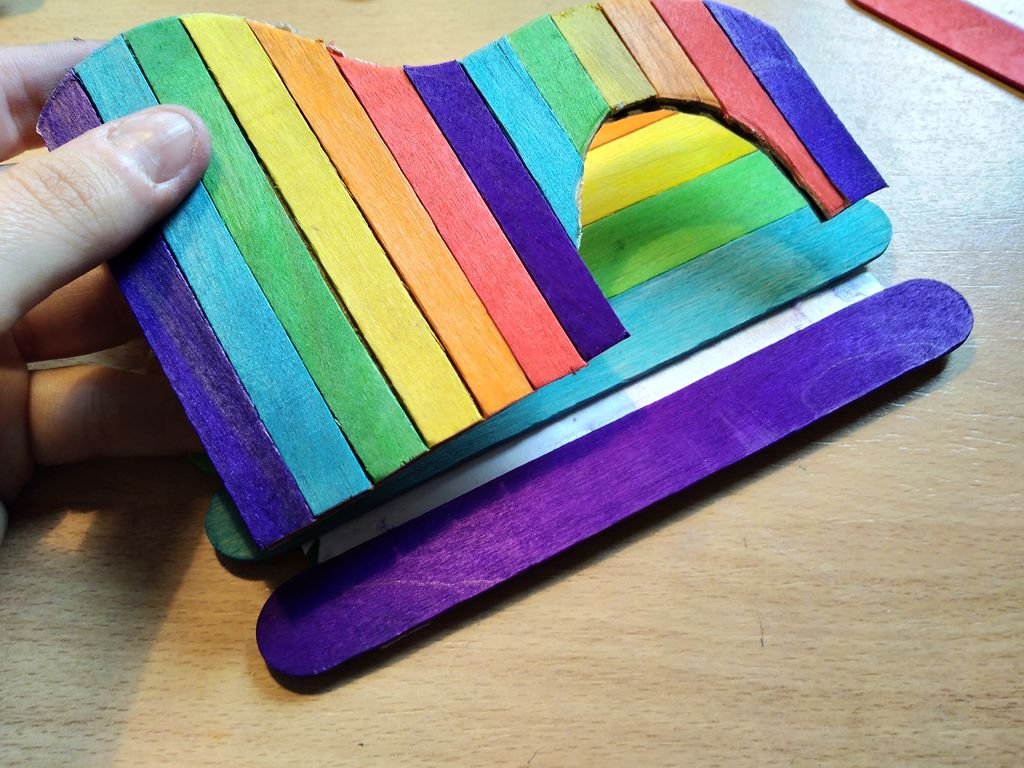
To build the floor, you will need the wider sticks (1.5 cm). Take the cardboard floor and glue the sticks on top of it. You may or may not cut the rounded edges -it’s up to you!
I suggest you leave some space between the last sticks on each end of the floor so the walls fit in better. This will make the whole structure a bit more stable and will help in the next steps.


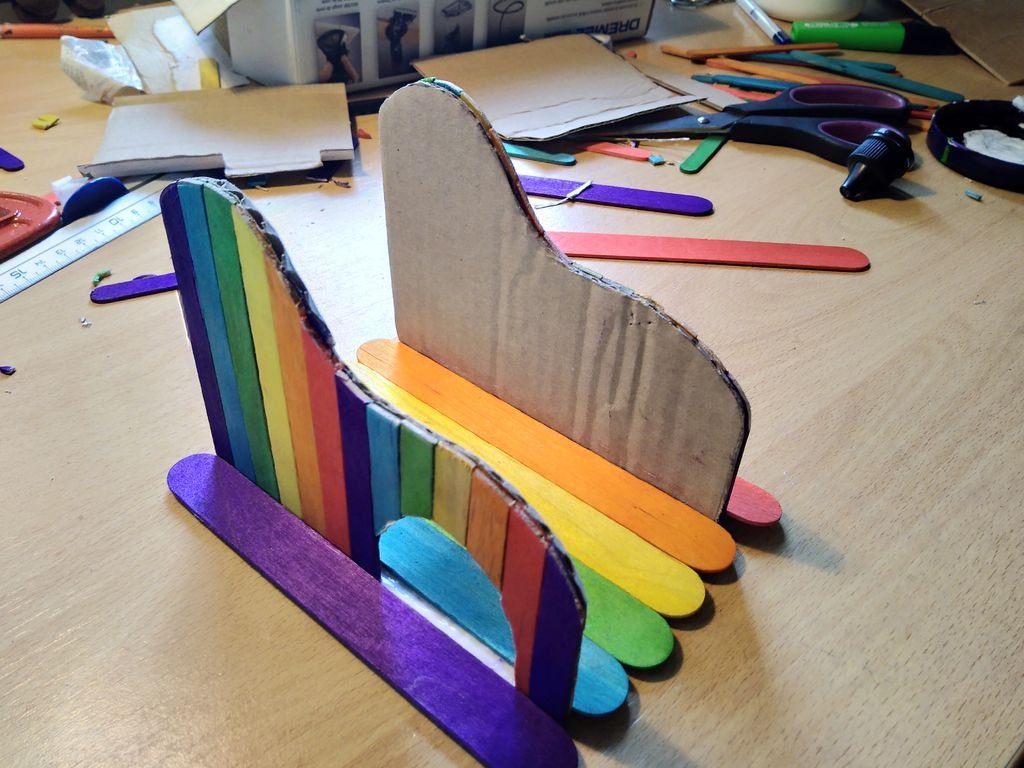

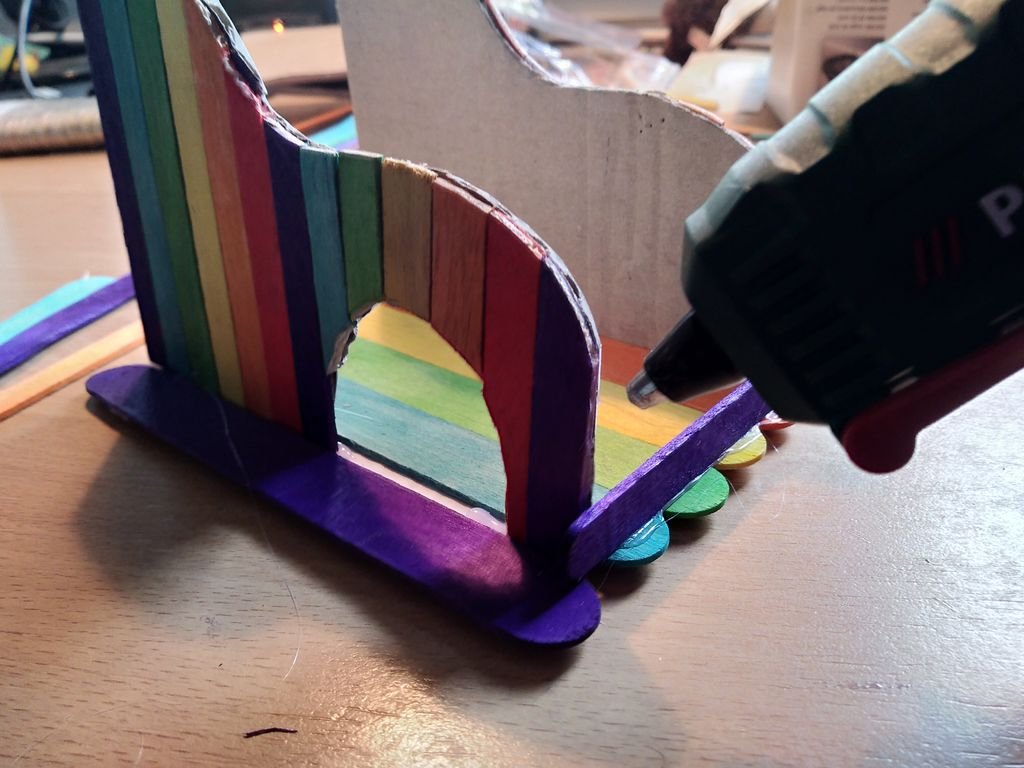
Glue the walls to the floor in the extra space between the sticks you left in the previous step. Make sure they are well aligned. This extra space will be specially visible in the door. You can hide or disguise it by glueing an extra stick on top of it.


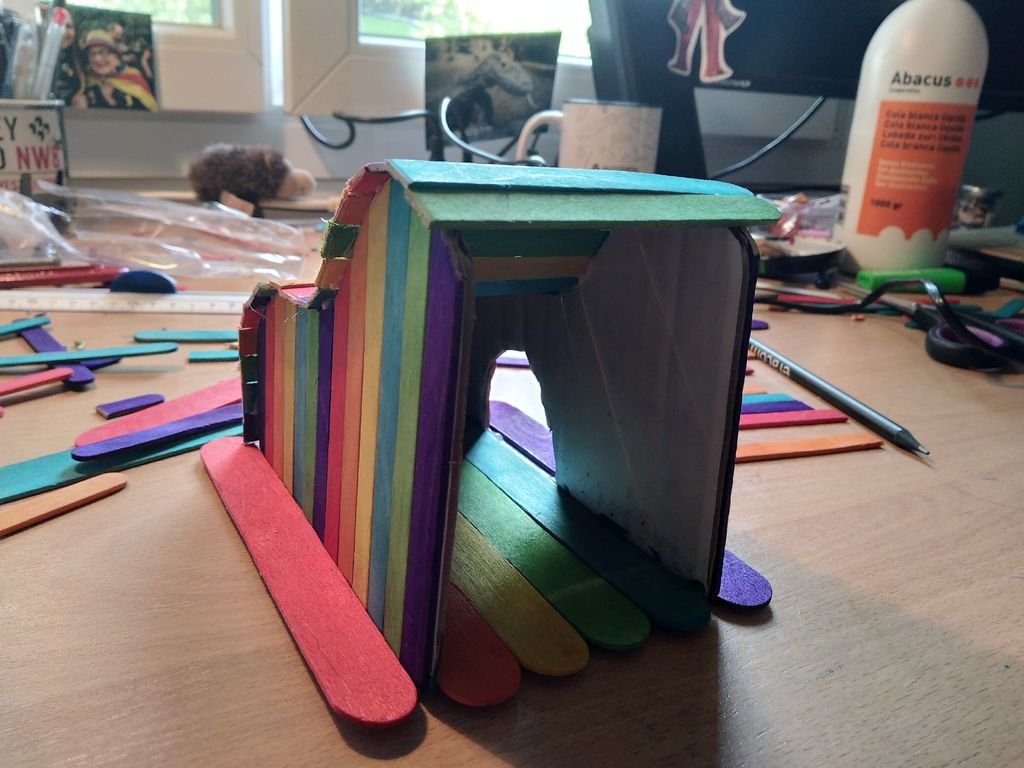

Now you must build up the roof. Start by preparing the sticks you will use.
Measure the house’s width and cut the sticks according to that. Make sure their total length is slightly greater than the house’s width.
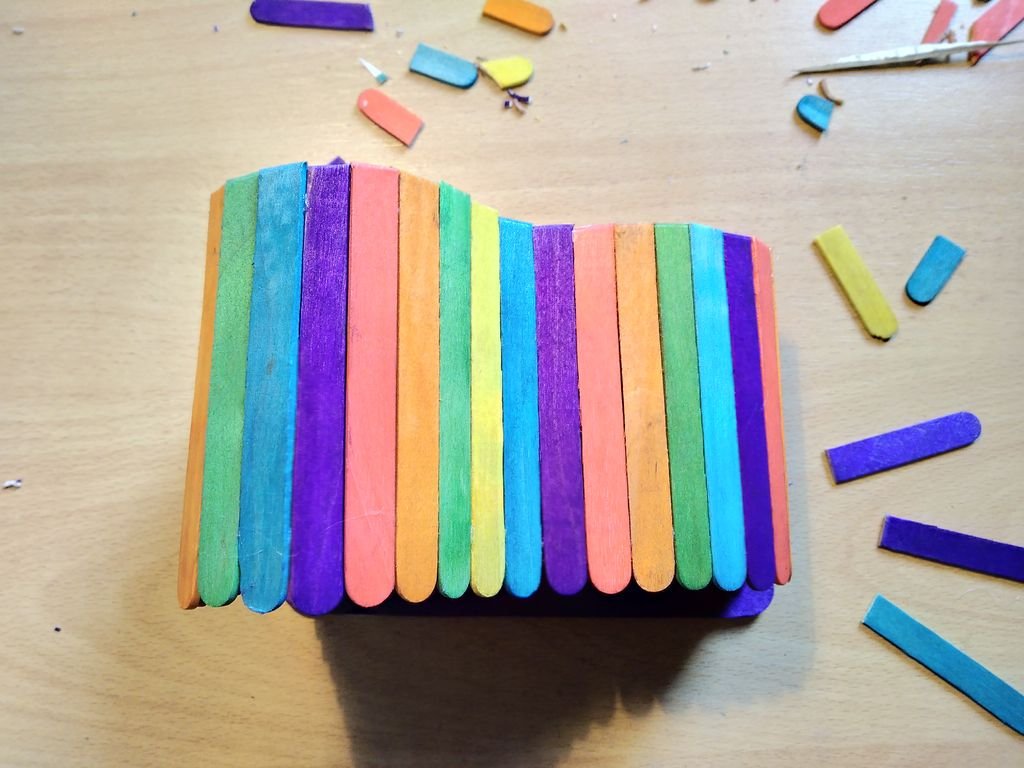
Then glue the sticks next to each other with a glue fun until the whole roof is covered.


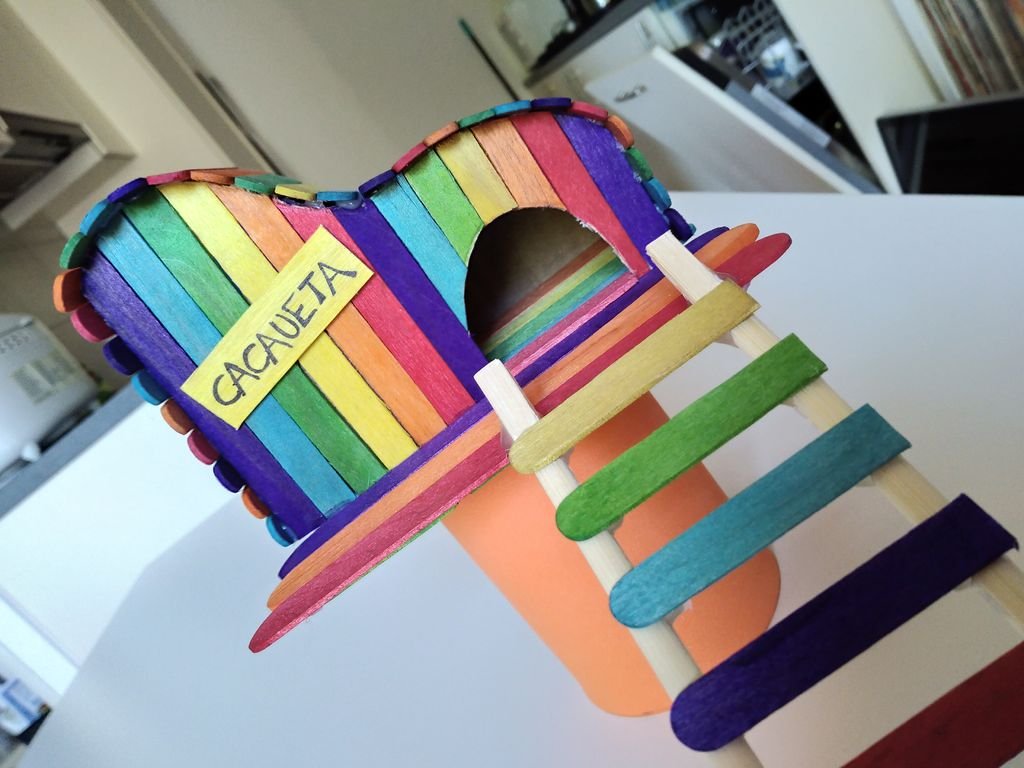
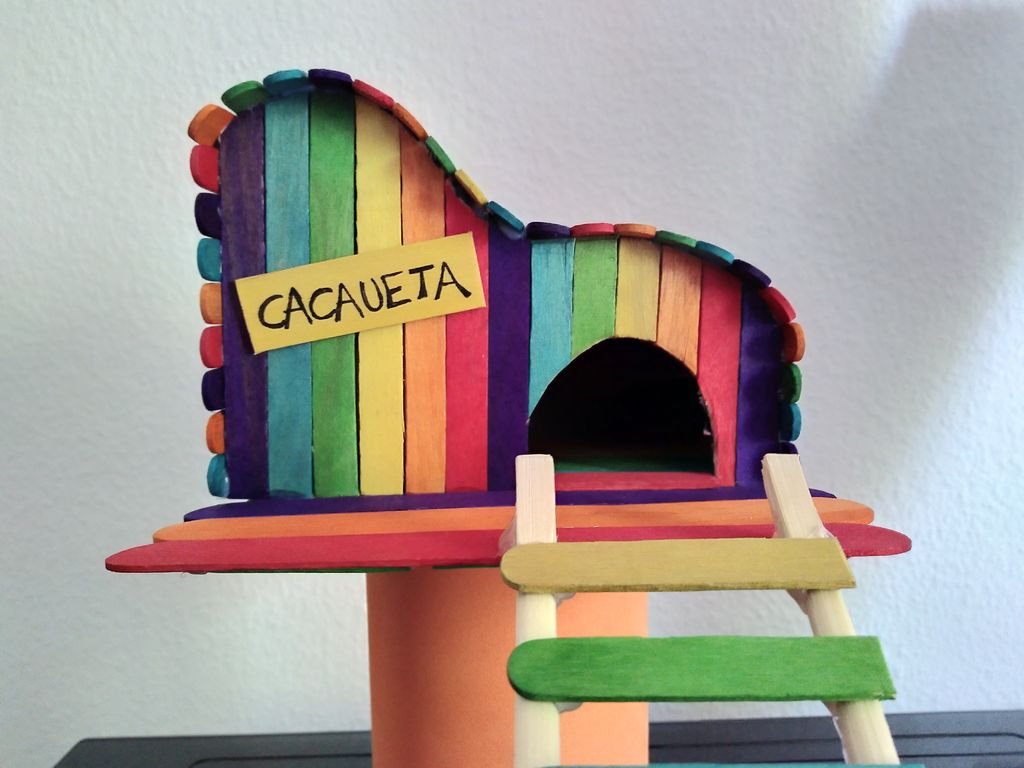
If you wish, you can make a small sign with your pet’s name so they know it is their house 🙂
Take a stick, cut it and write down its name with a sharpie or something similar. Glue it onto the front wall with a couple of hot glue drops.
I always wanted to have a treehouse. Since it is not really possible, I decided I would make one for my pet (or something close enough).
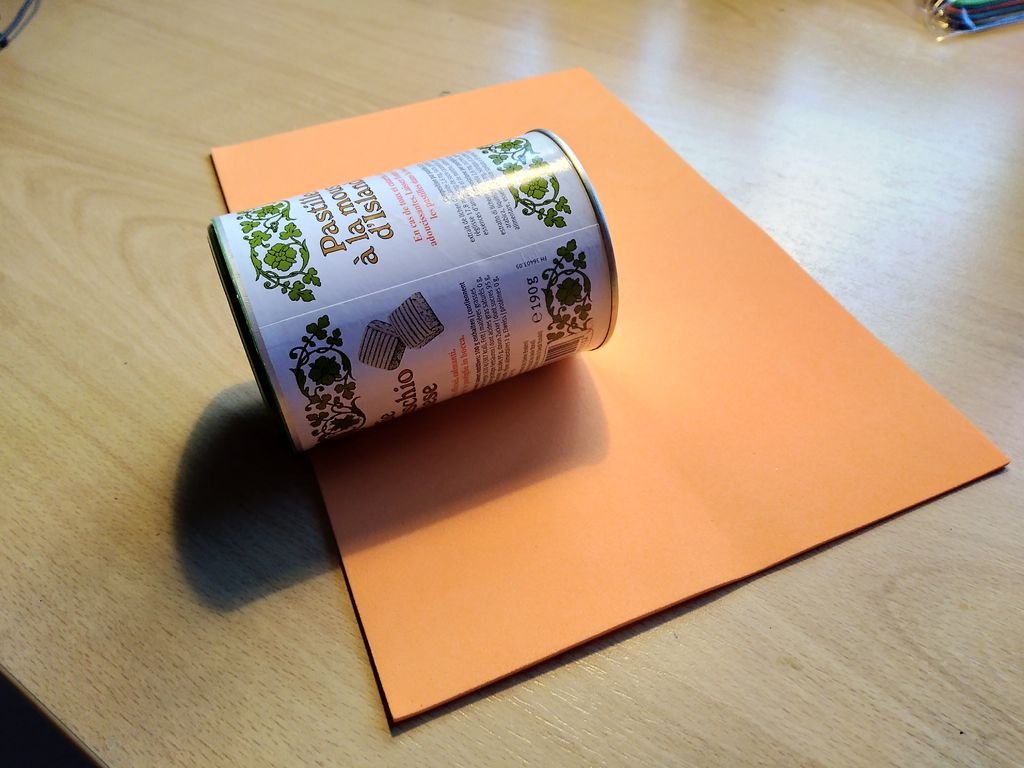
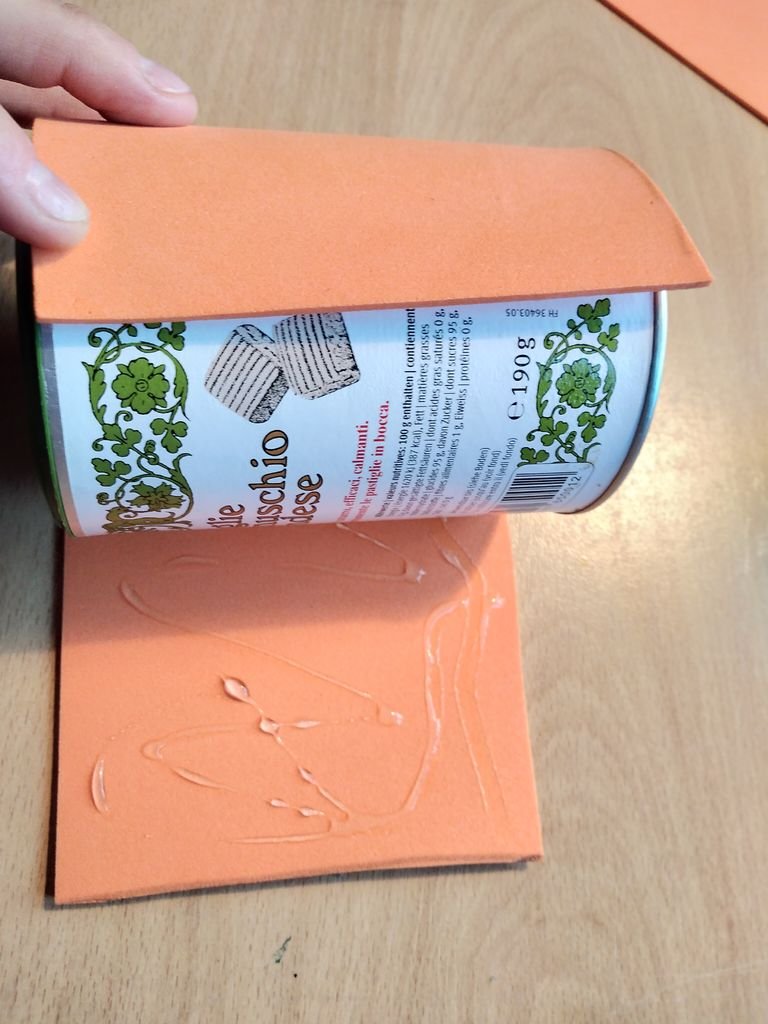
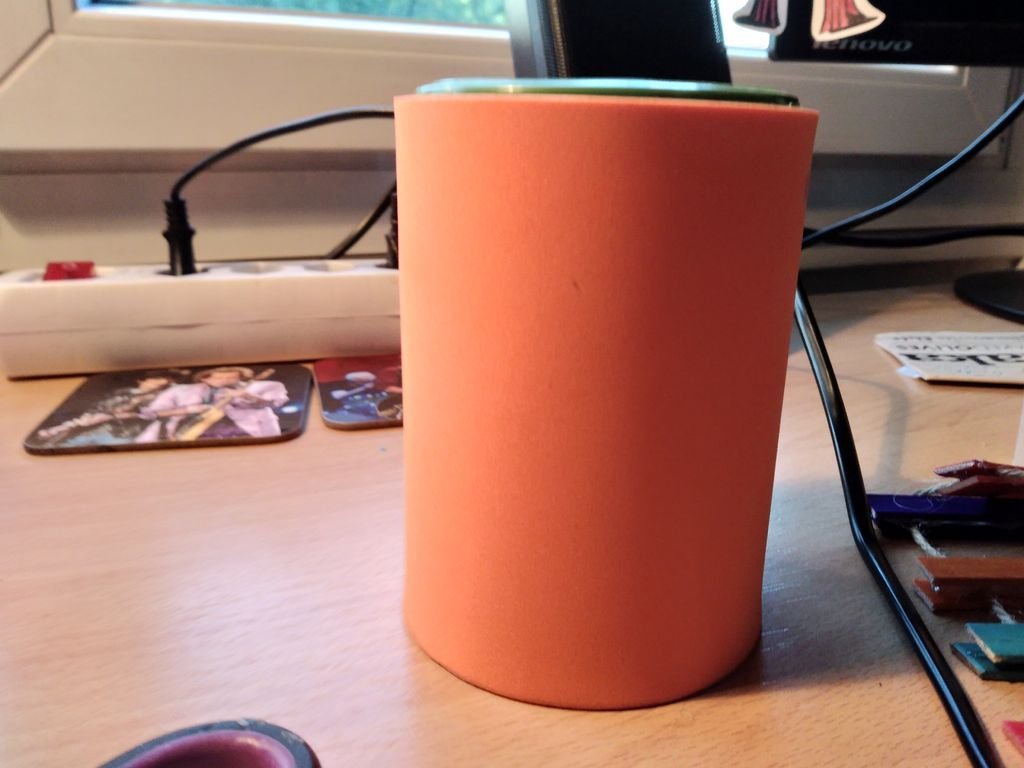
To make the tree “trunk” I took a cylindric metal box and wrapped it in EVA foam. Naturally, you can use any other sort of box and wrap it with anything you want. This is just pure decoration. Fill it in with something heavy enough so it does not tip when the pet is in the house (you may use sand, pebbles, marbles, etc).
Then put the lid on. Glue it to the box. Then glue the house on top of it.


The only thing left to do is the stairs.
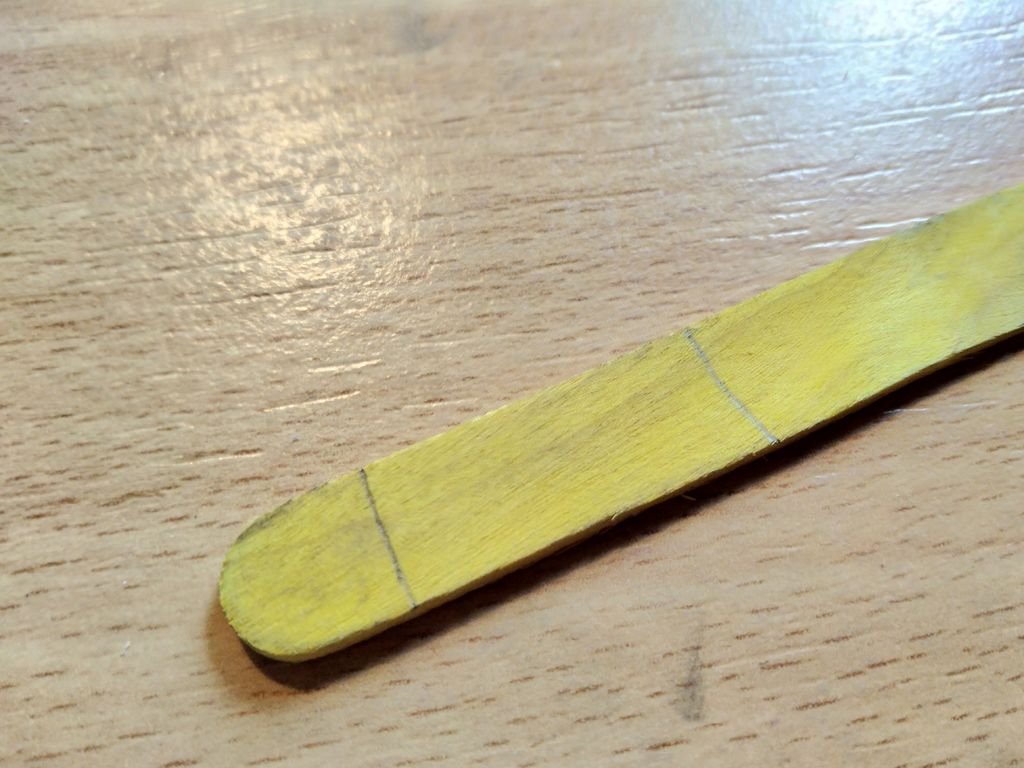
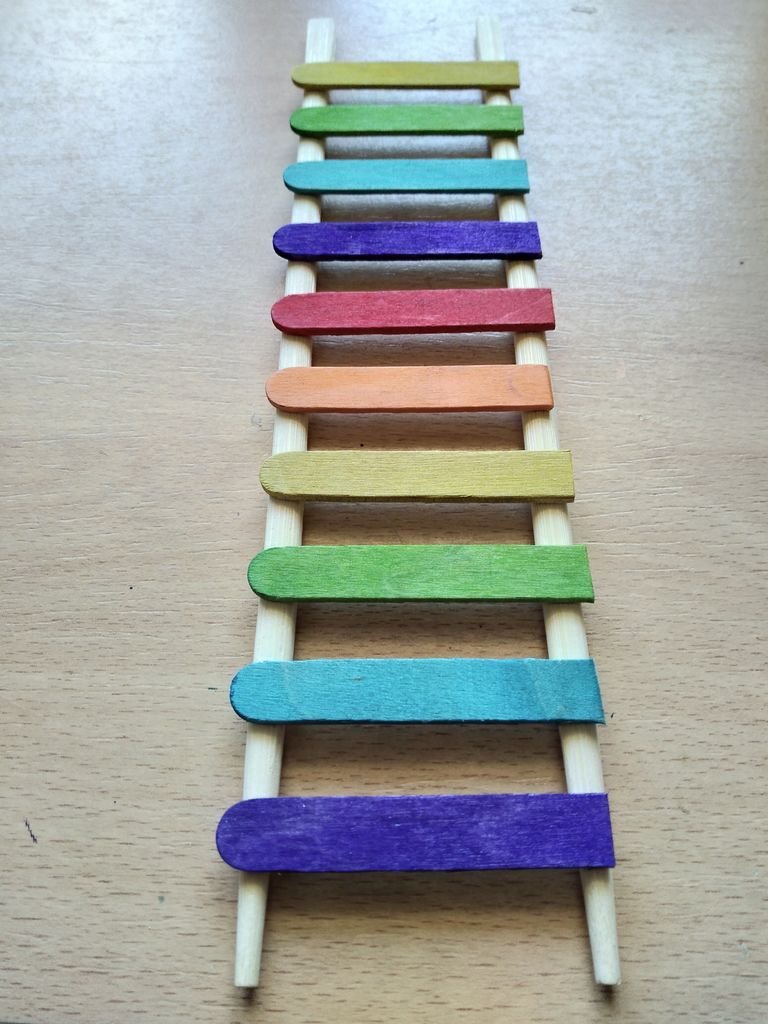
Take the chopsticks and place them on a table. Determine the width of the steps and cut the tongue depressors accordingly: these will be the rungs.
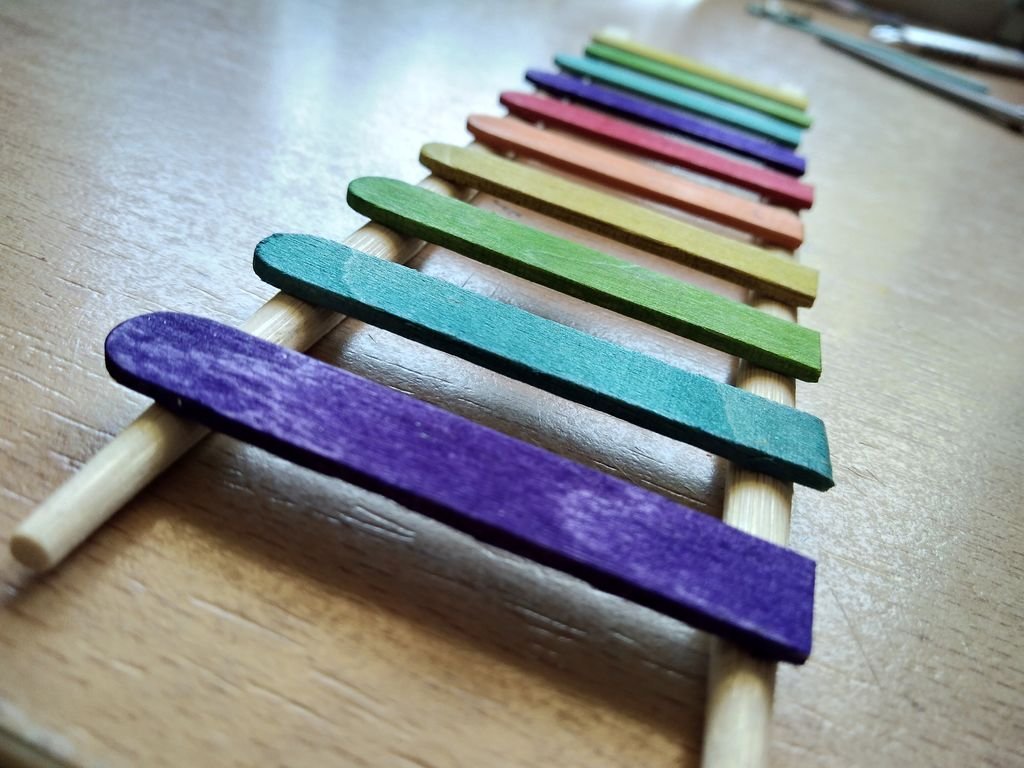
Stick the chopsticks to the table with some scotch. This will prevent them from moving while you glue the rungs unto them and will allow you to work faster. Now glue the rungs to the chopsticks with your hot glue gun. To make the whole thing a bit more stable, add some more glue on each rung’s back, next to the chopsticks.
Glue the stairs onto the house’s floor or outdoor platform. Make sure the result is solid and stable.

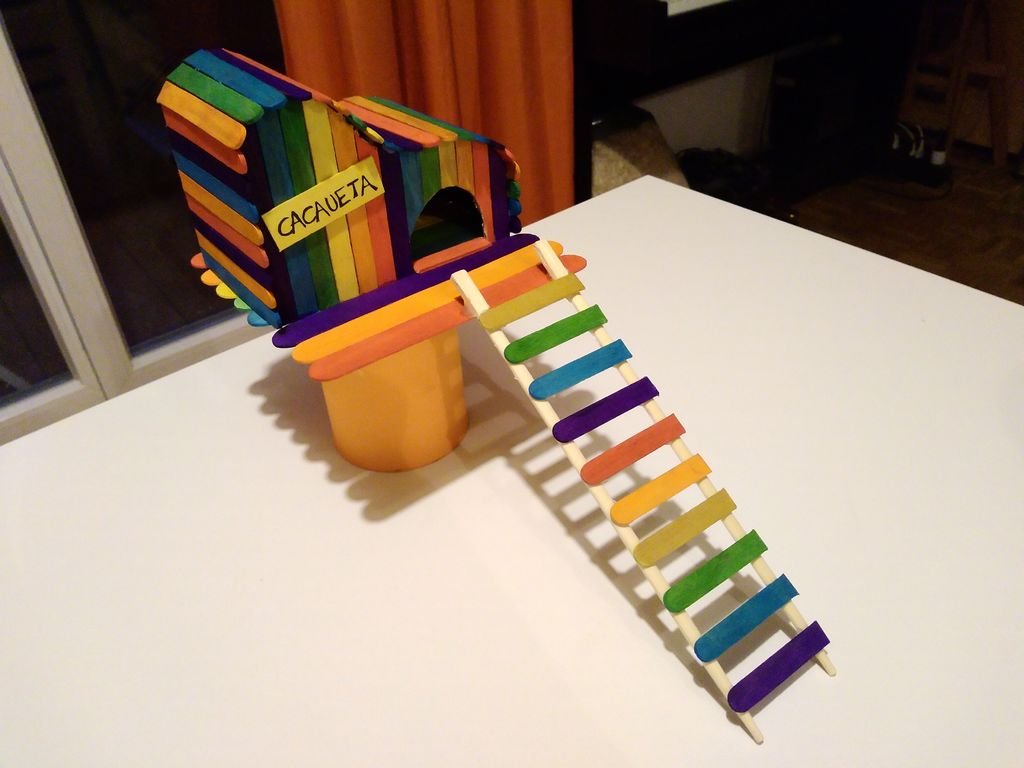
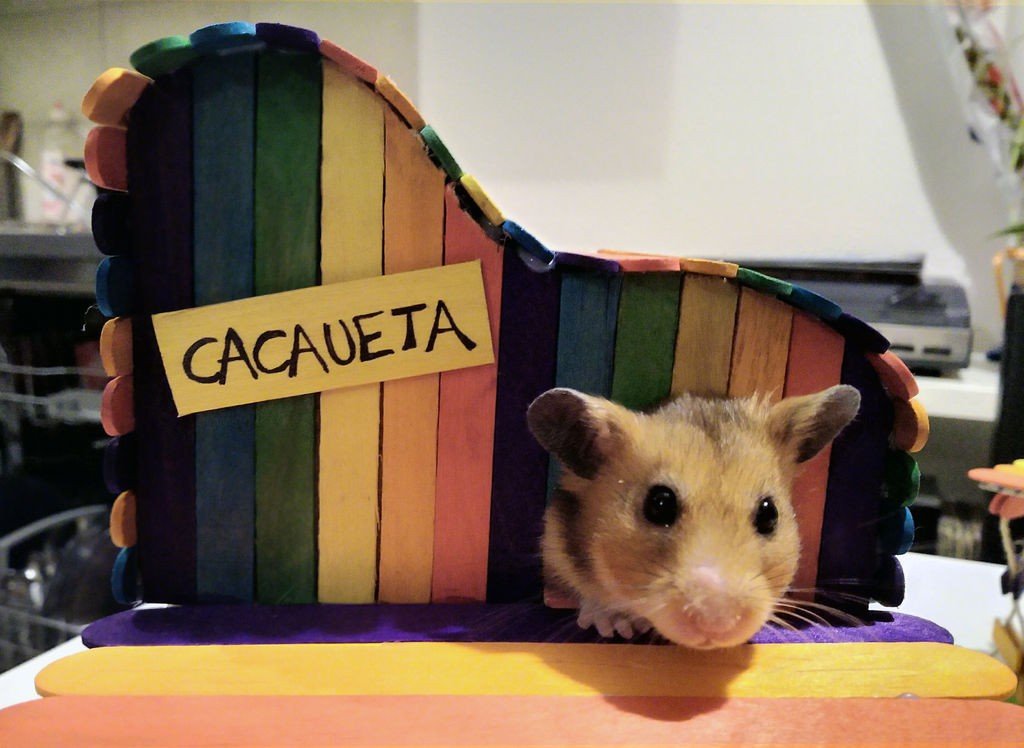
The house is now ready! I hope your pet likes it
courtesy: instructables


Comments are closed.