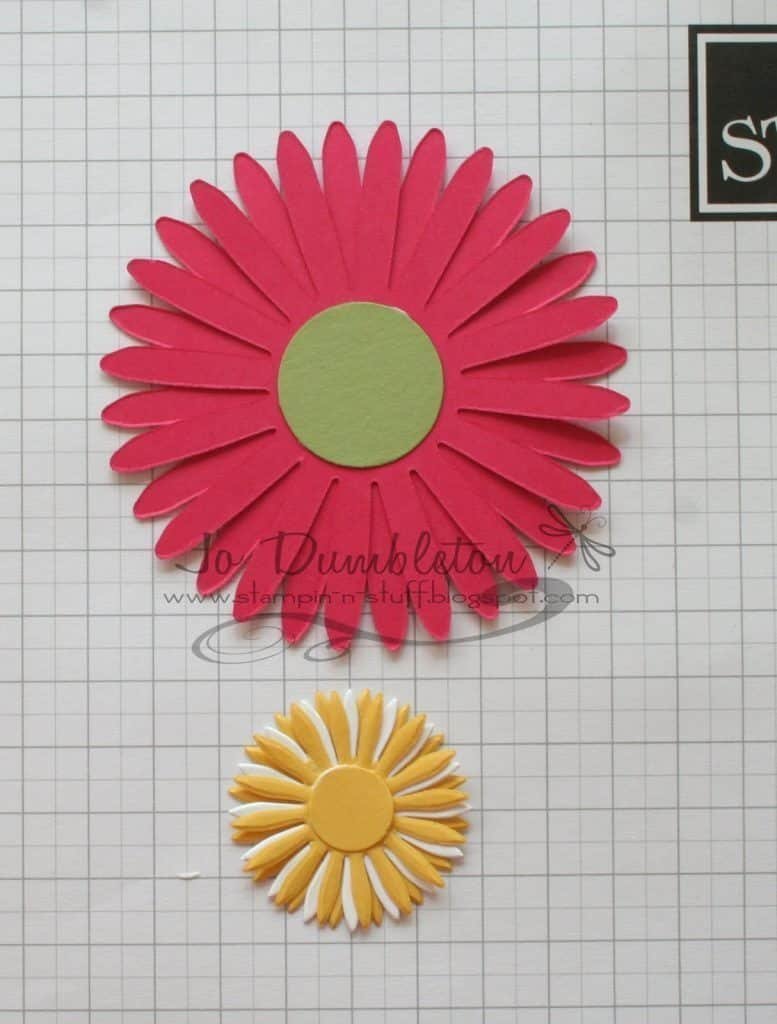
How to make daisies
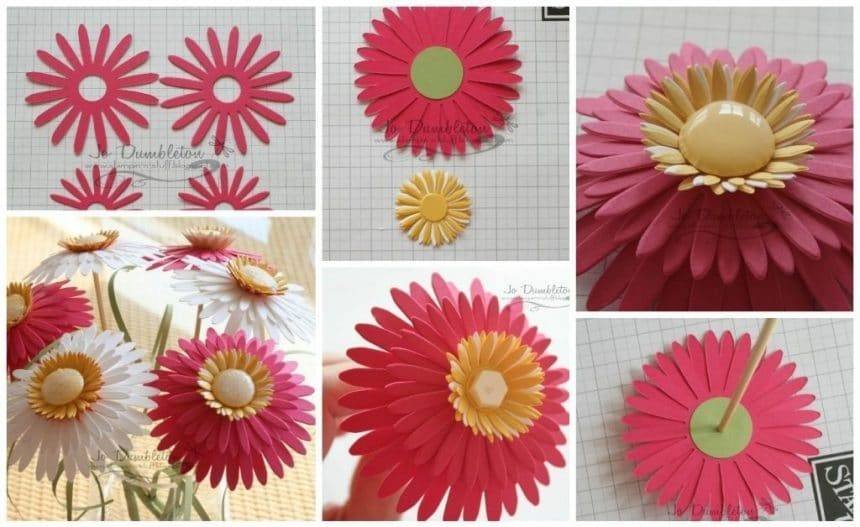
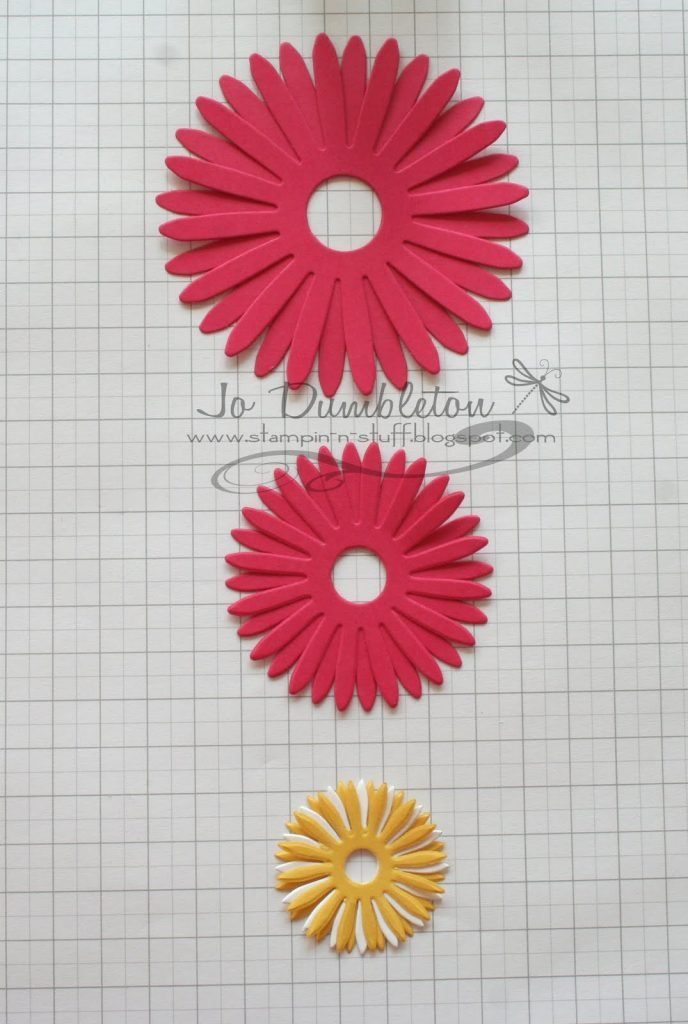
Firstly you will need to die cut 2 of the large, 2 medium and 3 small daisies. If you do not know what the die looks like, all three sizes are on the one die. I actually cut my pieces of c / s for each flower which were 10x10cm for the large one, 7x7cm for the medium and 5x5cm for the small. I found it much easier that way especially as I had loads to cut. Also I cut 2-3 at a time of the same flower and that’s the beauty of the Big Shot, it easily cuts through layers.

Glue each of the flower sizes together as shown. I used a little I tombow around the edge of the centres.
Turn over the largest flower, punch a 1 “circle and stick on the back. Then punch a 1/2 “circle and stick to the top of the smallest daisy
Glue all three daisies together and then stick 3 dimensionals on top of each other in the centre, leaving the top bit of the dimensional on for now

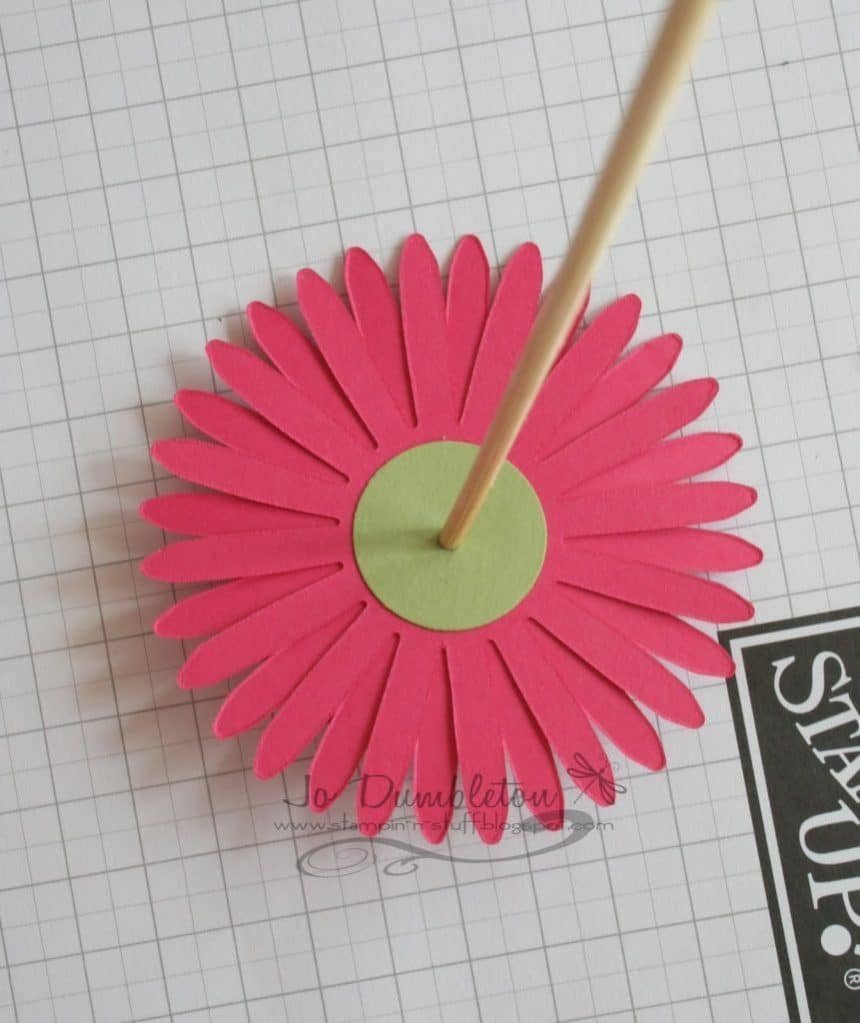
Turn the daisy over and with a mat pack underneath, pierce a hole all the way through with a pokey tool – including through the dimensionals. I then used a skewer as my stem and just nicked off the very top so it was not too pointy and skewered my daisy. Will feel the You top of the skewer on the other side but that’s ok, it will not show at all when this is completed.
At this stage I would shape the petals.
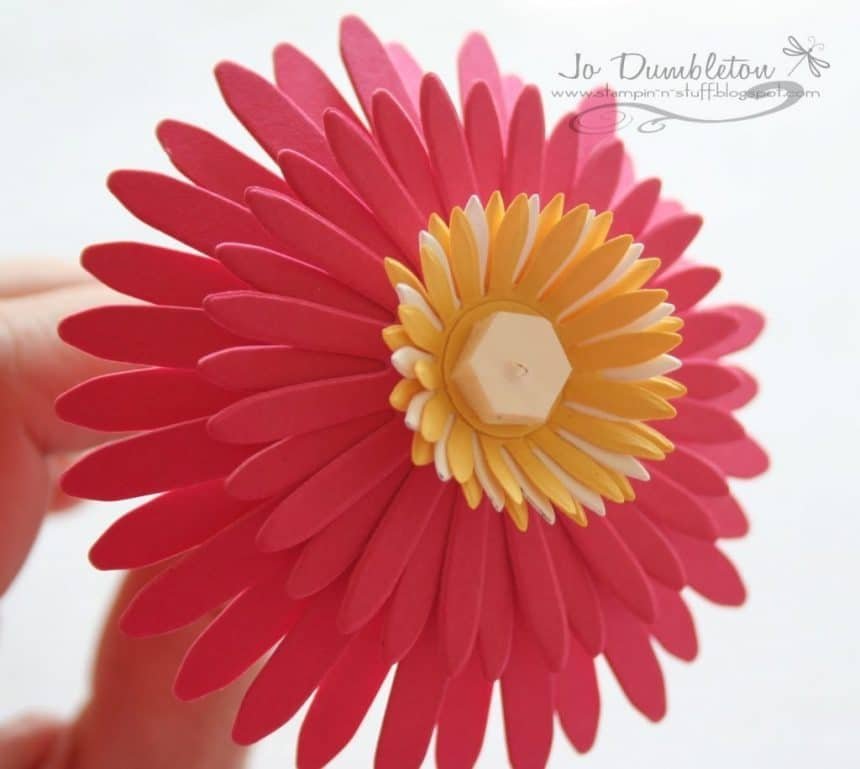
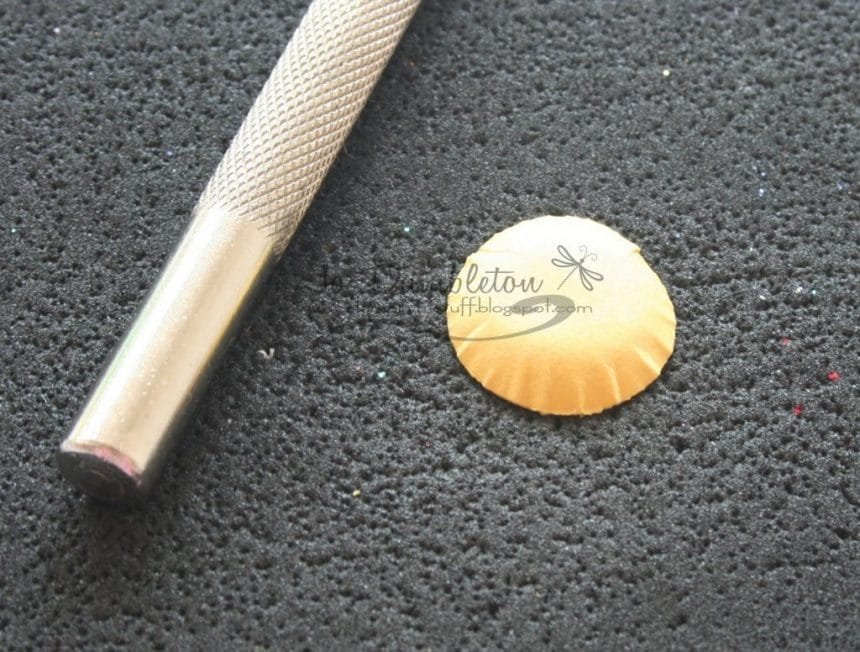
The next bit is for the centre of your daisy. Punch a 3/4 “circle and using the mat pack and the end of your pokey tool, press hard and in a circle to shape your paper into a dome. You could always use an embossing tool if you had one or even the end of a pen. The more you press around the outside edge of the cirlce the more domed it will become.
Pop this onto your dimensional.

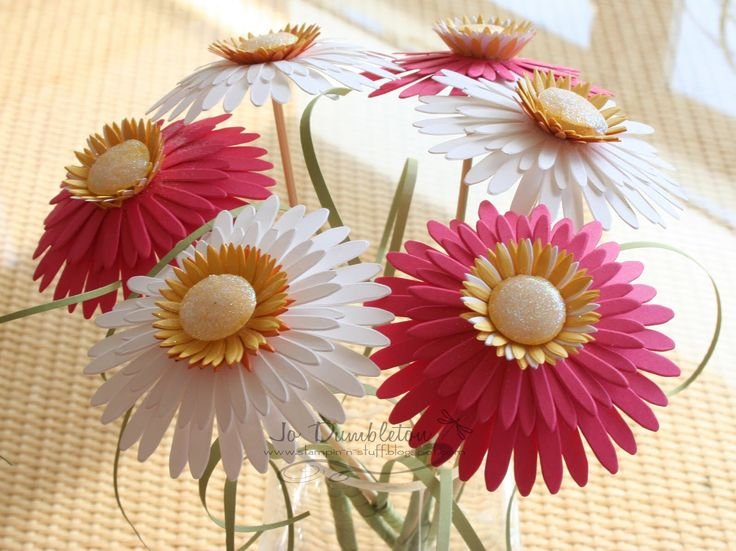
Add a fairly generous amount of Crystal Effects ….
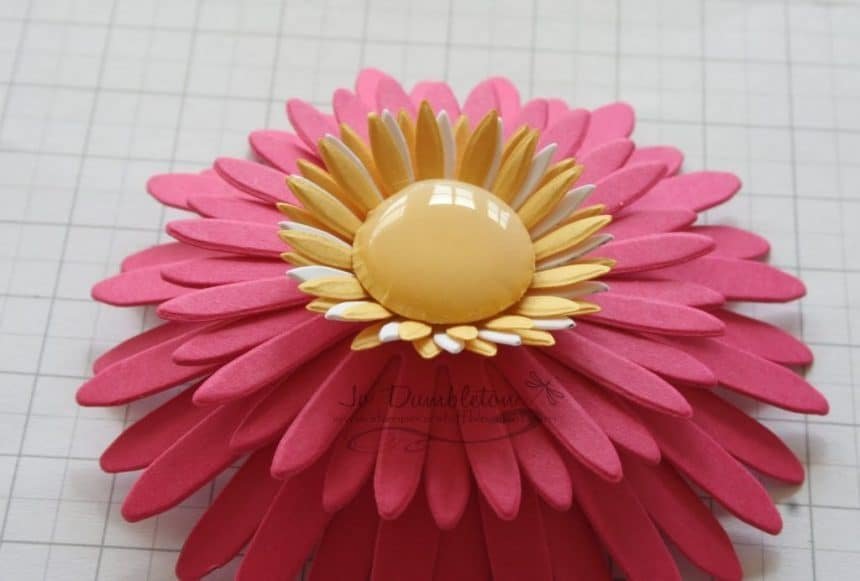
… and sprinkle with Dazzling Diamonds. Be careful when shaking the DD off, the Crystal Effects will still be runny. If you’ve not used it before it will take about 20 mins to go off but leave for a good few hours before it’s completely dry.

And that’s your flower done.
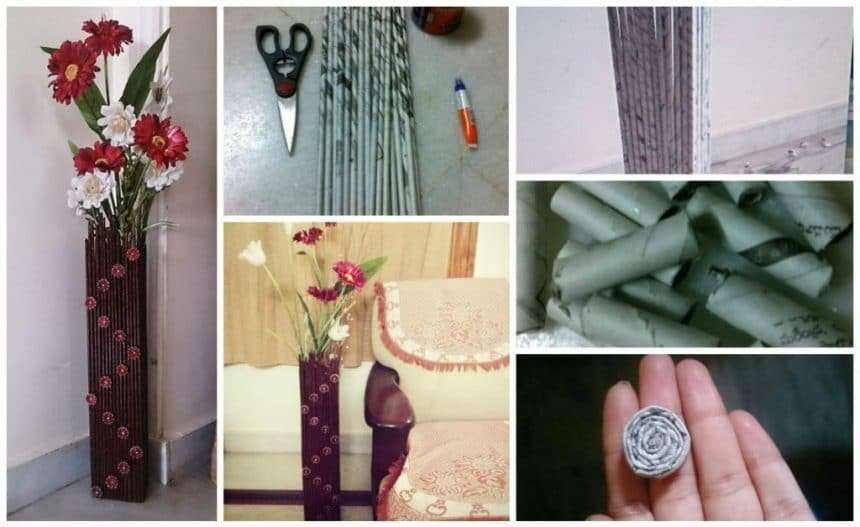
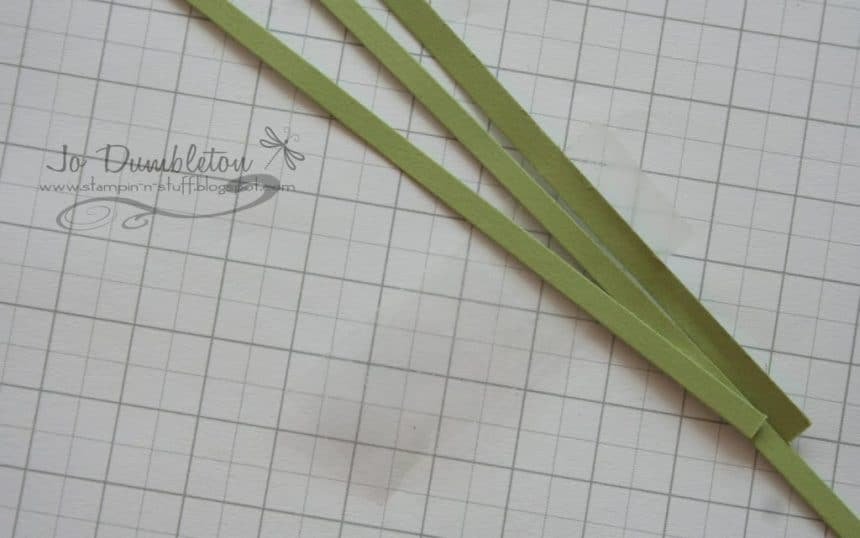
For the stem and fronds I cut 4 very thin strips of c / s – approximately the length of A4. Three of them I attached to some cellotape. The picture is not very clear on this but hopefully you get the gist.
Them around the Wrap skewer and just above the cellotape add a glue dot.

Attach your 4th strip of c / s to dot the glue and wrap arond the skewer.
Continue to wrap to the bottom and secure with another glue dot.
Voila! All done!

It might be better to do your fronds first and that way you will not have to wait for the crystal effects to dry. The daisy heads can easily be removed so you could change them when you want, transport them without breaking, and they will always look ‘fresh as a daisy !!!’

Courtesy: www.liveinternet.ru