Around the world, people use flowers to mark important events in their lives, it may be for new births or christenings or as tokens of love or esteem or as a gift of remembrance for bon voyage parties, welcome-home parties, or “thinking of you” gifts.
I am sure most of us are familiar with quilling. It is also known as paper filigree. It is an art form that involves the use of strips of paper that are rolled, shaped, and glued together to create decorative designs. I personally love to quill because of 2 reasons; one it is simple and relaxing and two you can create really unique things.
So in this tutorial let me teach you to make a quilled flower basket which can be gifted to your loved ones on their special occasions.
Step 1: WHAT WE NEED….
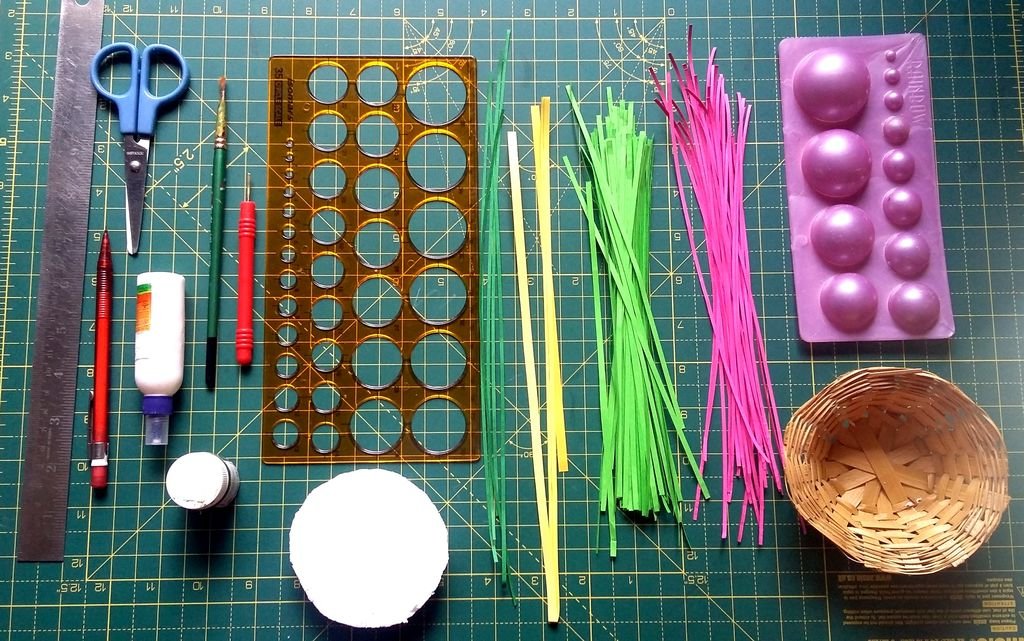
What we need to make a flower basket is:
A weaved basket (the basket which I have taken is 11cm in diameter)
Thermocol ( cut in the size of the basket)
Ruler
Circle drawing stencil
Quilling tool
Quilling strips ( I have used 2mm pink and dark green coloured strips, 3 mm light green coloured strips and 5mm yellow and yellow chrome coloured strips)
Green acrylic colour
Paint brush
Scissor
Pencil
Quilling mould
Glue
Step 2: FLOWERS: MAKING THE BASE…


Since flowers are the most important component of this tutorial, let us begin with it!! It is quite easy to make these flowers!! The first step in making these flowers gonna be making the base. this base will be used to stick the petals.
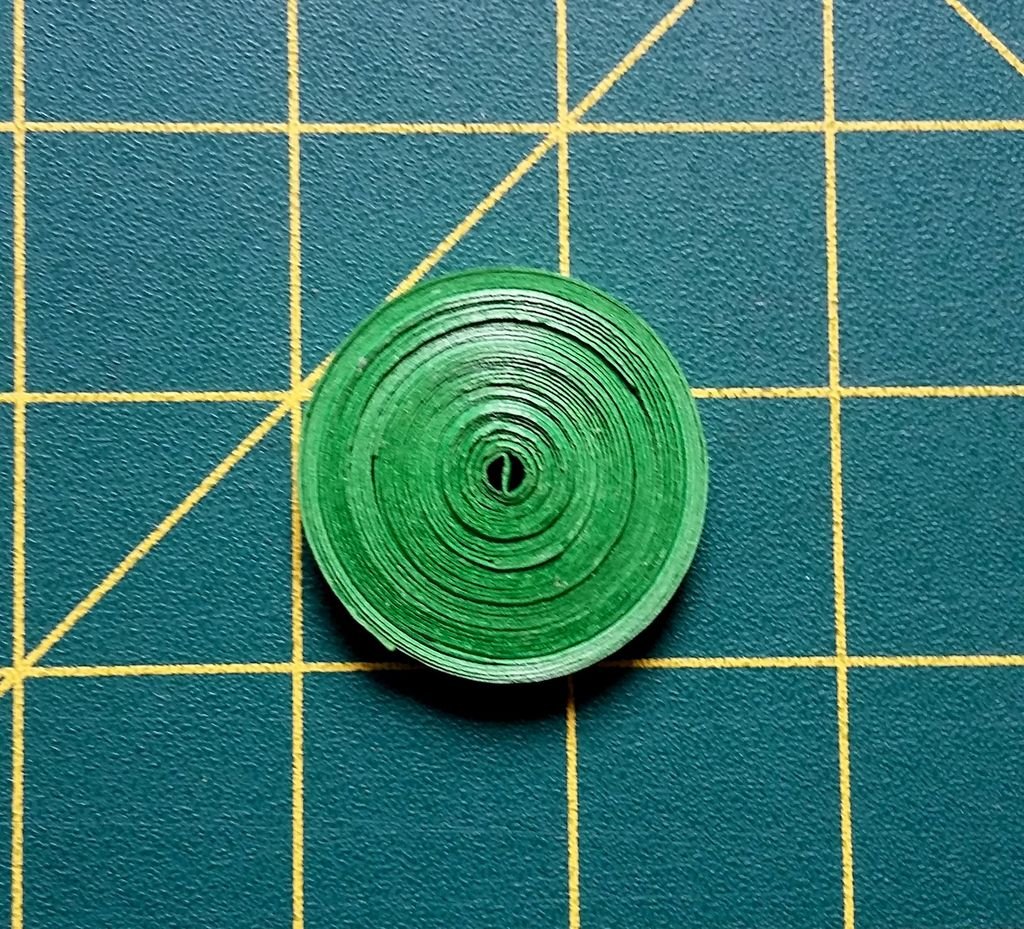
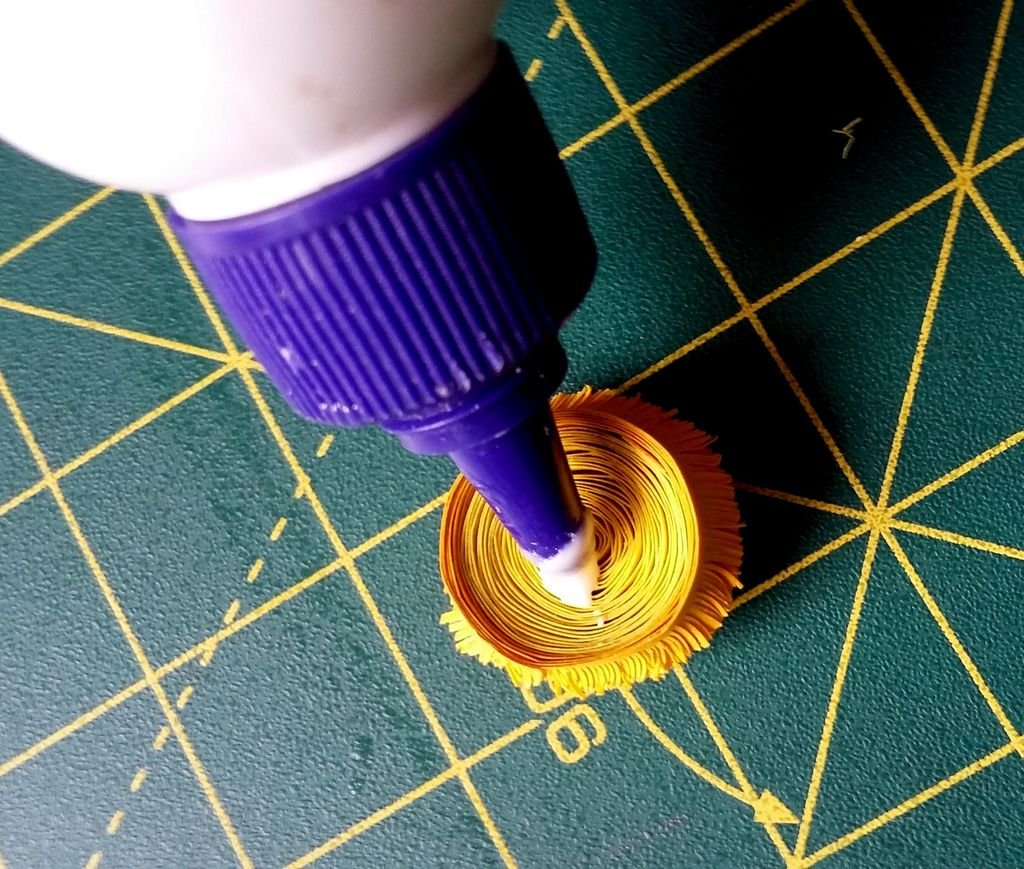
So in order to make the base first take 5 dark green coloured strips, 2 mm in width and 28cm in length and join the end to end to get a long strip (140 cm). It totally depends upon you to choose the length of the strip as this will determine the overall size of the flower.
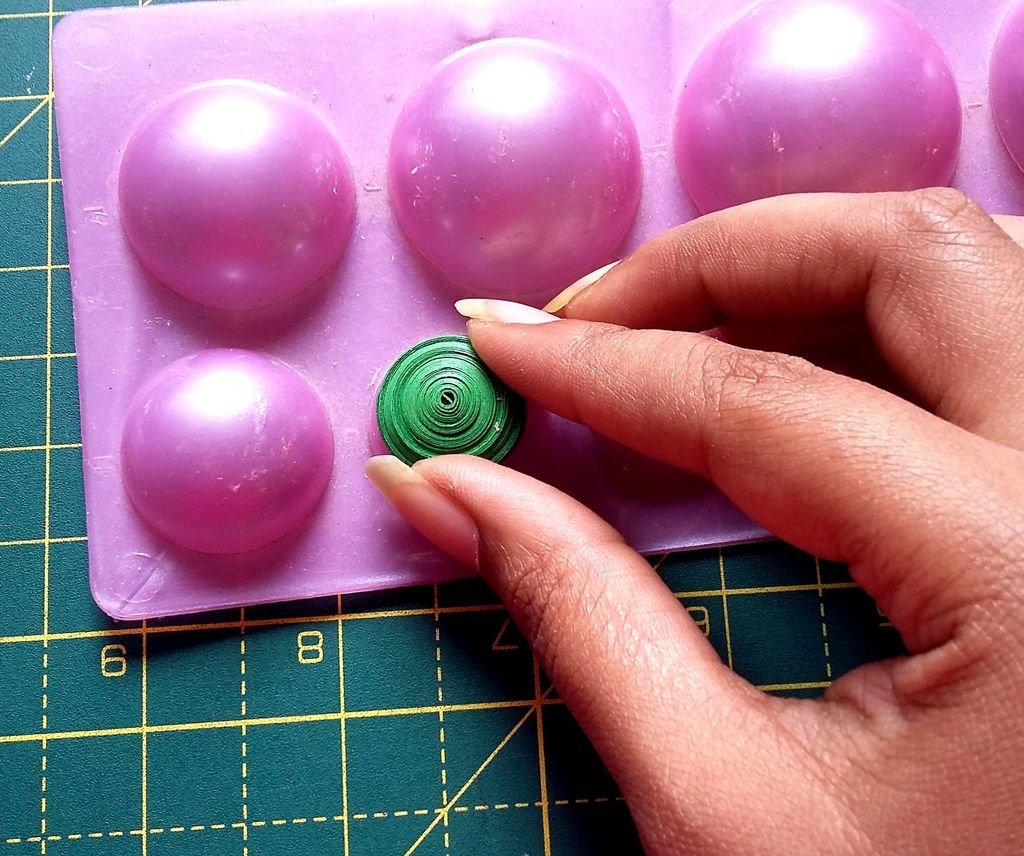
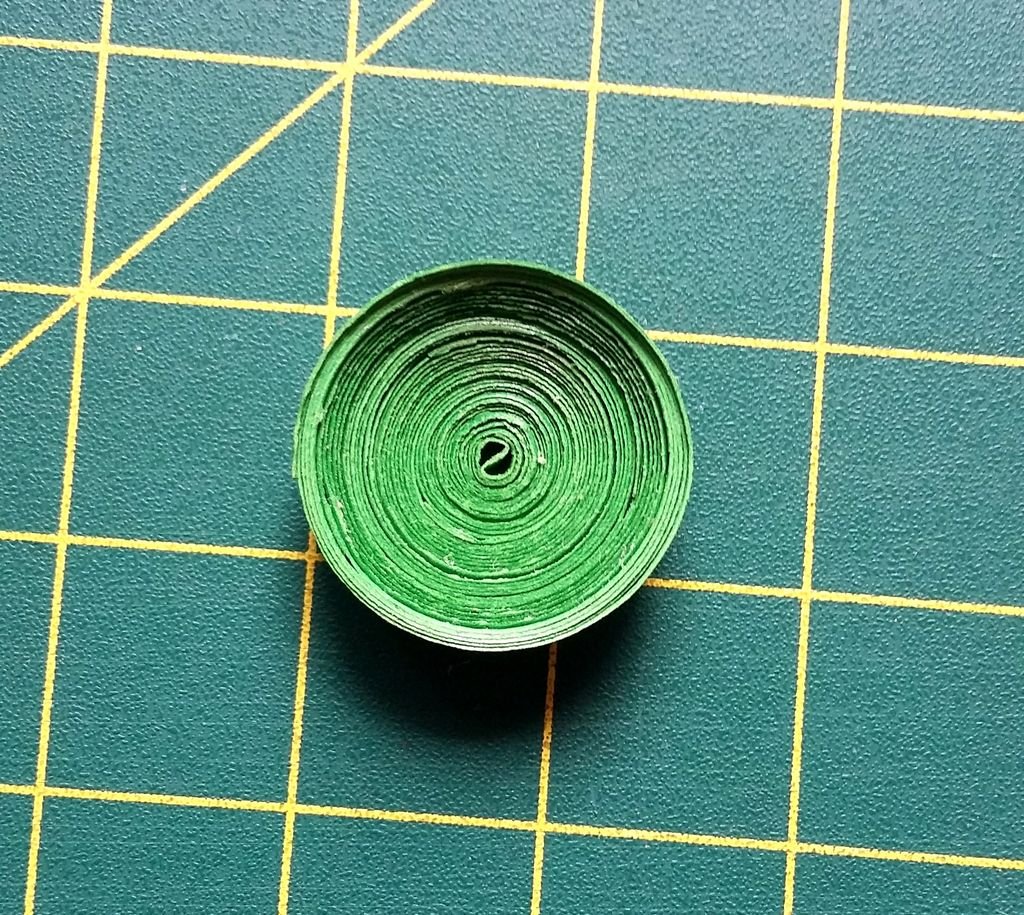
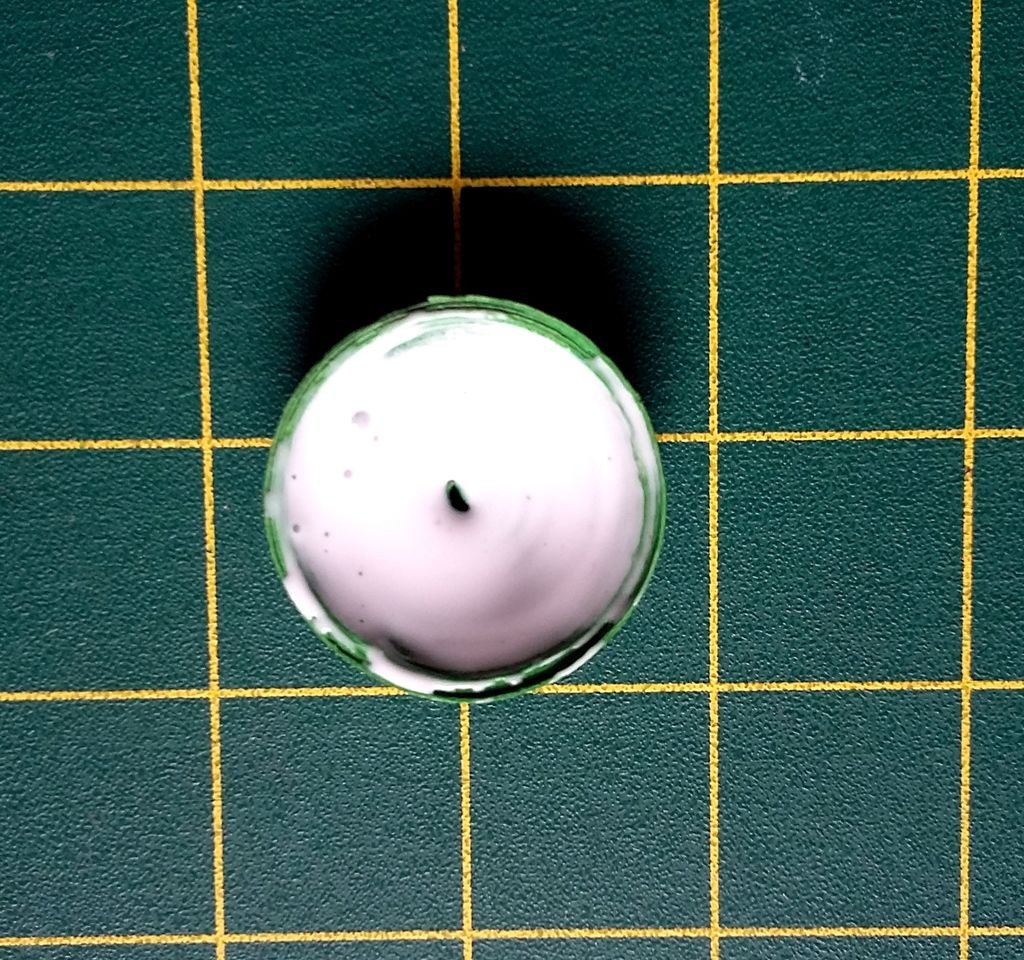
Then, using the quilling tool, roll the strip into a tight circle and glue the end. Using quilling mould give a slight dome shape to it. then apply glue in the inner part to fix the shape. Let it dry for some time.
As mentioned earlier, the length of the strip will determine the overall size of the flower. If the length of the strip is longer then the tight circle will be bigger and more petals can be accommodated in it. Smaller size o the circle will reduce the number of petals.
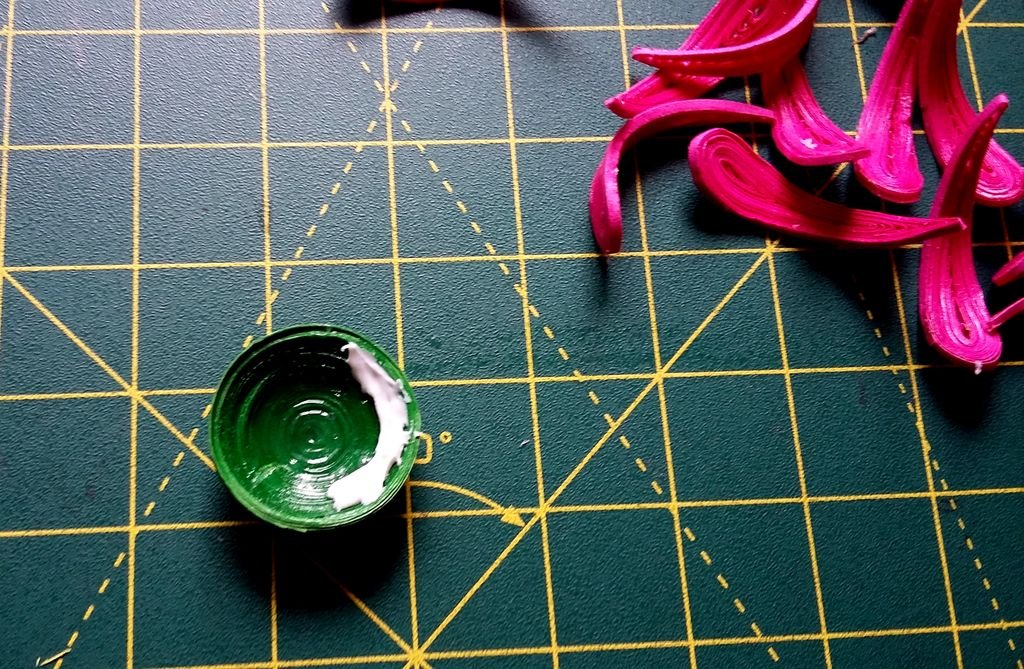
Step 3: FLOWERS: MAKING THE PETALS…


Making the petals of the flower is the most important and the trickiest part!!
You can make these petals with 2mm strips. It is quite easy to work with 2mm strips and you need to follow the same procedure as given below. However, I have used 1mm strip to make these petals as it gives it quite a realistic look. You just need some extra efforts and a little bit of patience to work with 1mm strips!!
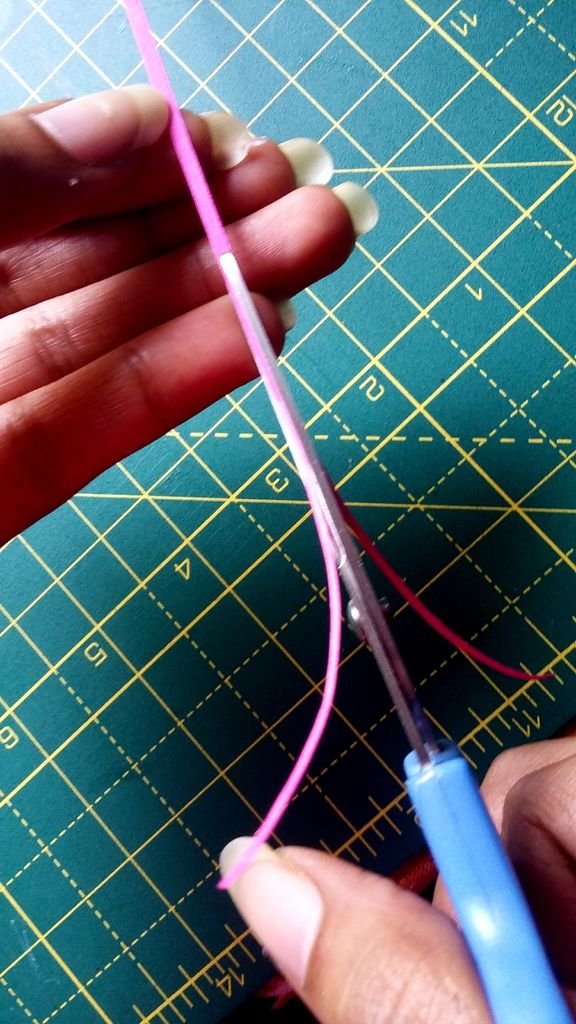
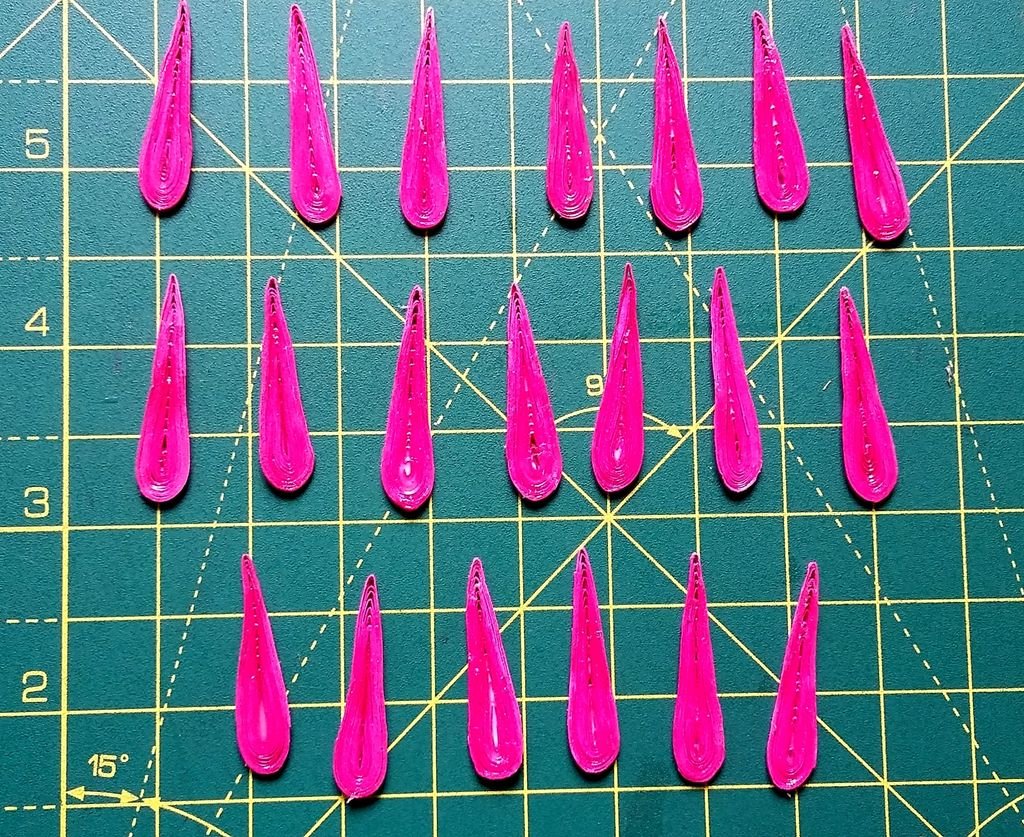
So to make these petals I have taken a 23cm long 2mm pink coloured strip and cut it into half to make it the size of 1mm. (since its quite difficult to get 1mm precut strips. if you get them anywhere, believe me, you are the luckiest person)
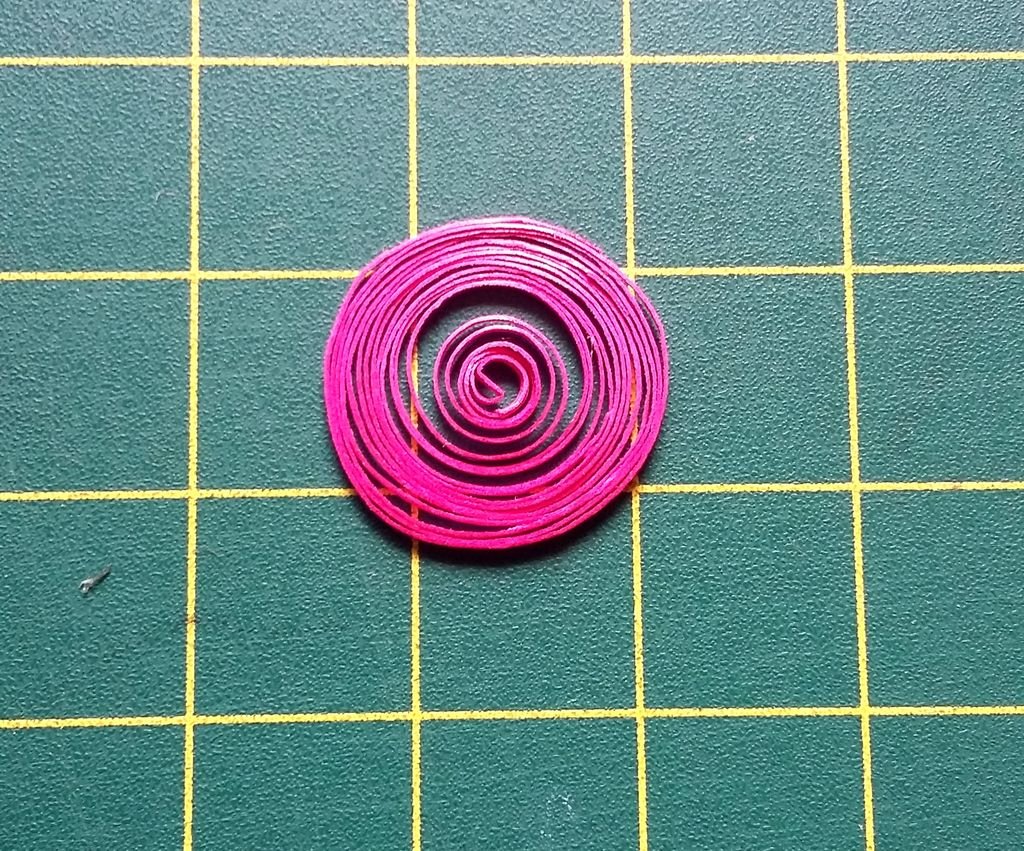
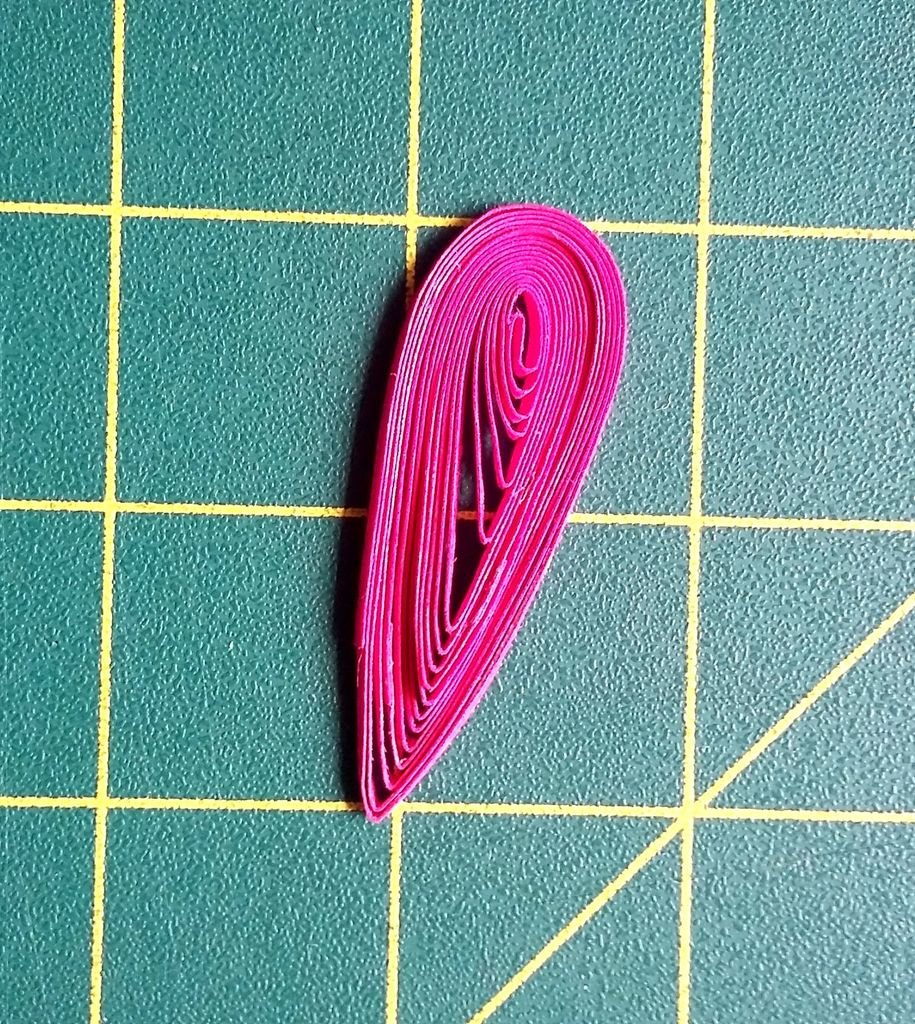
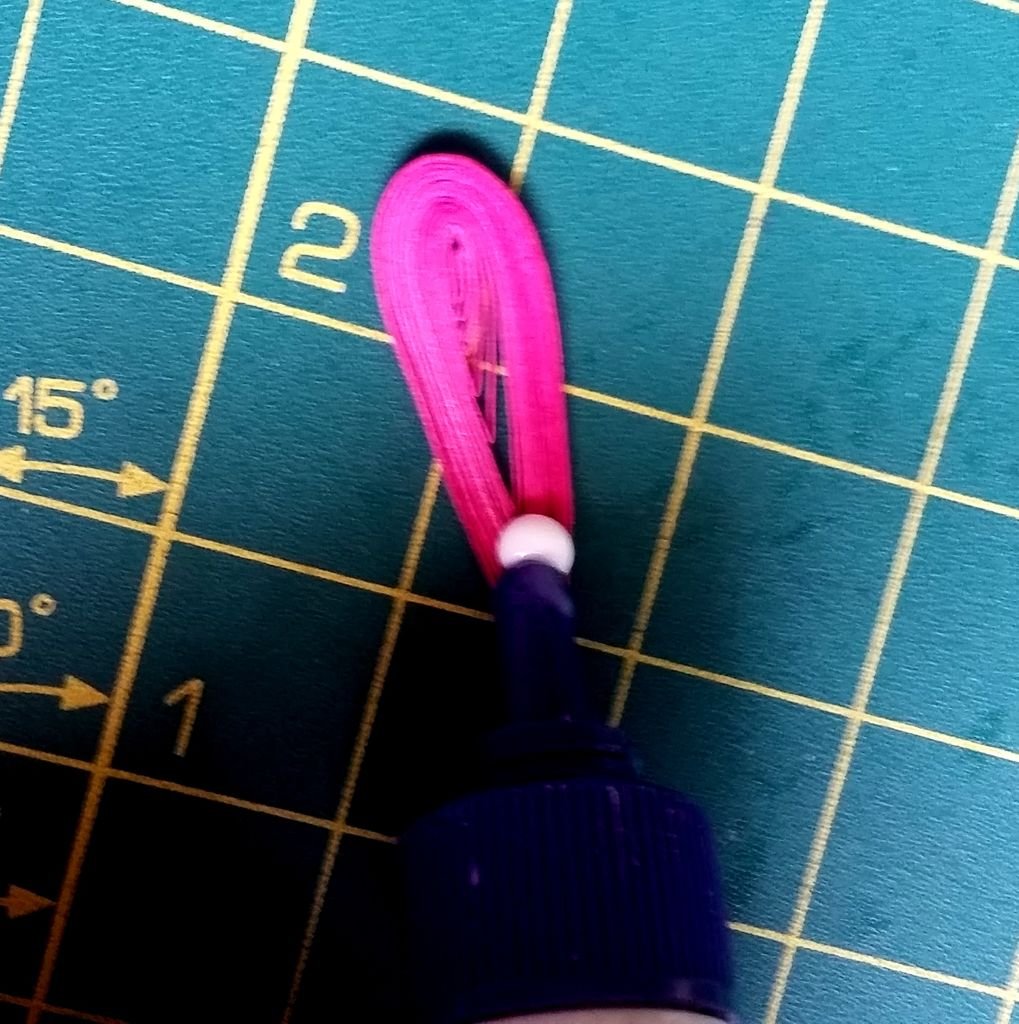
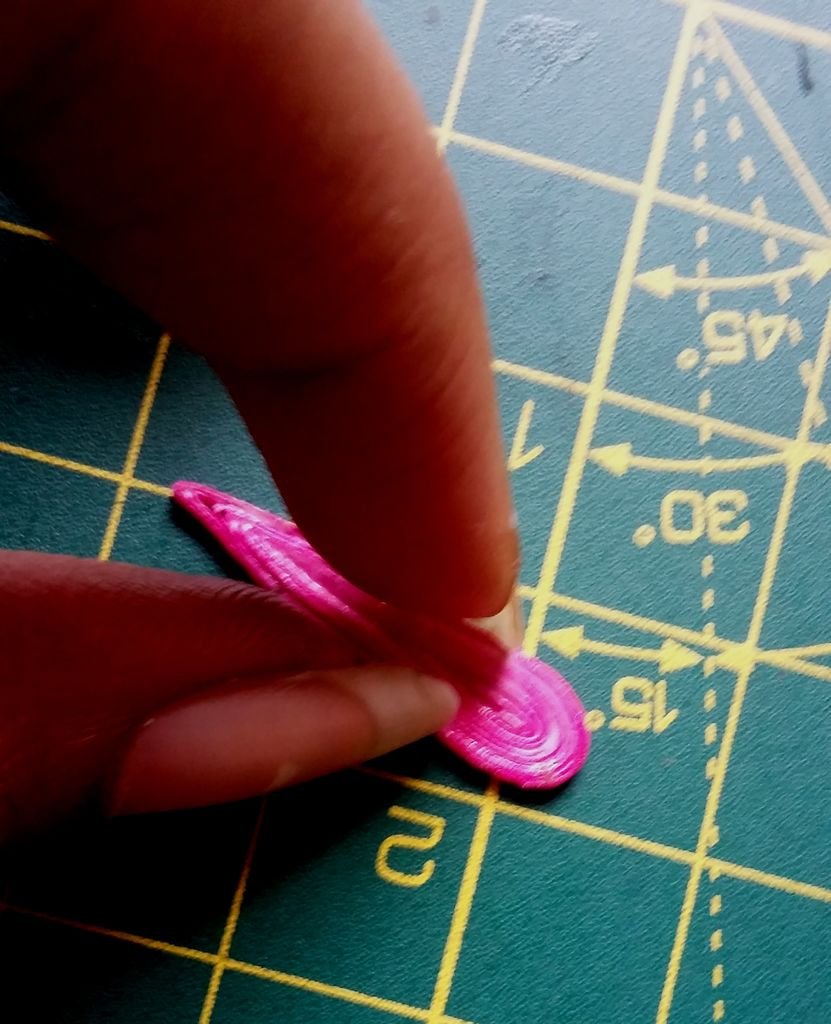
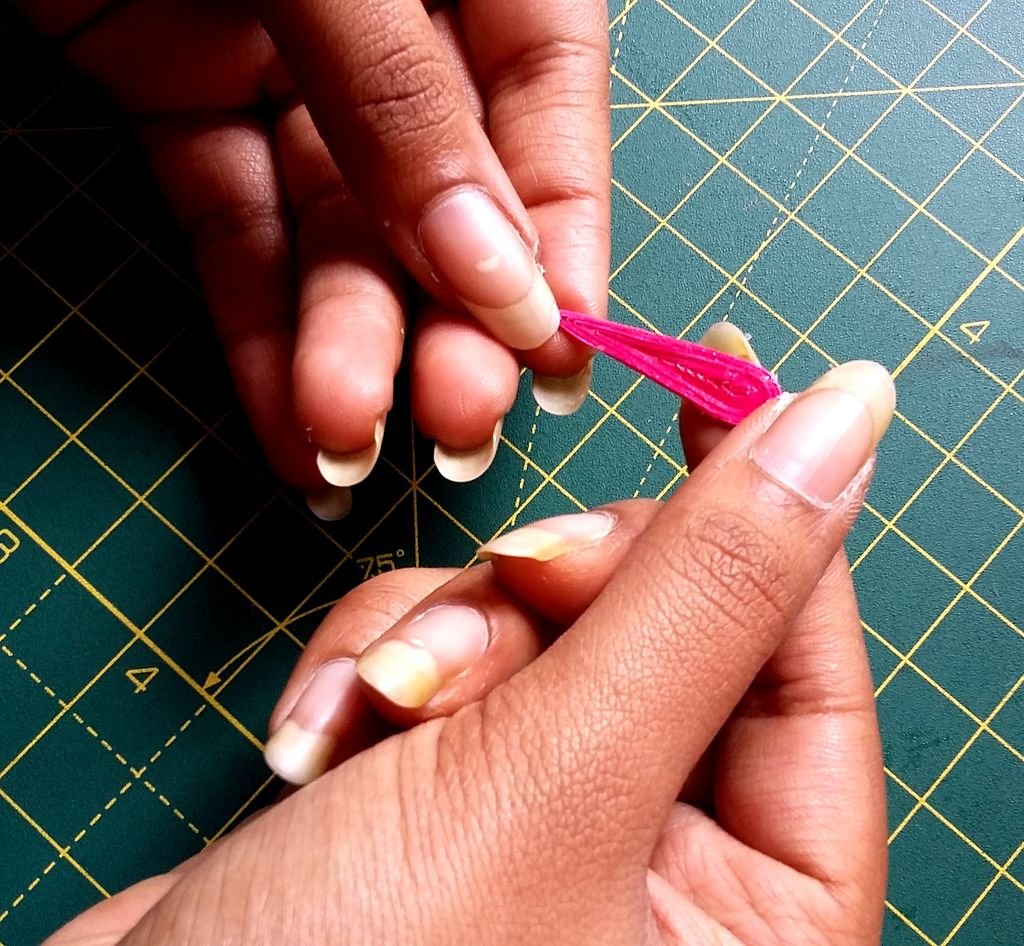
Next, join 3 such 1mm strips end to end. carefully roll the strip using the quilling tool. Then loosen the roll and give it a teardrop shape. Then carefully apply glue to one side of the shape and shape it properly. Note that the glue helps you to get the proper shape of the petal. Let it dry for some time.
You need around 18 – 20 such petals.
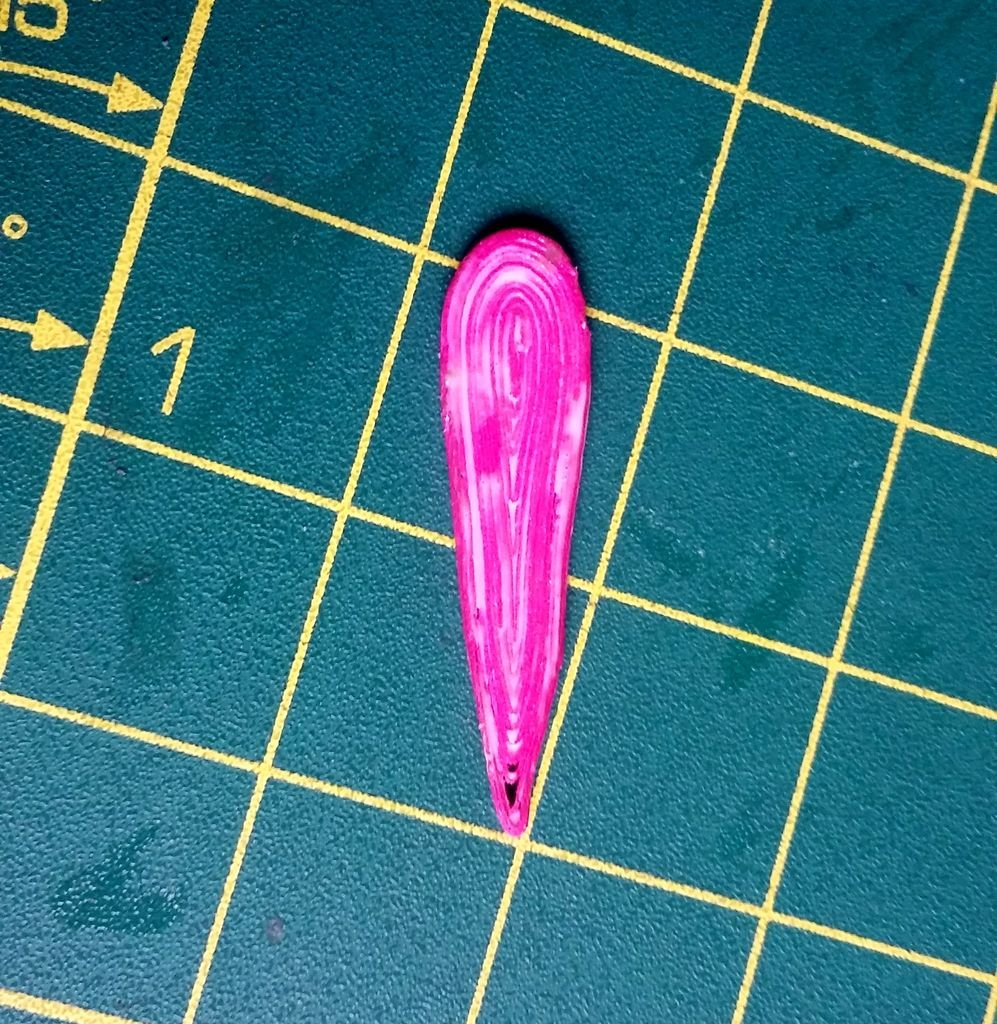
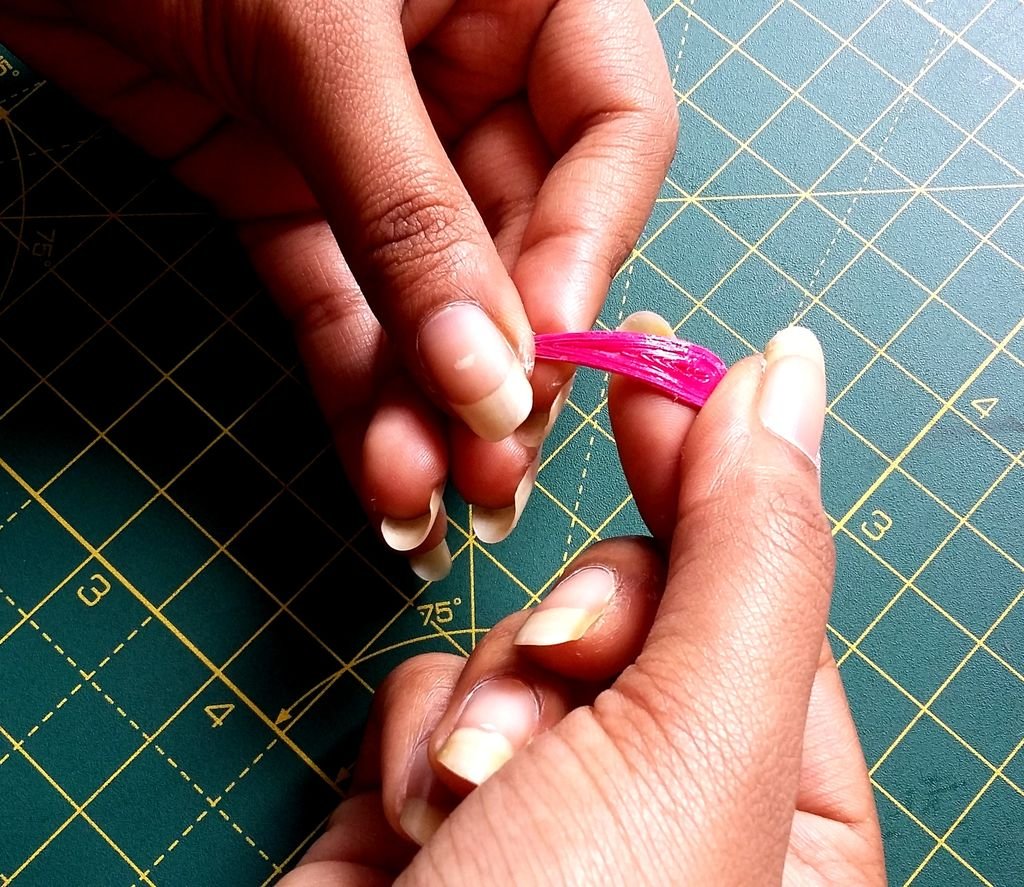
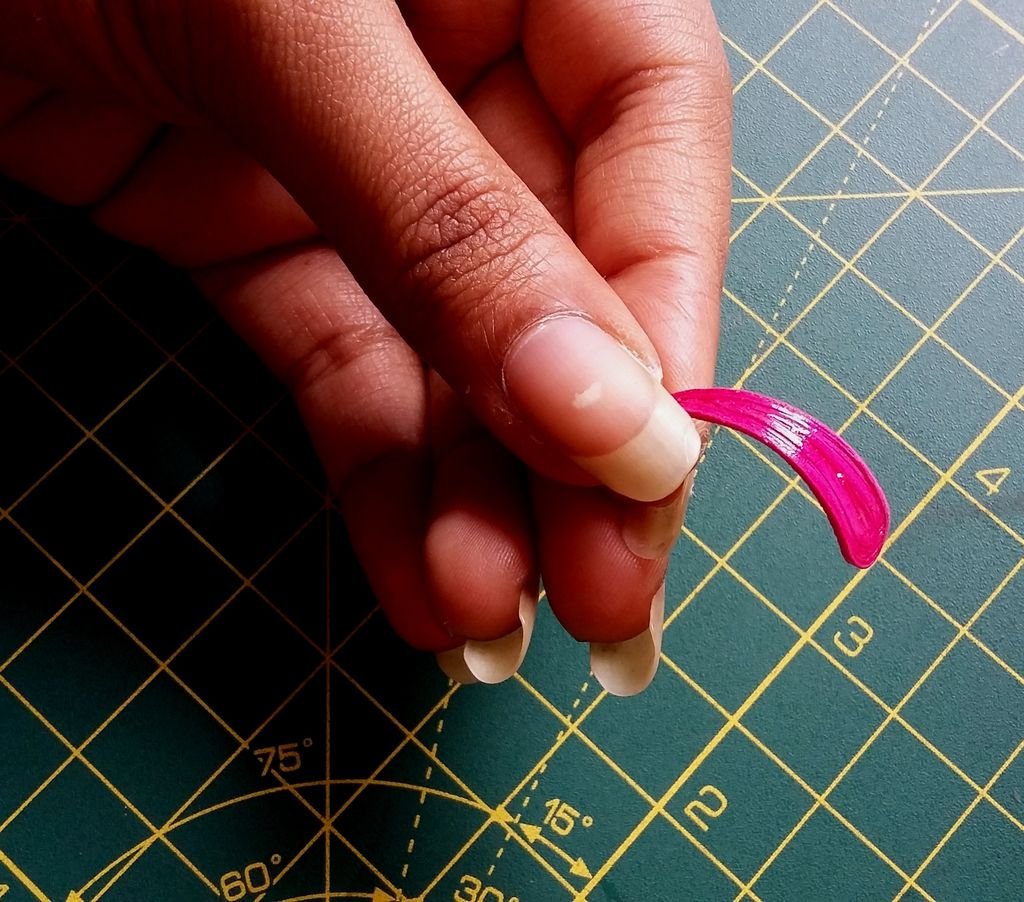
Since you applied glue to the whole shape, it becomes easier to bend the petal. Give it a slight bend to give it a realistic look.
Step 4: FLOWERS: MAKING THE CENTER…

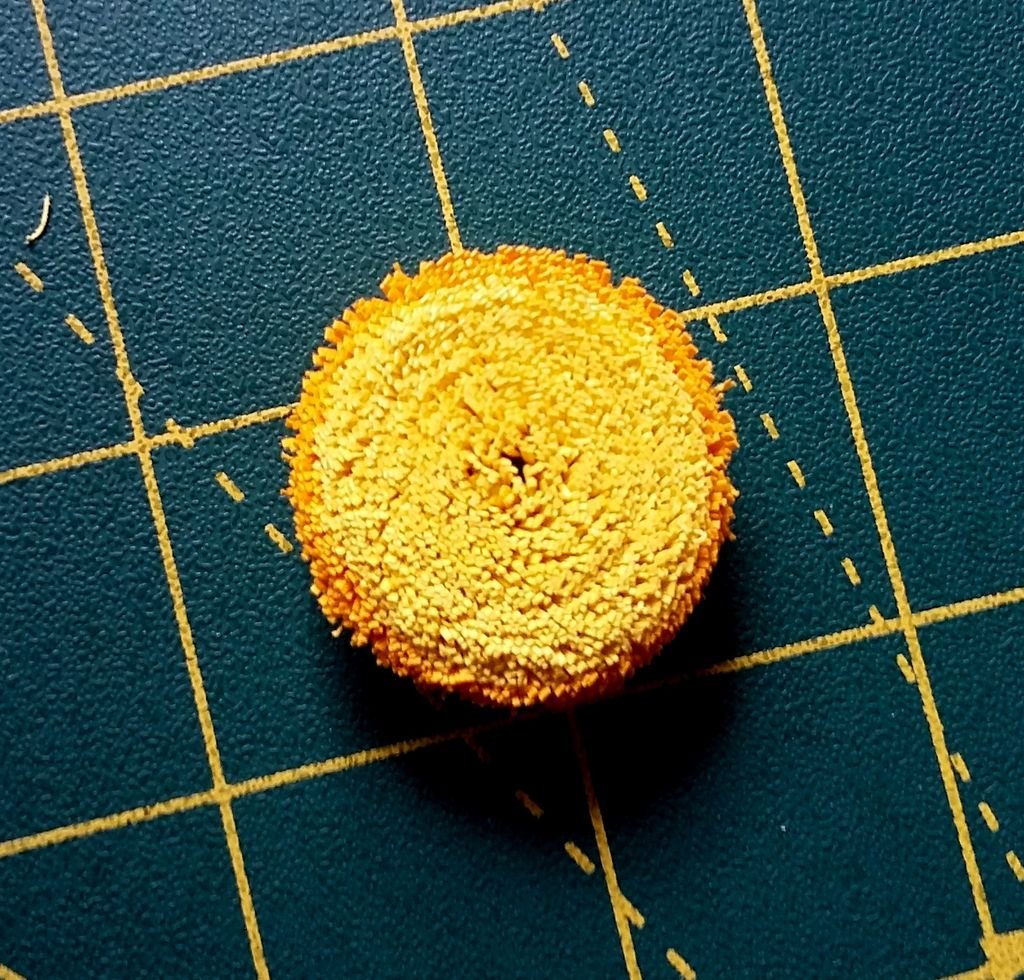

The last component of the flower is the centre of the flower or what we call as pollen.
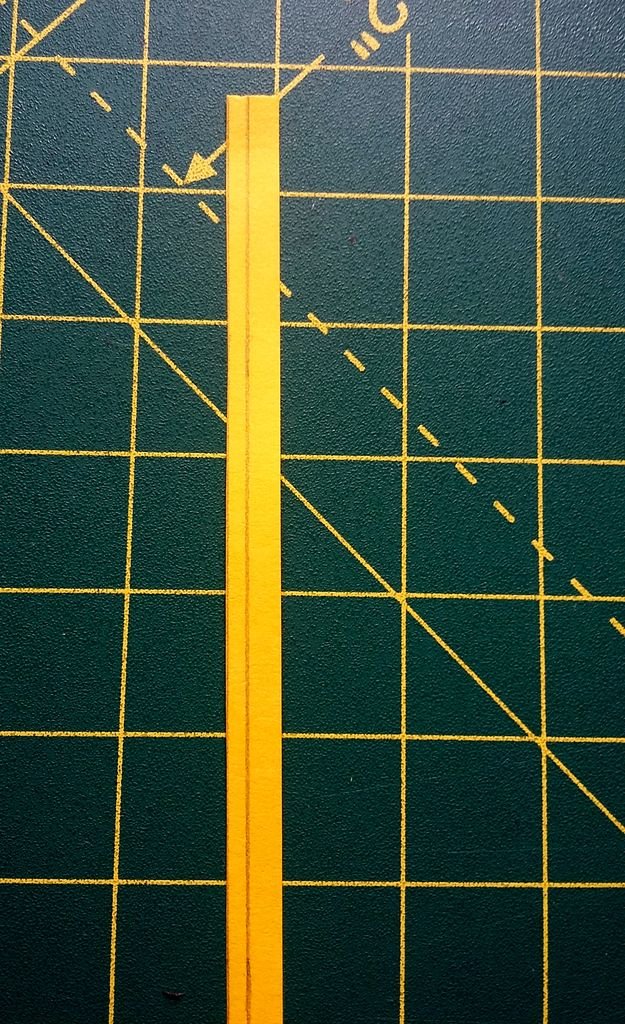
To give it a bit of shade I have taken 2 shades of yellow. One is lemon yellow which 51 cm in length and the other is chrome which is 21 cm in length.
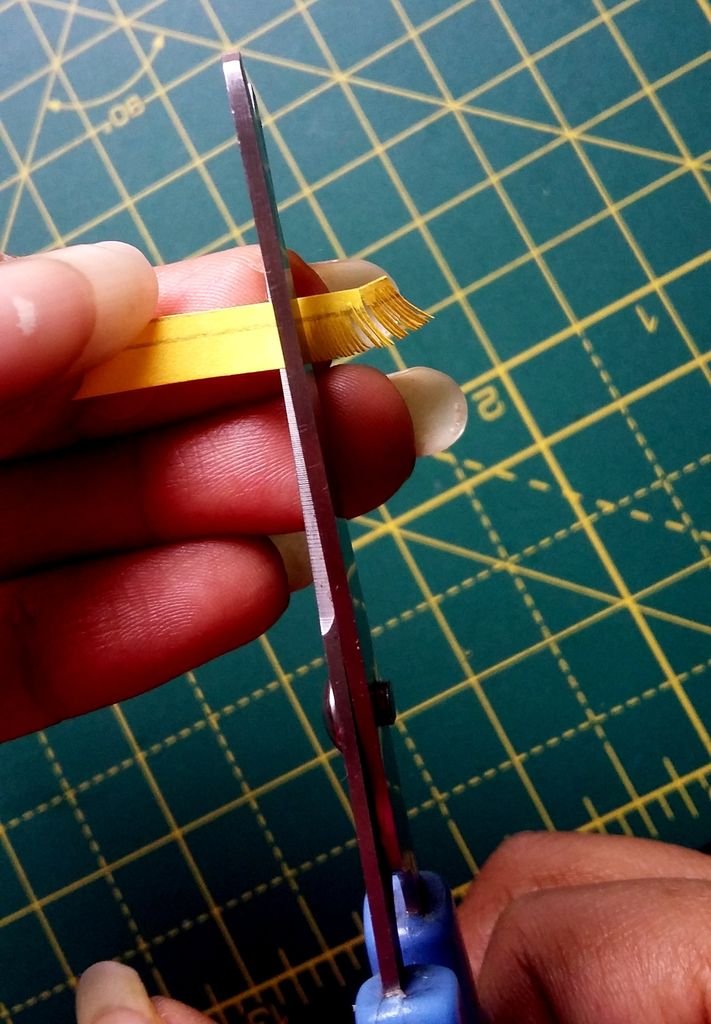
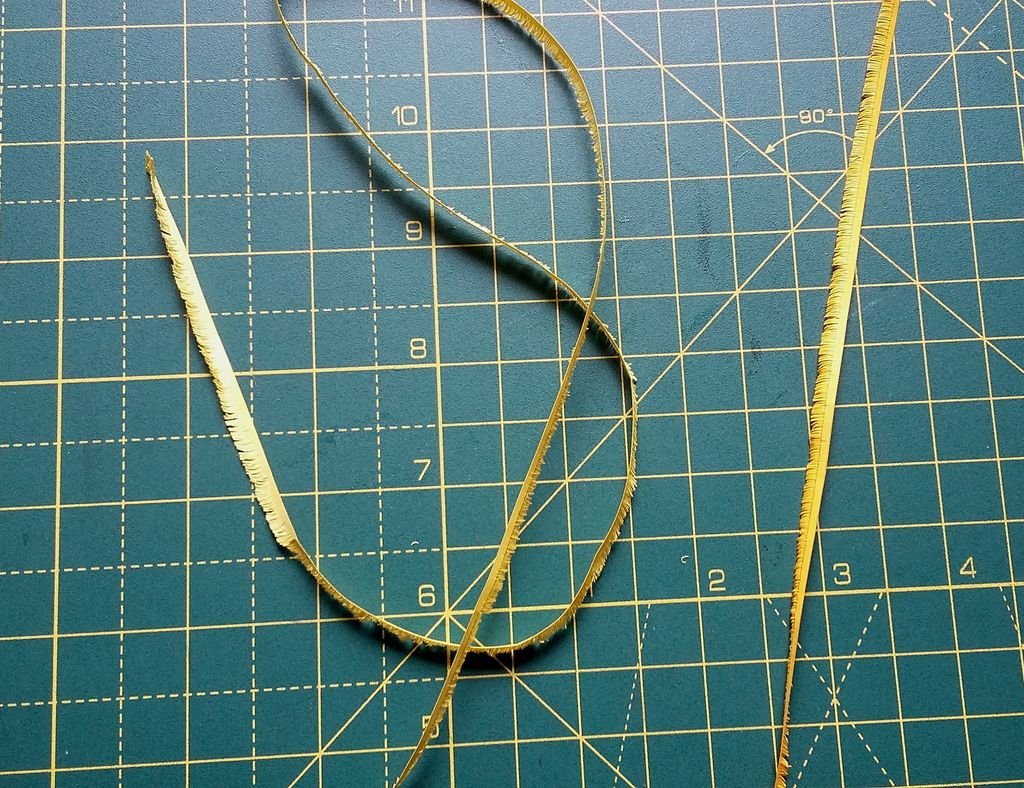
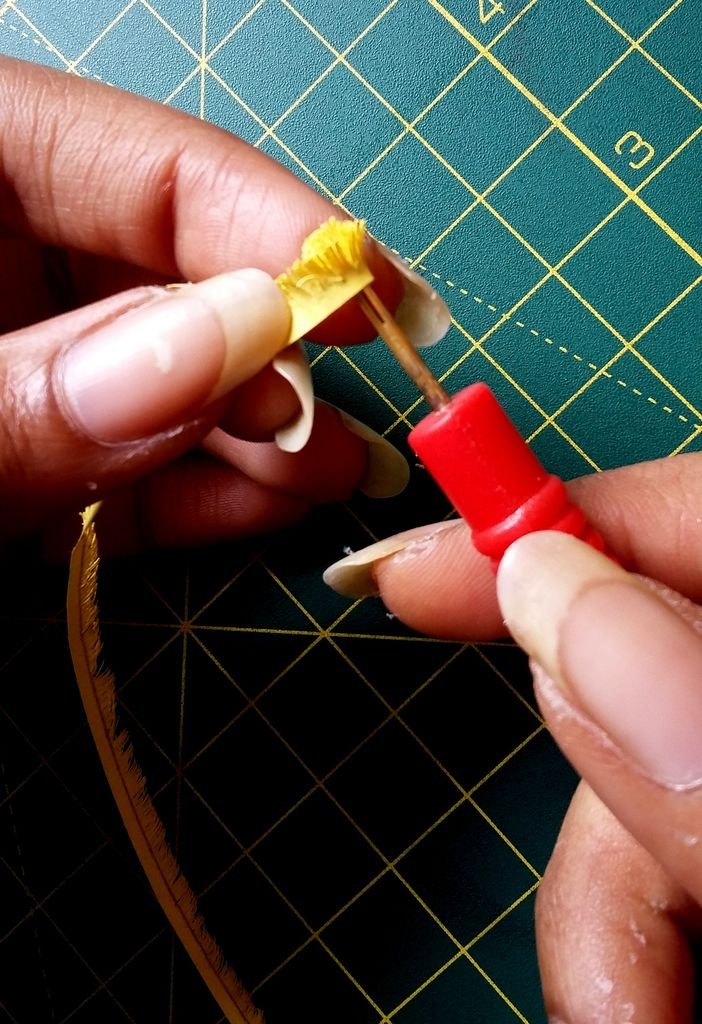
Take 5mm strips of both the colours and mark 2mm on both the strips. Start putting fine fringes on the 3mm side. After putting the fringes, join both the strips and start rolling using quilling tool. Make sure you keep chrome yellow at the outer side if the roll.
Apply glue on the inner side of it and keep it aside for drying.
Step 5: FLOWERS: ASSEMBLY
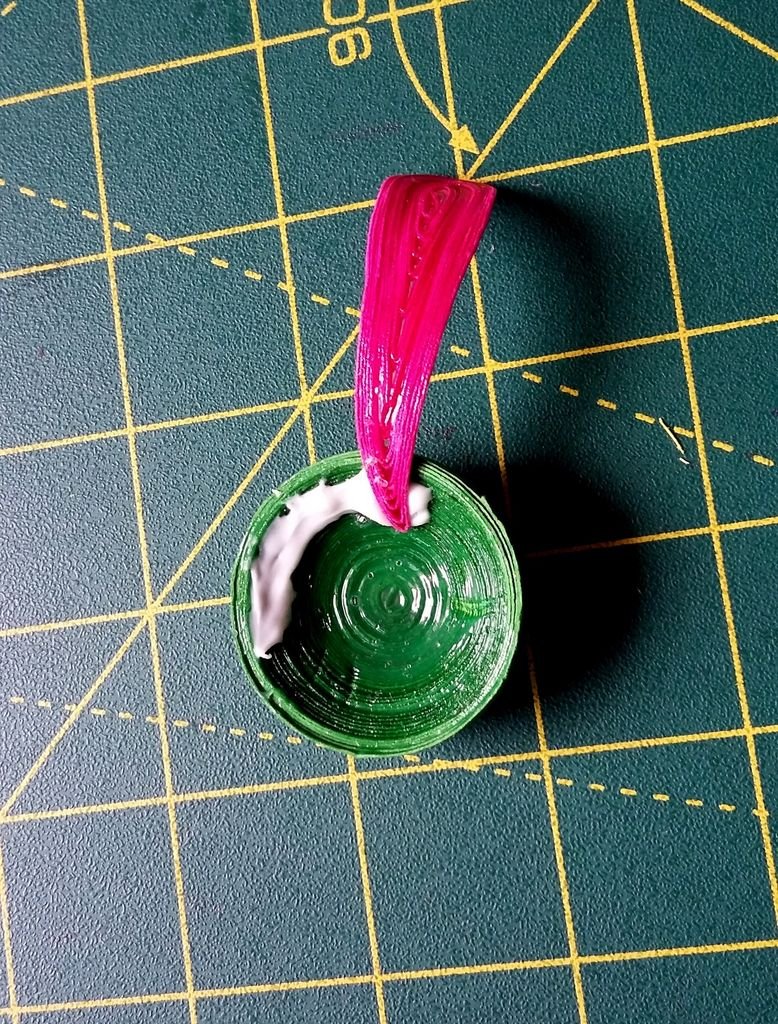
The final step is the assembly of the flower.
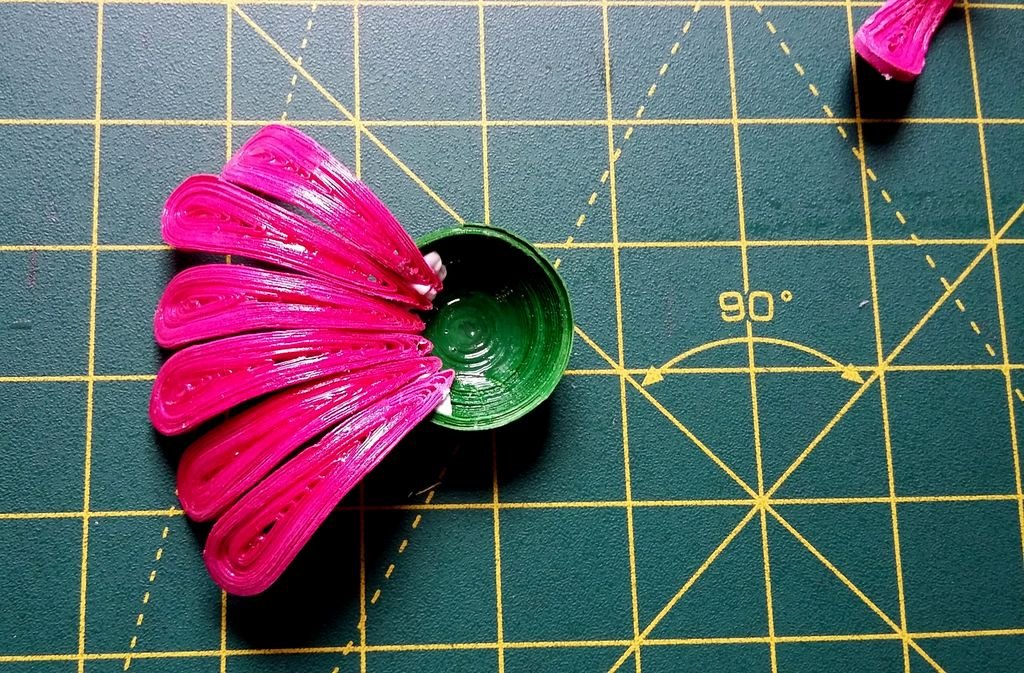
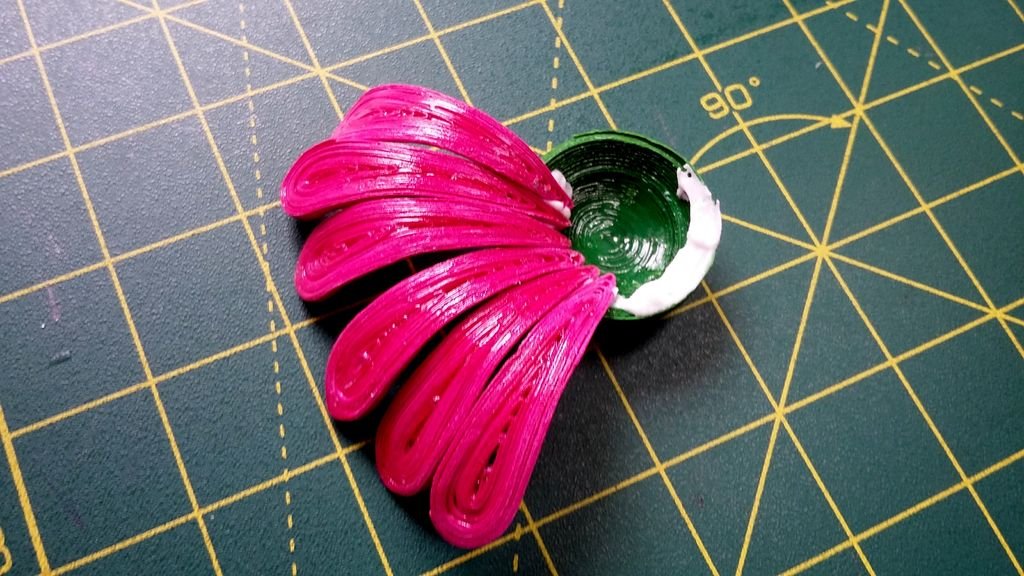
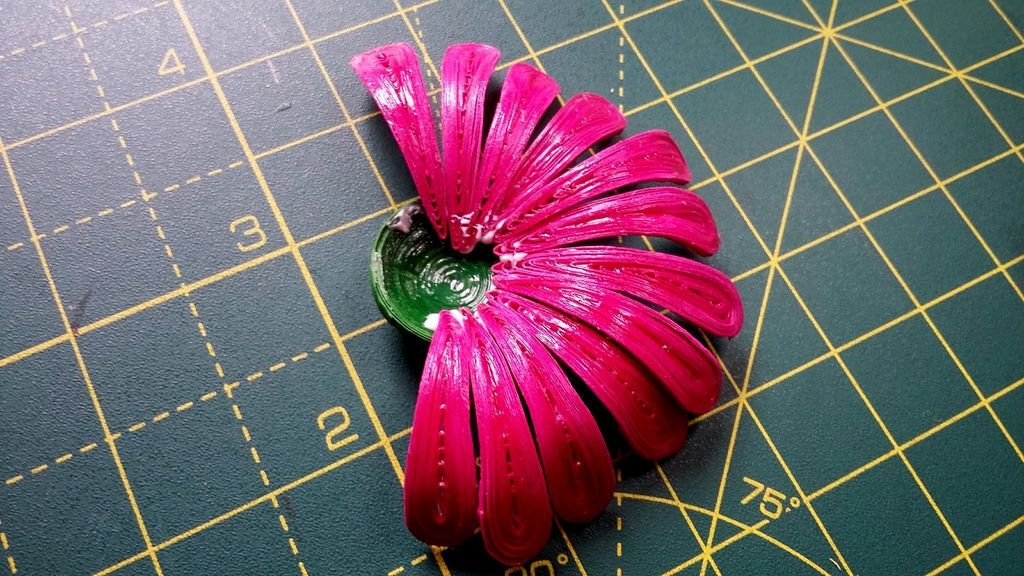
For this take the base and apply glue at the edge o the base and start sticking the petals as shown in the picture.
After sticking all the petals let it dry or some time.
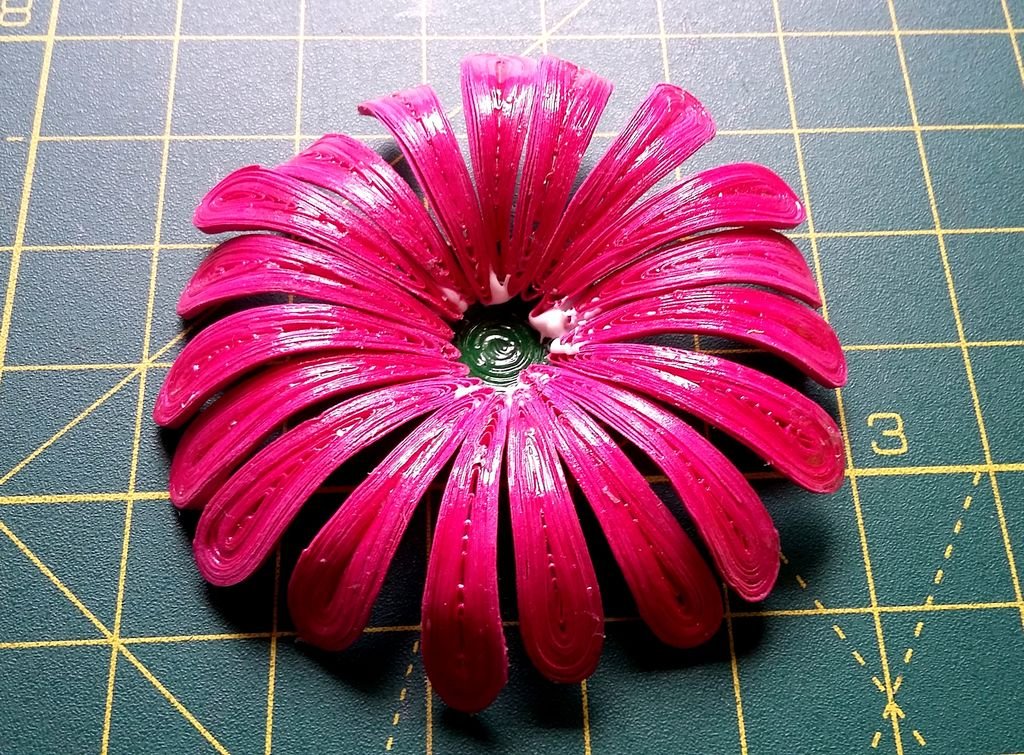
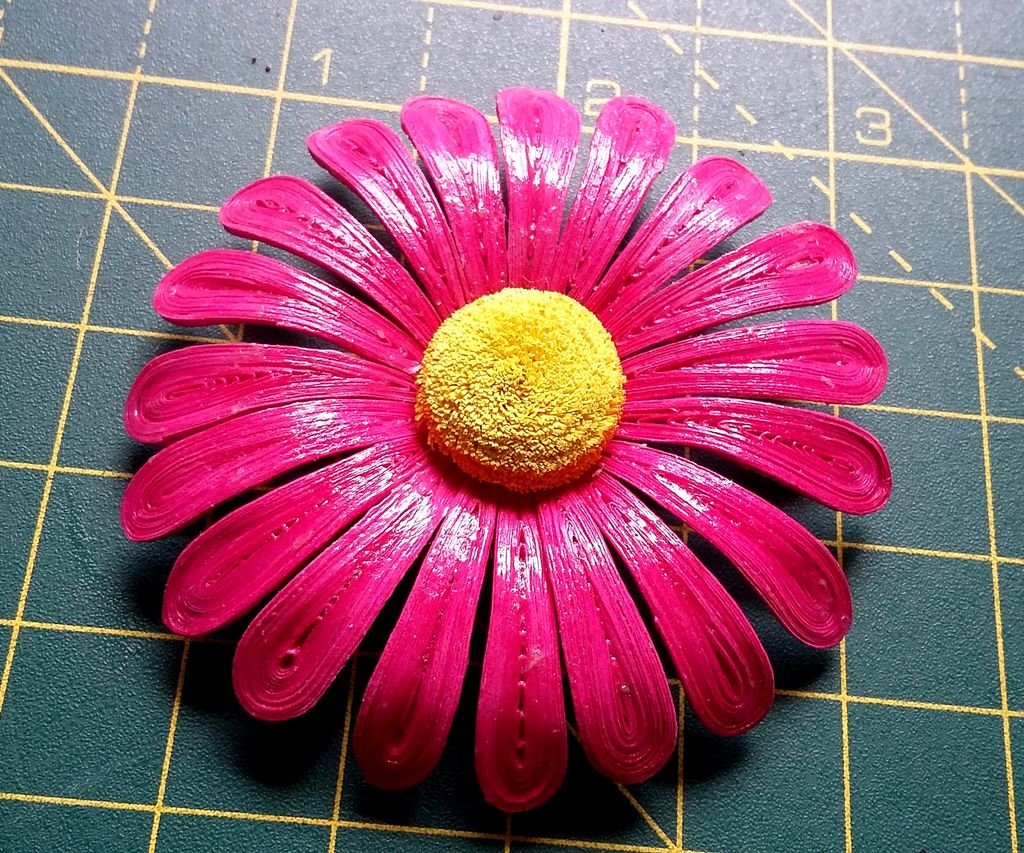
After drying glue the centre component to the flower.
And you are done with the most beautiful daisy flower.
Step 6: LEAVES: MAKING THE COMPONENTS…


To add to the beauty of these flowers you need leaves so let us begin the tutorial of the ferns.
The ferns are around 3″ in size and are quite easy to make. The most important tool you need here is circle drawing stencil which helps you to get gradually increasing size of the fern.
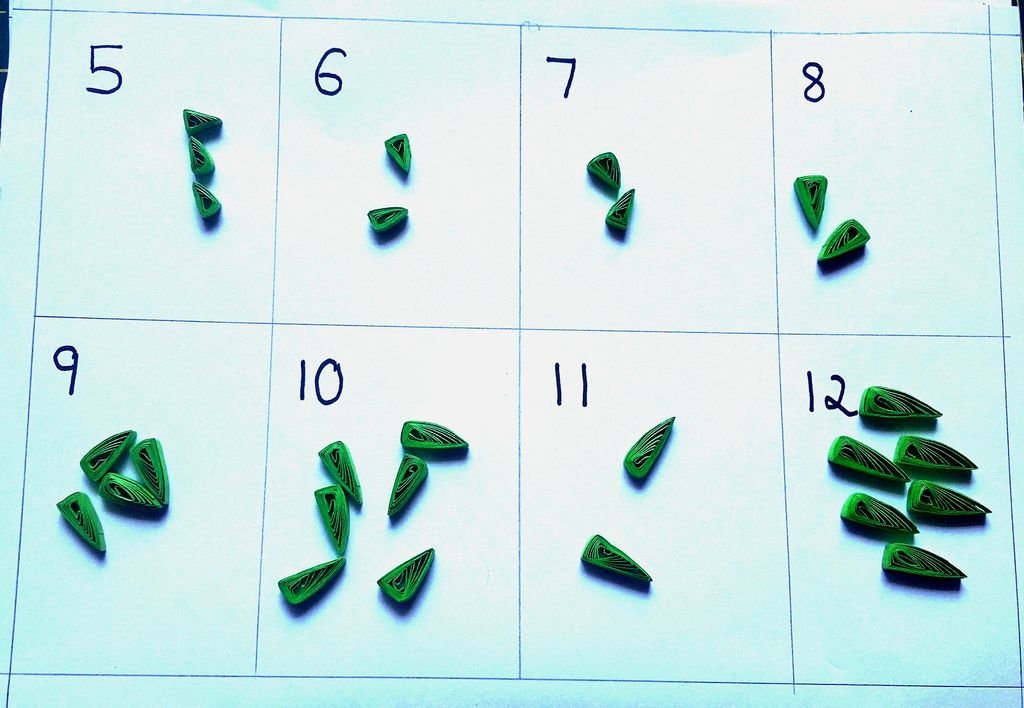
To begin to start making shapes of different sizes as given below:
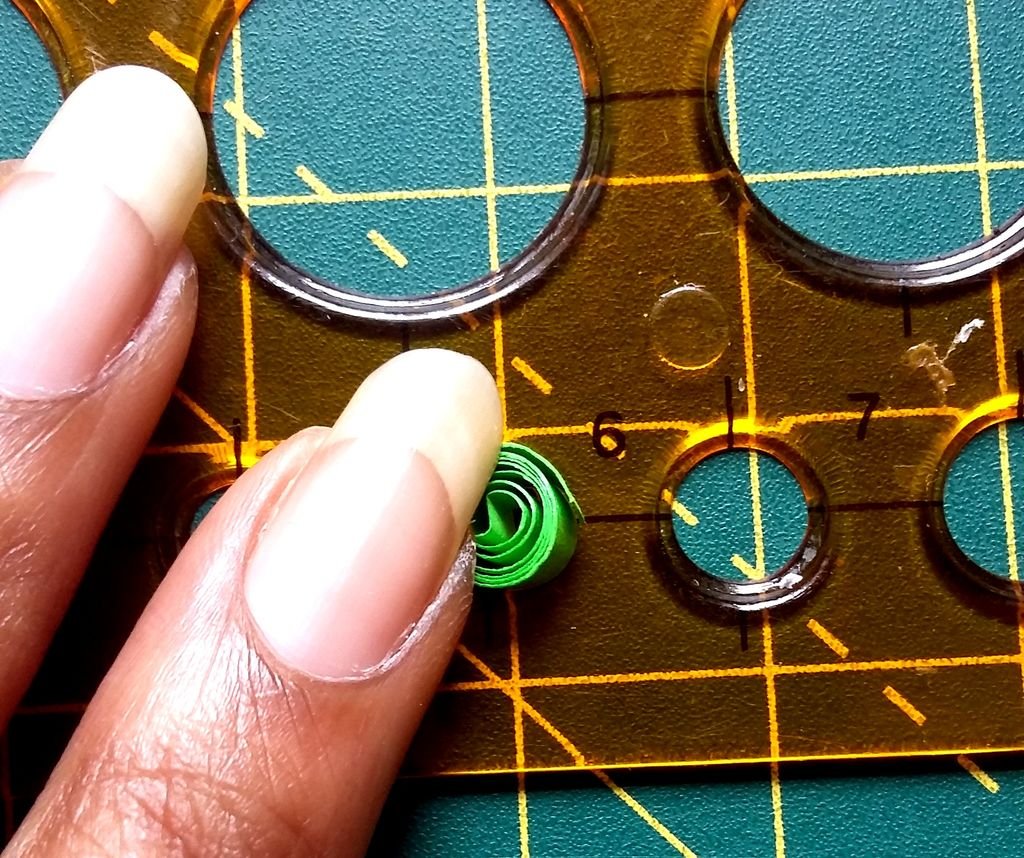
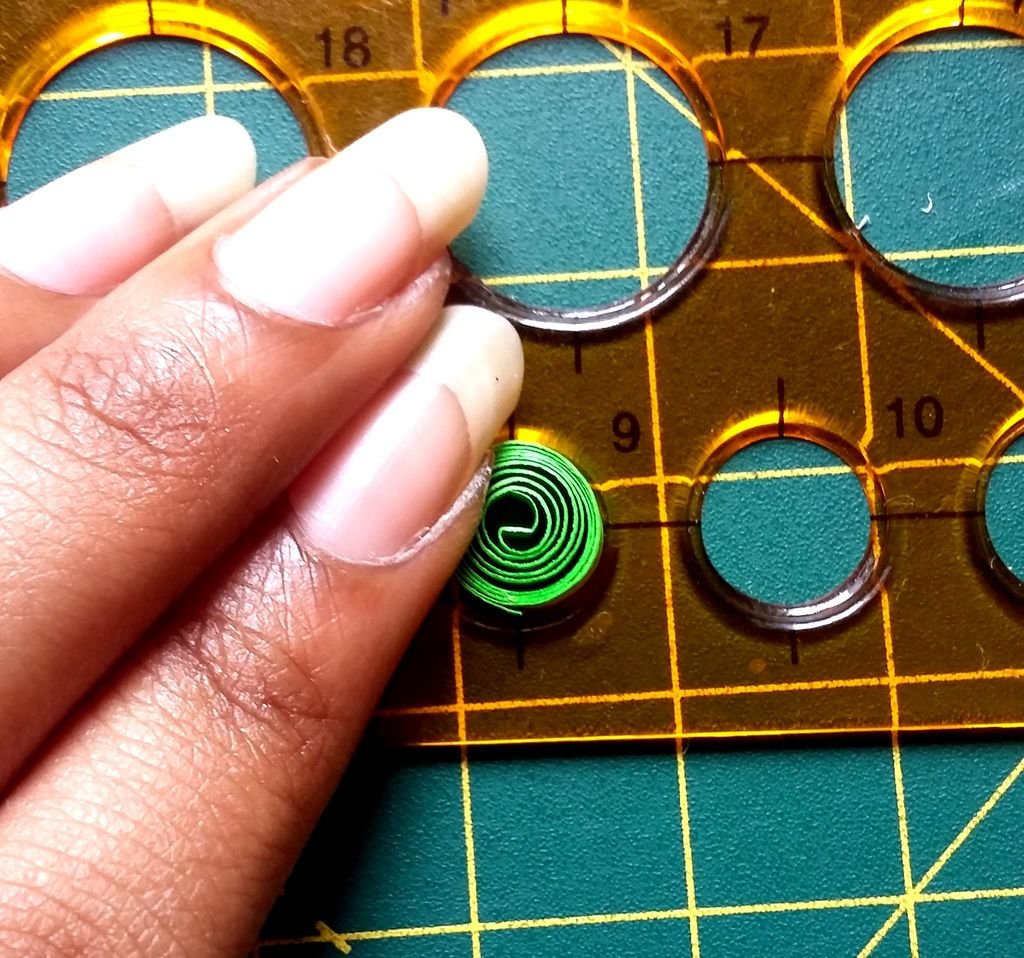
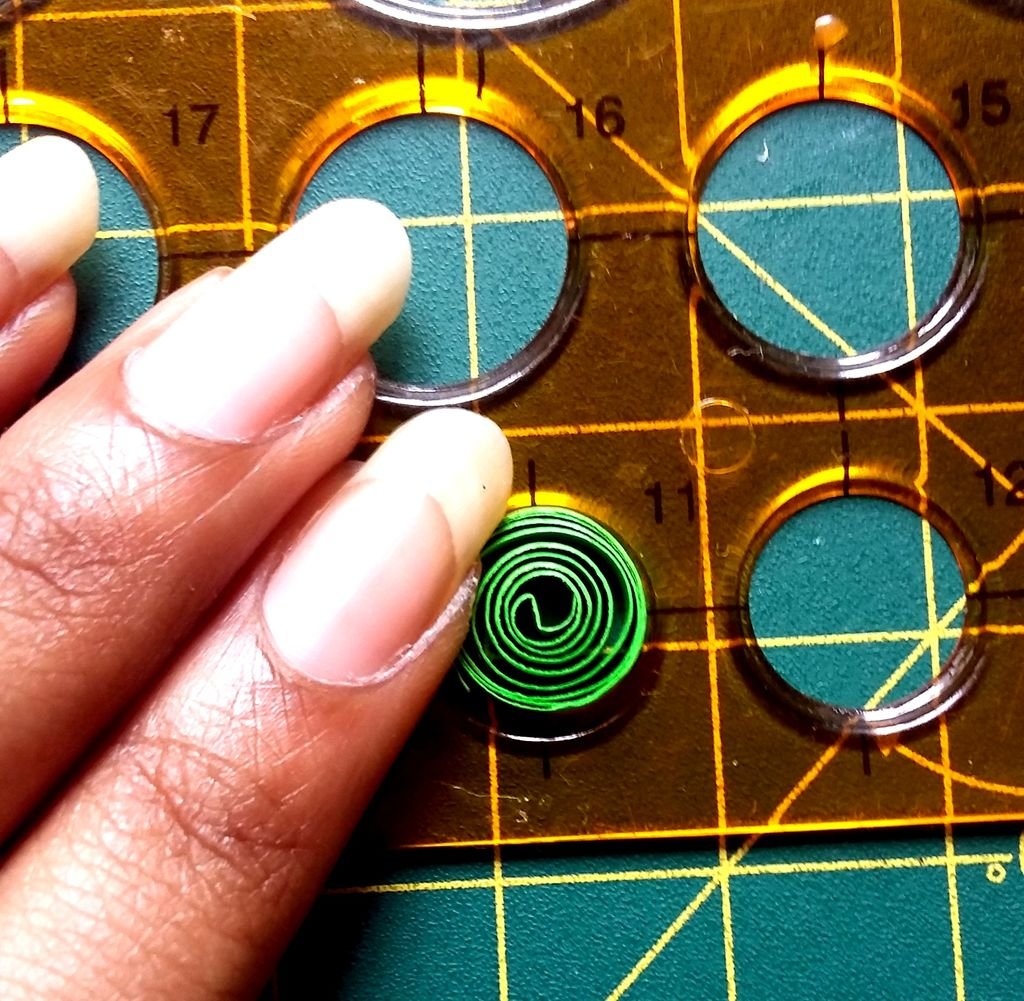
The sizes you need are – 5, 6, 7, 8, 9, 10, 11 and 12 ( the sizes o the circle drawing stencil indicates the diameter of the circle in mm. for e.g. 5 indicates that the circle has a diameter of 5mm)
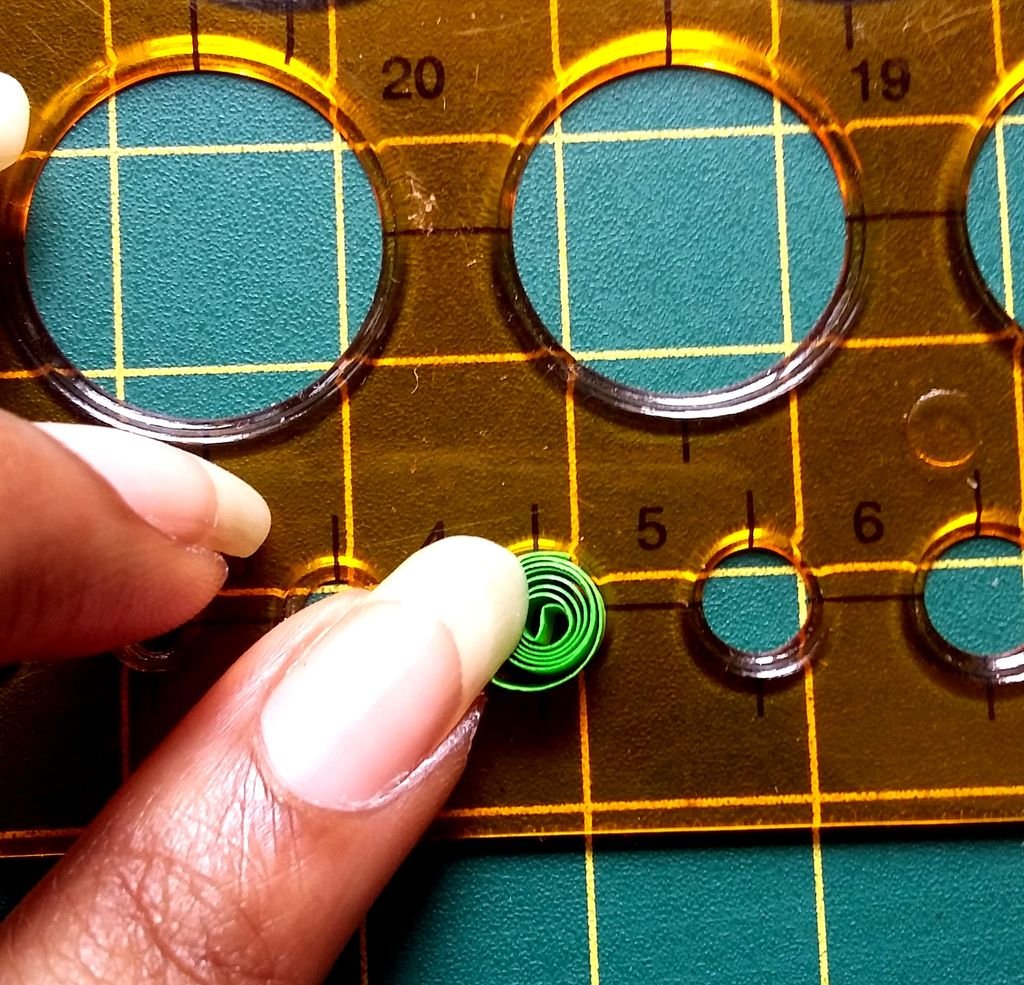
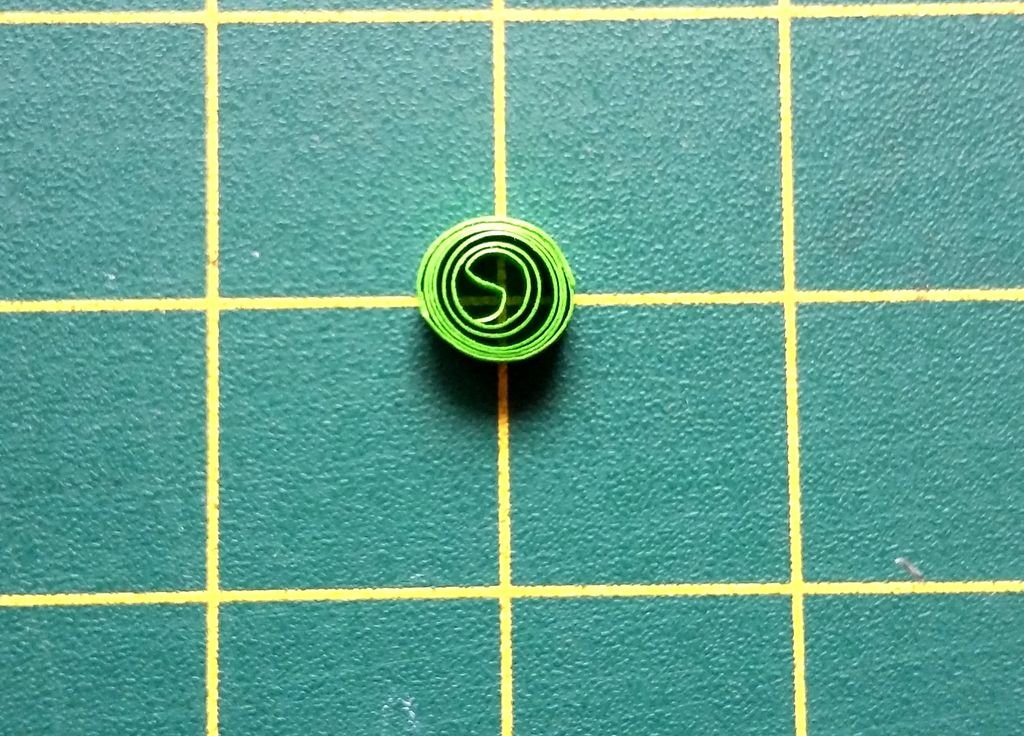
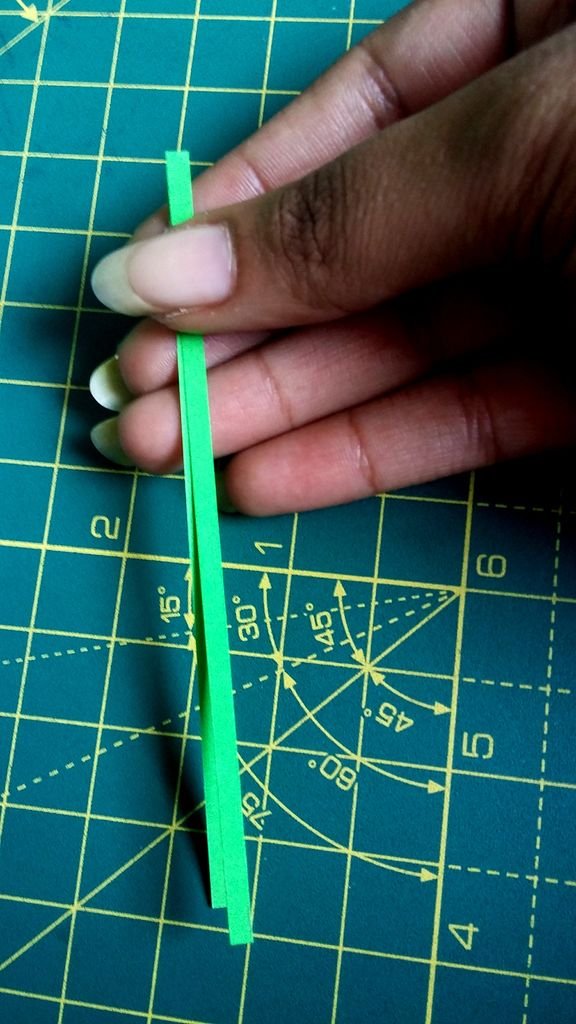
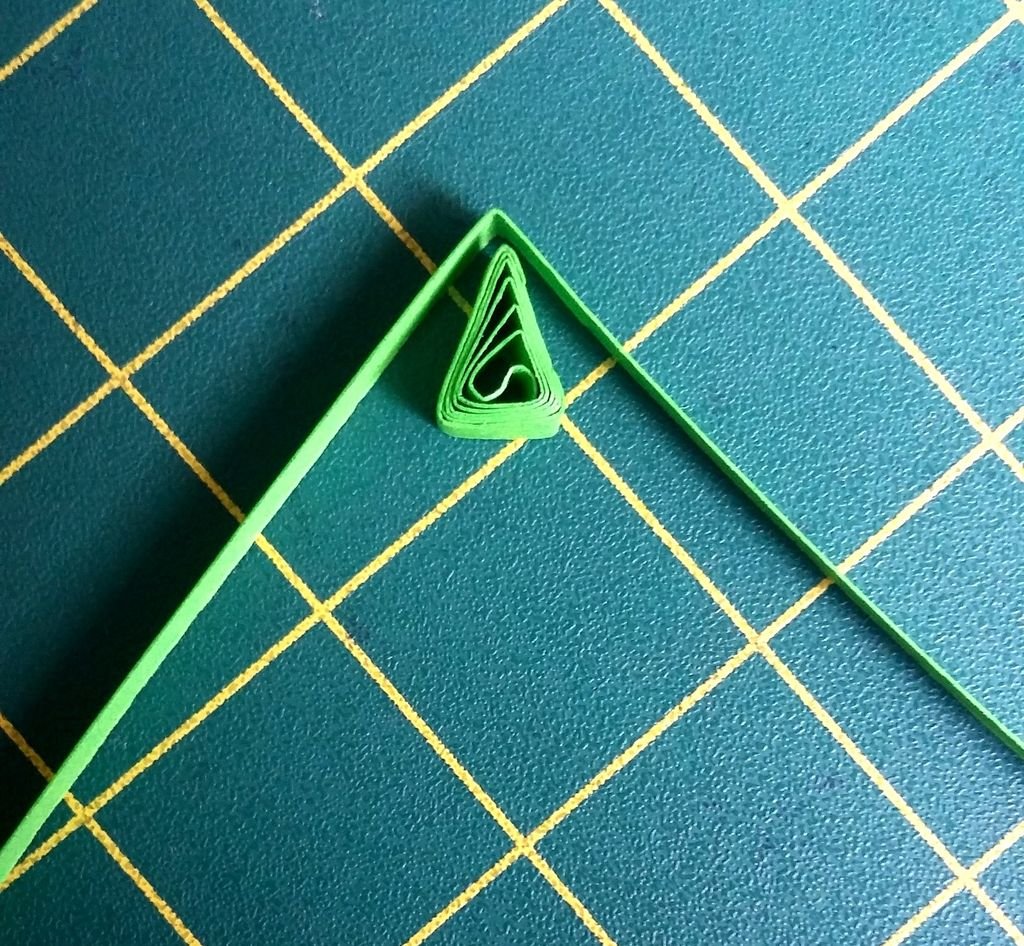
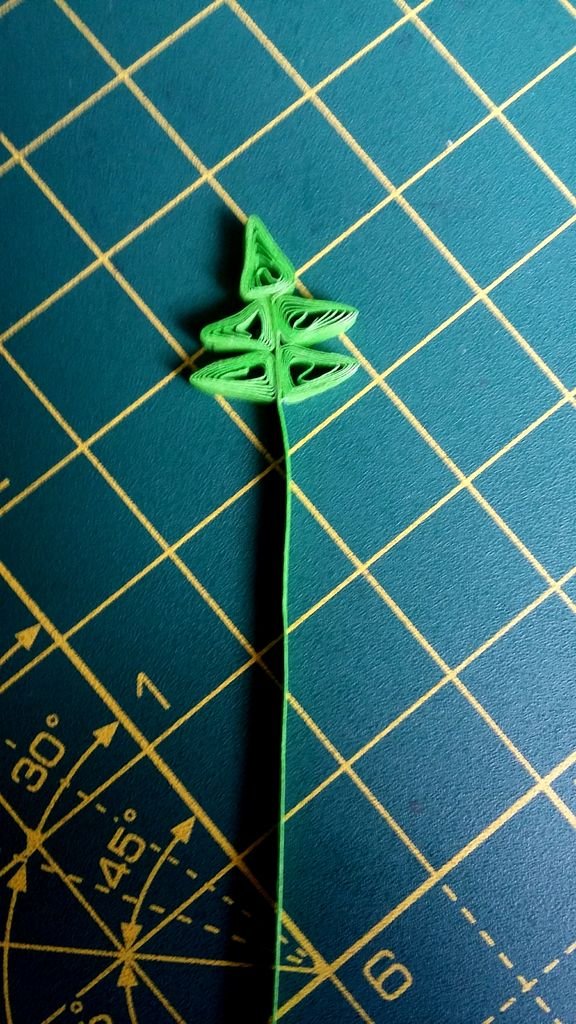
Roll the strip using quilling tool. Then Place your twirled paper inside the circle drawing stencil and allow it to expand to the size of the circle. Remove it from the stencil and glue the end. Later with your finger give it a triangle shape.
For the sizes 5, 6, and 7, the length of the strip used is 10.5 cm of the 3mm light green strip.
For remaining sizes 8, 9, 10, 11 and 12, the length of the strip used is 21 cm of the light green strip.
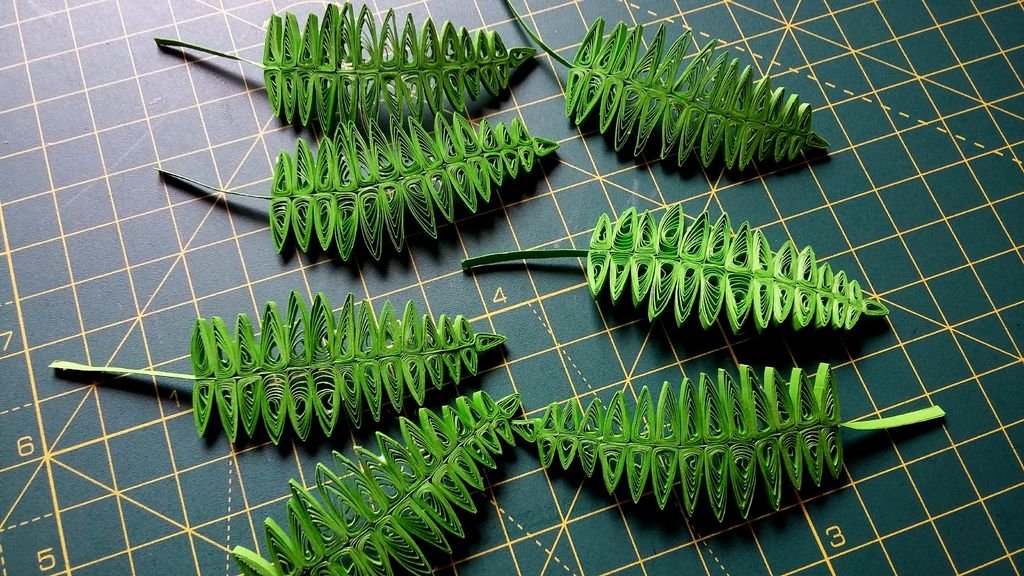
You require 3 shapes of size 5, 2 shapes of the size 6, 7, 8 and 11, 4 shapes of the size 9 and 6 shapes of the size 10 and 12 to make one leaf. You can also refer to the picture above for the correct number of shapes required.
Note that increasing the number of shapes and further sizes will lead to an increase in the size and shape o the fern.
Step 7: LEAVES: ASSEEMBLY…


Now let’s assemble the leaves.
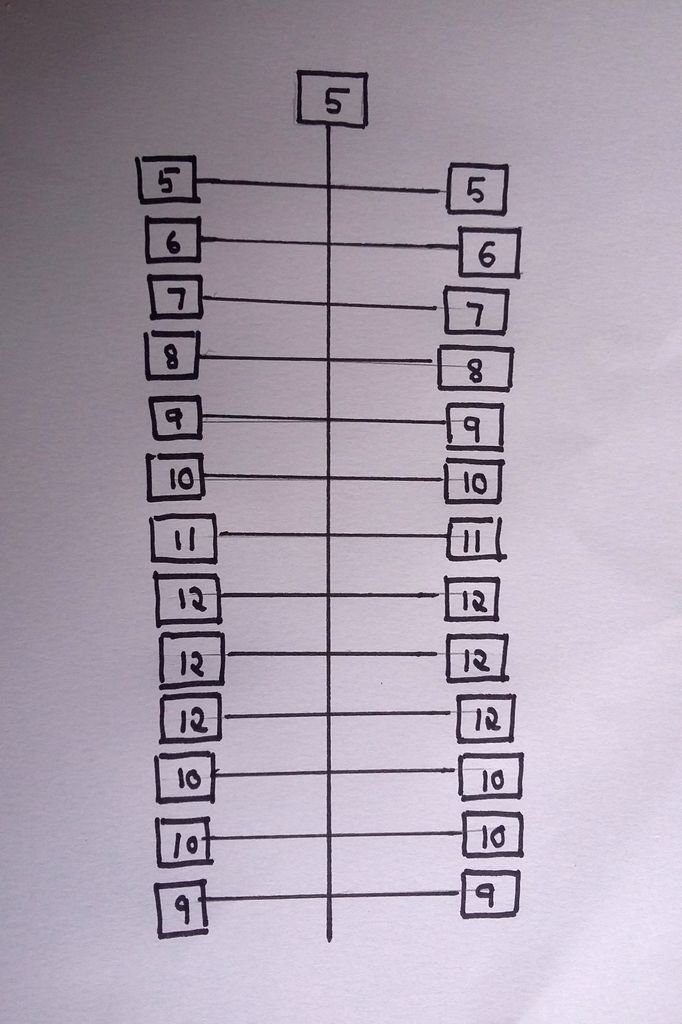
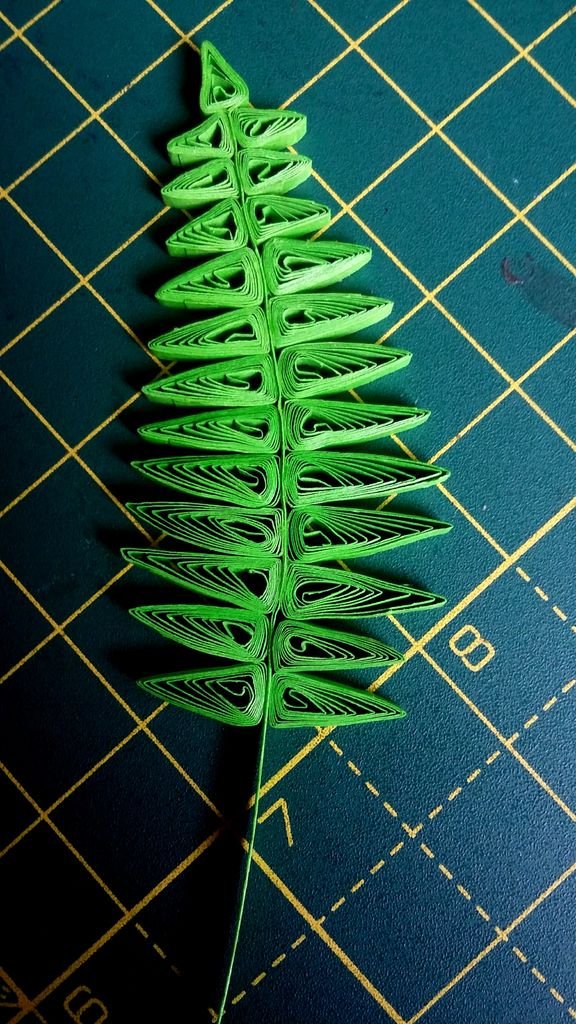
To assemble the leaf you can follow the diagrammatic representation which I have added in the photos.
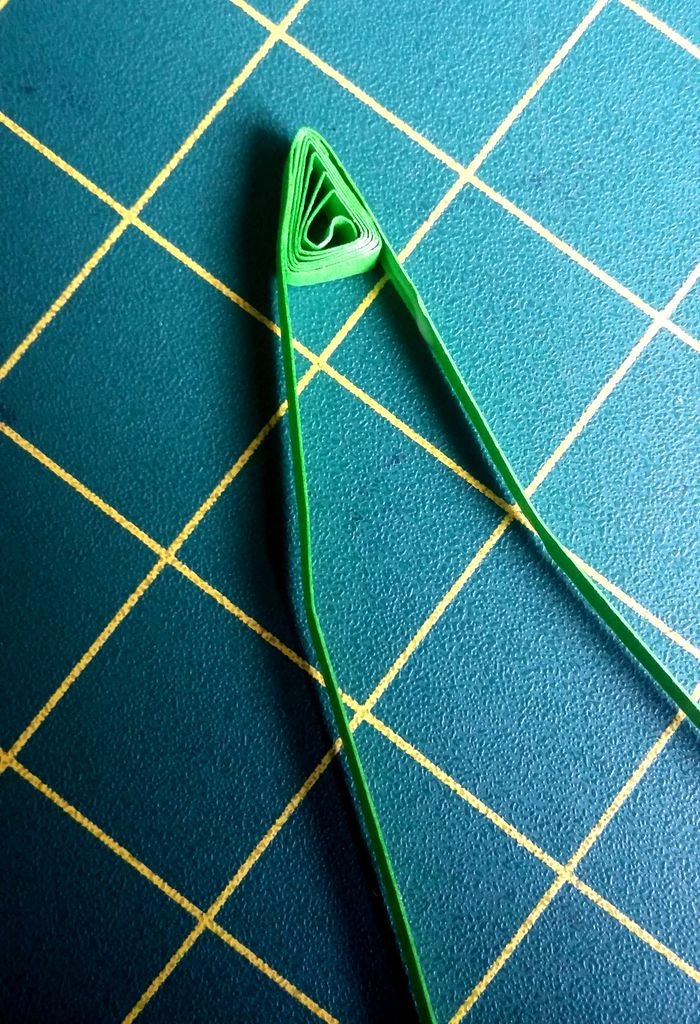
To begin with, you need to take a 3mm light green strip and fold it into the half.
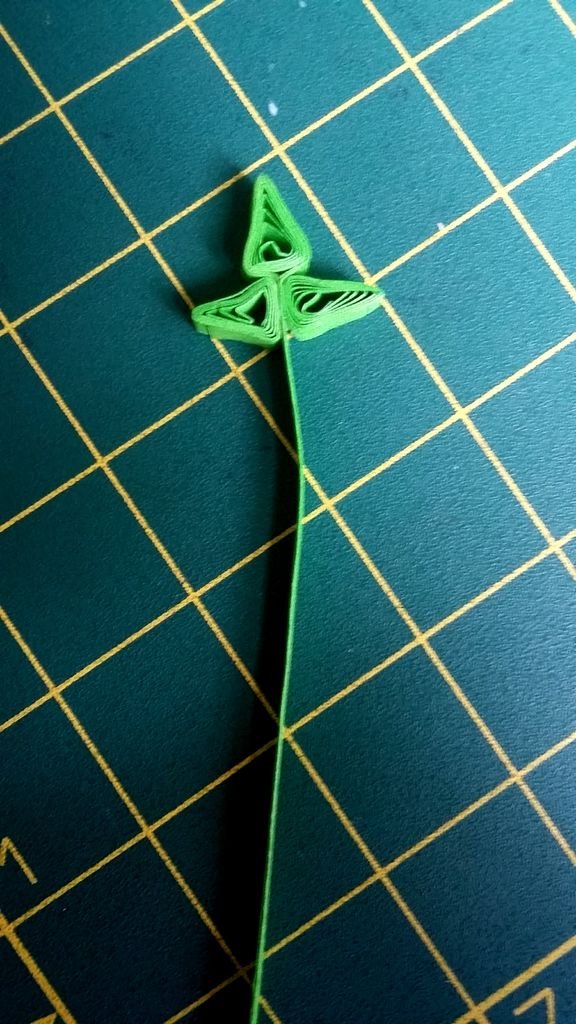
Later take the triangle shape o size 5 and glue it to the centre o the folded strip. ( please refer to the photos for better understanding) then stick the remaining strip together.
Now start sticking the remaining pieces in pair on either side of the strip. Follow the following pattern :
5 —> 6 –> 7 –> 8 –> 9 –> 10 –> 11 –> 12 —> 12 —> 12 —> 10 —> 10 —> 9
( please refer to photos)
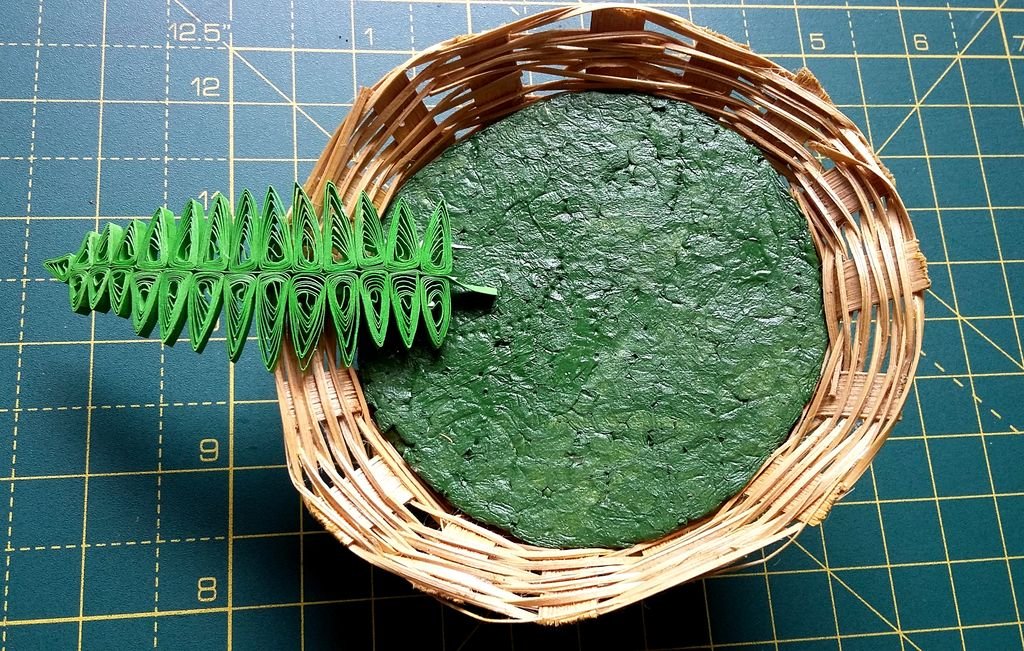
Make 7 such leaves.
Note that the number of the leaves depends on the size of the basket.
Step 8: PREPARATION OF THE BASKET…
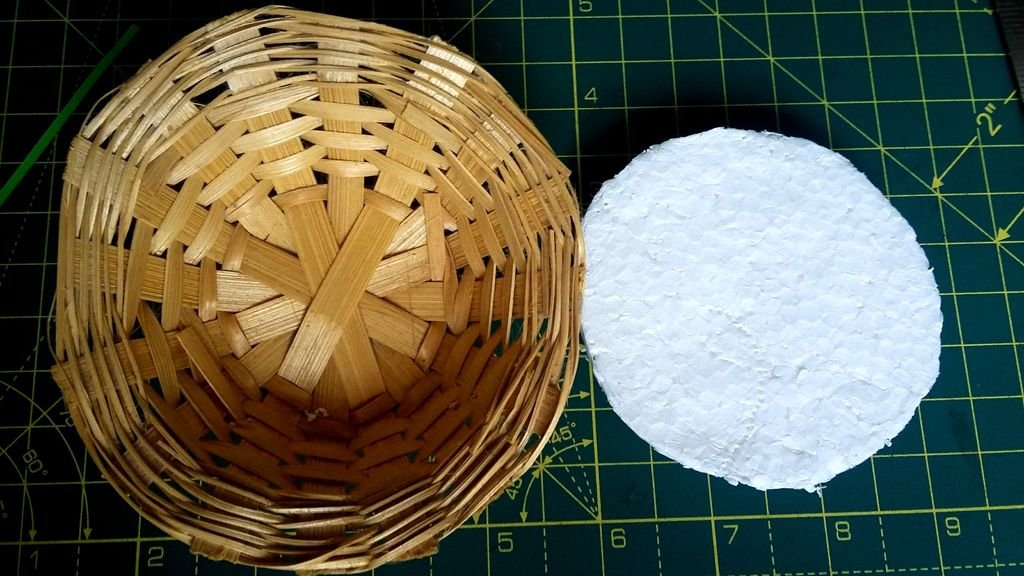

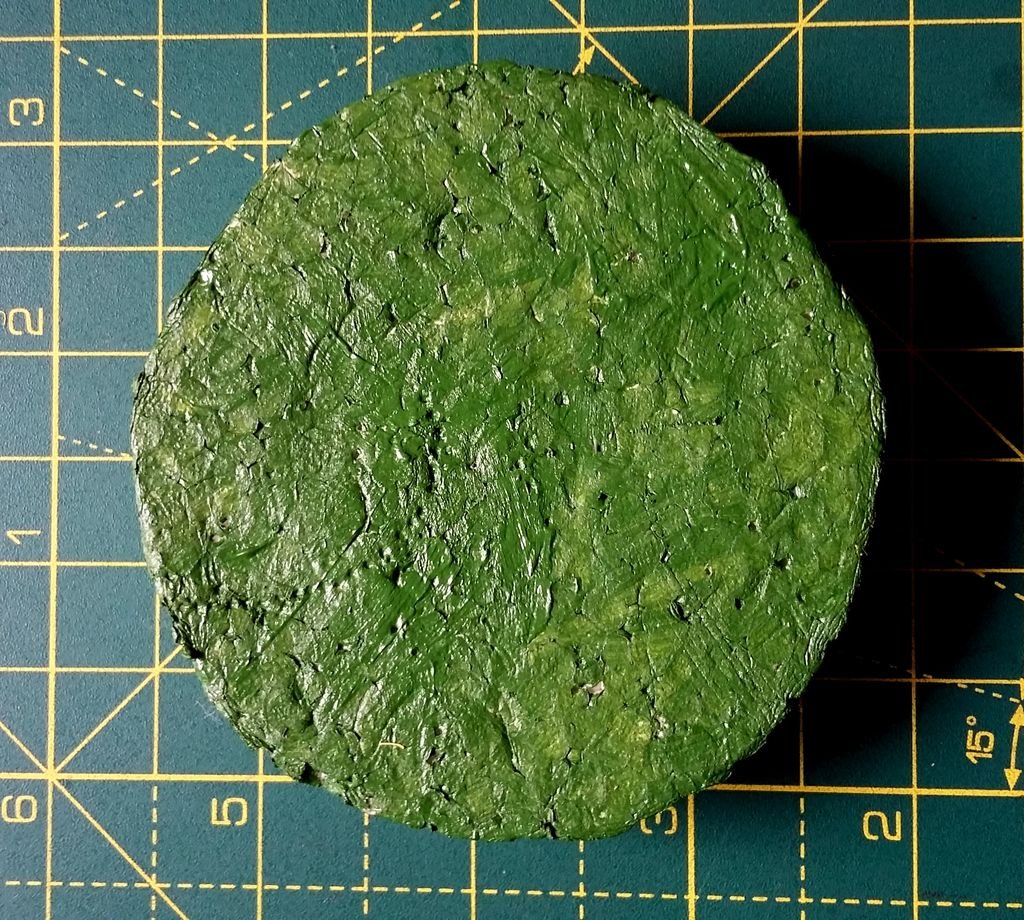
Take the basket and cut a thermocol piece that will fit into the basket.
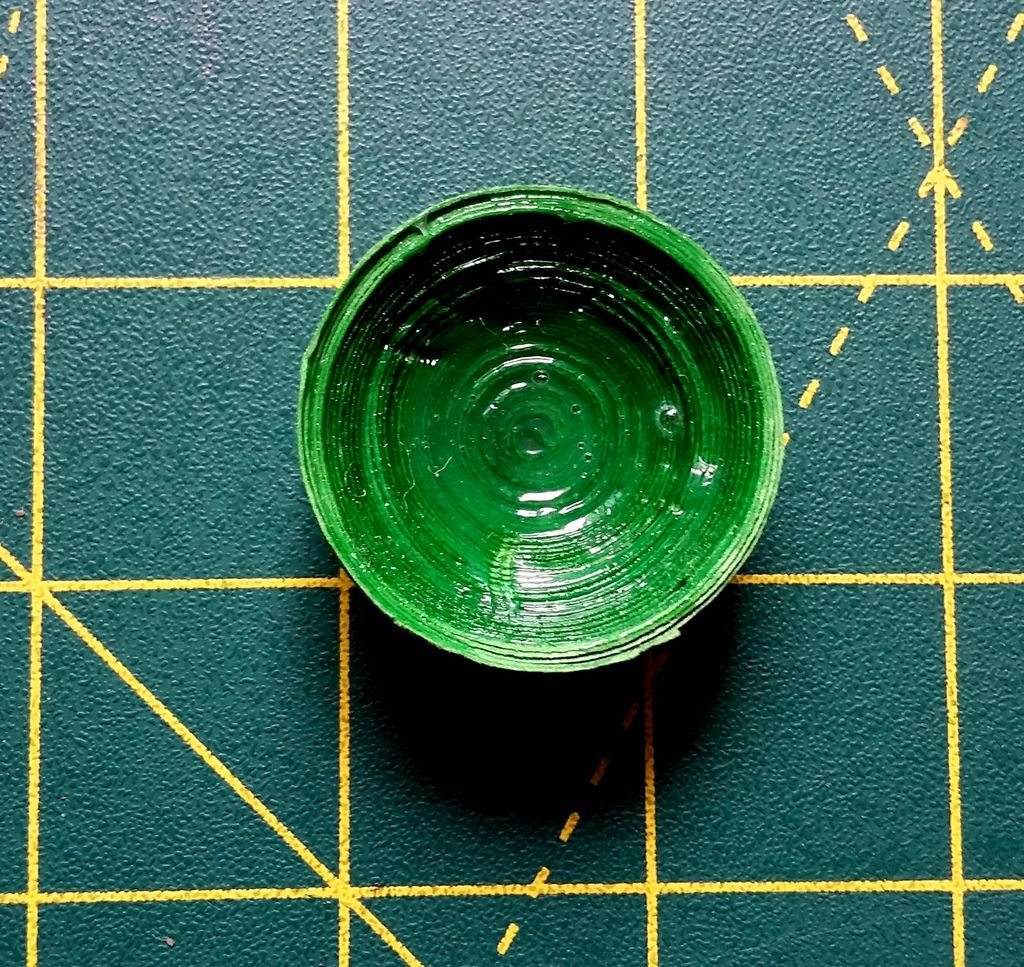
Paint the thermocol with green acrylic colour and let it dry.
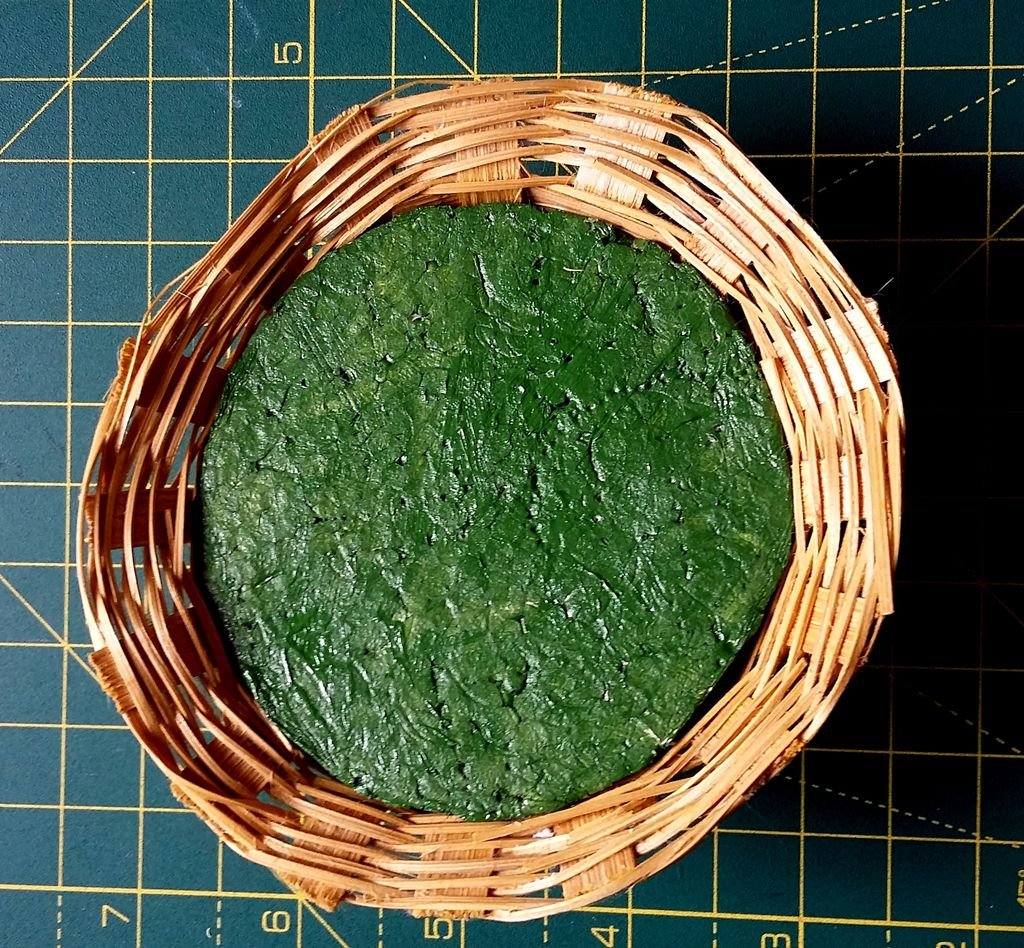
After drying carefully fit the thermocol piece into the basket.
Step 9: FINAL ASSEMBLY!!!
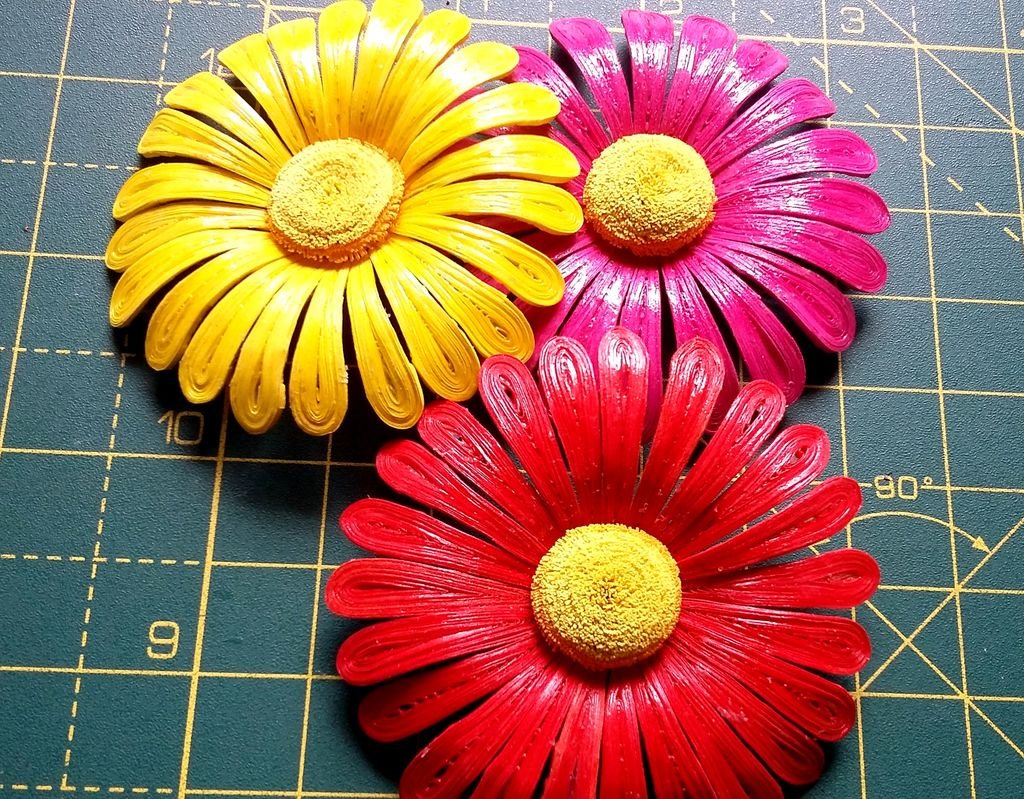

To make this basket more beautiful I have made daisies of 2 more colours i. e. red and yellow.
While assembling the basket first we have to fix leaves on the basket. So start sticking the leaves around the basket one by one. Make sure leaves hang a little outside the basket to give it a natural look.
After sticking the leaves, keep it for drying.
Once the leaves are dried completely, fix flowers one by one.
The number of flowers and their arrangement is completely your choice. I have taken 3 different coloured flowers to decorate the basket. You may make some other colour combination of flowers or add some other kind of flowers for better appearance.
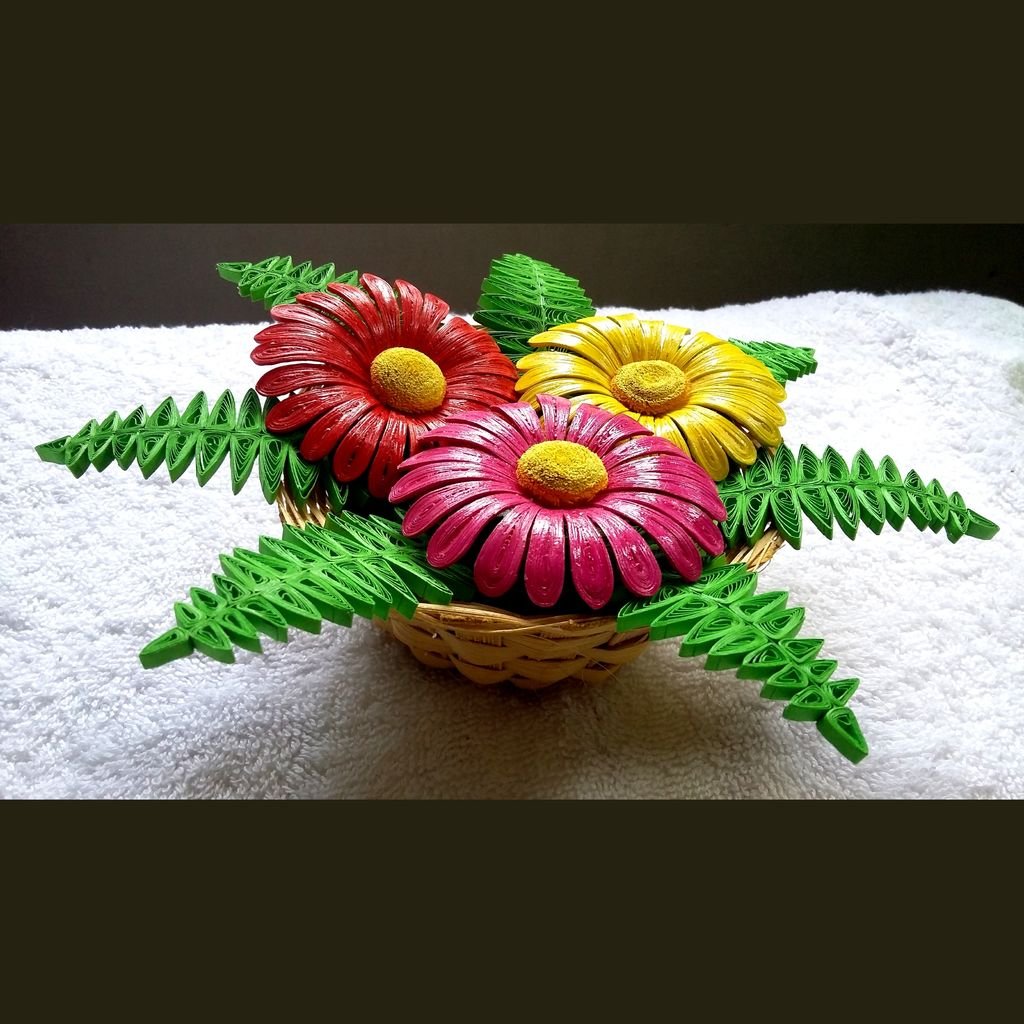
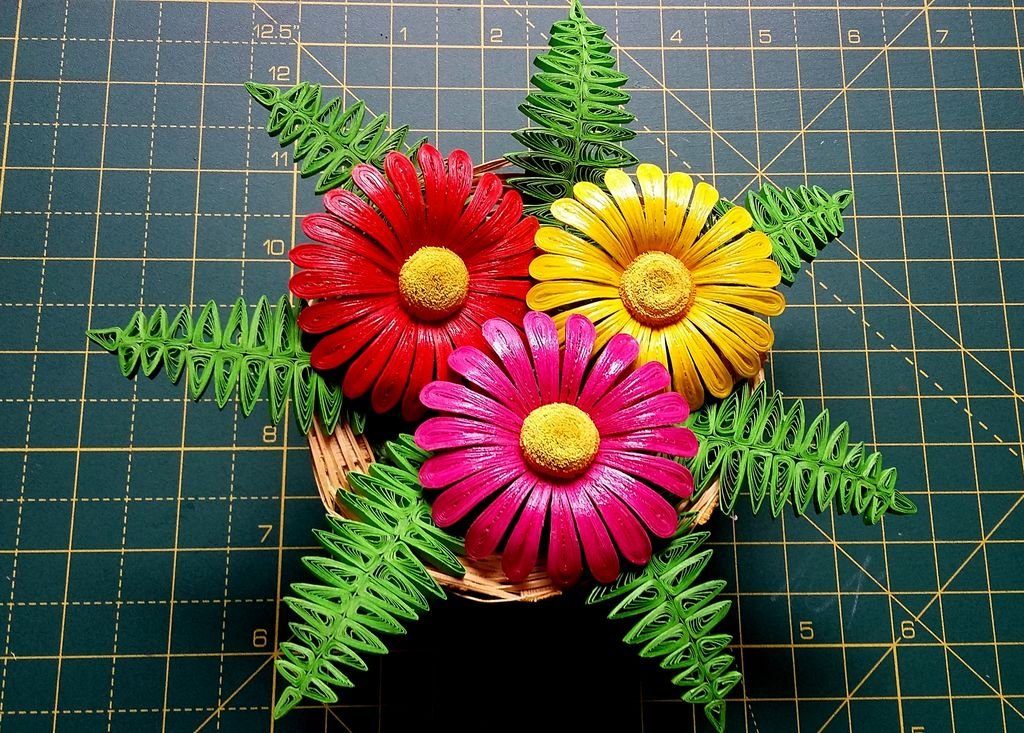
Step 10: FINAL LOOK!!
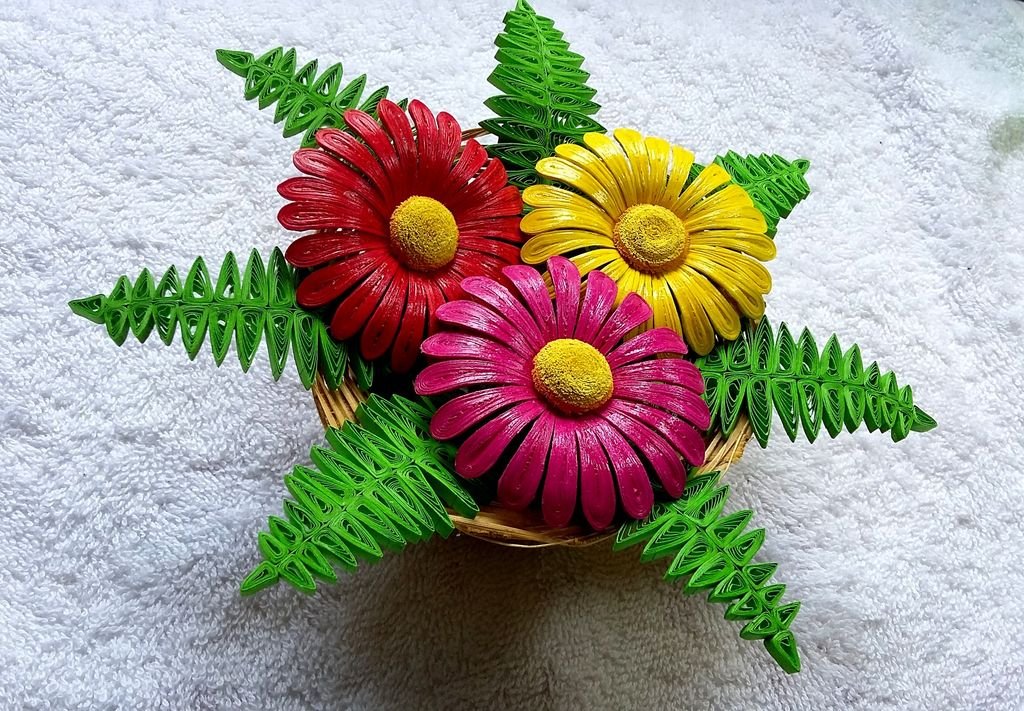

And your quilled flower basket is ready!!!!
courtesy: instructables