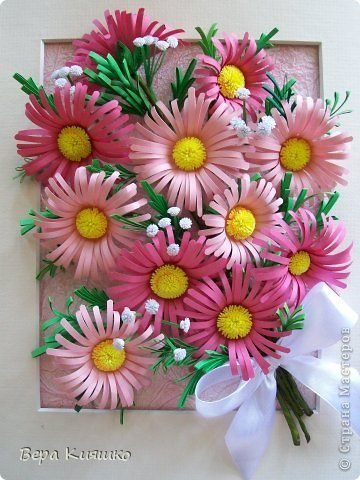
How To Make Fringed Daisy
Some of you have asked me how I make my daisies smile emoticon it’s really quite simple, it just takes a bit of patience and care . They are made using the paper fringing technique . Below are the steps that go with my photo tutorial. Hope you have loads of fun fringing daisies
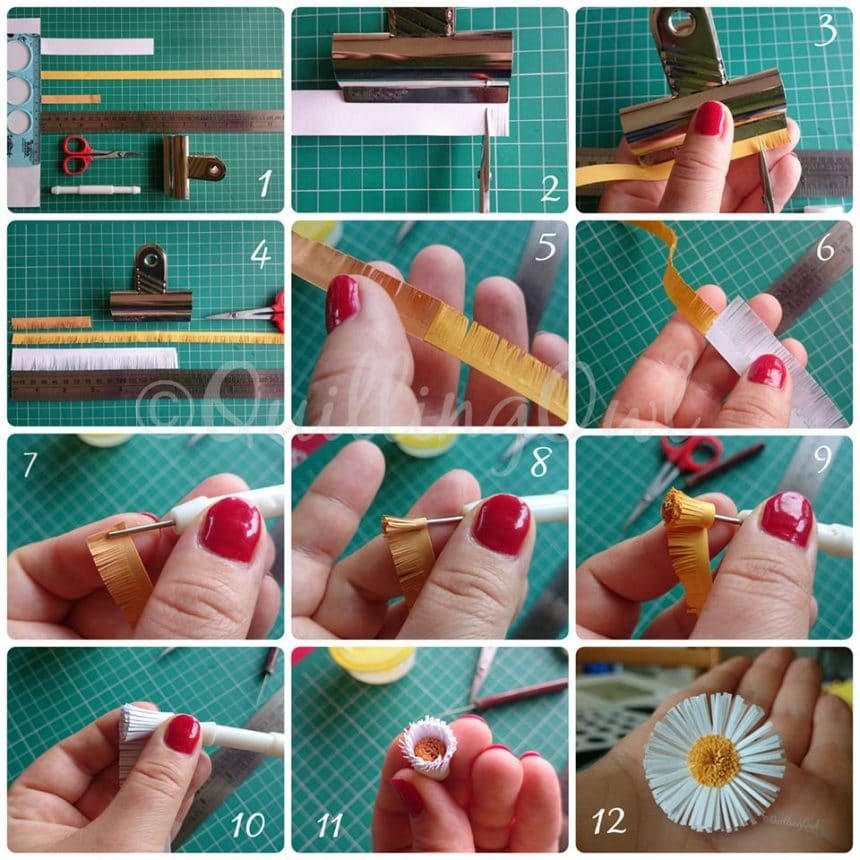
Step 1 : you will need :
a 2cm wide strip of white paper (1/2 of an A4 size )
a 1cm wide strip of yellow paper (A4 size)
a 1cm wide strip of darker yellow paper ( 1/4 of an A4 size )
a buldog paper clip ( you can use smaller too ,but it’s easier with the big one )
a pair of very sharp scissors
some glue
your slotted quilling tool
Step 2 :
clip your paper and start fringing it … not too fine as you want the daisy petals to be wider than the center
Step 3:
continue fringing the yellow strips too … a bit finer than the white paper
Step 4:
this is how your fringed strips should look like
Step 5:
glue your two fringed yellow strips together
Step 6:
Glue your white fringed paper to the bright yellow paper
Step 7:
insert your dark yellow paper end into the slotted quilling tool
Step 8:
start rolling in the fringed paper
Step 9:
keep rolling
Step 10:
and keep rolling smile emoticon
Step 11:
when you finished rolling the paper put a dot of glue and this what you should end up with
Step 12:
push back the petals of your daisy and here you have it !!!!


Courtesy: Quilling Owl