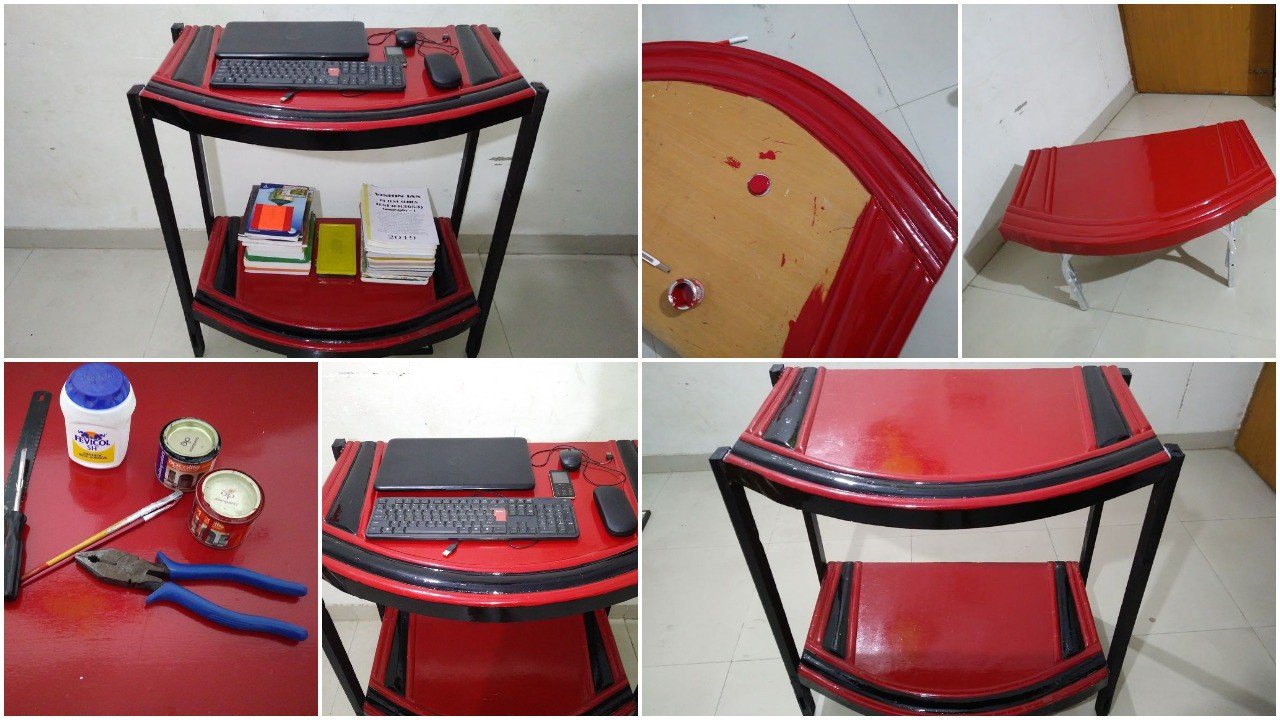
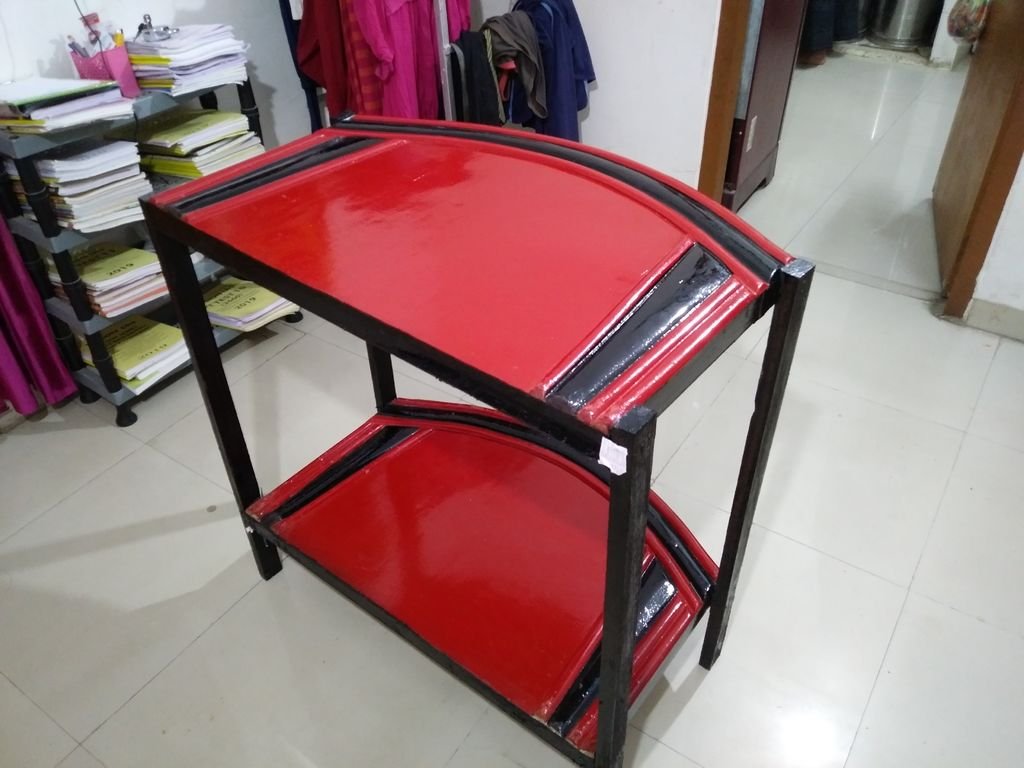
Hello, friends welcome back again. So today I am going to share my awesome creation with you. A few months back my old couch completed its life and got broken completely and I just want to recycle it in a useful way so I decided to create a rack by utilizing it’s left and right side wooden arms and some long wooden blocks.
So here is how I created it.


Step 1: Tools Materials Used


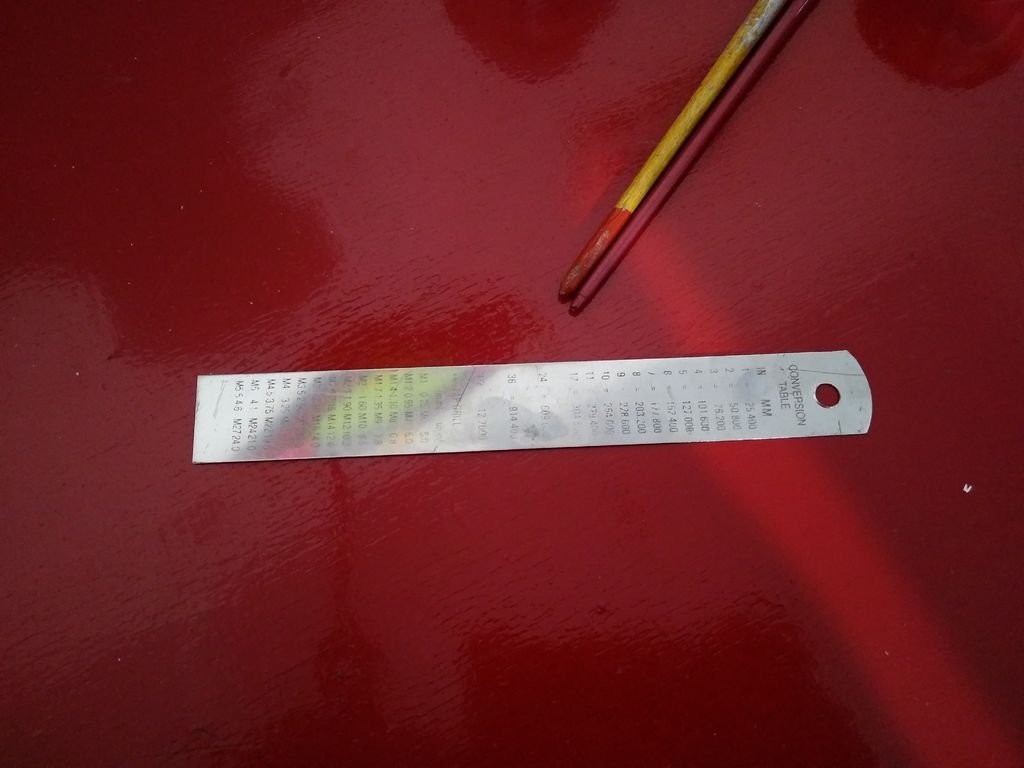
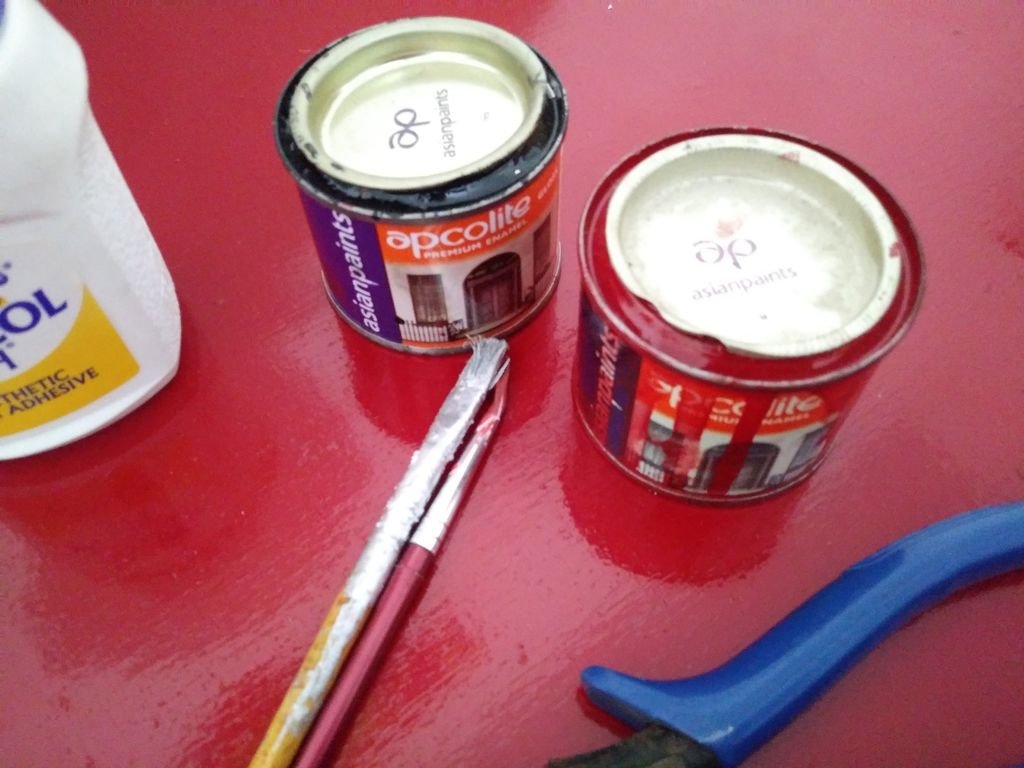
Here I have used simple tools which is normally can be found in any house.
Iron nails
Fevicoal
Wood painting colors
Woodcutting strip
Hammer
Painting brush
& patience
Step 2: Cutting and Stripping

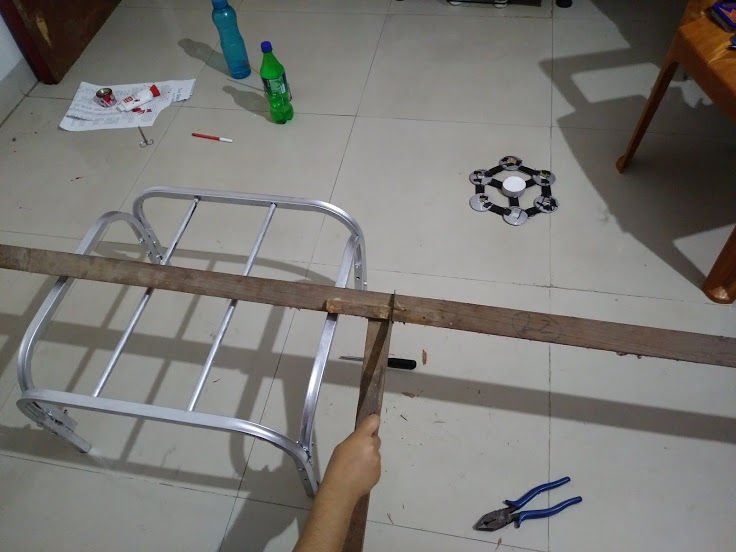
First of all, I stripped the left and right side wooden arms from the couch and cut its extra designs and parts to make its deck and give it shape like a normal rack
Then I used long wooden blocks to make its stand
So I used four of them and cut them in the same length
Then I used iron nails to stick the wooden blocks with two decks at an appropriate distance
Now I filled every 8 joints with fevicoal to make it strong and unbreakable
Now I left it to dry for 24 hrs
Step 3: Painting
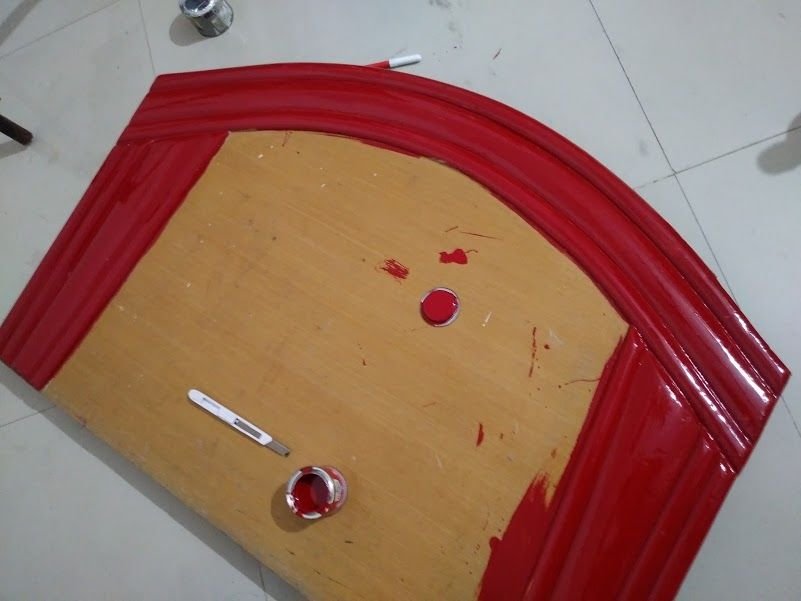


Now I painted the deck with my favorite red color & left it to dry for 24 hrs
Here I painted the deck two times because at first layer of painting it is not looking too shiny and dark so i decided to paint it the second time
Now here every step I have to wait for thats why patience I very important here.
Step 4: Designing
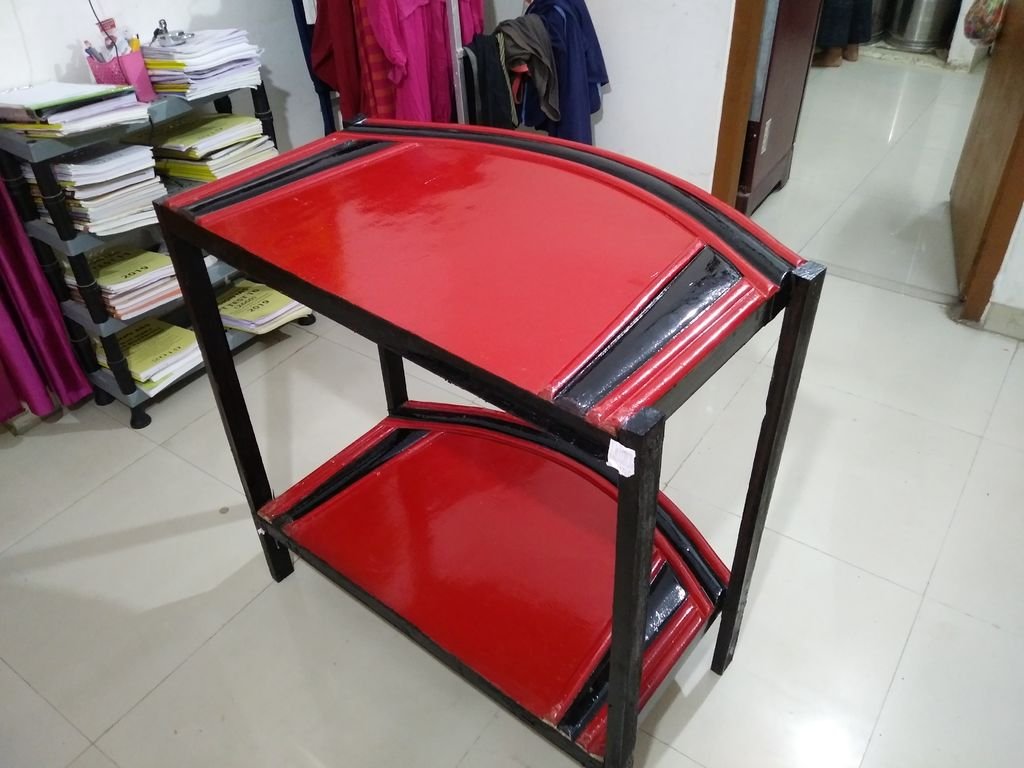
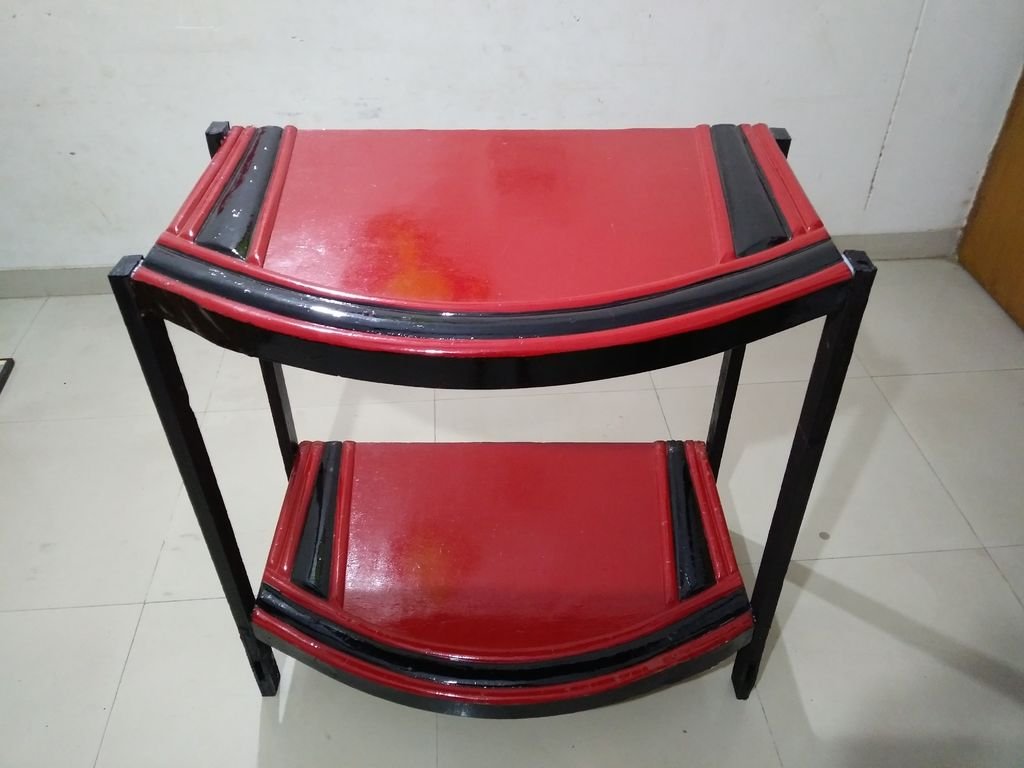
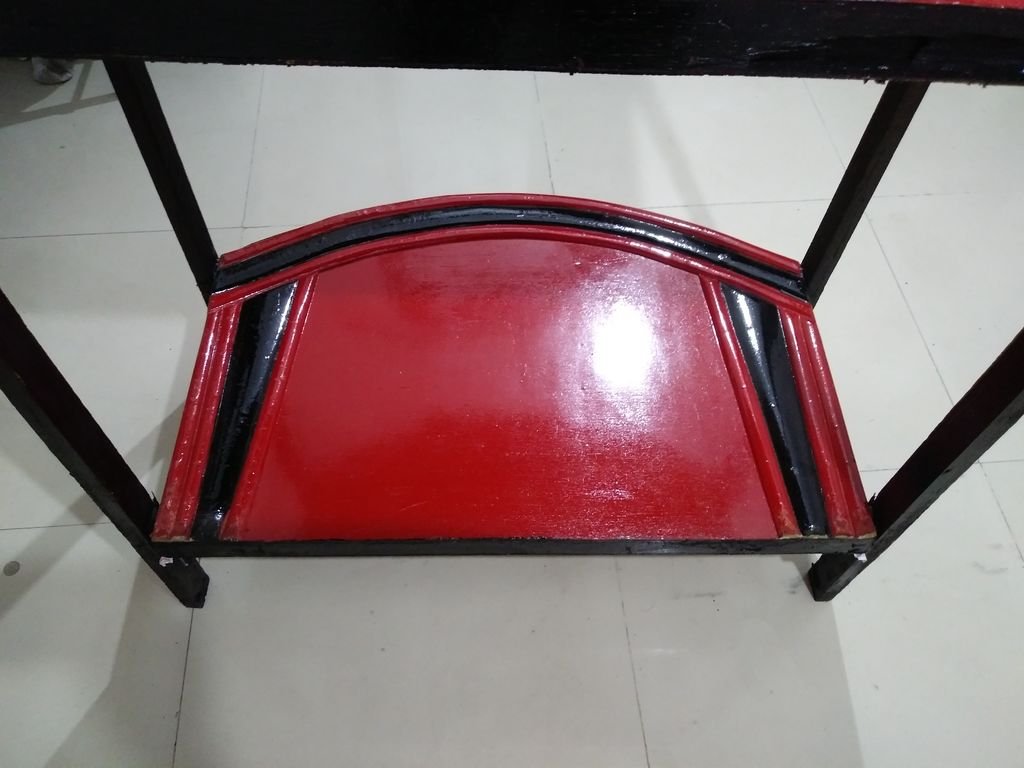
Now my rack is almost completed but because I am a lover of colors I decided to perform some simple designs on borders and edges
So When red color dries completely then I used black color to make designs on the edges and some other parts
Here I have used a thin brush
After the design is completed it looks awesome
Step 5: Time to Use It
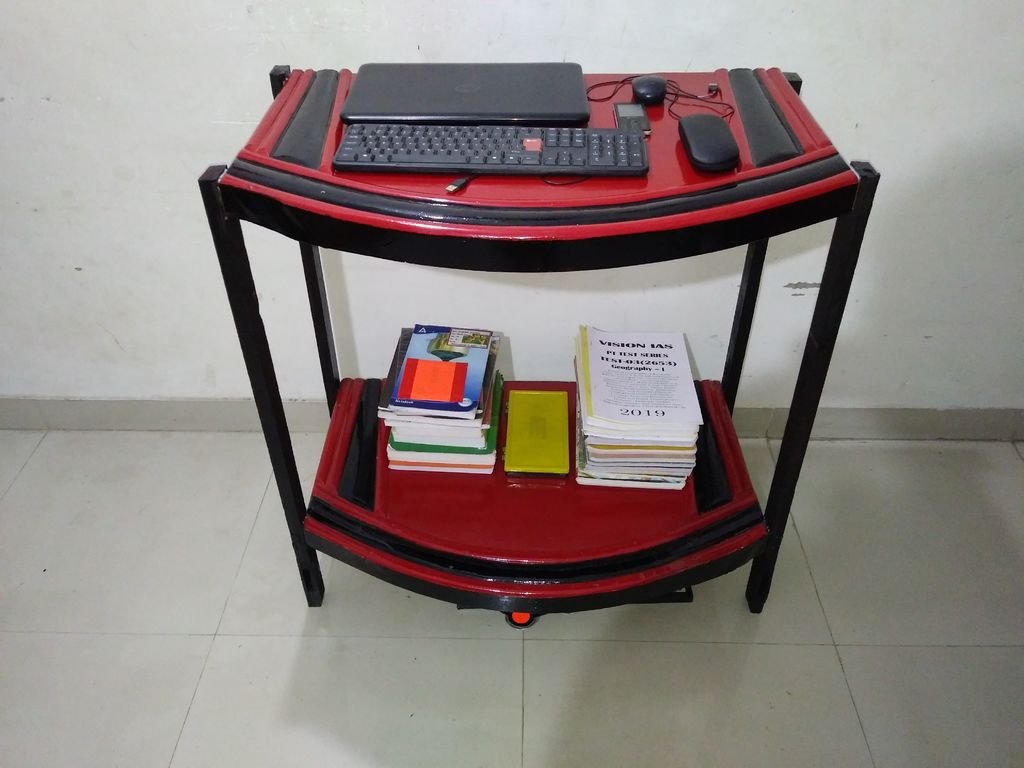

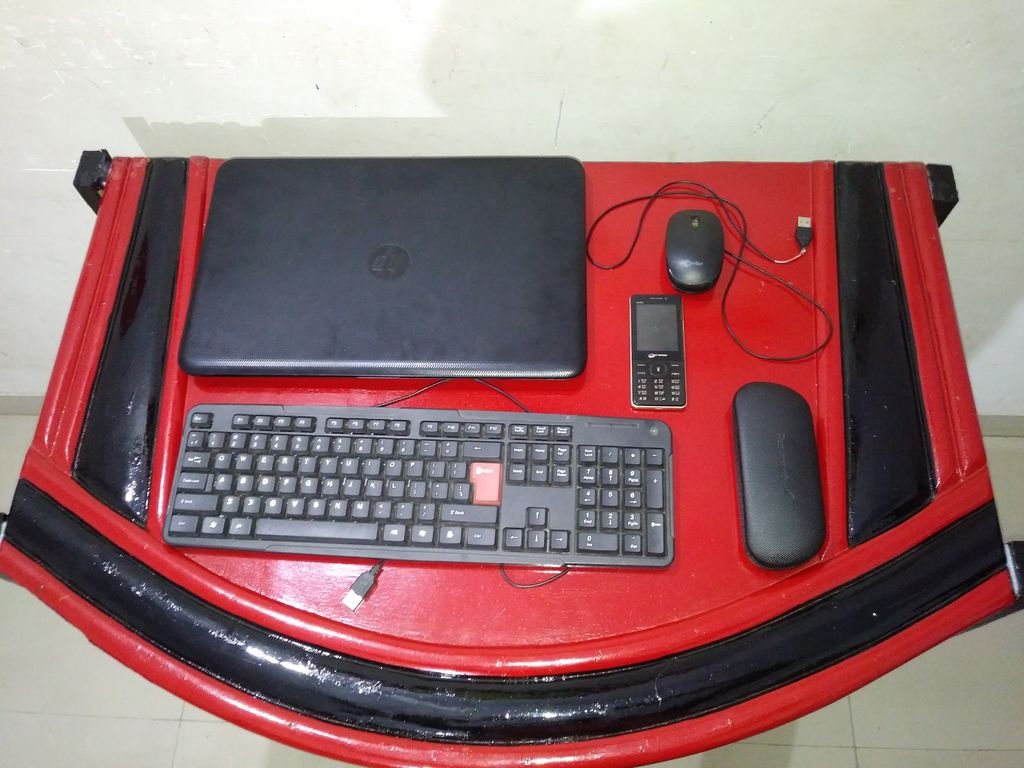
After waiting for 24 hrs to dry the paint it is ready for use.
Here I have used it for my books and computer and extra kinds of stuff lying around.
courtesy: instructables
