Cardboard Accessory Box
To make a casket for jewelry or other small things you do not need to have a great experience Hand stitched rare or non-standard instruments. These boxes, there are many, very carefully watch a class and spend some time.
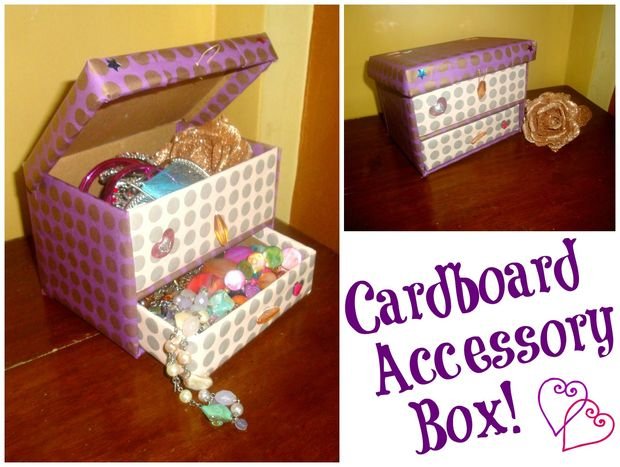
The box of cardboard will please its appearance and functionality.
The exterior decoration can be changed by the master, but within a shkatulochky fit all the fine jewelry that still littered everywhere.
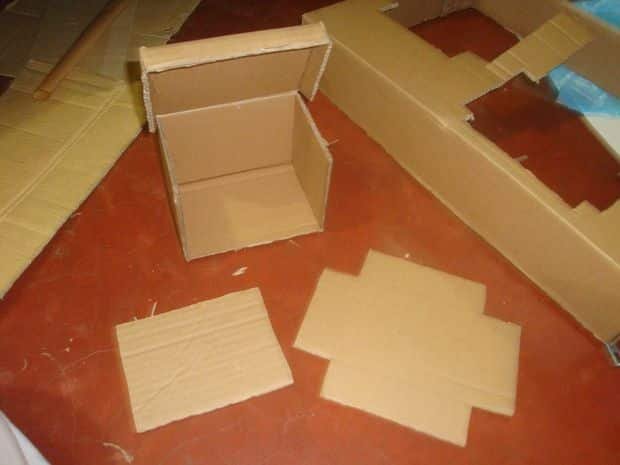
To get started, first you need to cook a letter cardboard. Its dimensions may be any, depending on what the final size boxes need to get.

Cardboard need to mark using a pencil or pen and cut the contours of the future box. The dimensions parties can be any importantly – the total figure future box that will assemble and glue the box.
All lines bends to bend and glue in places where the box will be connected. From cardboard to work harder than the ordinary for applications, but it will make a material strong design that will serve as a reliable place to store small items.

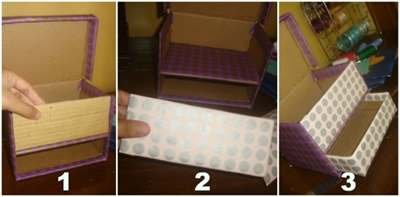
Similarly, cut, bend and future prokleyuyetsya drawer box. Cardboard glue parts together can PVA glue or super glue, but the most reliable and durable option would be to tape.

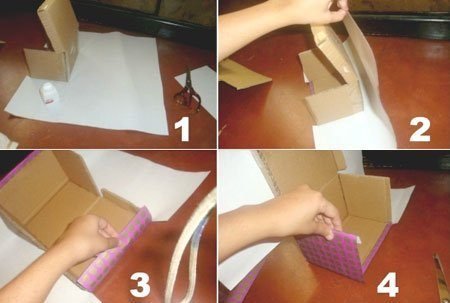
The next step will be a nice box cover and drawer. To do this, you can take wrapping paper, it is thin and fits nicely on any surface cardboard. And you can use the old wallpaper.


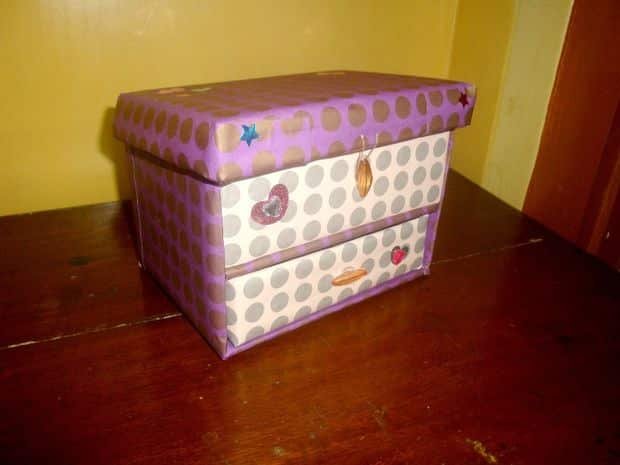
Paper, which will be covered with box and mini-box may be different in color or pattern, it is important to match stylistically. Then the code would look harmonious and beautiful.
Wrapping paper also can be glued using adhesive, but much more efficiently and unobtrusively will look two-way tape, which is firmly stuck paper-based and does not charge it.

In the same way to hide unsightly surface of one of the shelves of future box. Pretty wrapping paper stick on one of its sides, which will be seen when using the boxes.
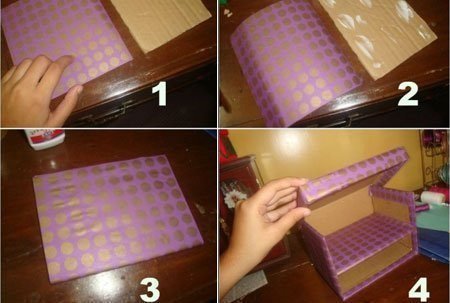

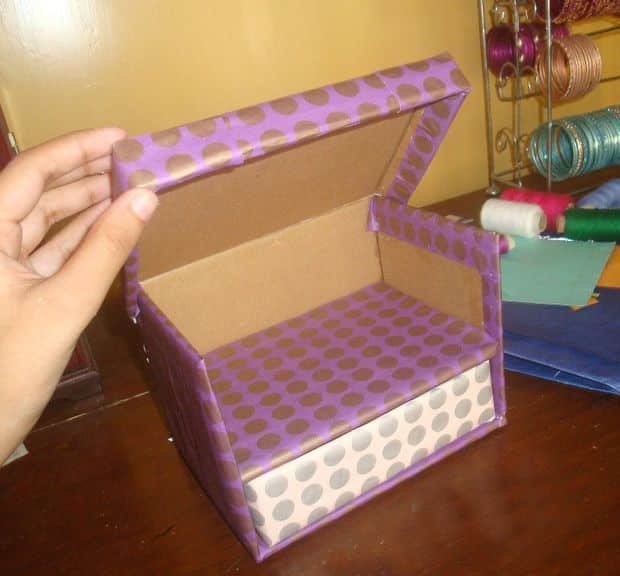
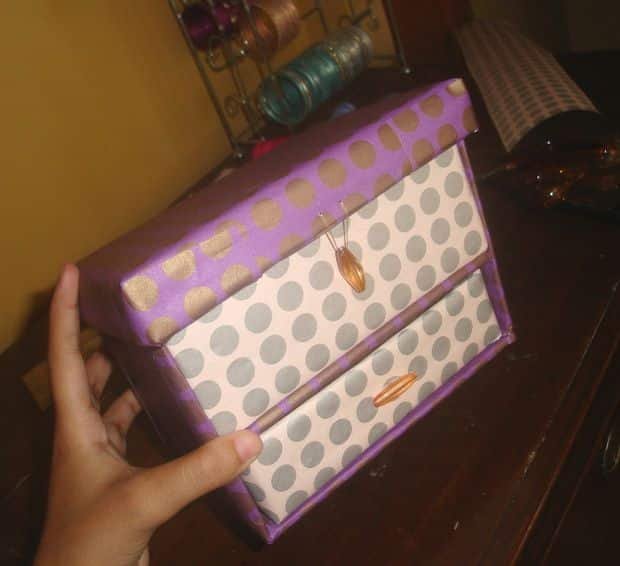
When the foundation box is ready, you can begin to design the front wall boxes. It also cut from cardboard, brown paper and joins the main structure mailbox.
Further decoration can be done on their own, flowers or ornaments, beads or beads. The box is ready.

Courtesy: www.instructables.com