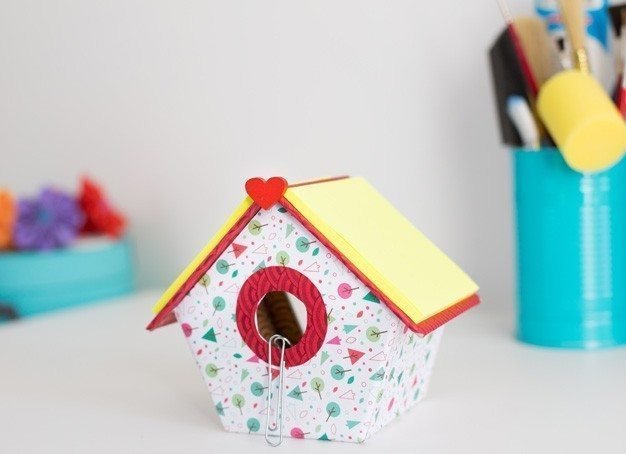
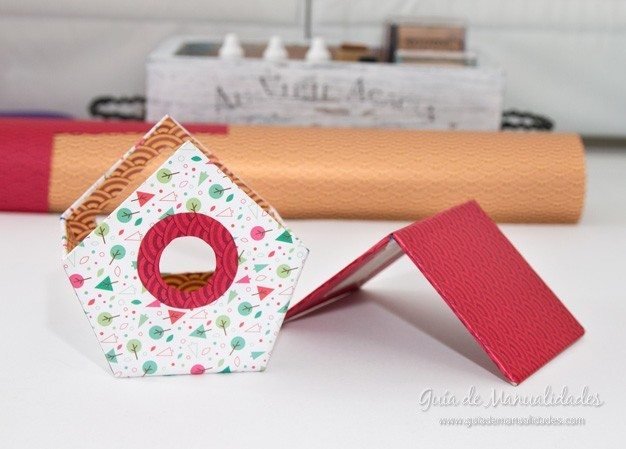
Birdhouse for clips and sticky notes
The craft I show you today is very special! I enjoyed making it so I wanted to share with everyone today :). When I first saw it I fell in love and just wanted to do it. This tender birdhouse to put on the desk or another corner of the house will look completely! All who see it will love it! Have your sticky notes and clips on hand but a super original form!
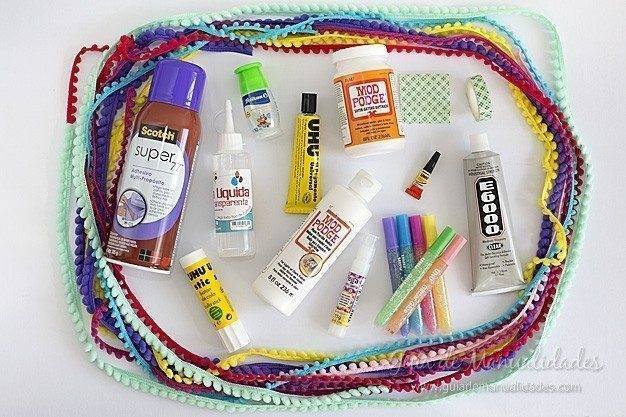
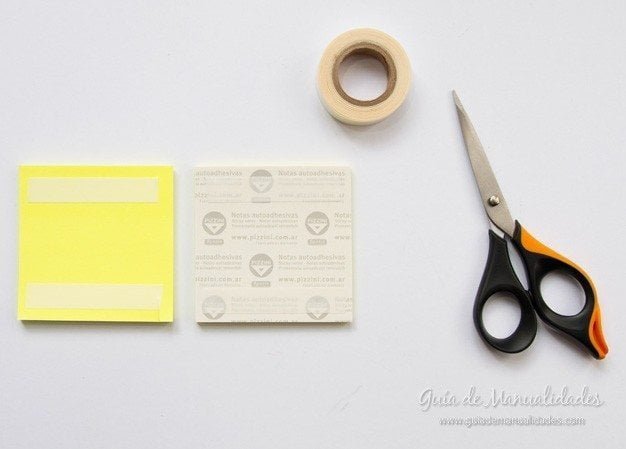
You need:
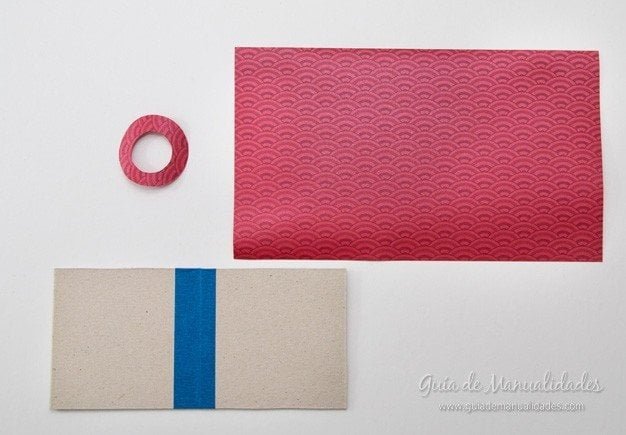
Chipboard 2 or 3 mm thick.
Cutter.
Cutting basis.
Rule.
Pencil.
Scissors.
Double-sided tape.
Masking tape.
Cola for decoupage glue.
Brush.
Roles of various designs.
Compass.
Pattern for house
To make this idea can be used cardboard 2 or 3 mm. I did it with cardboard 2 mm thick and had no problems. We also recommend using paper designs good thickness. I took a few that had to origami other crafts. Some of these papers can find them on large sheets as A3. We started?

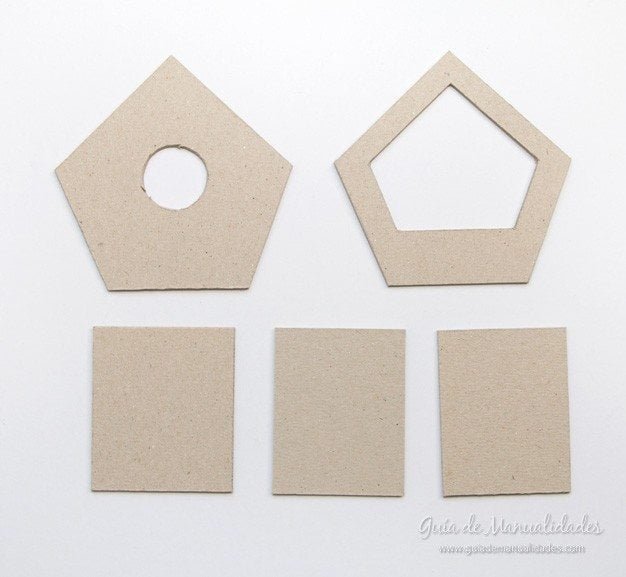
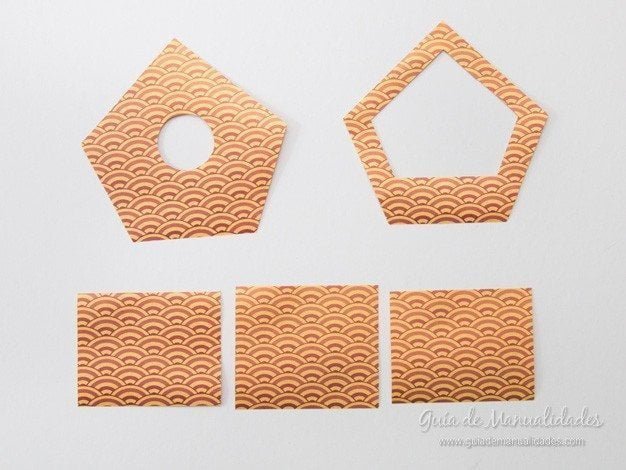
As a first step, we have to cut the pieces to build the structure of the house. The front and rear will find them in the print pattern . Mark and cut two pieces of cardboard and we added a 7 cm x 6 cm for base and July 2 cm x 5.5 cm to the sides of the house. Later we look at the ceiling.
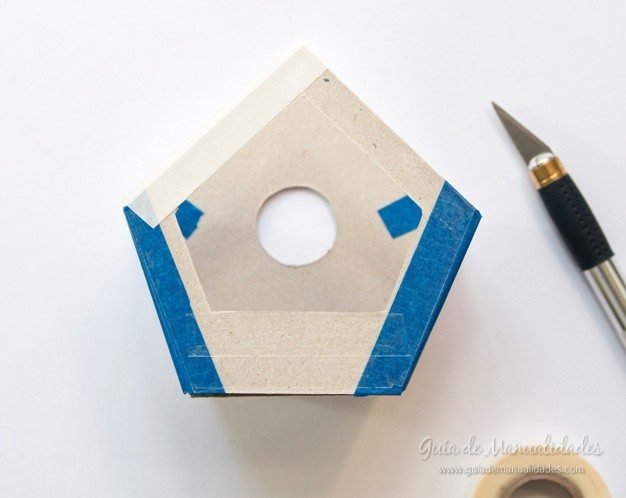
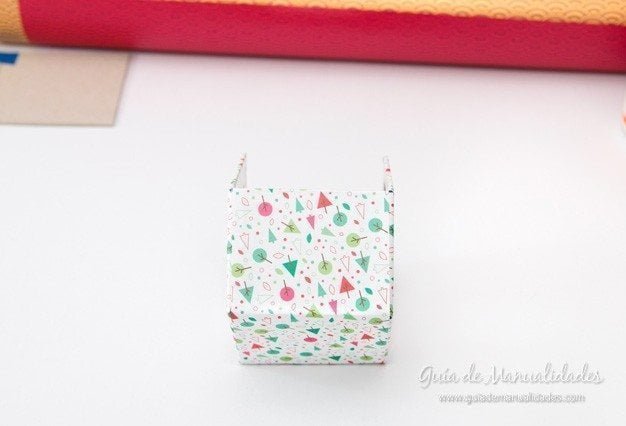
Join all the pieces with masking tape. We must take care of glue to assemble correctly to fit. You see how easy and practical to work with the painter tape to this idea! I loved the result!

Climb the sides, the front and rear of the house and stick with the same tape to shape the cottage. Beware that the adhesive tape is attached as neat as possible.

With armed house, we put double-sided tape on the back.
We stick on the role of design that we have chosen, cut by leaving 1 cm extra edge to all sides. And we’re putting small pieces of double-sided tape on the remaining sides of paper to properly attach it to the side or inward. We will be a super neat finish.

Repeat the same with the front of the house and to the inlet, we cut as seen in the photograph take inward so that it is all covered by the paper.
So will the house with its front and rear ended.

Now cut a paper box of 7 cm x 21 cm. With this piece of paper will cover the sides and bottom of the box.

In this piece the stick with glue for decoupage glue. Carefully that there are no air balloons and wearing inward end of the housing to have a good finish.
Now we deal inside the house. In another paper design, we cut the same parts to the house again. Surely they have to remove a few millimeters to stick inside. You can do that as we go pasting and according to the need.
These parts have to stick inside the tail using white glue for decoupage, one by one and as neat as possible. Let dry thoroughly.

Now we do the roof. For this we cut two pieces of cardboard 8 cm x 8.5 cm. And we stick to one side with masking tape.

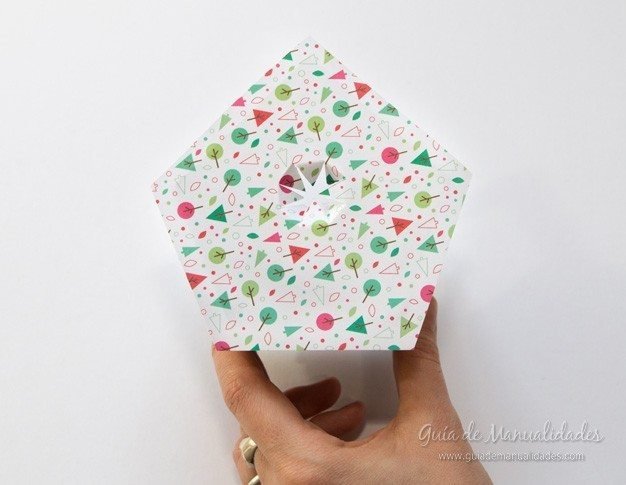
We seek another design paper, and cut a piece of the same size by adding 1 or 2 cm at the sides to give termination. Also we cut a piece of the same paper to cover the entrance to the house. Help yourself with the compass to mark
We stick the paper to the cardboard roof and the entrance to the house with glue for decoupage glue.
Then we put double-sided tape on the inside of the roof and stick to the house. It will be great! They saw how it is becoming? Beautiful, no?

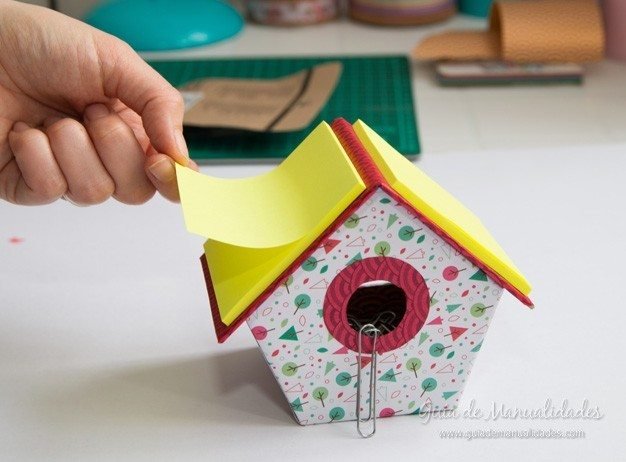
We sticky notes (they care that are ideal for the roof of the house size), and place them double-sided adhesive tape to stick to the ceiling.
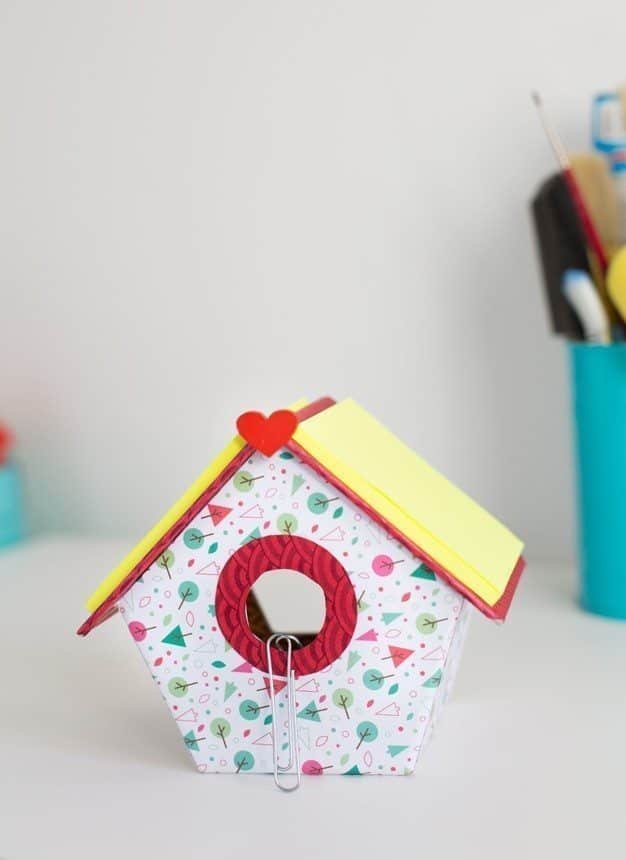
And they will be once been attached. Stand clips on and go!
New and original organizer to your desktop! Nice no?
Courtesy: guiademanualidades.com